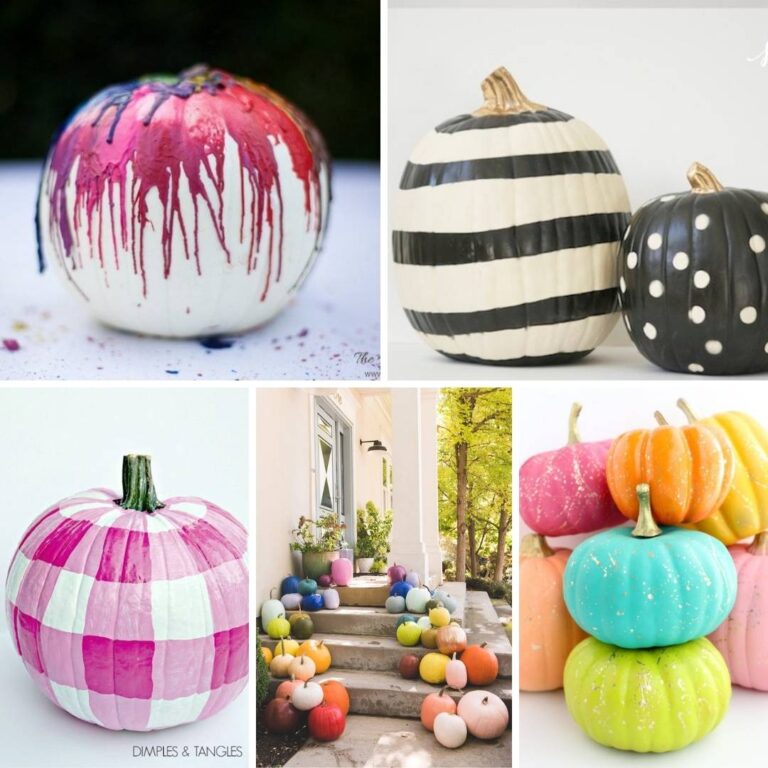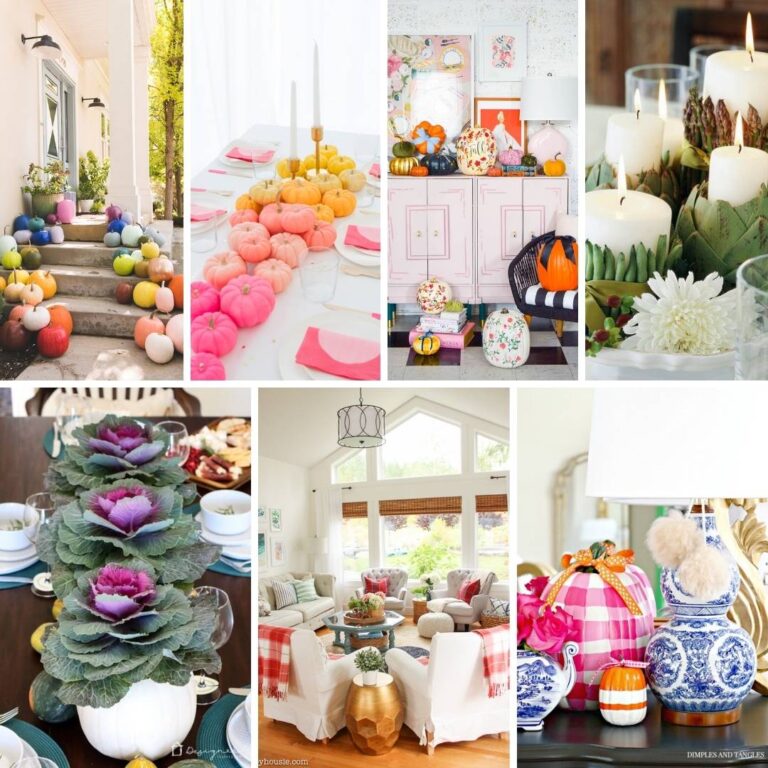
Holidays & Seasons
Who doesn’t love new ideas for the holidays? These posts are all about simple and beautiful holiday home decor and craft ideas. We’ve got all the big ones covered: Christmas, Thanksgiving, Easter, Valentine’s Day, Halloween and The Fourth of July! And you’ll find some ideas for Father’s Day, Mother’s Day and St. Patrick’s Day too! We are all about celebrating here at Designer Trapped!
There are printable gift tags for every occasion – not just Christmas but Easter and Valentine’s Day too! I just created a set of printable Mother’s Day cards, and of course I have my printable prints to hang as artwork for easy decorating any time of the year. New this year for Easter 50+ Easter Basket stuffer ideas so you don’t always have the same jelly beans and plastic eggs year after year! The Valentine’s Day desserts post will have you licking your lips and ready to bake!
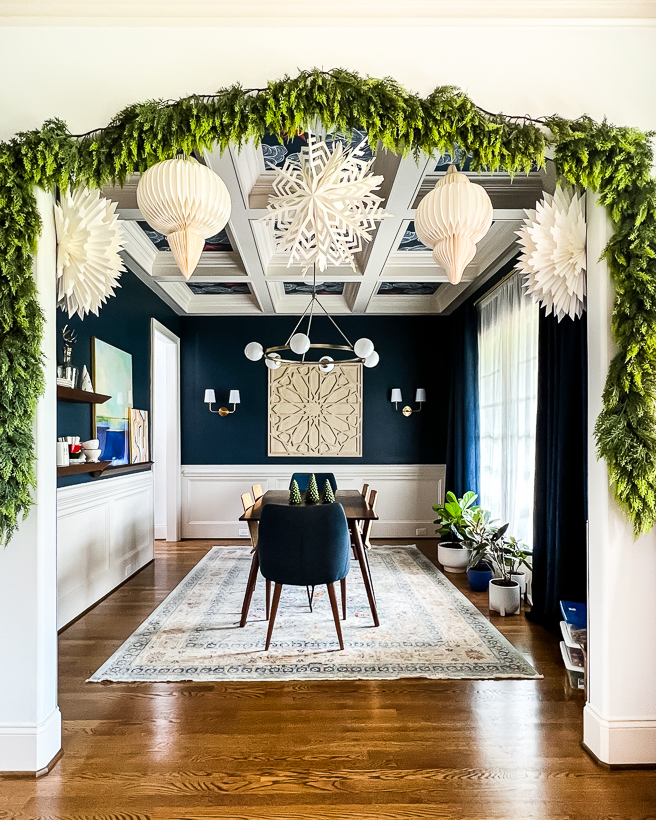
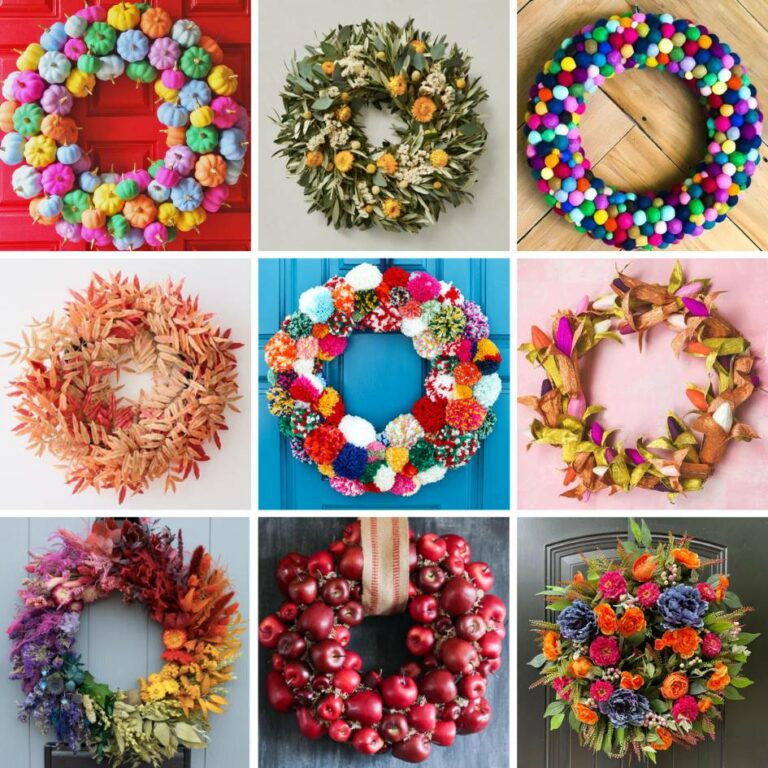
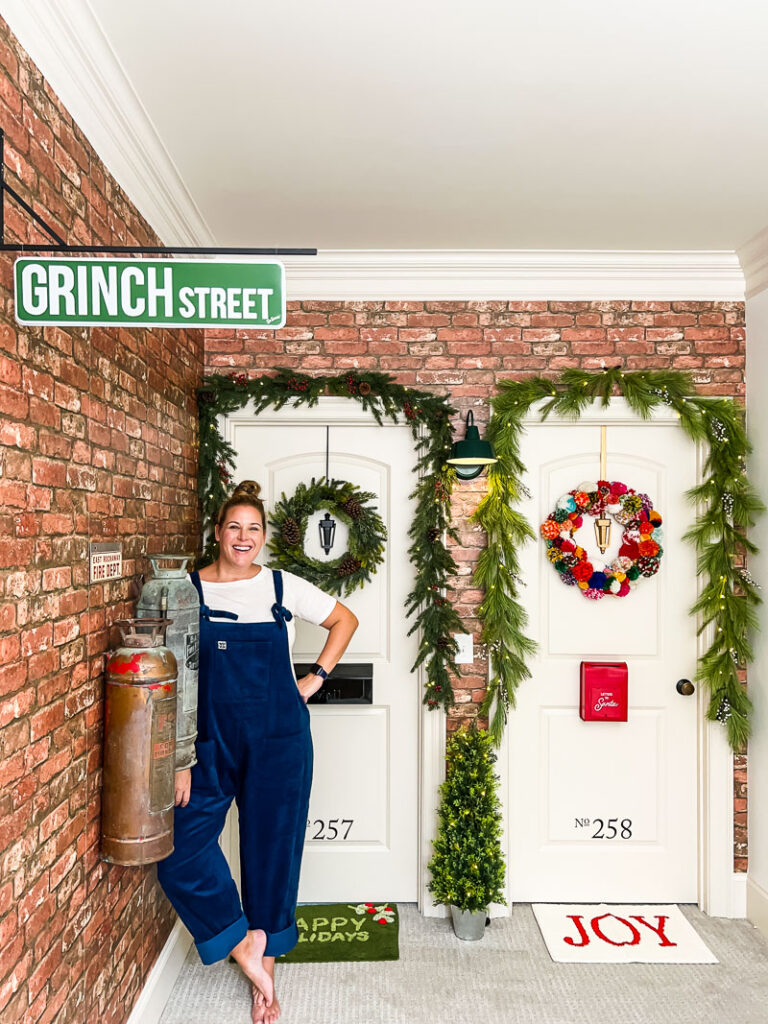
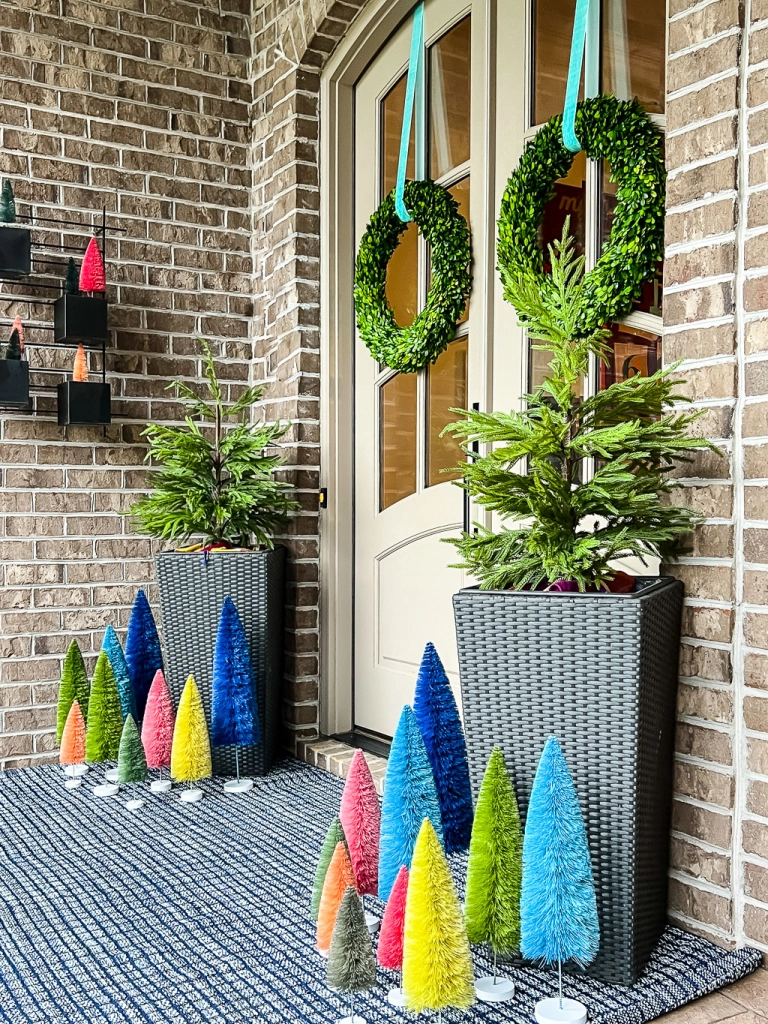
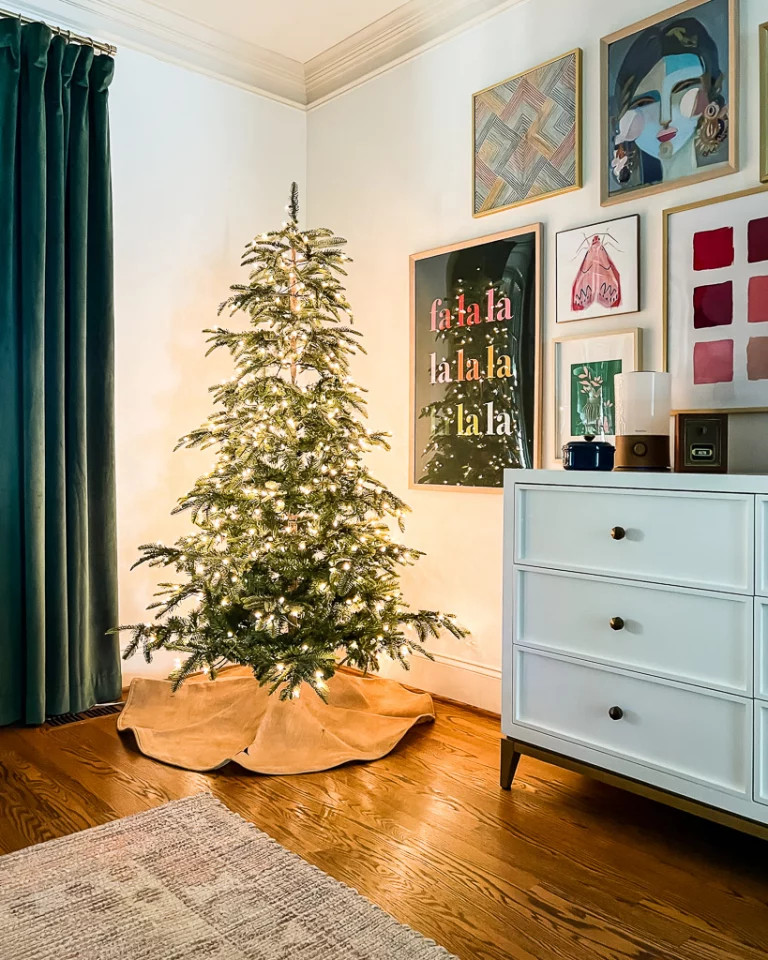
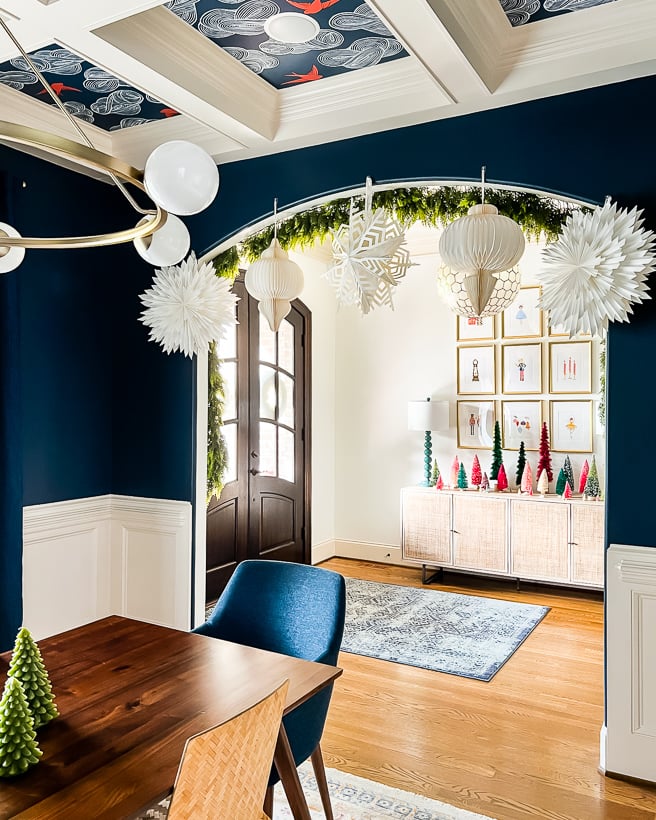
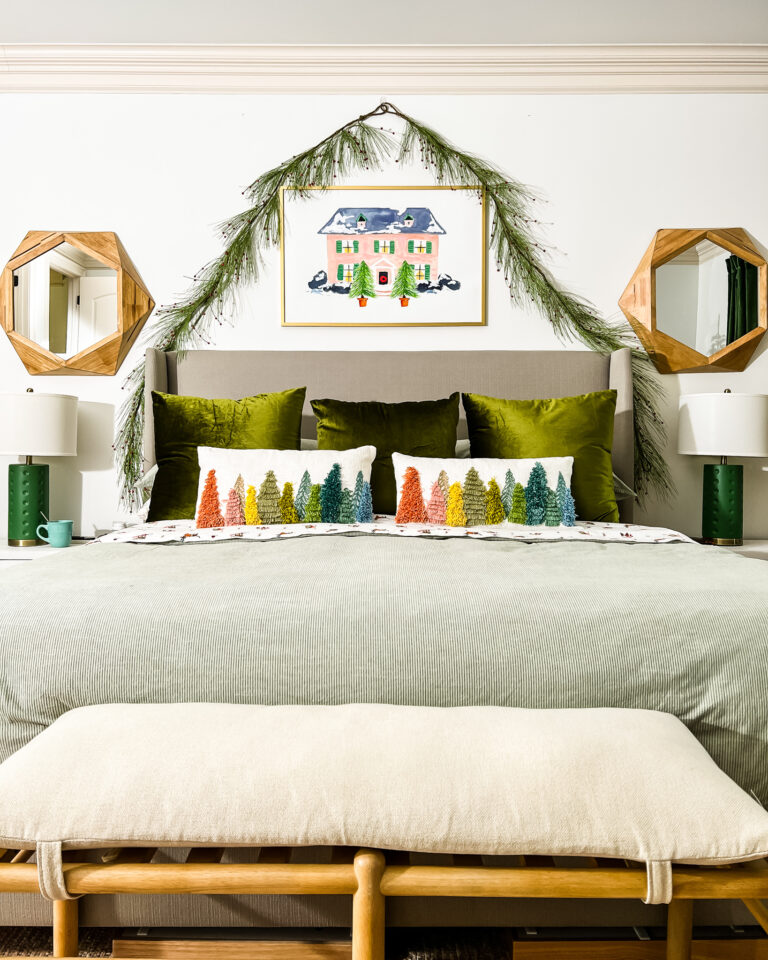
There are simple decor ideas for under $50, like throw pillows and cute prints, and beautiful family-friendly holiday crafts like decorating your own Christmas stockings. No matter the occasion we have ideas for you and your family!