DIY Macrame Lamp Shade Tutorial
Last Updated on March 3, 2022
Hello there! My name is Corinna and I'm the blogger behind For My Love Of.

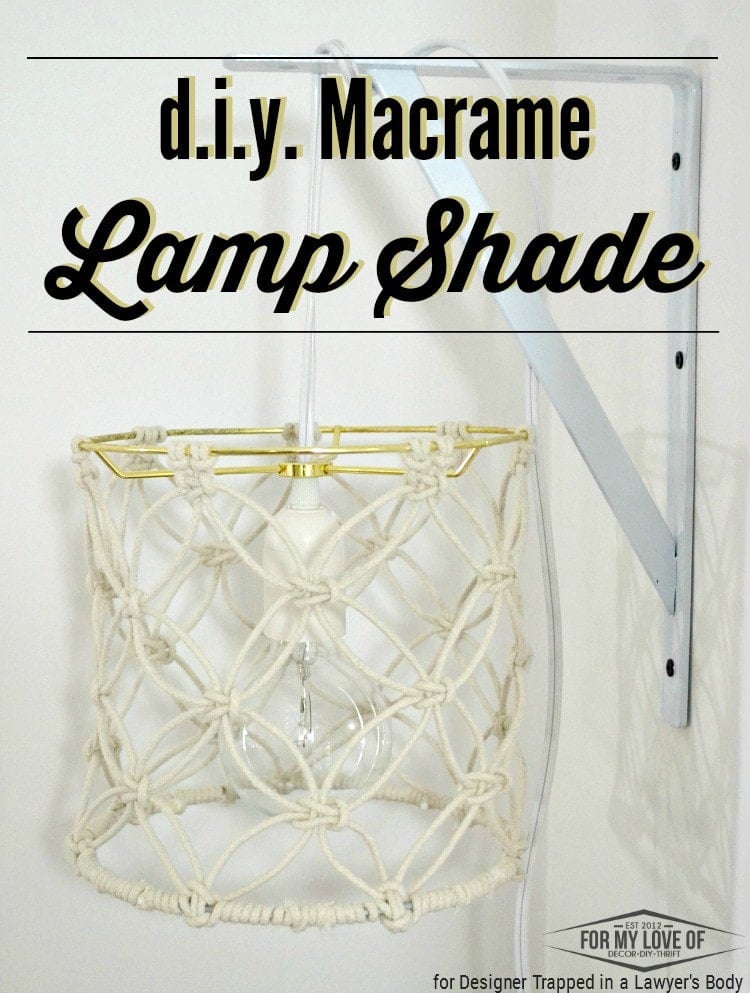
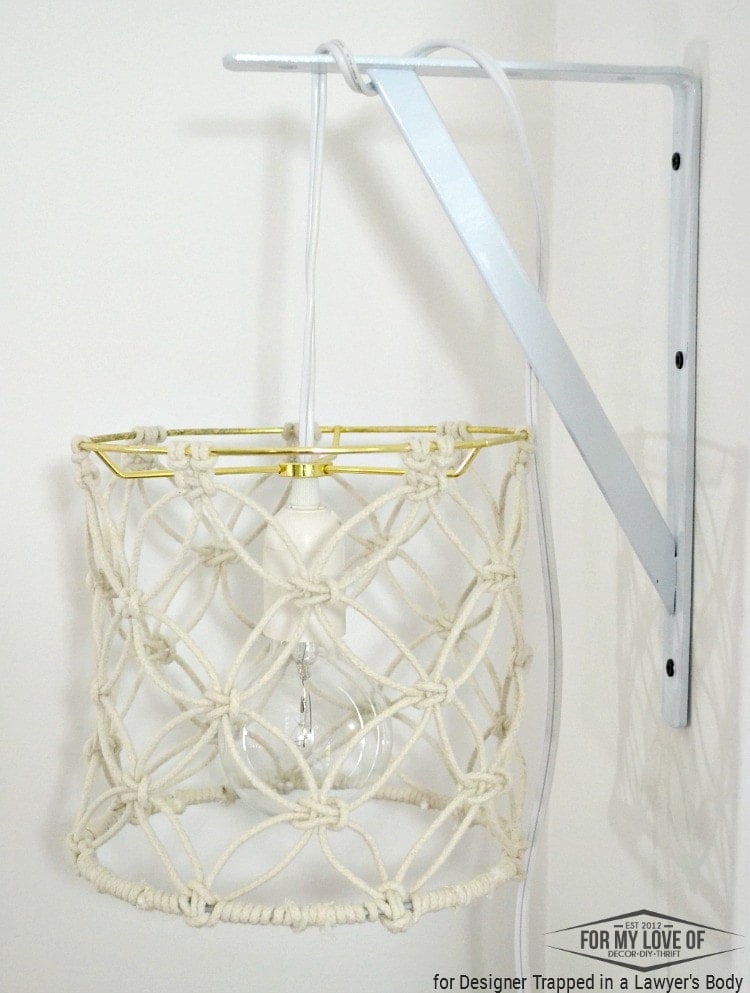
I'm here today with a contributor post to share with you how to create a DIY macrame lamp shade. I love the macrame art form and these lamp shades blend boho with feminine and depending on what base you put it on, can add a touch of a masculine balance for an all inclusive decorative element. This post contains some affiliate links. Click here to read my full disclosure policy.
Materials Needed for DIY Macrame Lamp Shade
- Lamp Base, I chose to go with a shelf bracket with clean lines and a touch of an industrial vibe
- Light, if your lamp base doesn't have the light source built in you'll have to wire one or use a simple hanging lantern cord
- Lamp rings or discarded lamp shade that you can dismantle
- Cotton Rope/Macrame Cord
- Hot Glue and Hot Glue Gun
- A break down of Essential Macrame Knots
DIY Macrame Lamp Shade Tutorial
Since the beginning steps can vary a little depending on whether or not you're wiring your own light cord and what lamp base you'll be using, I'll dive into the specifics of using the bracket with a prewired and assembled light cord (since that's what I did).
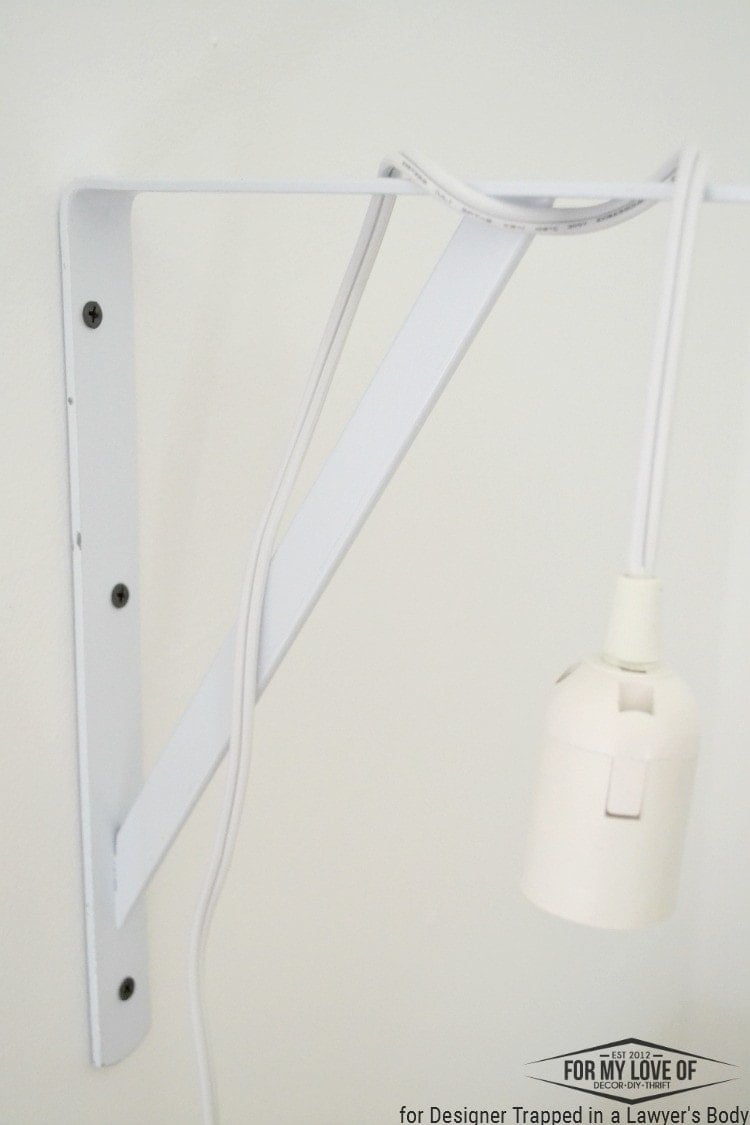
Drilling a bracket into a wall is really easy. Simply mark where the holes need to go, use a power drill with the appropriate sized bit to drill out a hole, install wall anchors for spots without a stud, place the bracket back over the holes, and drill the screws into place. Drape the light cord onto the bracket in a way that looks good for your style and space.
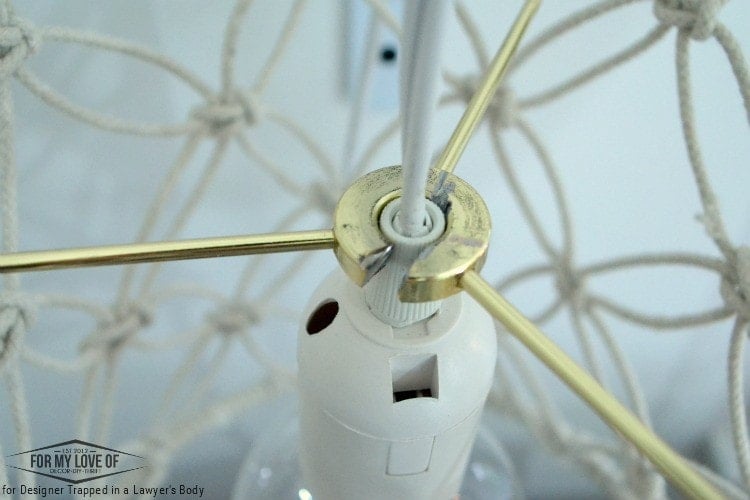
If your light cord doesn't disassemble easily and you don't want to bother with wiring or rewiring a cord, you can easily cut out a small chunk from the lamp ring with a Dremel tool so that it can slide onto the cord. You should decide to do this before you get to knotting the rope onto the lamp rings (since the rope could catch fire from the sparks! always be safe!)
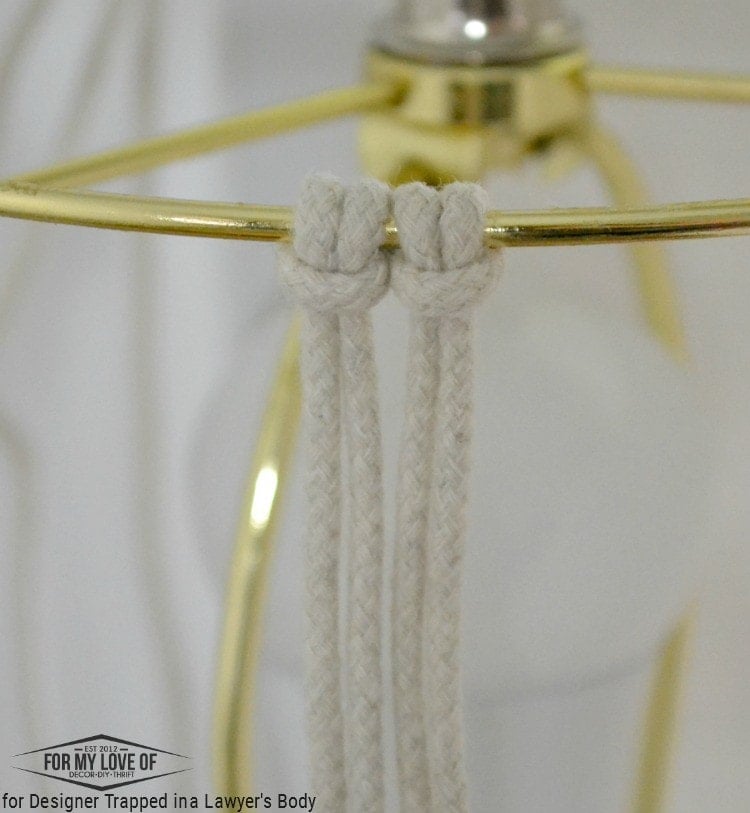
The first knots used are the lark's head and you'll use two lengths of string that are approximately 2 and half times the length of the lamp shade you're creating. You'll fold the length of string in half and wrap it around the lamp ring using the lark's head knot method.
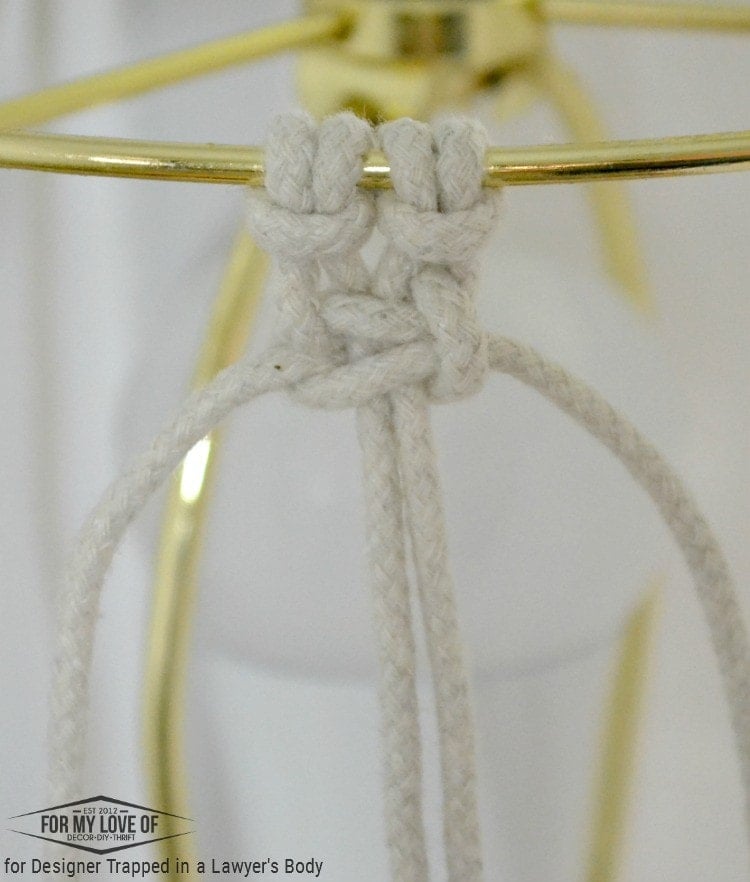
Follow the lark's head knot with two square knots. These knots need to be tight enough to keep in place but not so tight that they will be difficult to adjust if needed later on.
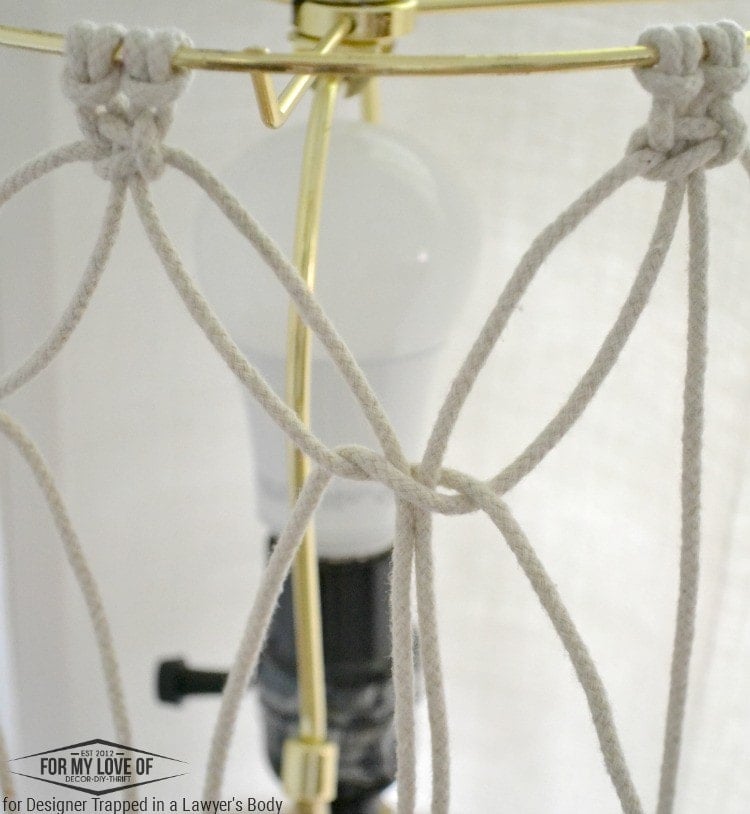
This next part can take some getting used to, but it gets really easy really fast. Take two strand from the pair of rope on the left and two from the pair of rope on the right and begin a square knot about 2 inches down.
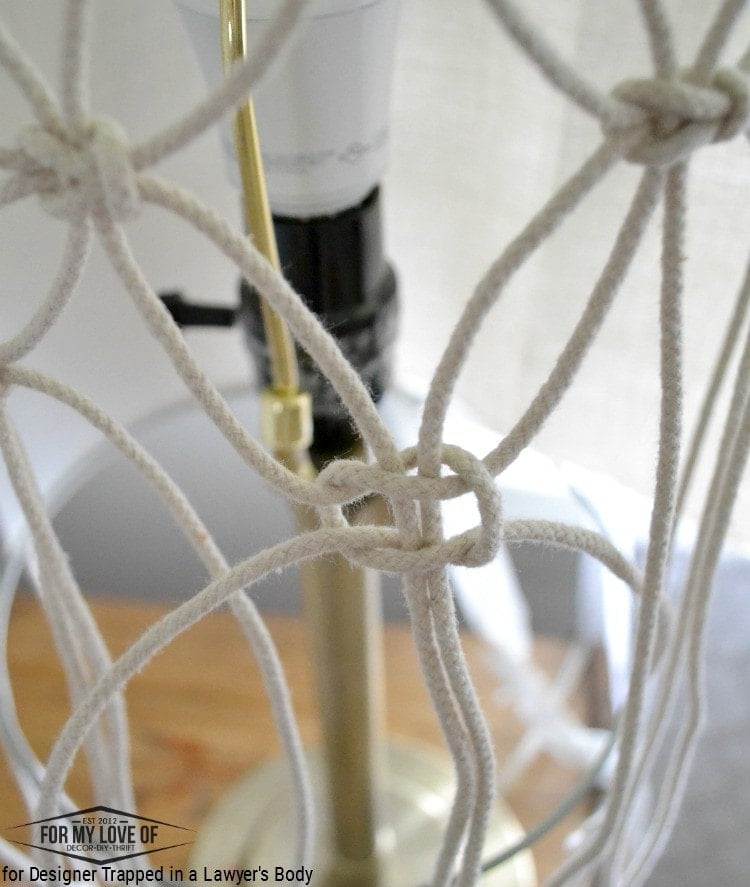
Secure it in place with a second square knot. Try to keep these the same length down all the way around the lamp and centered between the two knots above it. Keeping the spacing correct is what will create the pretty circle design between the knots.
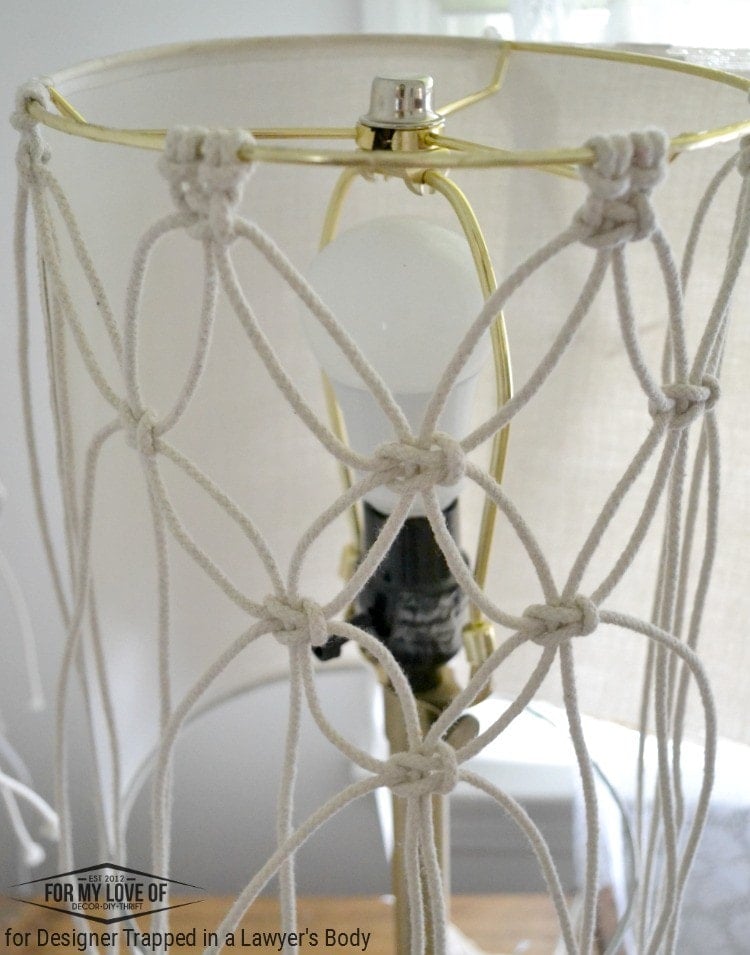
Keep alternating the process of square knots but be sure to stop, step back, and ensure the knots are lining up evenly. Stop a few knots in and make adjustments by gently loosening and re-tightening any knots that are off.
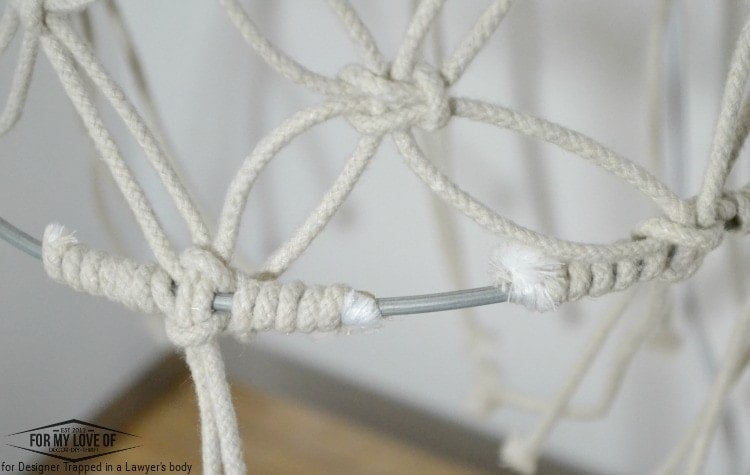
When you reach your desired length, secure a final set of square knots over the bottom lamp ring. If your top and bottom lamp rings match in color, you could absolutely snip everything off and hot glue the ends on the inner side. Since mine did not, and I kindof played it by ear, I decided at the end to take the outer strands and wrap them around the ring, using hot glue to secure them in place. Now that I've done it, I definitely think you should go with longer strings than my initial measurement if you'll be doing this since many of my rope did not fully cover the ring and I had to go back in with extra rope and glue them over the gaps. It worked, but it was more work than necessary.
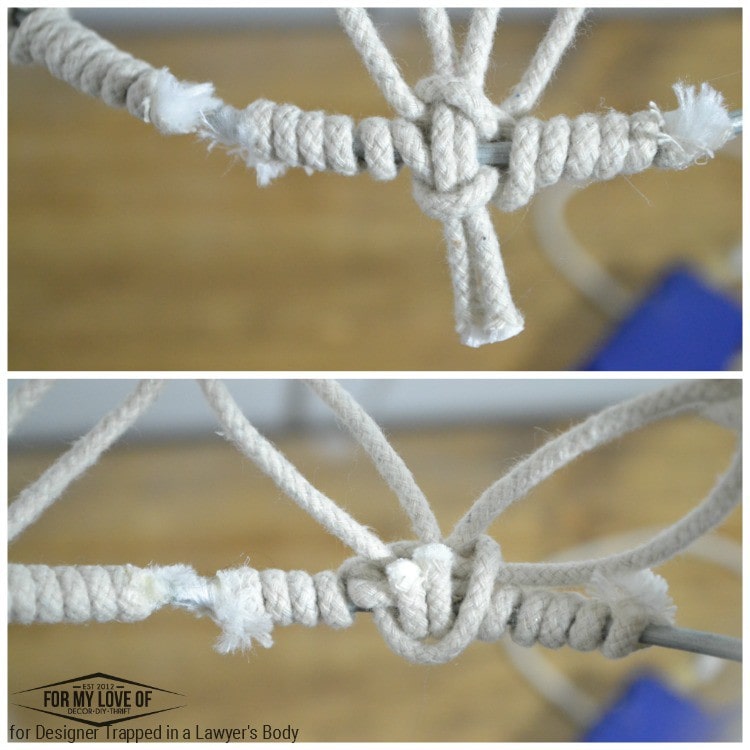
And finally, snip the excess off the center two rope of each bundle and secure the ends onto the back of the knot that secures it all to the bottom ring.
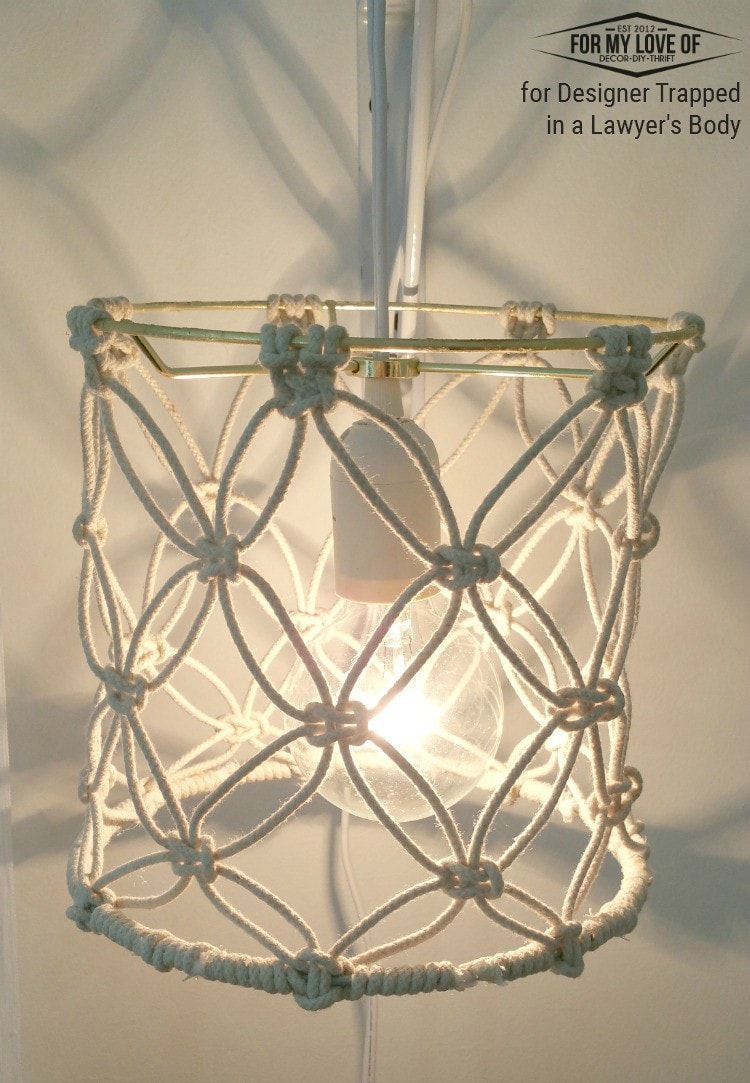
Now you just need to screw in a light bulb and let the illuminating begin!
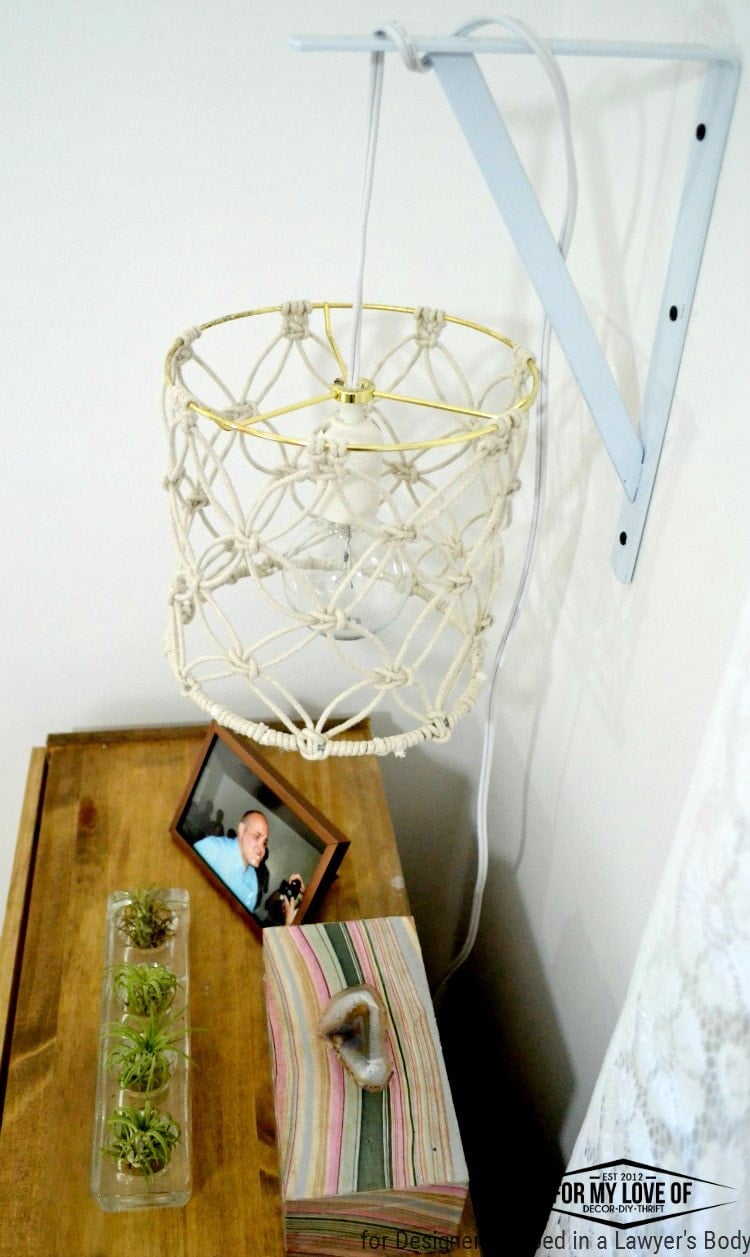
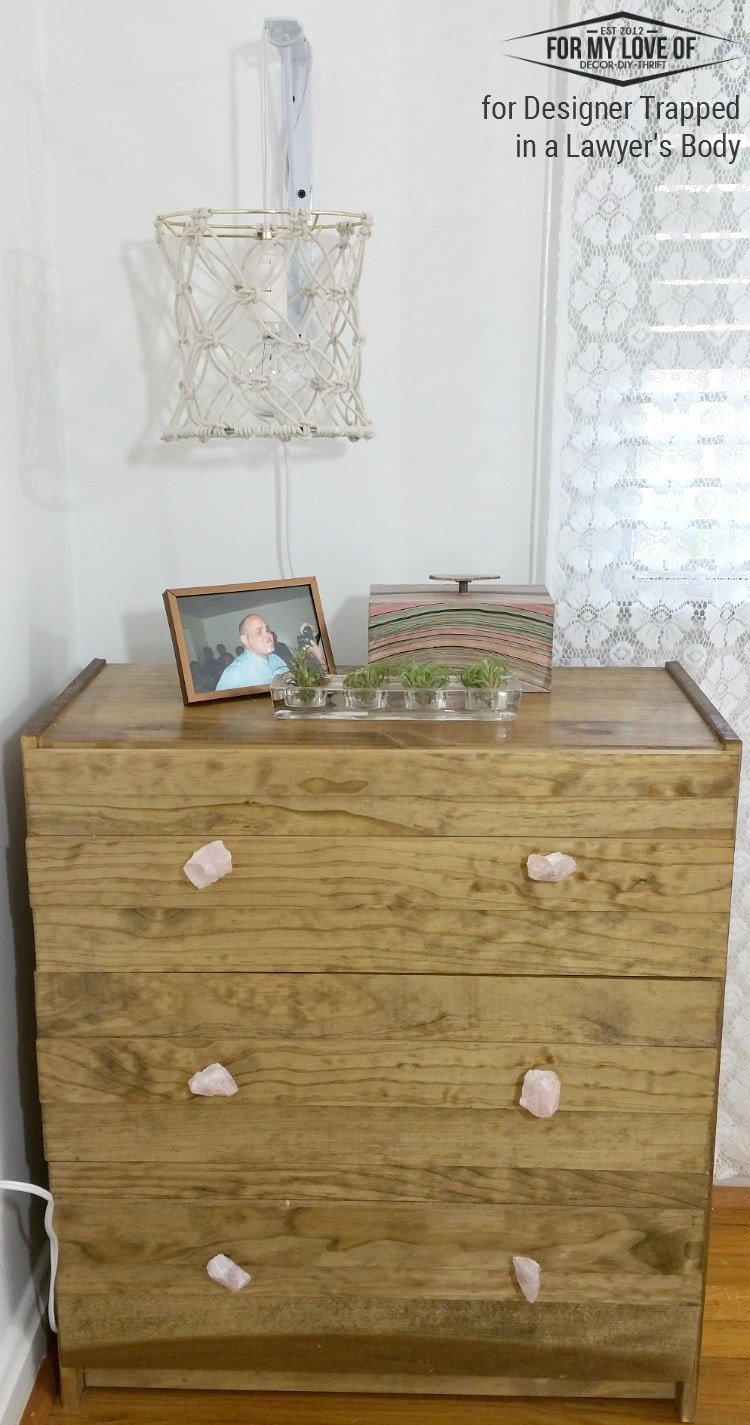
If you enjoy our nightstands, be sure to check out my Ikea Rast Hack- West Elm Stria Knock Off and the recent update with DIY Crystal Drawer knobs.
I hope you've found this tutorial interesting. Please stop by my blog, browse my other tutorials, and introduce yourself! I'd love to get to know you better! Thanks for being here today, have a great day!
[mv_create 1 11 200 2016 key=”1″ type=”list” title=”Most Popular Projects” thumbnail=”<a href=” https designertrapped com wp content uploads diy home decor projects blog jpg a]

SO cool!!!!! So creative! I love it!
That is the coolest, most unique lampshade I have ever seen! Awesome step by step tutorial!
This is beautiful Corinna! I’ve always been drawn to macrame and really need to learn how to do it, especially after seeing such prettiness like this.
This is so pretty. It is so boho and fun, but also so delicate and elegant looking. Fantastic tutorial!