How to Use Gel Stain to Update Cabinets!
Last Updated on May 21, 2019
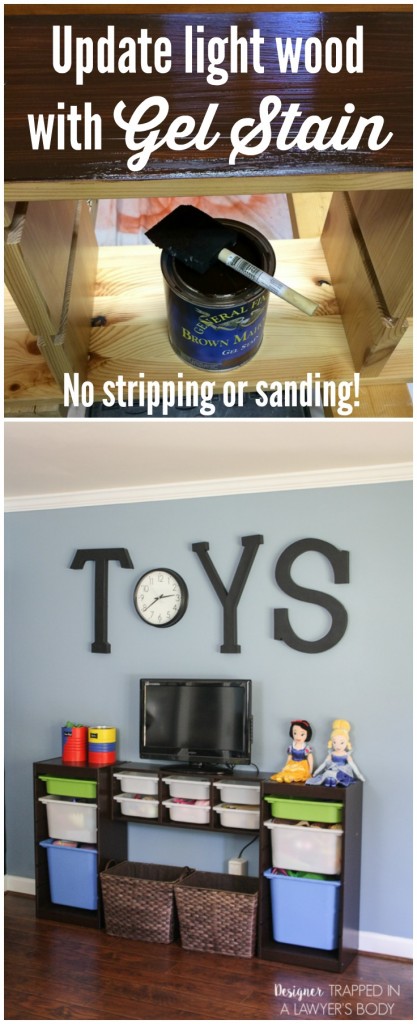
Do you have a piece of furniture or cabinets that you like, but you don't care for the color of the finish? We were in that boat a while ago, but figured out how to use gel stain to solve the problem. I can't wait to share this easy solution with you today!
As most of you know, we have been working hard to improve our twin girls' playroom by addressing lots of storage issues. But we also had some design issues to address, including the light finish of our Ikea Trofast storage system. We love, love, love the Trofast system for loads of toy storage and the light finish made perfect sense in our last house. But it just stuck out like a sore thumb in our new house. This is what it looked like before.
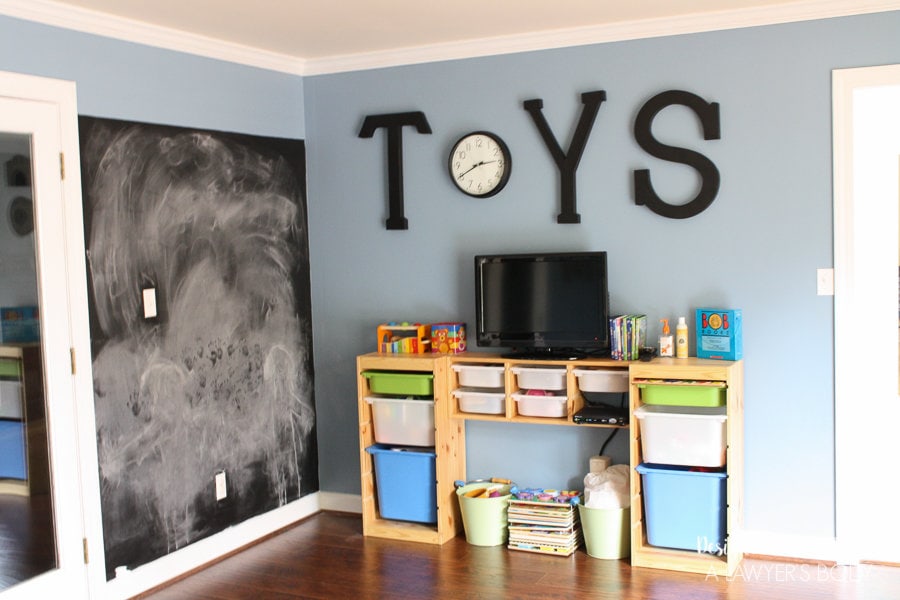
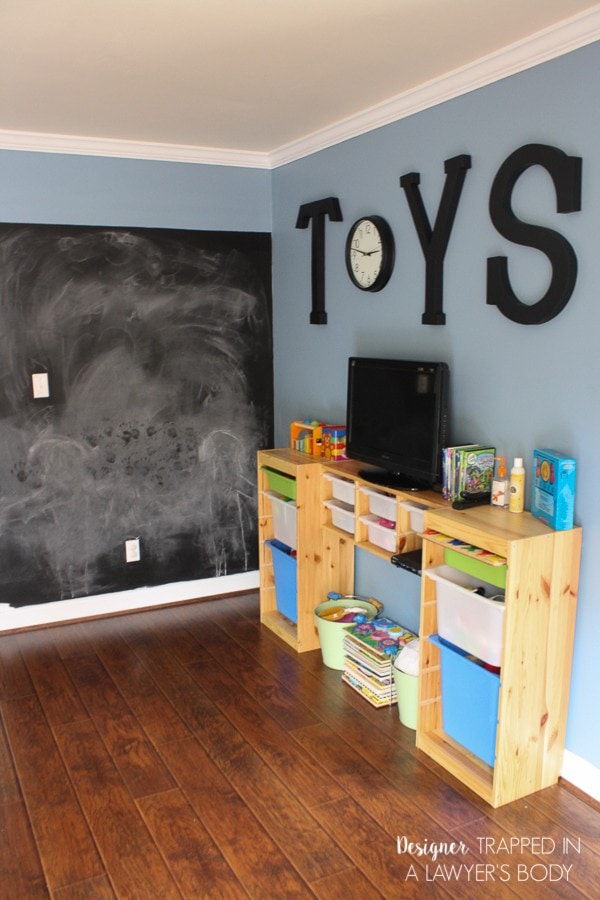
The former stain was fine, but I really preferred a darker finish with the new floors {you can read all about the what this room looked like when we moved in here}. However, I did NOT want to have to strip and sand the pieces, nor did I want to paint them. So, I turned to one of my favorite companies, General Finishes {no, I am NOT paid by General Finishes and this is not a sponsored post–I am just a huge fan of their products and samples they have sent me}. I learned all about their gel stains and knew that was the solution for me. This post contains some affiliate links. Click here to read my full disclosure policy.
How to Use Gel Stain to Update Cabinets or Furniture
Materials Needed:
- Foam paint brushes
- General Finishes Gel Stain {I used Brown Mahogany, but their Java is also very, very popular–I just did not was ours quite that dark}
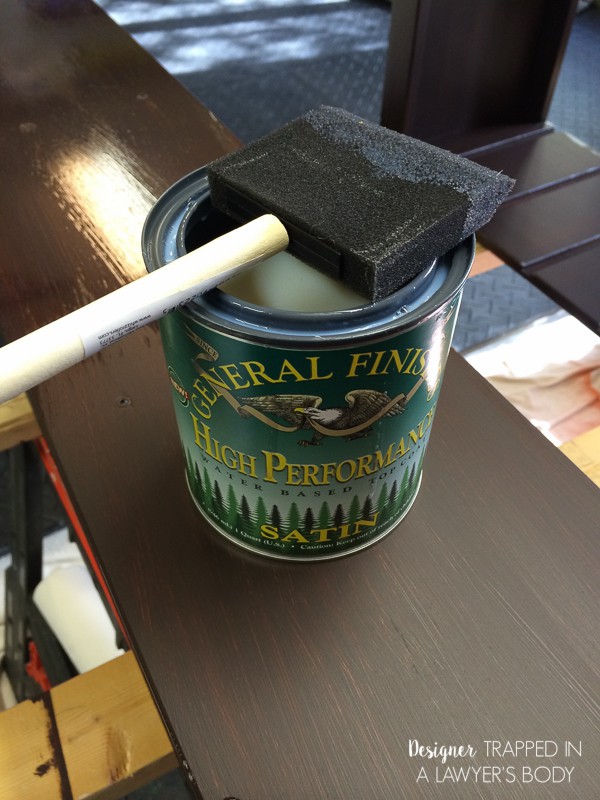
- General Finishes High Performance Top Coat {I used Satin Finish}
Steps:
1) Quickly clean your pieces to remove any dust/dirt. I used Lysol wipes. It was quick and easy.
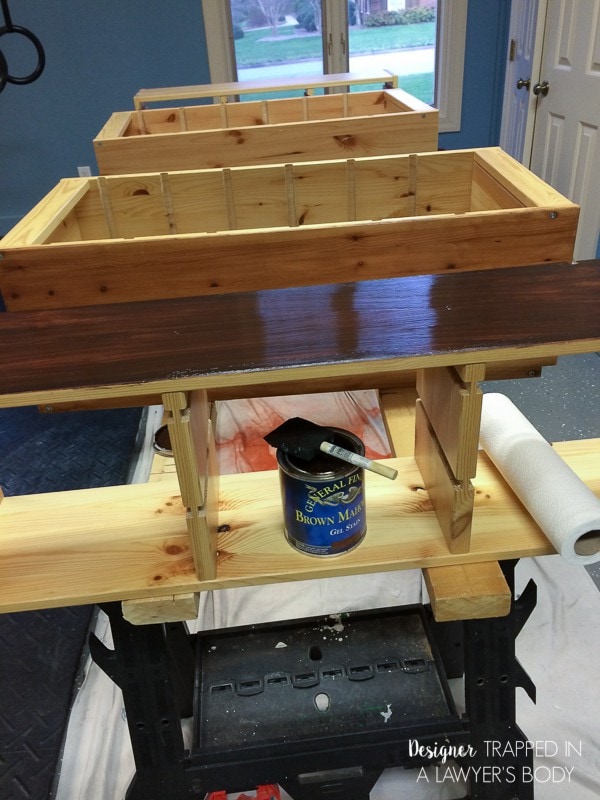
2) Apply your gel stain with a foam paint brush. Be sure to follow the grain of your wood. Apply a thin, even coat. Your first coat will look pretty bad {see below}. Don't worry. Most importantly, DO NOT WIPE THE STAIN OFF. You are basically going to pretend like it is paint, though I find it easier to work with than paint.
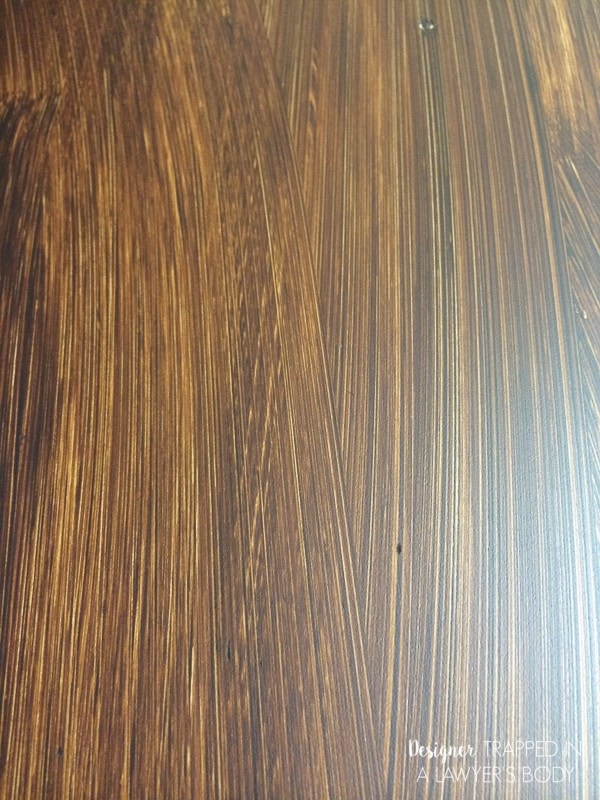
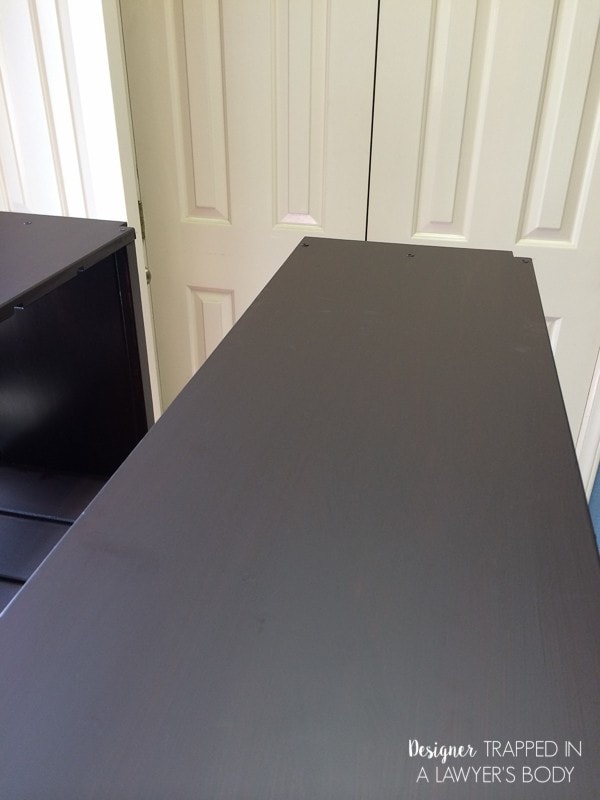
3) Allow the first coat to dry completely, following the instructions on the stain. Then apply a second coat again following the grain of the wood, which will give you complete, and gorgeous, coverage.
4) After your second coat dries, apply one to two coats of the High Performance Top Coat. This will add a bit of sheen and a LOT of protection.
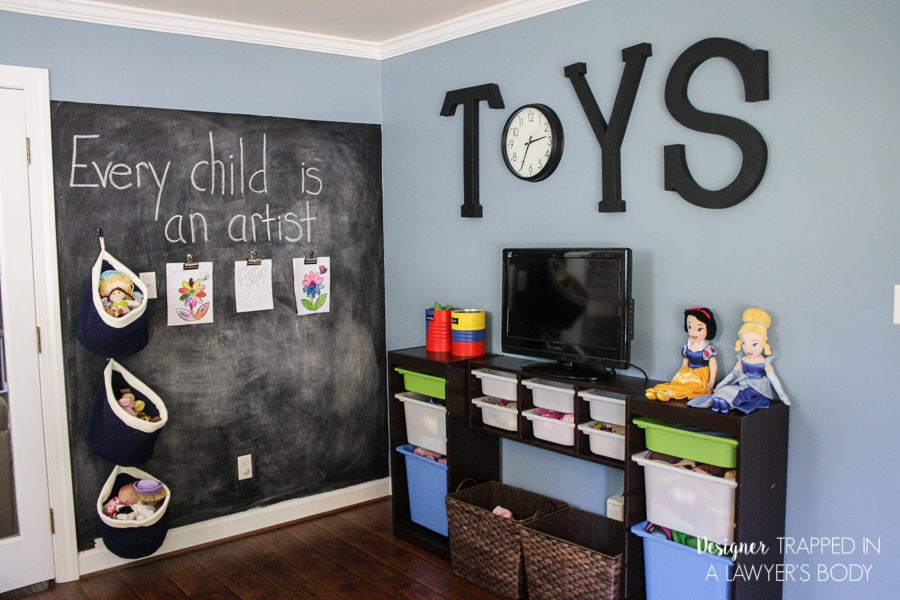
Allow the top coat to dry and then enjoy your new, updated look! How easy is that?! Check out our new look.
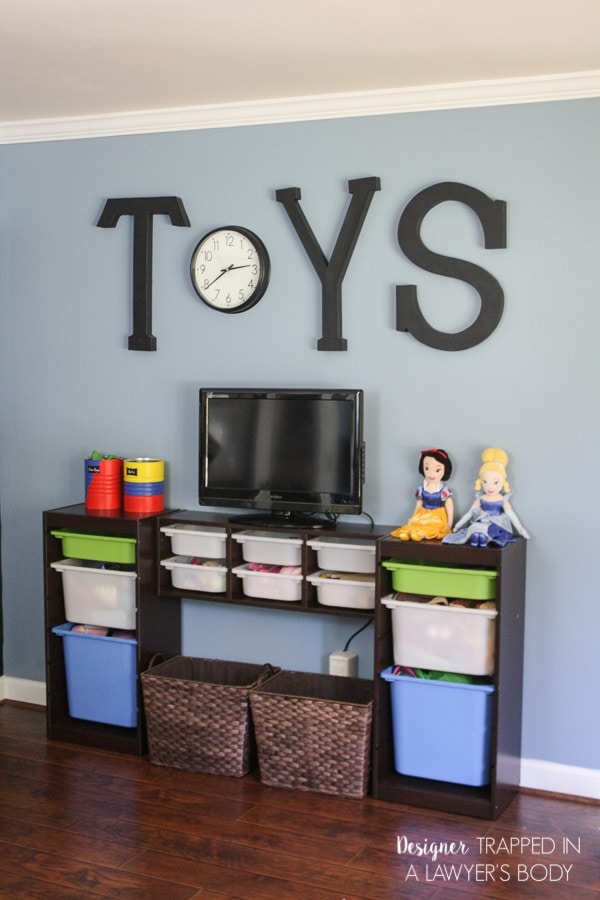
Now, how about a good before and after comparison for you?
|
|
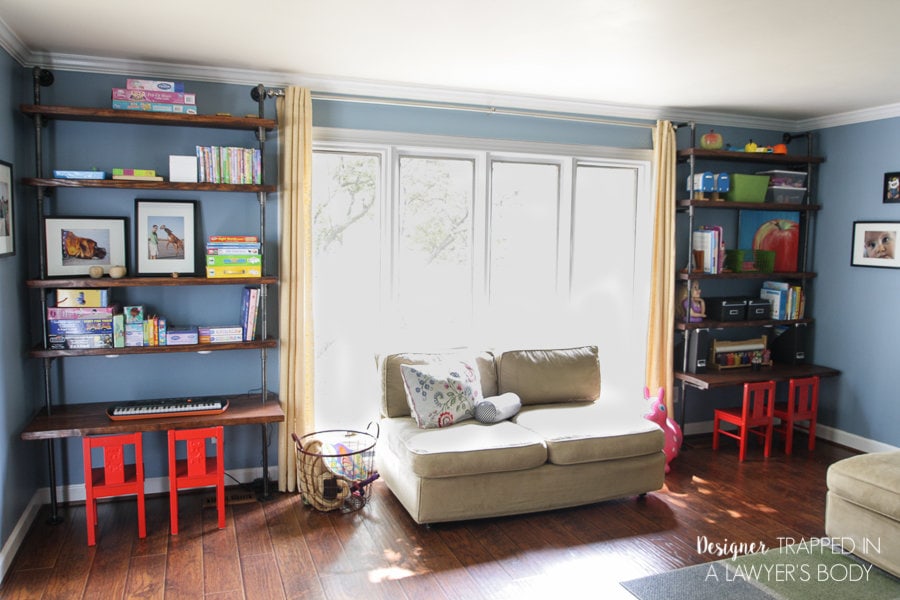
If you are curious about other updates we have made in the playroom, be sure to check out our DIY pipe shelves and desks.
Oh, and a post about that adorable hanging basket storage will be coming VERY soon. Stay tuned!
Be sure to check out my other kid related projects by clicking here–you are sure to be inspired!
[mv_create 1 11 200 2016 key=”1″ type=”list” title=”Most Popular Projects” thumbnail=”<a href=” https designertrapped com wp content uploads diy home decor projects blog jpg a]
We used this kind of technique on an old pine dressing table and chest of drawers. However, we used brushes to get a fake wood grain effect.
Such a cute playroom!! And I LOVE the “ToYS” letters! Where did you get the large letters? Any big letters that I have seen at stores are block style. I have also used the General Finishes Gel Stain on a honey oak bathroom vanity and it worked GREAT!! It was easy, looks great and it dried DRY! By that, I mean, no tackiness you normally get with latex paint. Thanks for the great blog!
The info for the letters is in this post: https://designertrapped.com/the-playroom-reveal! They are 23.5″ paper mache. Good luck!
How well has it held up? Like stain or more like paint?
It has held up beautifully!
I am staining the seat of a kitchen chair. No matter how many coats I put on there are one or spots that barely cover Any suggestion
Strange, Judy! It sound like there may be some sort of wax finish on that one spot. Try a wax wash remover on it and then try to apply the stain again. That’s my best guess!
DO you think this kinda pain will work on Ikea Malm birch color furniture?
I want to make it black.
I meant *Paint
Hi Divya! Is the Malm birch furniture solid wood? If so, this gel stain should work perfectly on it. If it’s laminate, it should work as well, but I would test it on a small are first. The Ikea storage system we updated was solid wood. I hope that helps!
This is right on time! So, you did not sand at all?
Nope, no sanding, Chi Chi! Hope that helps!
It does! Thank you. Our kitchen cabinets need something new and I do not want to paint.
Do you think this would this work on standard builder-grade kitchen cabinetry (rather like these: http://hgtvhome.sndimg.com/content/dam/images/hgtv/fullset/2011/2/11/0/HRMYM104_small-kitchen-builder-grade-cabinets_s4x3.jpg.rend.hgtvcom.1280.960.jpeg)? I loathe the orangey-tone to them and well, I’m lazy and don’t want to sand them, etc. LOL
Yes, Jenn! It would definitely work on those cabinets. You can also paint your cabinets without sanding or stripping–we painted ours and they were the exact same orange tone to start with. You can read that post here: https://designertrapped.com/2014/06/paint-your-kitchen-cabinets.html. I hope that helps!
Looks great but I’m wondering if it still shows the grain of the wood? Or is that something that gets lost when finished?
Is the geL stain available at Lowes or Home Depot or online only? Thanks!