How to Refinish Wood Chairs the Easy Way!
Last Updated on August 10, 2021
Refinish wood without sanding or stripping the existing finish!
This post is sponsored by Mohawk. All opinions are 100% my own based on my experience using these AMAZING products.
How to Refinish Chairs the Easy Way
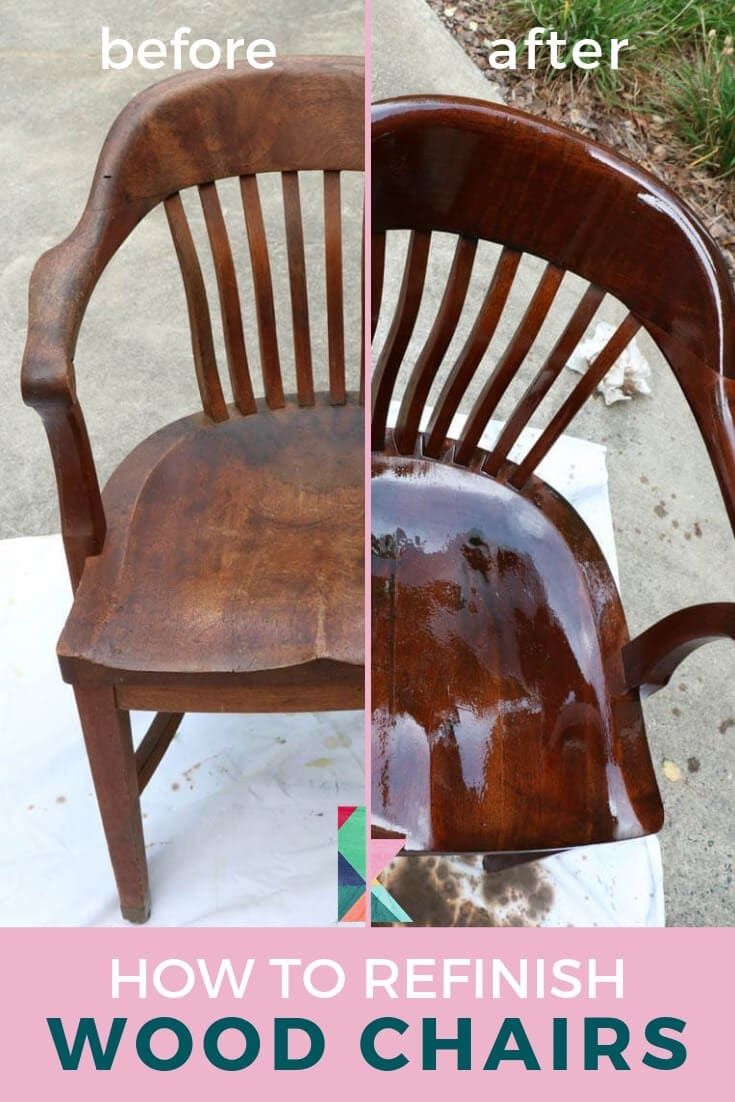
Hello friends! Oh boy, I am EXCITED about sharing this project with you! I am about to teach you how to refinish wood chairs the easy way, without sanding or stripping. I know, I know. You’re welcome :)
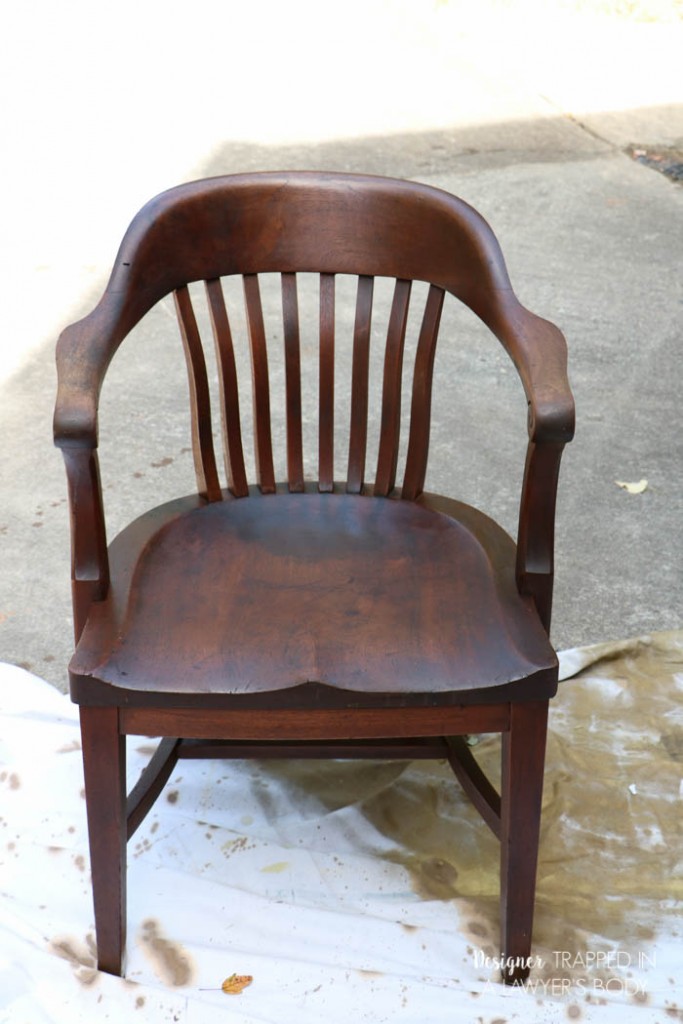
We were given these amazing antique banker's chairs from my mom several years ago. They have been in our family for several decades, but have mostly lived in attics for the last 15 years or so {insert hanging head of shame}. These chairs are high quality, solid wood and are a style that is pretty hard to come by. I am so excited to report that we FINALLY go around to refinishing these chairs because we found some amazing Mohawk products that allowed us to do it without sanding or stripping the existing finish. YAY! Refinishing these two chairs took me about 3 hours, start to finish. Easy peasy.
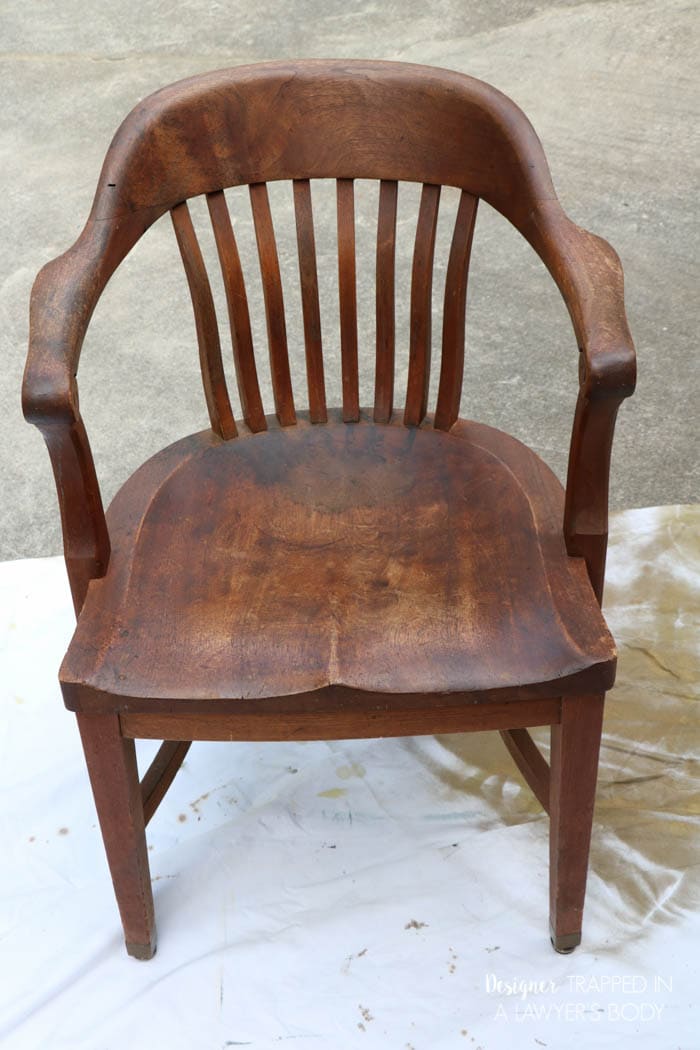
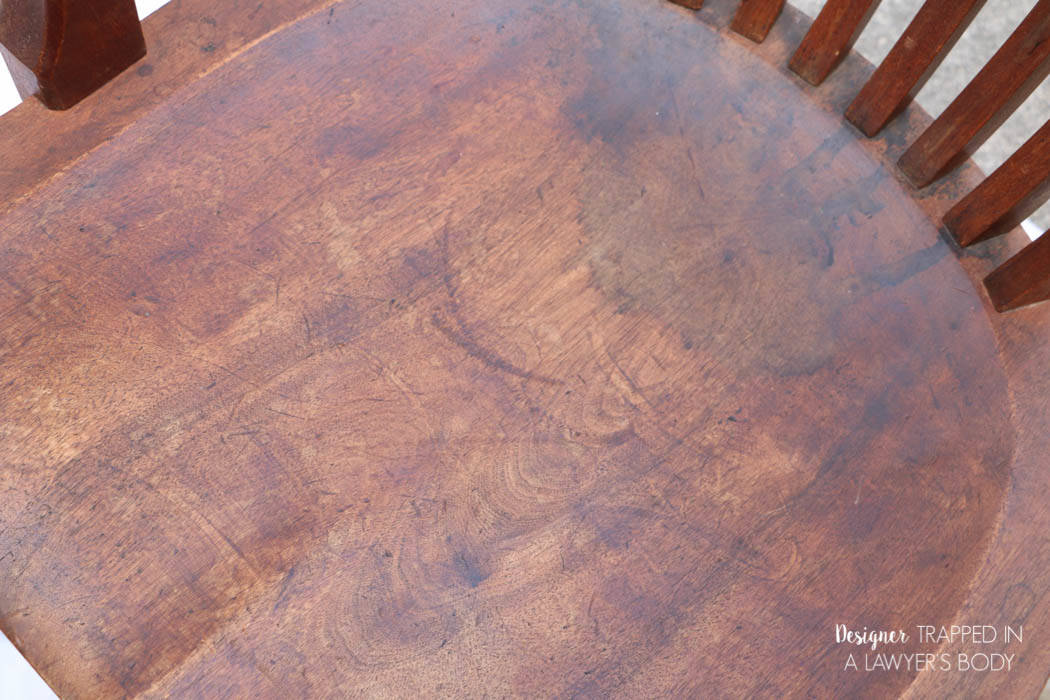
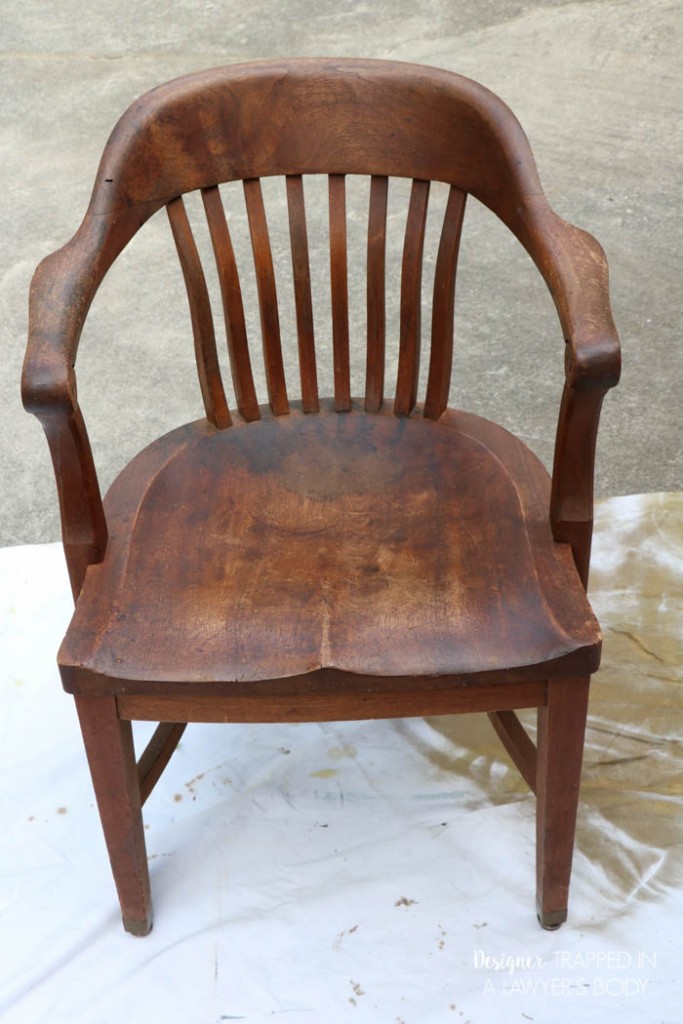
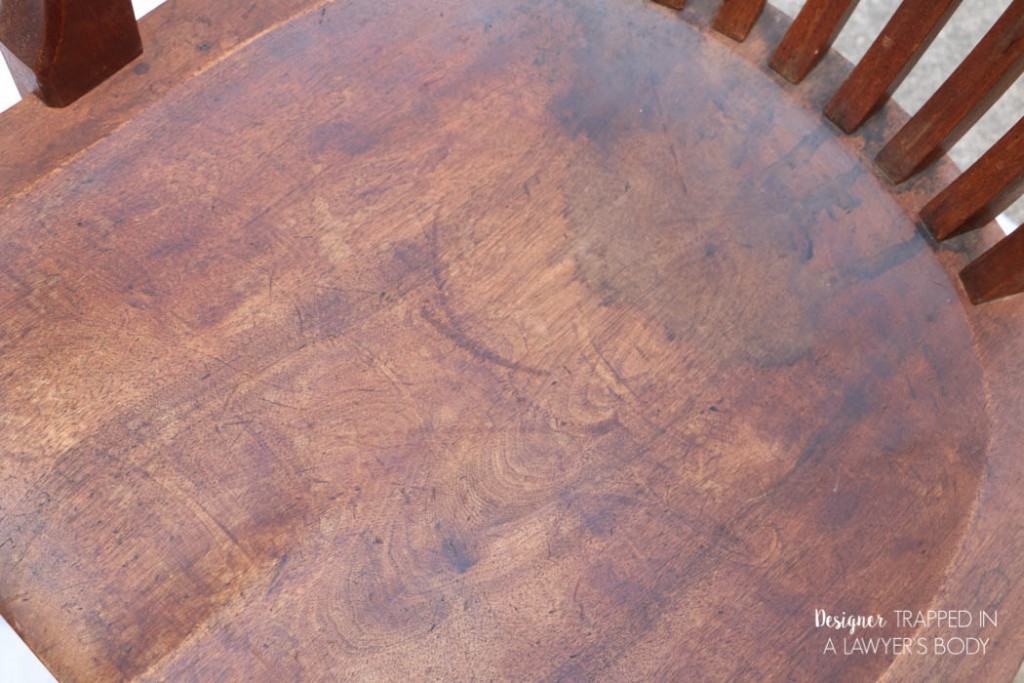
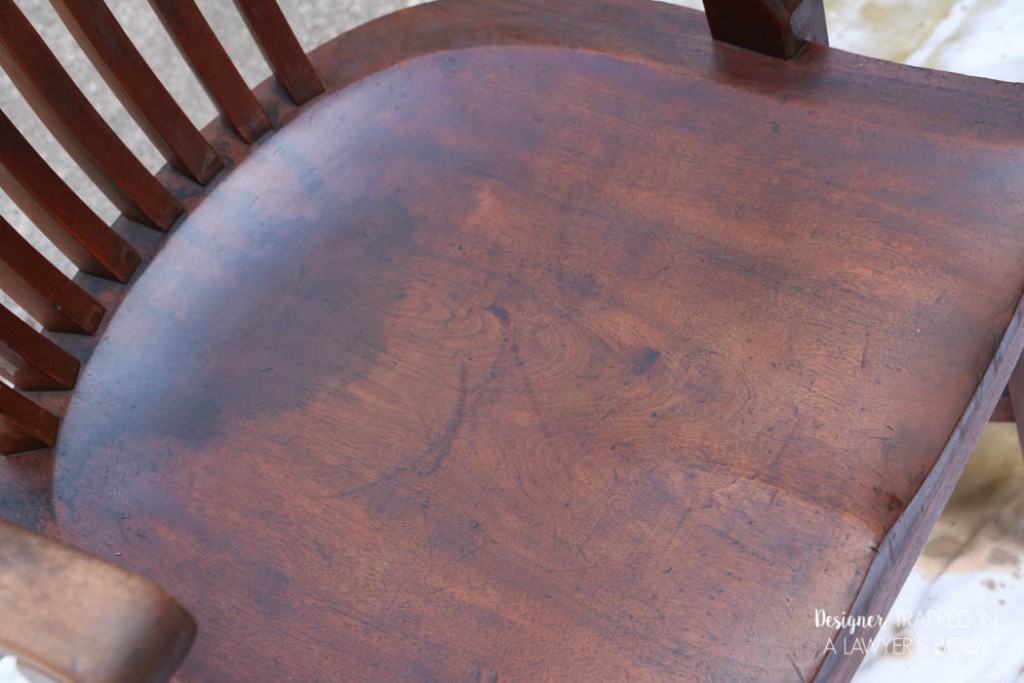
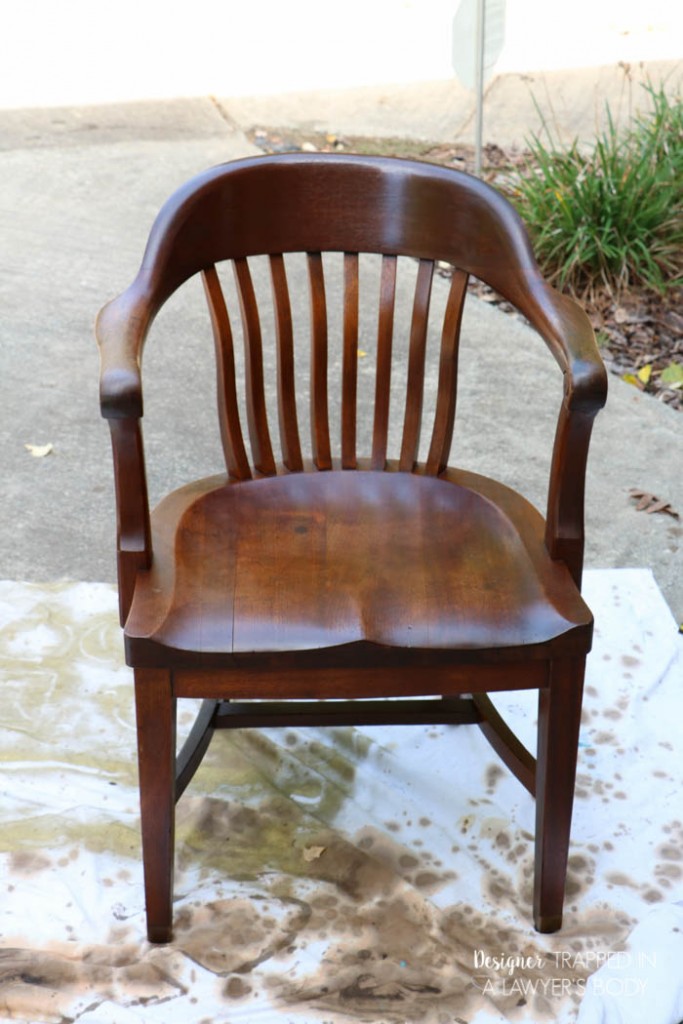
First, let me show you how these chairs looked before I refinished them. The first chair had a lot of staining and color variation on the seat and was definitely in need of some TLC.
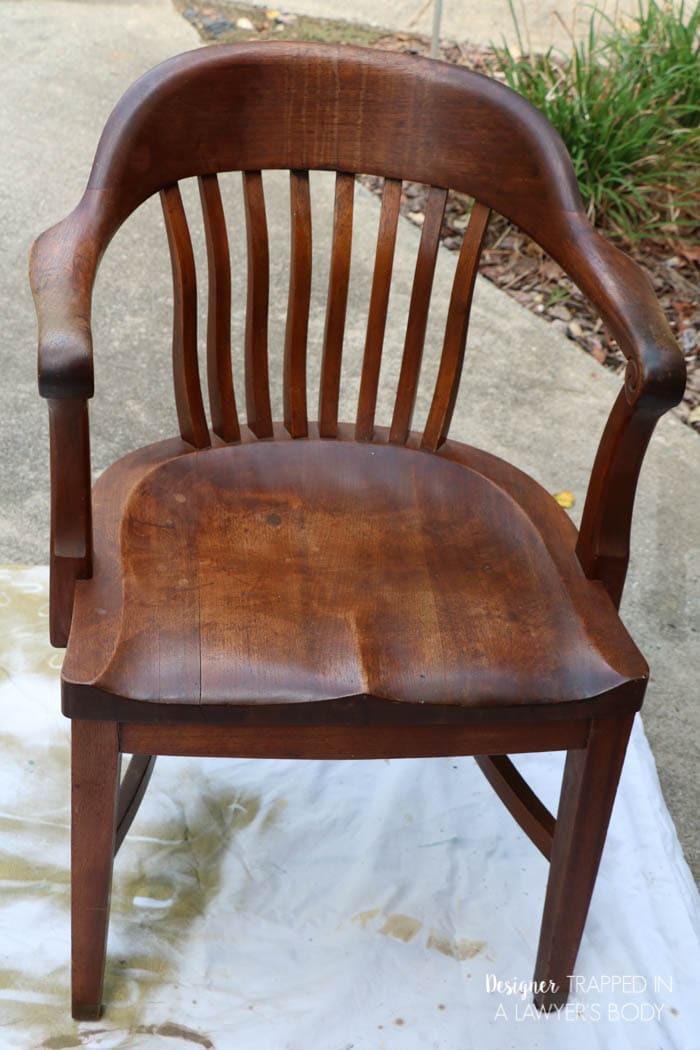
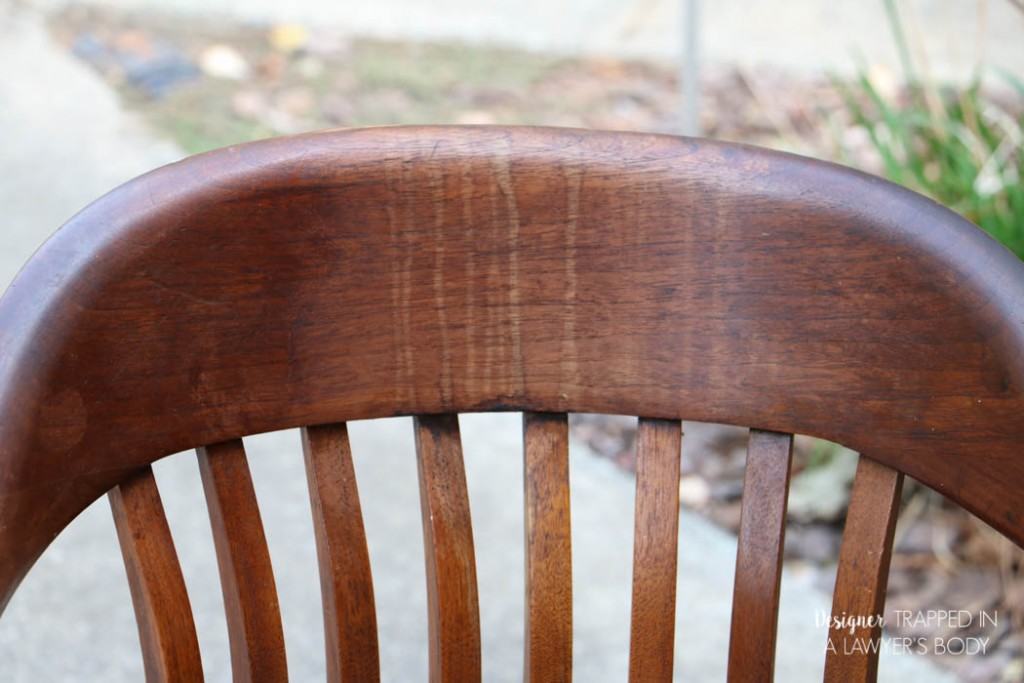
The second chair had better color overall, but had horrible drip marks on the back support piece.
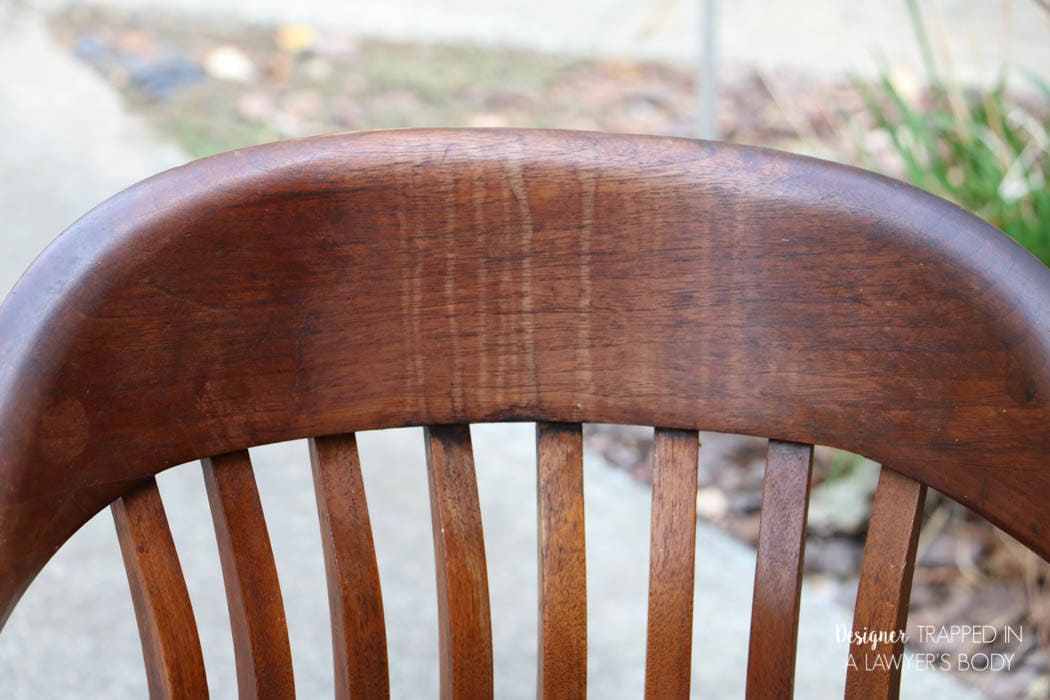
Now that you have seen what I started with, let me teach you how I transformed these chairs in about 3 hours from start to finish! This post contains some affiliate links for your convenience. Click here to read my full disclosure policy.
Materials Needed
I was super lucky to get to try out these professional Mohawk products {it’s a perk of being a blogger}! But, the good news is that Mohawk is launching a consumer line of all the products I used. Many of them are already available on Amazon already and the rest will be available very soon!
- Ultra touch-up marker
- Wax Wash Remover
- Wiping Wood Stain
- Brush Tip Graining Markers
- Satin polyurethane
- Water and vinegar cleaning solution {to clean the chairs}
- Paper towels
- Latex gloves
How to Refinish Wood Chairs
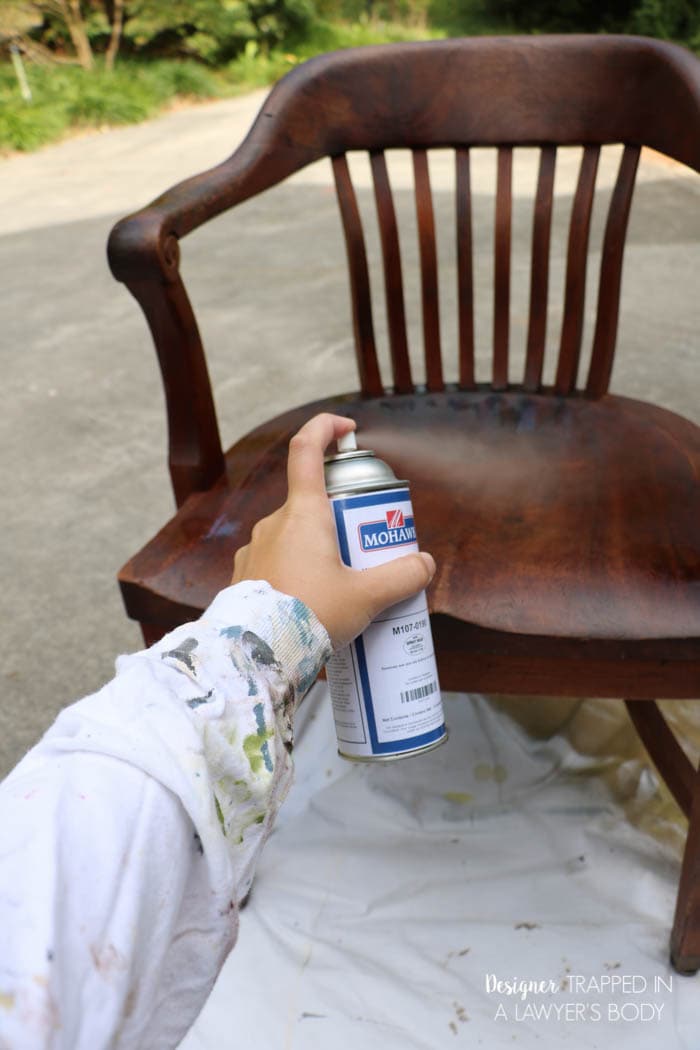
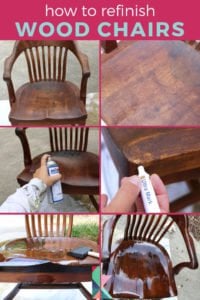
1) I started by cleaning the chairs very well with a water and vinegar cleaning solution that I made myself. Then I cleaned them again using Mohawk’s Wax Wash Remover to ensure that any wax finish that may have been on the chairs was totally removed. I simply sprayed it on and wiped it off. The spray does have let off some fumes, so work outside if you can.
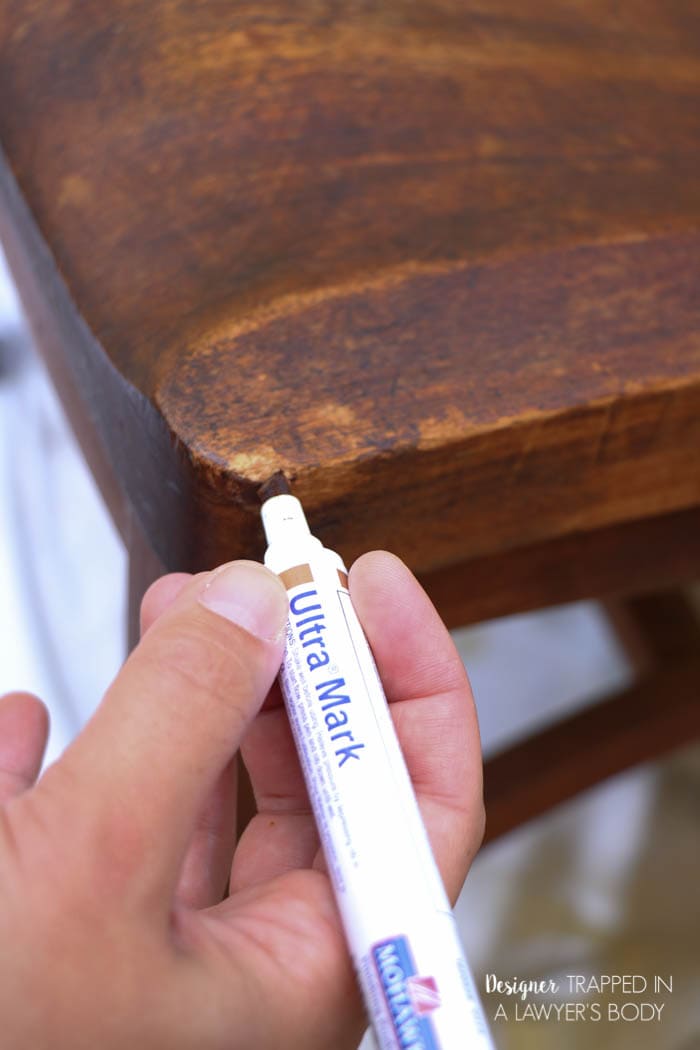
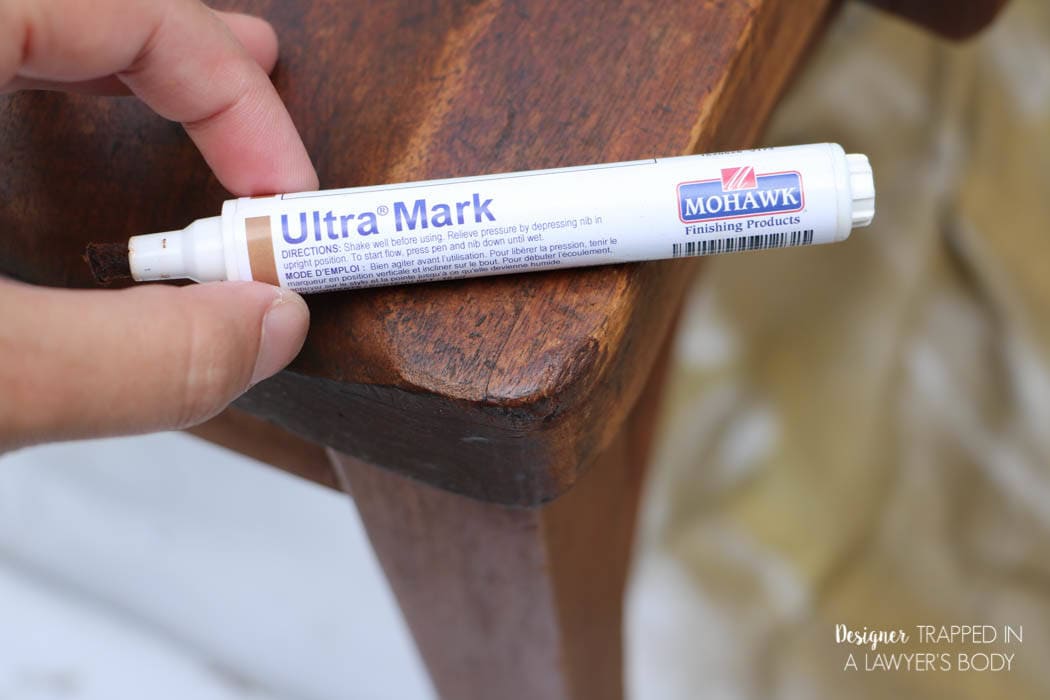
2) Then I touched up the worn edges with the Mohawk Ultra Touch-Up Marker. This part is easy! If you can color with a marker, you can do this!
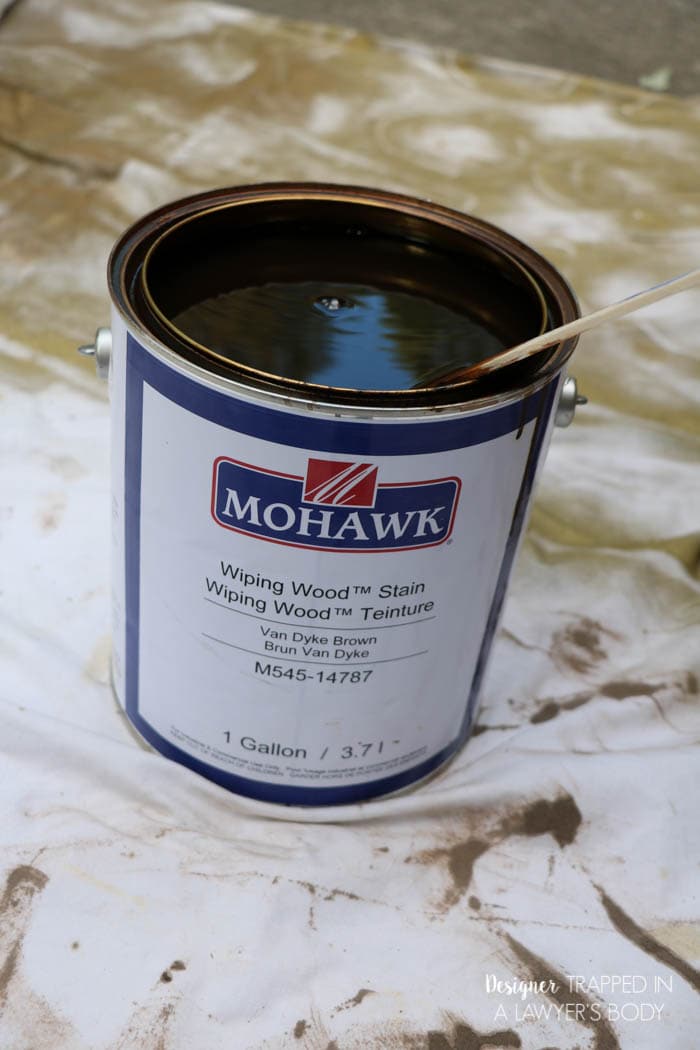
3) Next, it was time to stain! Y’all, this Mohawk Wiping Wood Stain is AH-MAZING. It’s very, very thin, so take care when working with it, because it does splatter easily. I painted mine on with a foam brush and wiped it off almost immediately with paper towels. I applied two coats to each chair. This stain lets off a lot of fumes, so again, be sure to work in a well ventilated area!
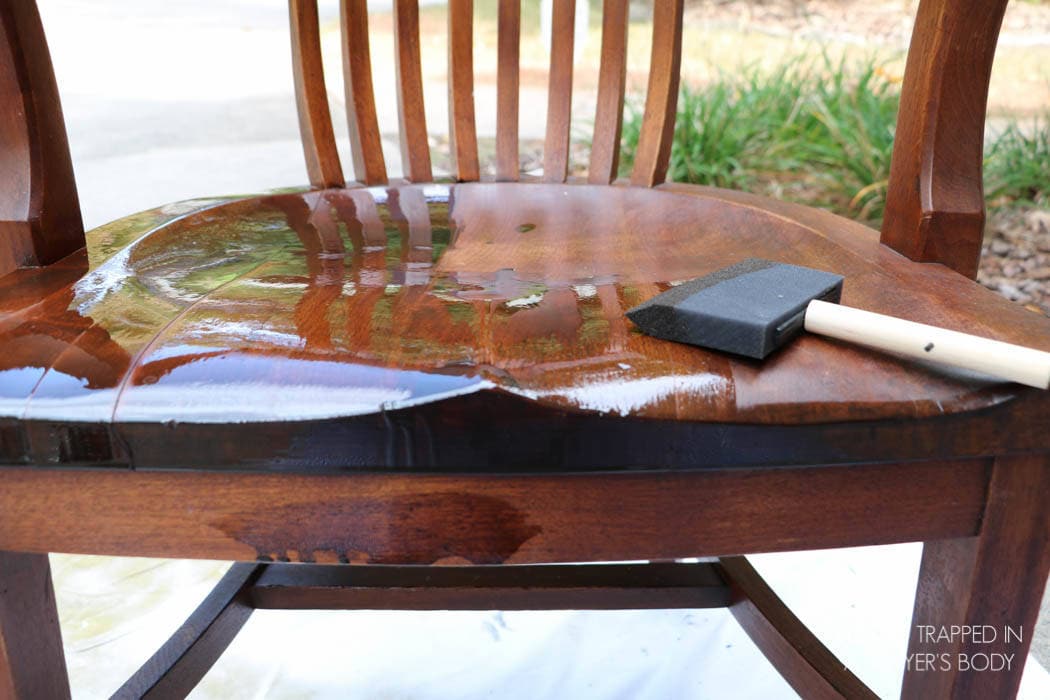
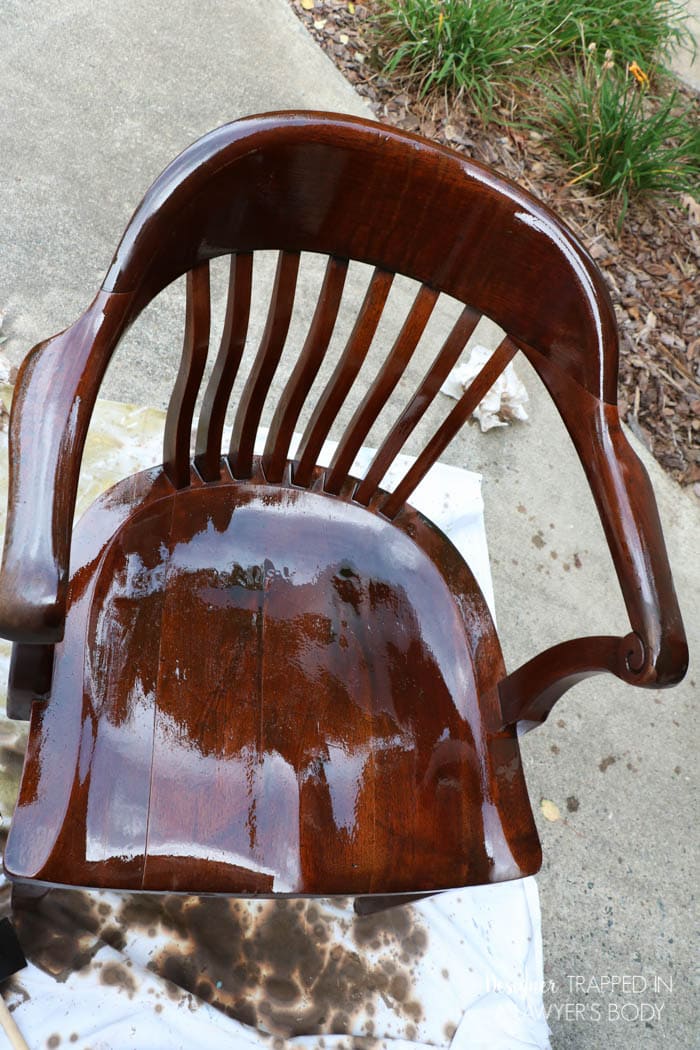
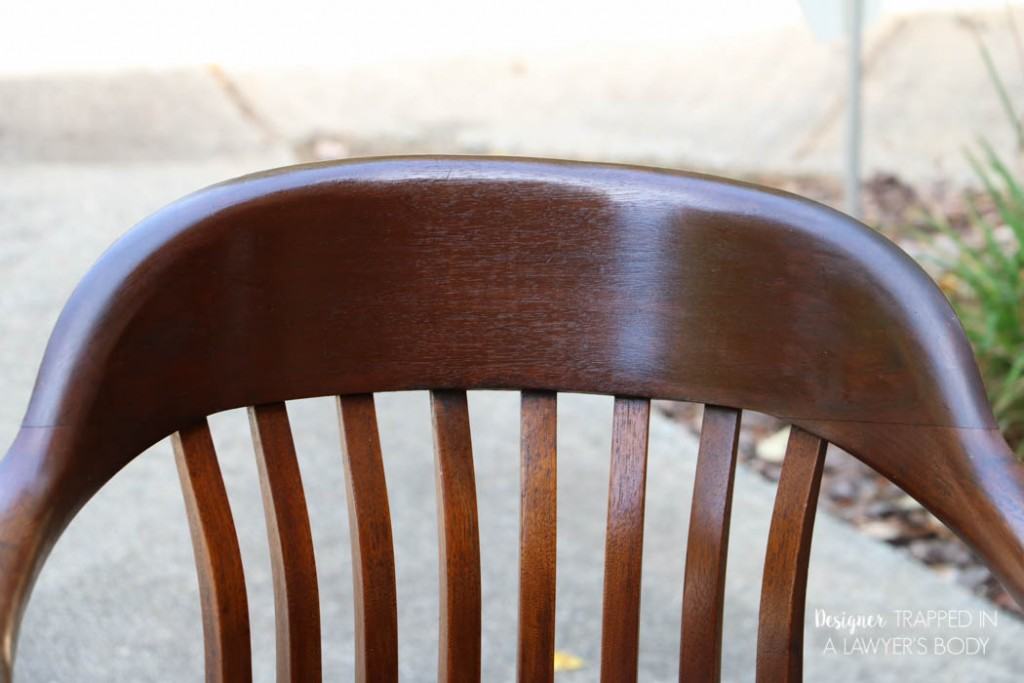
4) The drip marks on the back support piece of the second chair looked MUCH better after I applied two coats of stain, but they were still noticeable, so I used my brush tip graining markers to camouflage them a bit more. The photo below is after I feathered on the wood grain marker stain–I quickly wiped the excess off with a paper towel. Then I applied more stain to the back support pice.
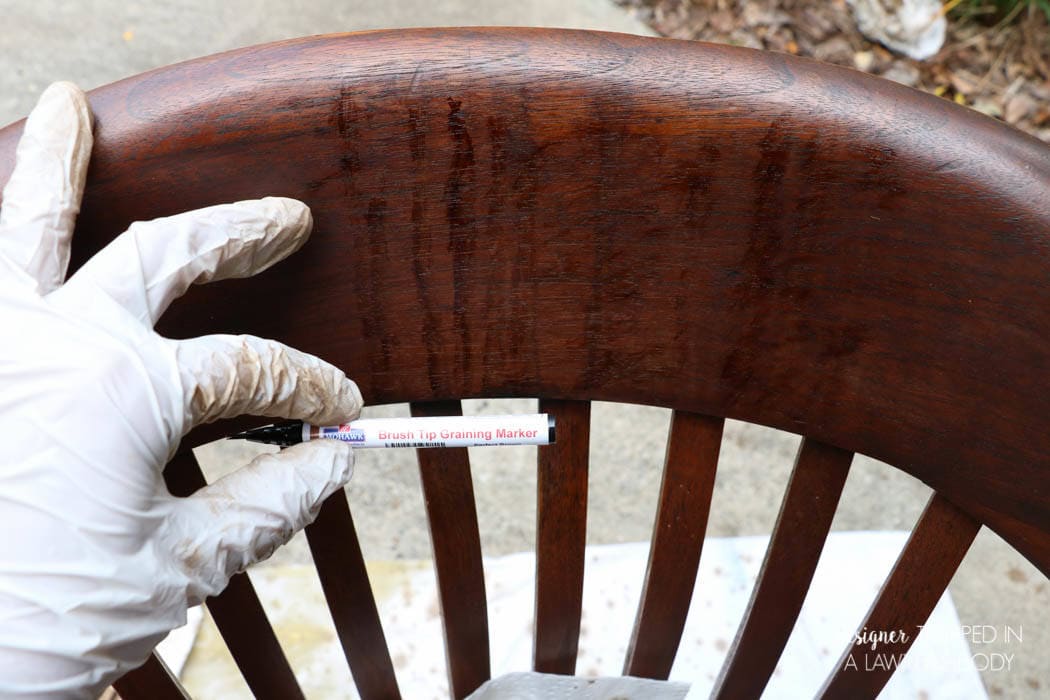
5) Finally, I applied a coat of oil-based satin polyurethane to each chair.
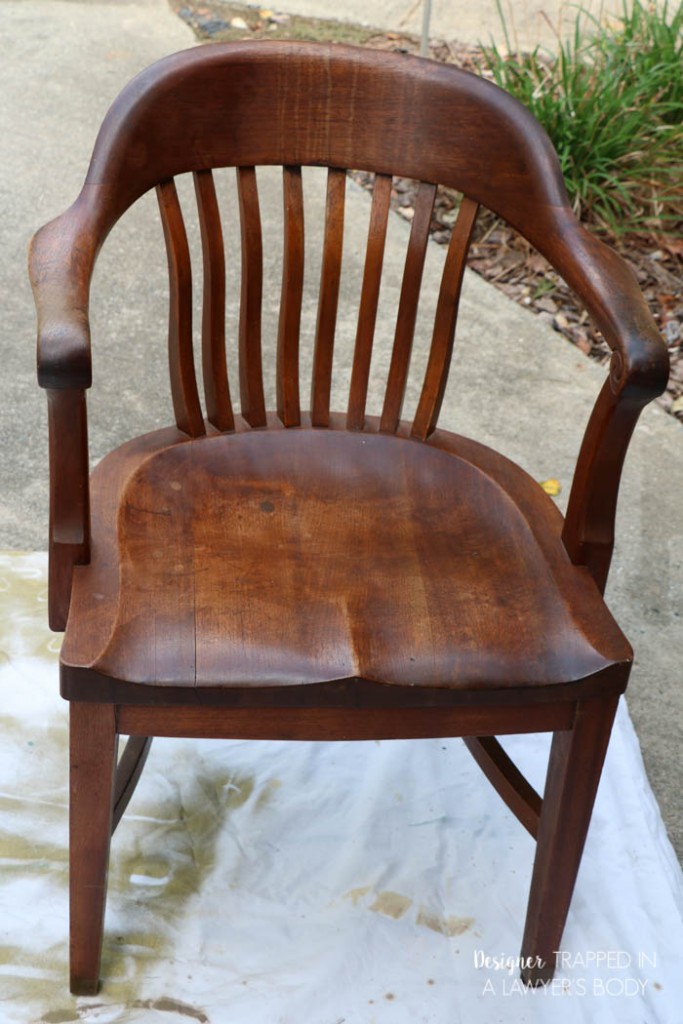
Voila! They aren't perfect, but perfection isn't really my thing, y'all. These are ANTIQUE chairs so I did not want to erase all imperfections and signs of age. If I wanted brand new chairs I would have purchased brand new chairs. Instead, I wanted to enhance their antique beauty, and that's just these products allowed me to do. Check out the final results.
Chair # 1
|
|
|
|
Chair # 2
|
|
|
|
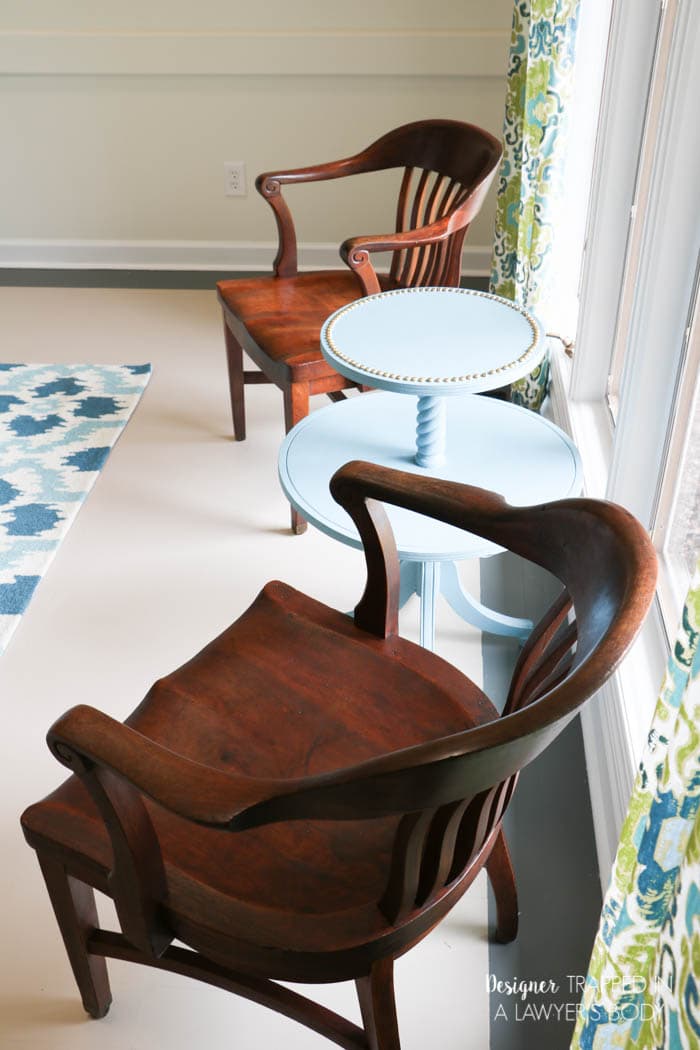
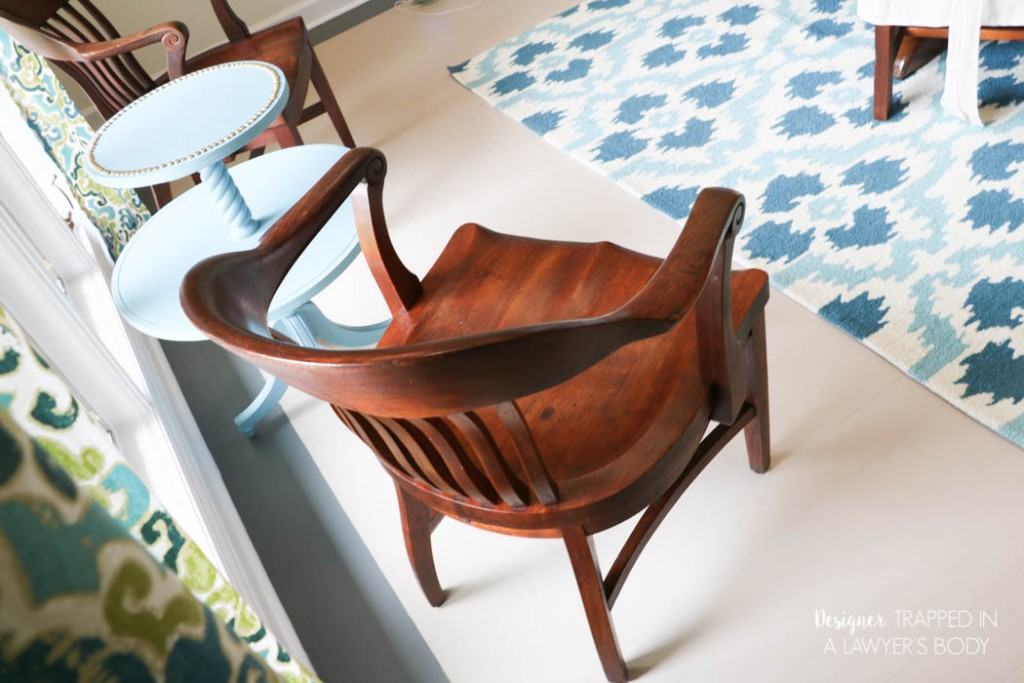
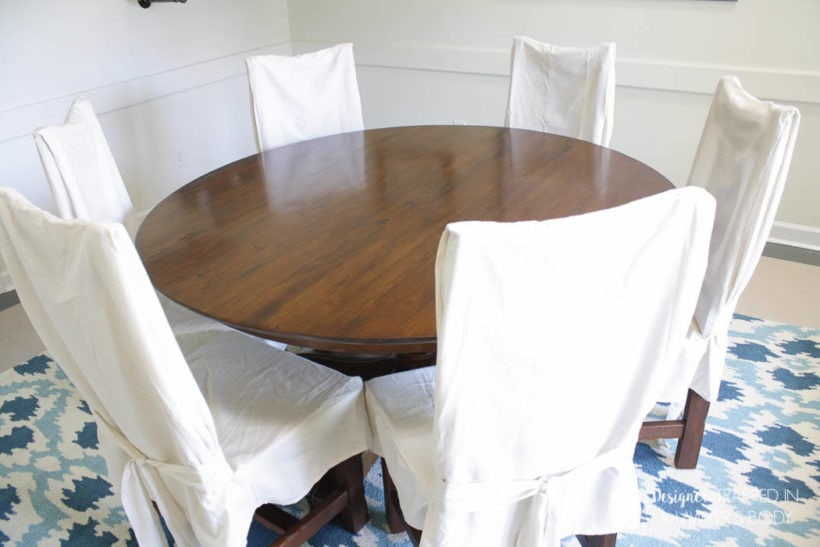
These gorgeous chairs now have pride of place in our dining room, which we recently made over {you can check out the full dining room makeover here–note that the photos in our dining room makeover post were taken BEFORE I refinished these chairs}. With about 3 hours of work, these antique chairs have been given new life. Don't they look beautiful in front of our large dining room window?
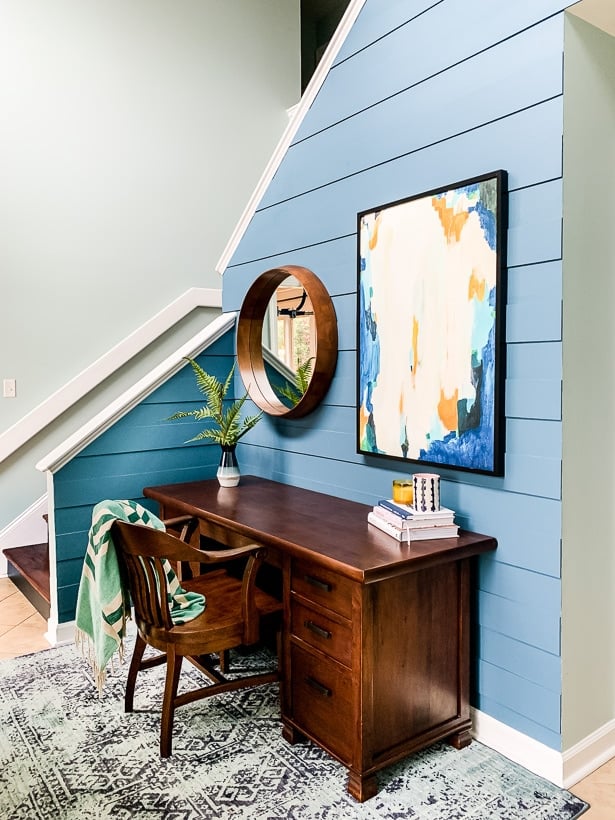
After we gave our dining room a makeover, we moved our beautiful chairs to other spots around the house. We are using one in the foyer and it looks perfect with our antique desk.
If you enjoyed this post, check out how we refinished our dining room table using similar methods in this post.
[mv_create key=”1″ type=”list” title=”Most Popular Projects” thumbnail=”<a href=”]


I love it when people restore the old items which were so well made and have so much history.
Thank you Janet!
Beautiful! These turned out just lovely. Thank you for the instructions. So helpful!
Thank you, Susan!
Great job
Amazing work, I am so glad to see the chairs refinished to their original state, and not refinished with paint. So tired of starting a refinishing article and then being disappointed at the end with the piece being painted and sanded in spots.
Thanks Tammy! We love how beautiful these turned out.
Thanks. Your chairs look great. I am going to try it out. Now, what about the adorable blue table between the chairs? Is that also your handiwork. If so would you please share?
Yes it is Rachelle! Here is the link to that post: https://designertrapped.com/new-life-for-an-old-table/ Thanks for reading!
That’s great, but 2 things. 1, I have chairs I want to change the color of and 2, I have another chair that is painted with thick black paint and most likely a sealer as well. Any suggestions on that?
You need to strip the paint off and follow a whole different process and I have never written about that! Sorry, thanks for reading.
Very nice! It’s nice to see old wood furniture saved. I’m looking up the Mohawk Stain
Thank you Mike! The Mohawk Consumer products are wonderful!
Tasha, The chairs are beautiful. What a great time saver and the chairs came out so beautiful!
Thanks you so much Heather! I am so glad we were able to beautify these chairs again. They are very near and dear to my heart since they have been in our family for so long!
I am SO doing this! I tried one kitchen chair using a product and method many, many on pinterest said would work over existing but cleaned stain and it was a MAJOR PAIN…took tons of product and effort to get only so so results. I now have one chair done, two chairs stripped and 3 more au natural (filthy/old/gross). ..and they’ve all been in this state for almost two years since that’s how long ago I gave up! :) Thanks!
Gorgeous job! They look great but still have a lot of character.
Thanks for linking up with us on Throwback Thursday – we appreciate it, and are always looking forward to next week’s posts, too!! :) I’ll be pinning to our board, too, so be sure to follow us there.
Mollie
I want those chairs! Beautiful job. I have never heard of Mohawk products. Are they carried at any stores or just online?
Hi Kaylor! They may be carried at some woodworking stores, but purchasing them on Amazon seems to be the best best :)
They look beautiful! What a big difference with a little TLC.
Thank you Anika!
Nice job the chairs look gorgeous! Thanks for sharing on craft schooling Sunday, great to see you back at the party.
Thanks for the great tutorial. I can’t wait to get started. I noticed the new stain appears to be a similar color value and the overall look is great. Can this same process be followed if one wanted to change the color value, say to more of an ebony or dark pecan?
Thanks again!
Hi Rebecca! Thank you! This method is best for maintaining the original depth of color. That said, I do think using a wiping stain with a different undertone of color could help you tweak the color a bit, but not dramatically. I hope that helps!
Oh wow! What a difference just a little TLC makes!
Thanks so much, Heather!