DIY Fireplace Mantel With a Driftwood Finish
Last Updated on August 10, 2021
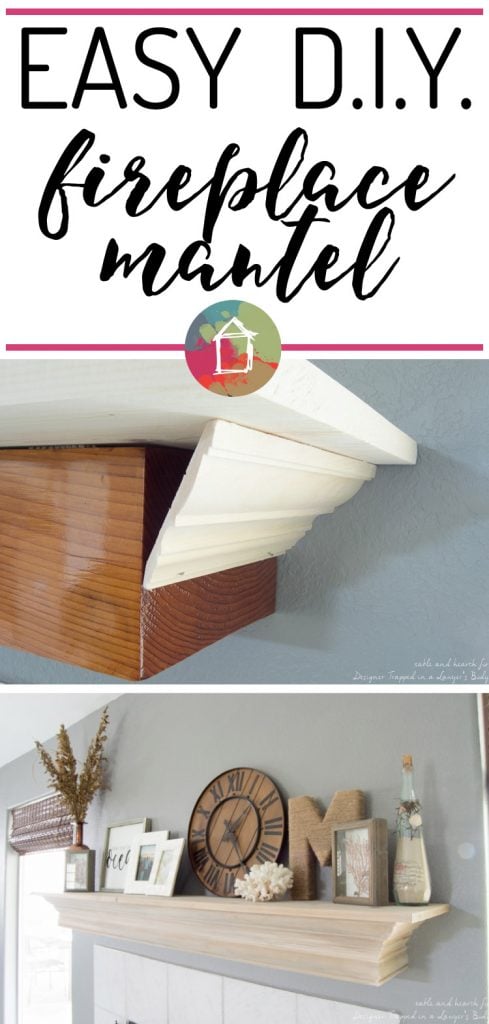
Hello again DTLB readers! Emily from Table & Hearth here and I'm back again to share another one of my favorite projects with you guys. Y'all get all of my favorites :) This month I am going to show you my DIY fireplace mantel update. I want to share how I finally got rid of one of the biggest eyesores in our home – our super orange-y boring mantel! It got a beautiful makeover with some simple molding and an awesome way to create a weathered driftwood finish.
The mantel in our living room was just a 7″x7″ square beam of pine stained with a TON of lacquer so that it had a strong shiny orange tone to it. There wasn't anything special about it and it definitely didn't blend with our neutral, light, coastal style. I really didn't want to strip and refinish it and felt that it needed to be beefed up anyway. I hated that it was the same width of the tile around the fireplace.
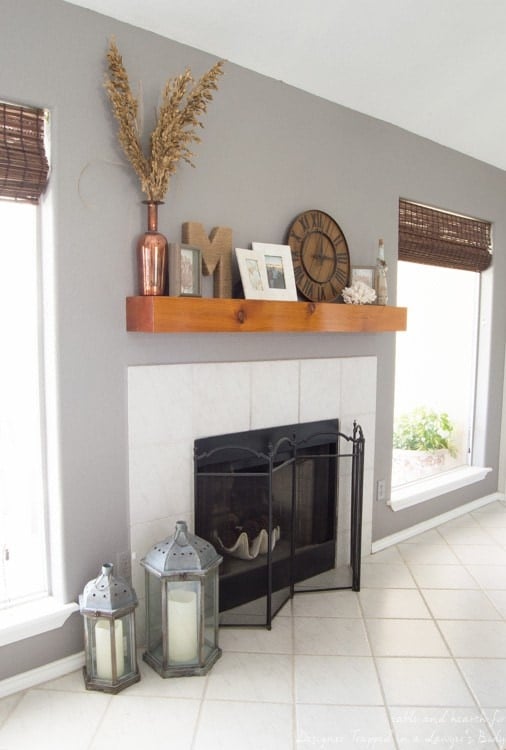
I took some measurements and found that if I could easily find a wide enough top board, I could use some crown molding as well as some flat molding to wrap the whole piece. Hence, this DIY fireplace mantel project was born! The orange mantel's day was numbered. Read on to learn exactly how I did it. This post contains some affiliate links for your convenience. Click here to read my full disclosure policy.
DIY Fireplace Mantel Tutorial
Supplies for this DIY fireplace mantel:
- Tall pine crown molding (~3″ or more)
- Pine flat trim (mine was a chair rail molding, but just browse around and see what will work with your crown)
- Pine project panel board (mine was 3/4″ x 12″ x 72″)
- Power sander (this is my favorite one and what I used for this project–it's cordless!)
- Brad nailer (this is the best brad nailer ever–no air compressor needed)
- Wood filler
- Compound miter saw or handsaw with a miter box
- Driftwood stain – I used Weatherwood Stain in Reclamation
- Top coat – I used Weatherwood Stain's White Maintenance Oil
Steps to make this DIY fireplace mantel:
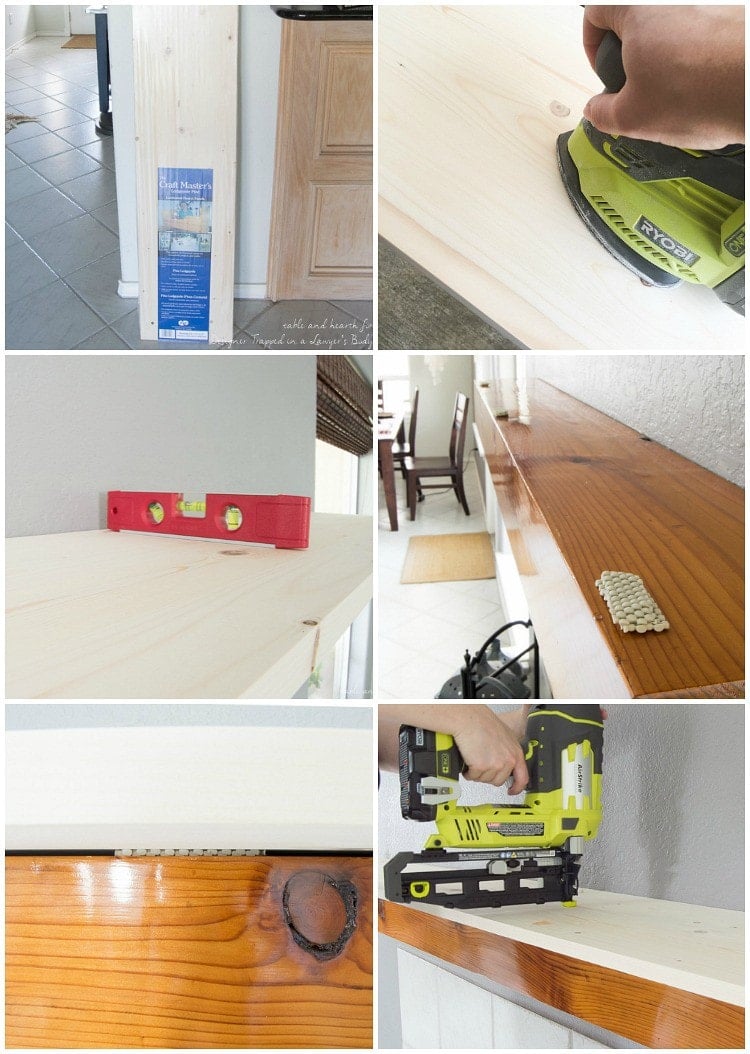
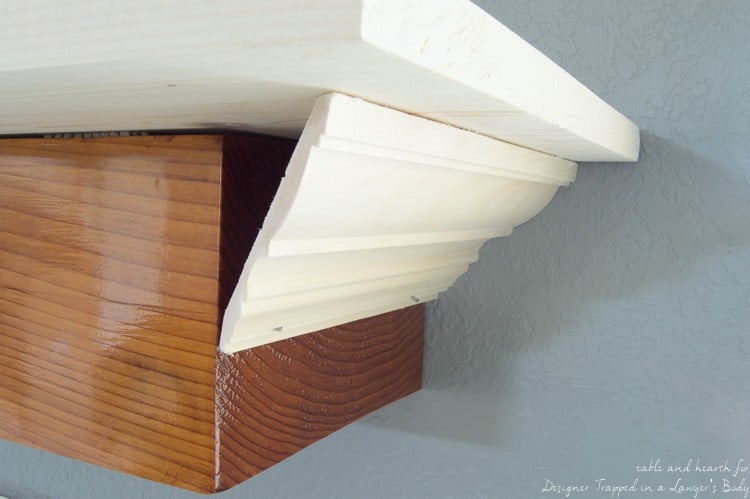
I started by thoroughly sanding the wood project panel to get it ready to attach to the top. The original mantel was not level. It slanted about 1/4″ towards the front so to help get the new top to sit level, we devised super high-tech leveling devices in the form of strips of non-slip grip material placed at the front :) We placed the new wood panel on top of the old mantel and leveling devices. Once it was centered and level, I secured it with my brad nailer.
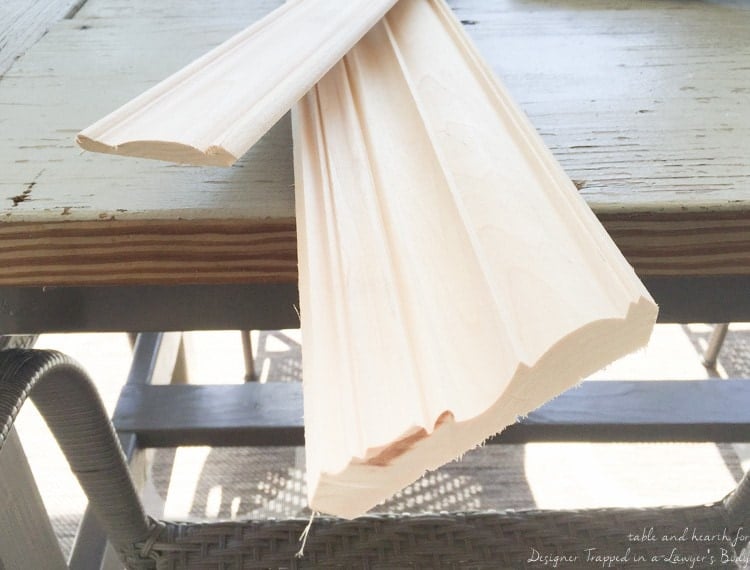
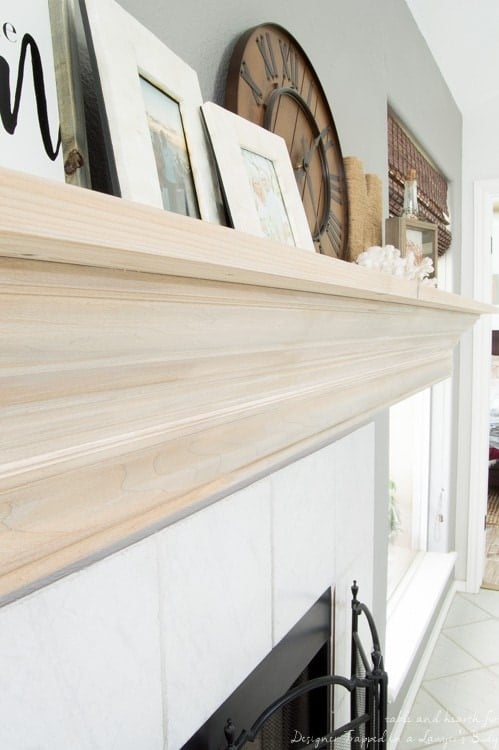
I used wide crown molding as well as a flat molding to wrap around the old mantel. Having the two separate pieces made it easier to cut the pieces. The crown molding requires cuts to be beveled and mitered, whereas the flat molding just gets a simple straight 45 degree cut.
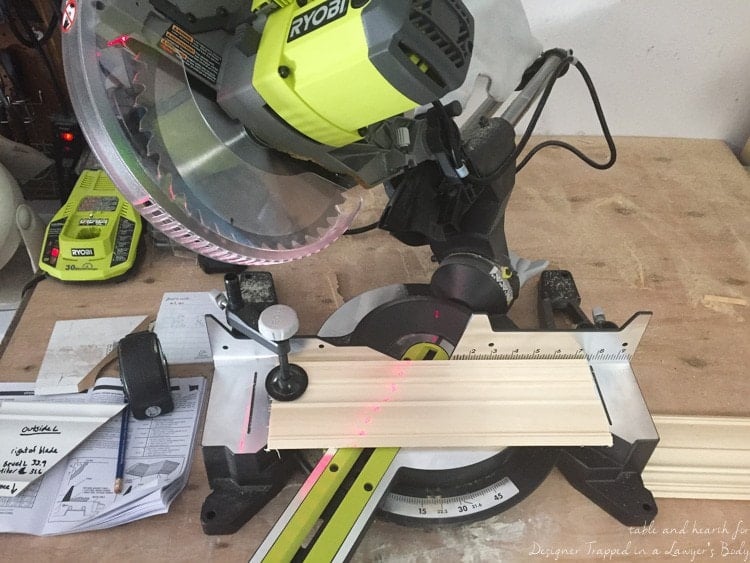
After a little crash course in crown molding miter cuts and a few scrap pieces to practice on, I started cutting my crown for each side. Definitely, definitely, definitely practice these cuts if you've never worked with crown molding before! I had never cut crown molding before, and I definitely wasn't a math major, so it took me quite a few tries to get the hang of it and visualize how the pieces come together. It was cheaper to learn it on inexpensive pieces of “practice” crown molding than the unstained pine I actually planned to use on the mantel.
Once I felt comfortable with my cuts, the real work on this DIY fireplace mantel began. I cut all three pieces of the good molding and dry fit them into place to make sure they fit together nicely once on the mantel before nailing them into place. I carefully hammered in any nails that were sticking out then filled the holes and any slight gaps with wood filler.
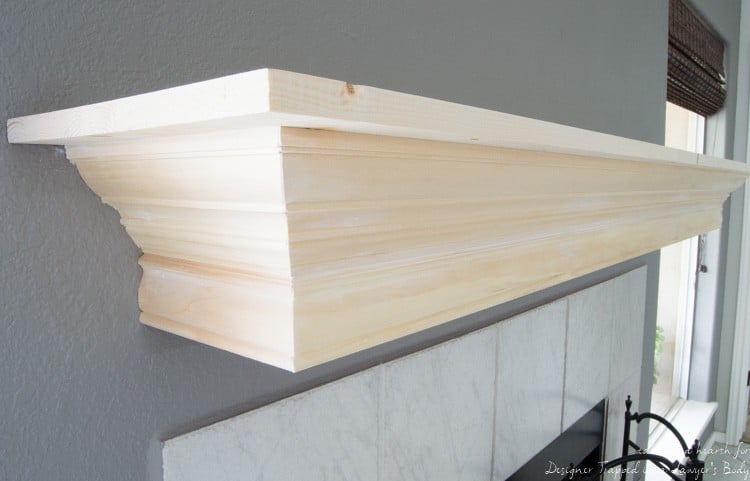
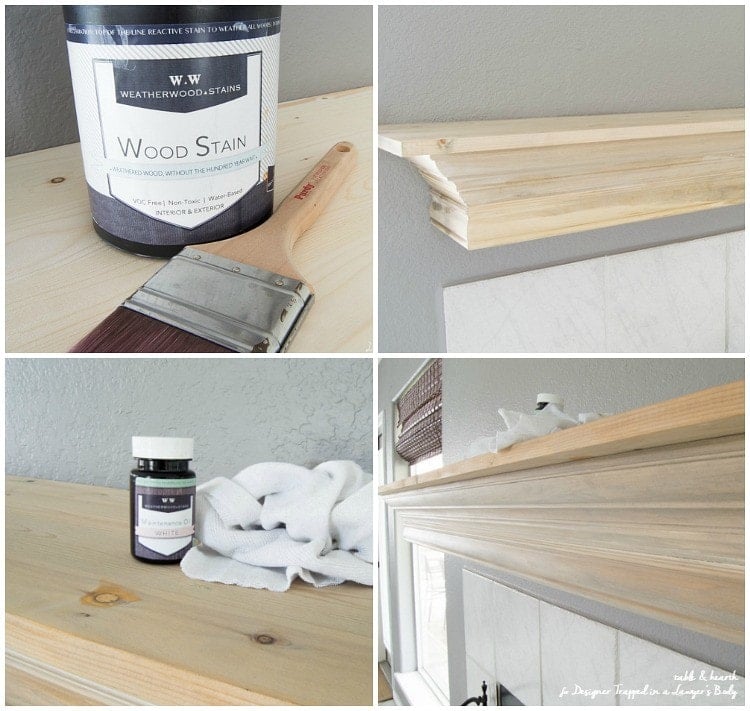
Once the wood filler was all dry, I sanded around the nail holes and vacuumed up the dust to make sure the wood was free of debris. Then I applied the stain evenly over all my DIY fireplace mantel. Weatherwood Stain is hands-down my favorite way to get a gorgeous driftwood finish on new wood. It is a reactive stain and creates different shades of weathering based on what species of wood you're using. Pine (which I used for this project) turns into a subtle gray that literally changes right before your eyes. It is SO cool! After the initial coat, I reapplied a little more to areas that didn't gray as much the first time around. Then I let it dry for a few days before wiping a coat of Weatherwood White Maintenance Oil over everything. The oil gives the wood a beautiful subtle white-wash finish and also seals it nicely.
The project only took an afternoon to complete and we now have a beautiful DIY fireplace mantel with a driftwood finish that we love. The mantel is now bigger, wider, and so much more our style! Sure beats stripping, sanding, and refinishing.
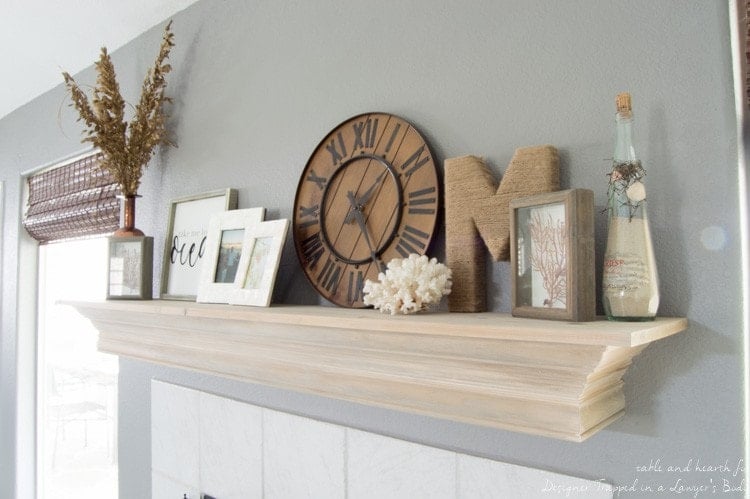
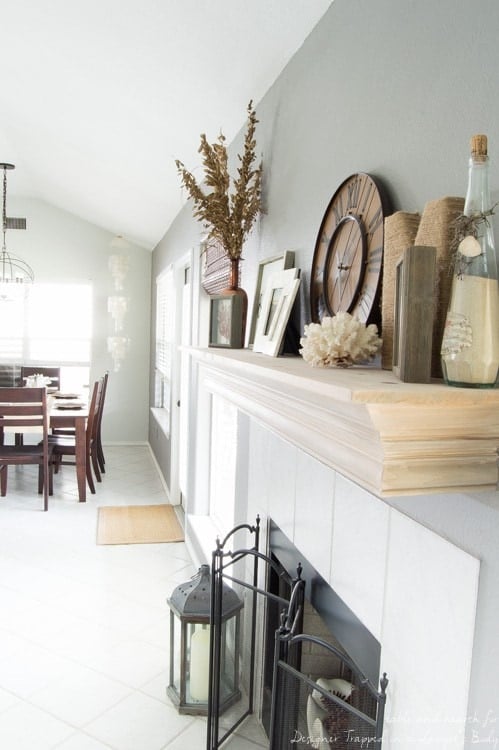
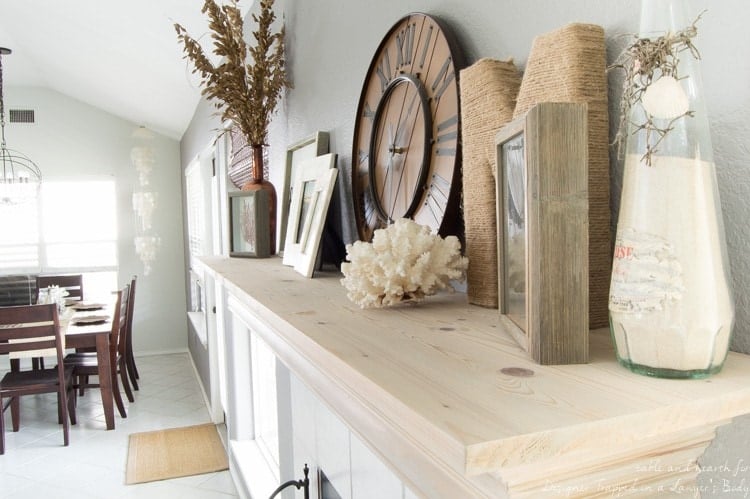
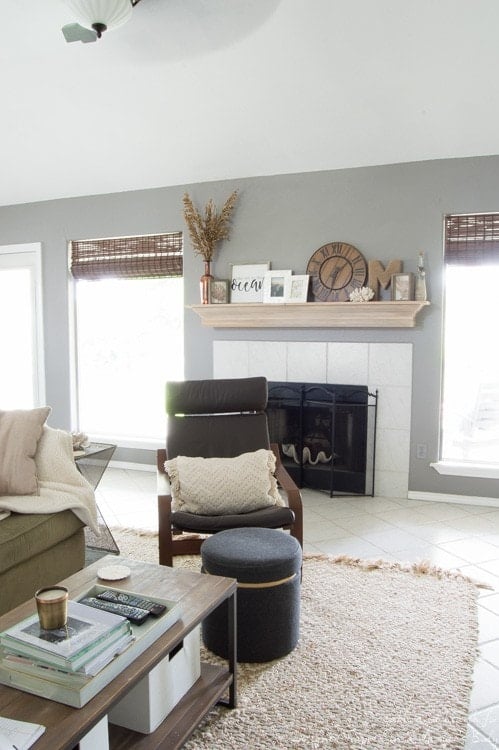
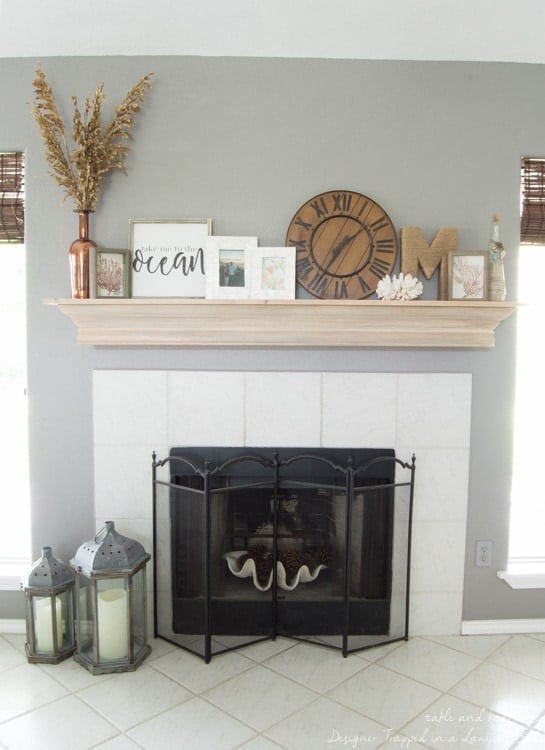
I hope this DIY fireplace mantel makeover helps any of you who may have the unsightly orange bar, or something similarly outdated! It really is a quick and easy update that will make it more your style and a much prettier focal point. I am SO happy to have this bigger and prettier mantel that blends seamlessly into the rest of our decor and it was a lot easier to do than I had anticipated!
Have a great summer and I'll see you guys again in a few months! I'd love it if you visited me over at Table & Hearth or on Facebook, Instagram, Twitter, or Pinterest too, and if you loved this project you'll probably also love these projects (click on each photo to see the post full posts on my blog):
 |  |  |
If you love this post, be sure to pin it so that you can refer back to it later!
[mv_create 1 11 200 2016 key=”1″ type=”list” title=”Most Popular Projects” thumbnail=”<a href=” https designertrapped com wp content uploads diy home decor projects blog jpg a]
Thank you!! This answers the question I’ve been searching for! I hate my mantel. I am totally coming to this blog to copy you, so don’t take it down. I’m bookmarking it!
Awesome Esther! Good luck!
Yay Esther!! We lived with ours for wayyy too long, especially given how easy this was to update it :) Good luck!
Great job, I like the technique of wrapping an existing mantel with a quality trim.
Thanks!
MUCH easier than ripping it out and building a new one! Thanks Andy :)
It’s absolutely GORGEOUS!!! LOVE that weathered finish!
Thank you Kristi!!
Great job on the miter cuts! Looks FA-U-LOUS!
Thanks for reading Donna!
Thank you Donna! They took a little trial and error but I’m happy with how they came out!