How to Make a Barn Door Style Fireplace Screen
Last Updated on May 21, 2019
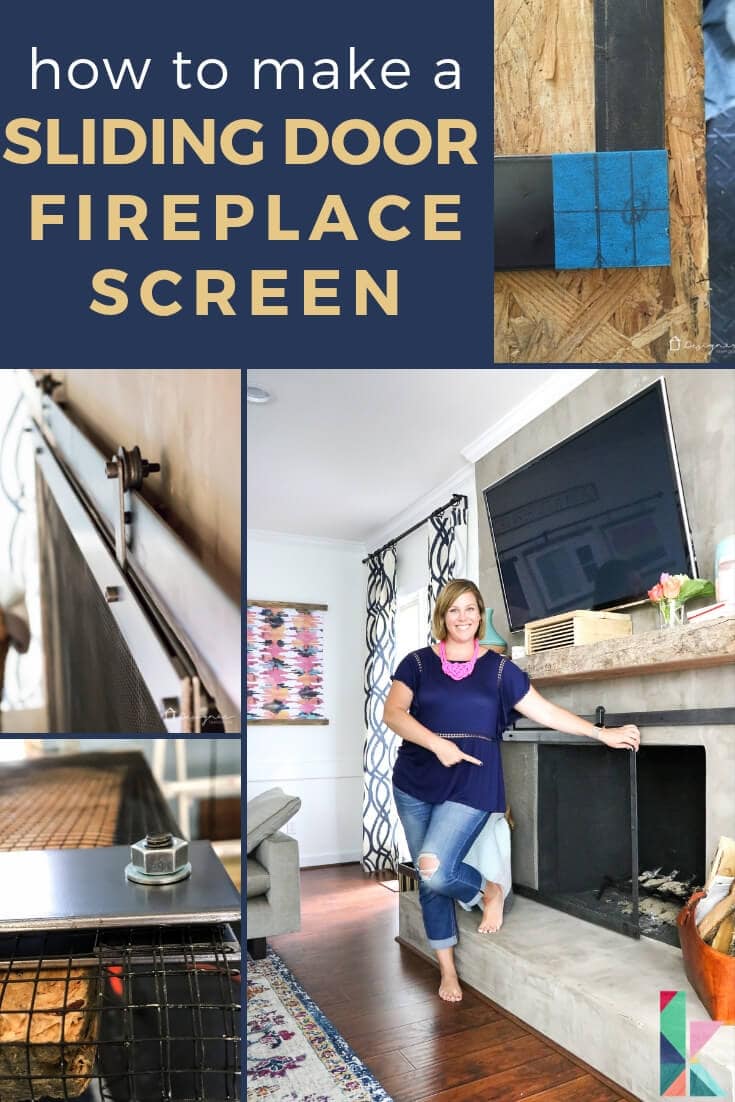
Wondering how to make a barn door style fireplace screen? You have come to the ONLY place that I know of to teach you how to do it. As far as I can tell, this is a totally original DIY tutorial that I am super, super proud of :) I will warn you that this tutorial is long, but it's not because the project is particularly difficult–it just has a lot of steps to explain. So don't be scared off. You can totally do this!
First, let me show you the image that inspired this project. I stumbled upon a Porch.com article that was featuring a home design project by Robin Chell Design; you can click here to see the whole home tour. The home includes this gorgeous sliding fireplace screen that was obviously professionally made by a super talented welder somewhere. I was literally SWOONING over it.
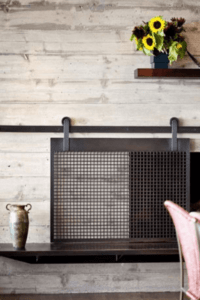
The bad news was that my husband and I don't know how to weld, nor could we afford to hire the job out. So, we did what we always do…we figured out how to DIY it without welding. Read on to learn how to make a barn door style, sliding fireplace screen. This post contains some affiliate links for your convenience. Click here to read my full disclosure policy.
How to Make a Barn Door Style Fireplace Screen
Materials Needed:
* Note that our finished fireplace screen measures 45″ x 32″, which is sized to cover our large fireplace opening (42 1/2″ x 30 1/4″). All of the materials and measurements below are specific to our fireplace. Simply alter the dimensions to fit your fireplace!*
*quantities needed are noted in parentheses*
- (4) 48” x 2” x 1/8” Steel Bar (these will be used to make the top and bottom rails of the fireplace screen)
- (2) 48” x 1 1/4” x 1/8” Steel Bar (these will be used to make the side rails of the fireplace screen)
- (2) 48” x 2” x 3/16” Steel Bar (these will be used to make the steel rail that the door slides on)
- (1) 3’ x 5’ x 1/4” Hardware Cloth (23 gauge)
- (2) 1/2” Swivel Pulleys
- (6) 1.25 x 25mm bolts
- (2) 1.25 x 35mm bolts
- (4) 5/16 x 1” Chrome Steel Spacers
- (4) 1/4” x 3 1/4” Tapcon Hex Head screws
- (10) 1/4” washers
- High heat spray paint in black (we used Rustoleum)
Tools Needed:
- Power drill and various size drill bits
- Power driver
- Metal snips
- Angle Grinder (these are super inexpensive and we have used our grinder for a ton of different projects–it's a great tool to add to your collection)
- Metal cutting blade
- Metal file
Steps to build the screen portion:
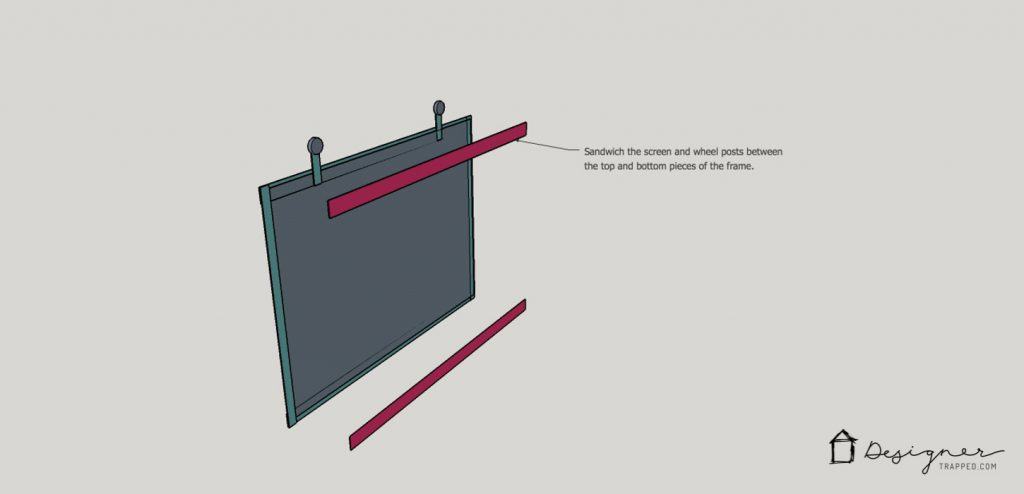
**Review the diagram below before reading through all of the steps. It will help put the written steps into context for you**
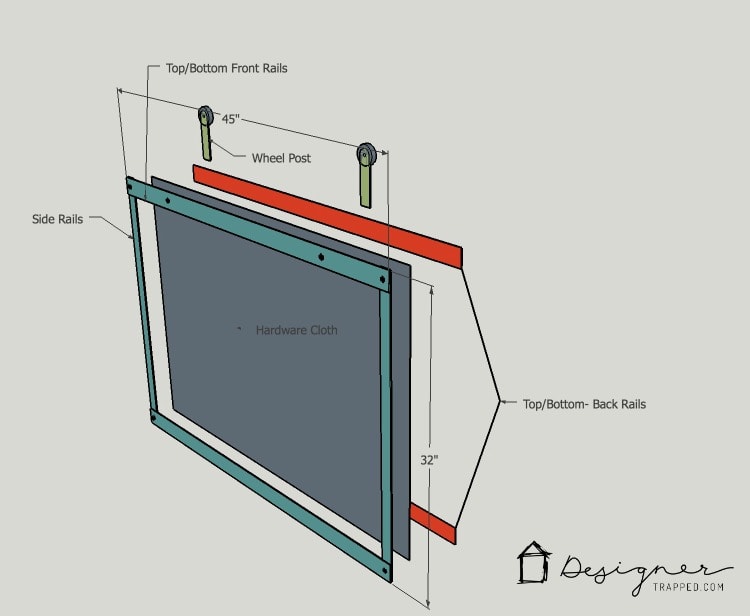
1) Cut the hardware cloth to roughly 40” x 50” with your metal snips–cutting it down makes it a bit easier to work with. After cutting it down, we placed a piece of plywood with some weights on top over night to help get it to lay flat.
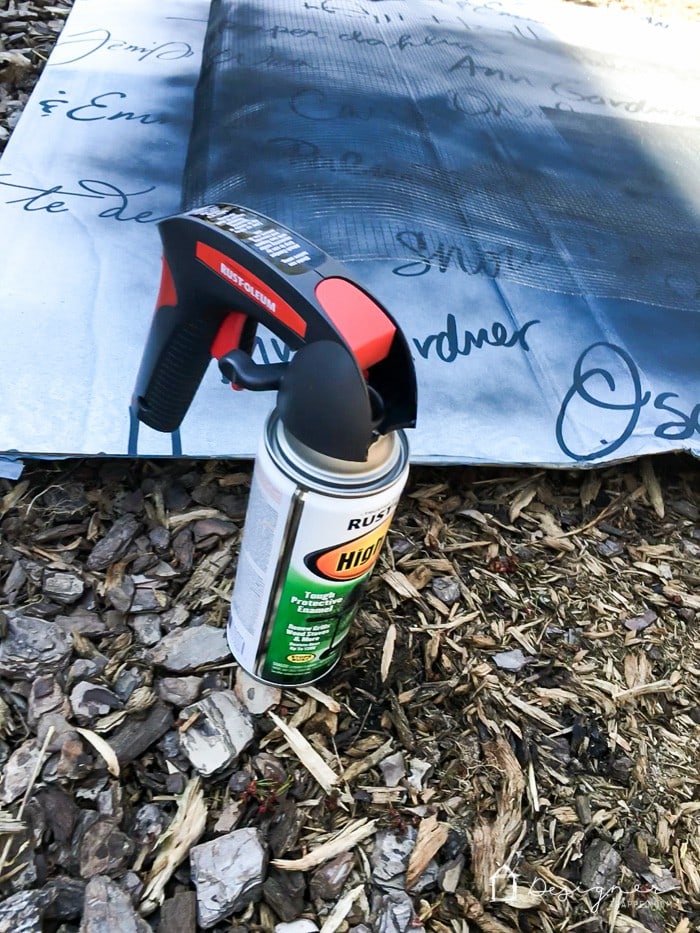
2) Separate the pulley wheels from the swivel mechanism (ours was easy to do–we just has to remove the cotter pin). Use your high-heat spray paint to paint the hardware cloth, chrome spacers, washers, and pulley wheels black. We found black bolts so we did not have to paint them.
 3) Next, cut the two 48”x 2”x 1/8” steel bars down to 45” with the angle grinder and metal cutting wheel.
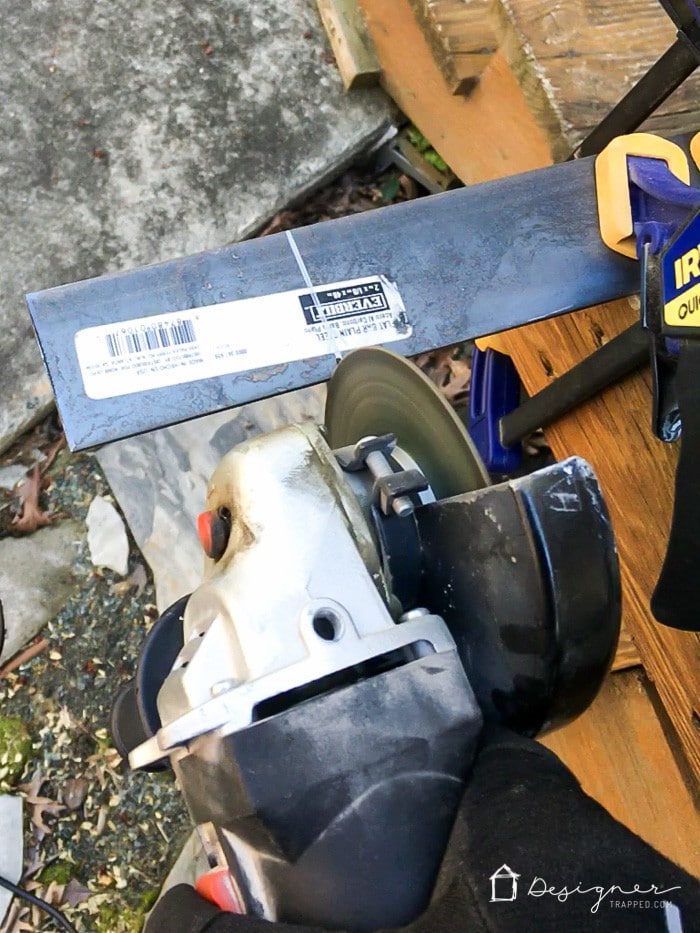 4) Next, cut the two 48” x 1 1/4” x 1/8” bars down to 32″. Clean up all cuts with a metal file if needed. Hold onto the 16″ pieces that you cut off these bars–you need them for the next step.
5) Cut the 2 wheel posts (shown in pink in the diagram below) out of the pieces of 1 1/4” bars you cut off in the previous step. We cut our wheel posts down to 5 1/2” long. Then we used the wheels from the pulleys to trace the curve onto the top of each wheel post. We used our angle grinder to cut out the curve at the top of each wheel post.
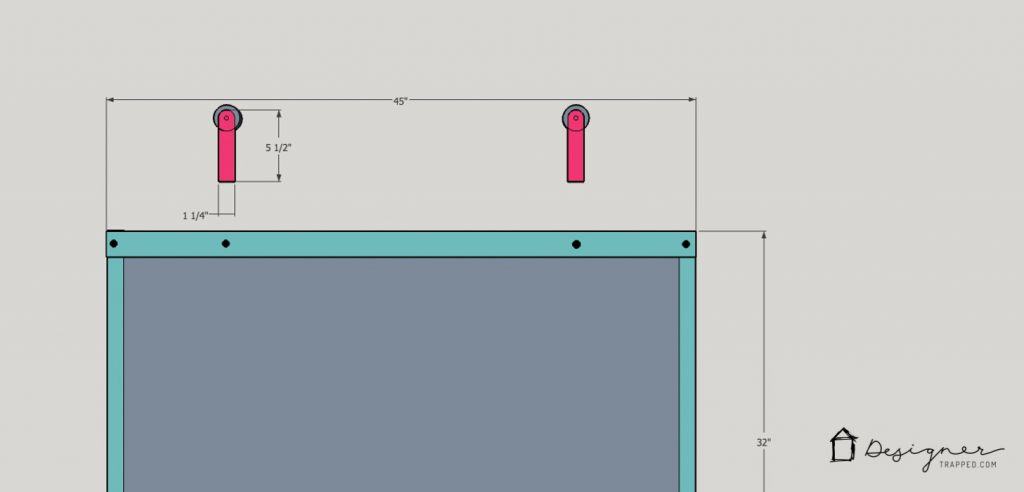
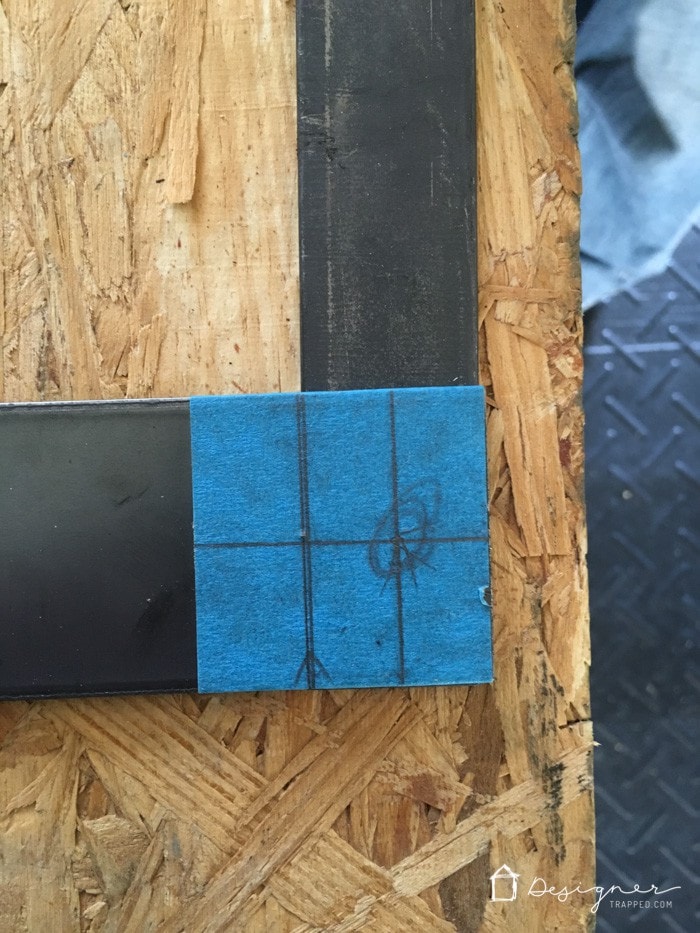
6) Now you are ready to assemble the screen door. Lay out the steel bars that make up the exterior of the fireplace screen. Mark the center of your corners using a pencil and painter's tape. Bear in mind that the top and bottom rails are the 2″ bars and are DOUBLED UP (one on each side of the screen). The narrower 1 1/4″ steel bars are used for the sides of the fireplace screen and are used only in front of the screen.
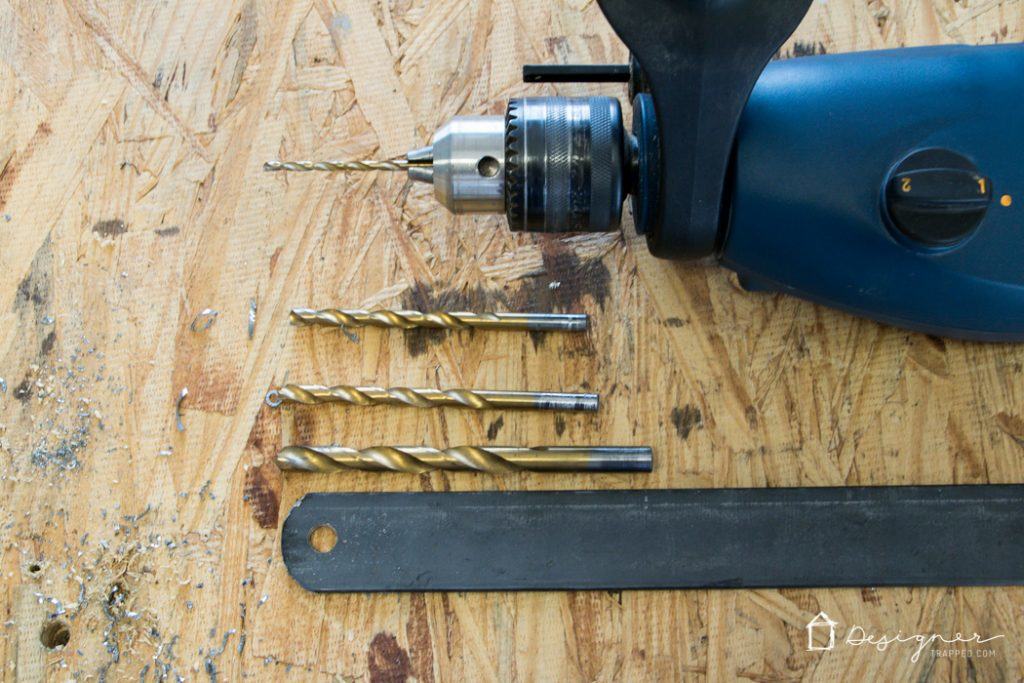
7) Use an electric drill to drill the holes for the bolts. We started with a small drill bit and worked up to the final diameter of 5/16”. Below is a picture of the different drill bits we used. This step is tedious, but believe it or not, it moves a little bit more quickly than trying to use a 5/16″ drill bit from the outset. To keep the process as streamlined as possible (and to prevent having to change the drill bits a zillion times), we drilled all the small holes at once and then moved up the next size drill bit to enlarge all the holes. We repeated the process until all the holes reached the 5/16″ size.
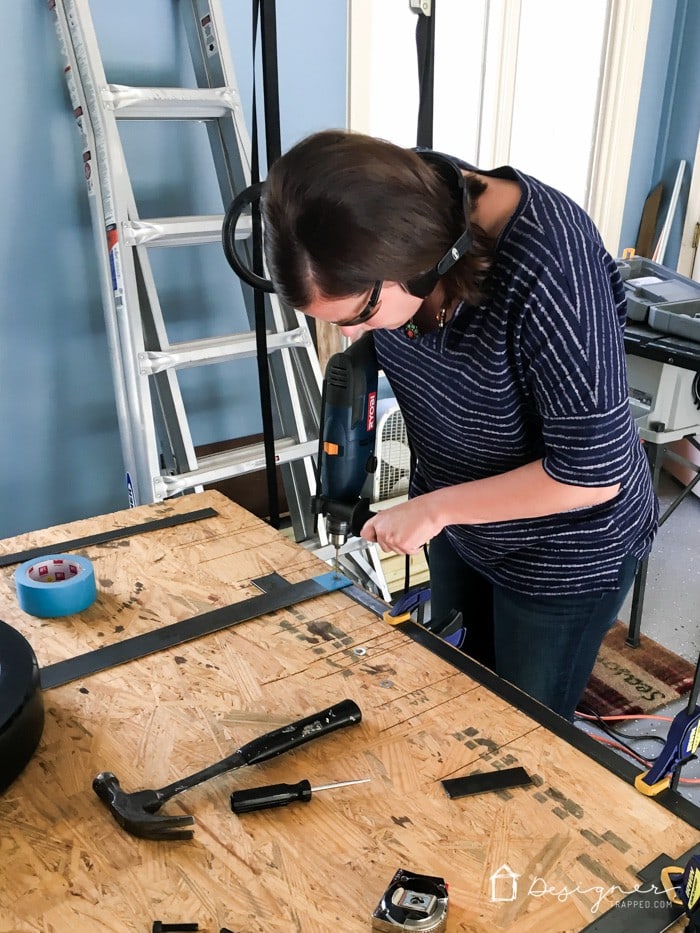
8) Once all your holes are drilled, layout the top of the frame (top rail, bottom rail and side rails) and place the screen/hardware cloth on top of it. We folded the edge of the screen over on the side edges about 1″ for added stability. Then place the back top and bottom rails on top of the screen.
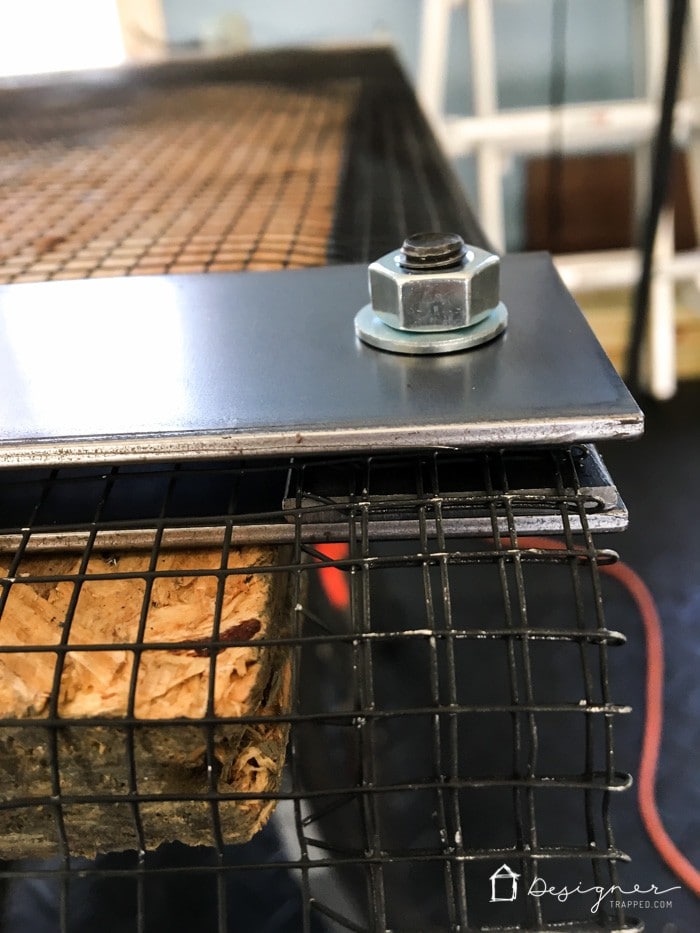
9) Next, you need to feed the bolts through each part of the screen in this order: 1) the front top and bottom rails, 2) the side rails, 3) the screen (hardware cloth), 4) wheel posts and 5) the back top and bottom rails. Place a washer and nut on each bolt and tighten. You are basically sandwiching the screen/hardware cloth and wheel posts between the two top rails and two bottom rails; the side rails are single rails–they are not doubled-up like the top and bottom. The diagrams and photo below should help clarify this step.

10) Trim off any overhanging screen using your metal snips.
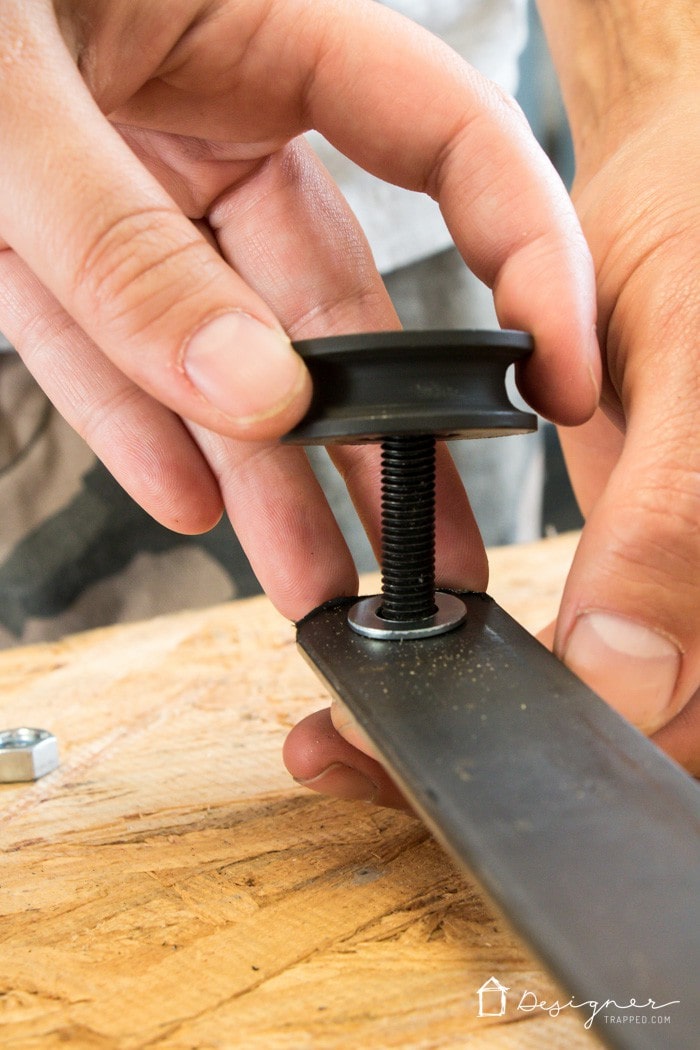
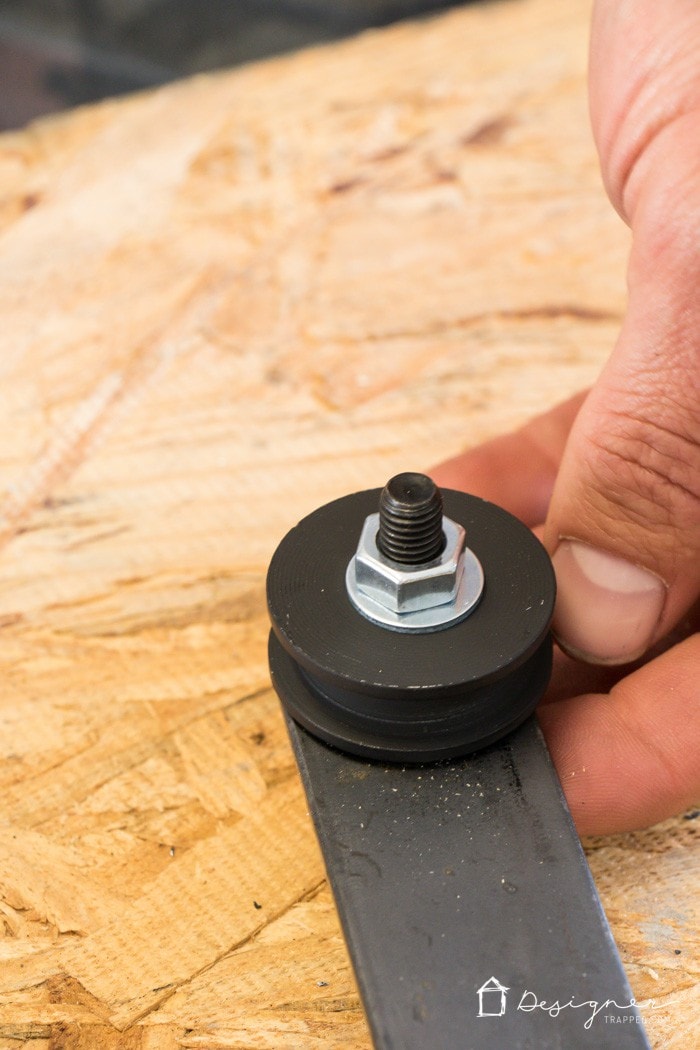
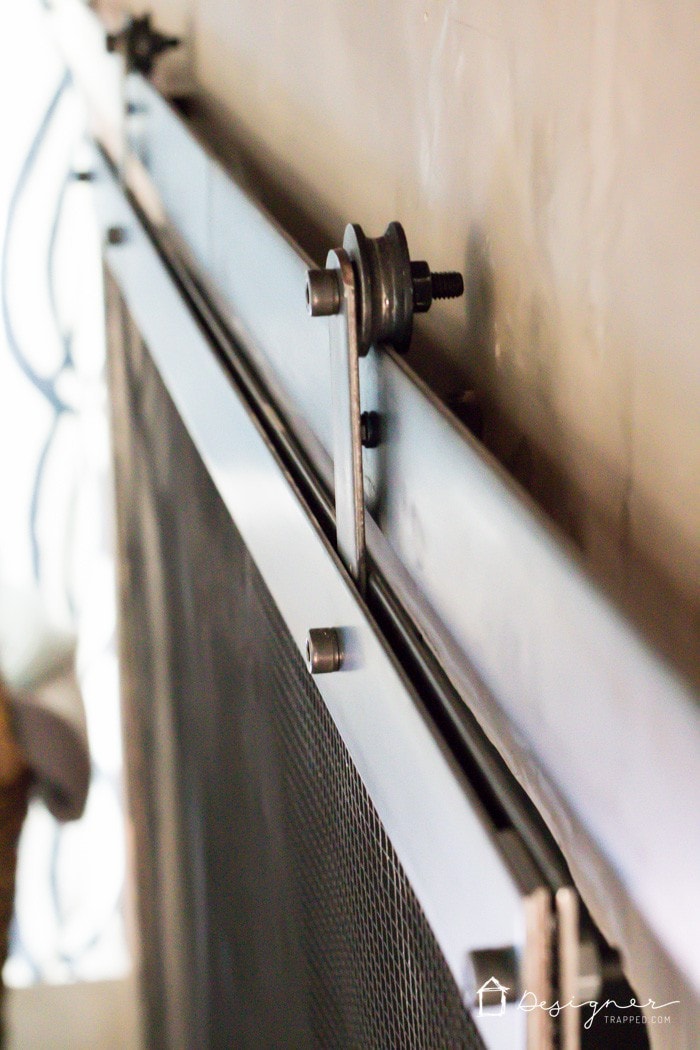
11) Finally, you need to attach the pulley wheels to the wheel posts. Place a bolt through each wheel post, then add a washer, the pulley wheel, followed by another washer and finally a nut. Tighten.
Steps to attach the steel bar rail to the fireplace:
1) We attached the bottom of the rail 33” above the fireplace hearth to allow enough clearance for the screen to slide back and forth without dragging on the hearth. Use your assembled screen as your guide to determine how high to place your rail. Be sure it will have enough clearance to open and close.
2) We cut the two 48” x 2” x 3/16” steel bars to 42” each. If your fireplace is smaller than ours, you may be able to use one continuous length of steel bar for your rail. Our fireplace is so wide that we had to split the rail into two separate steel bars.
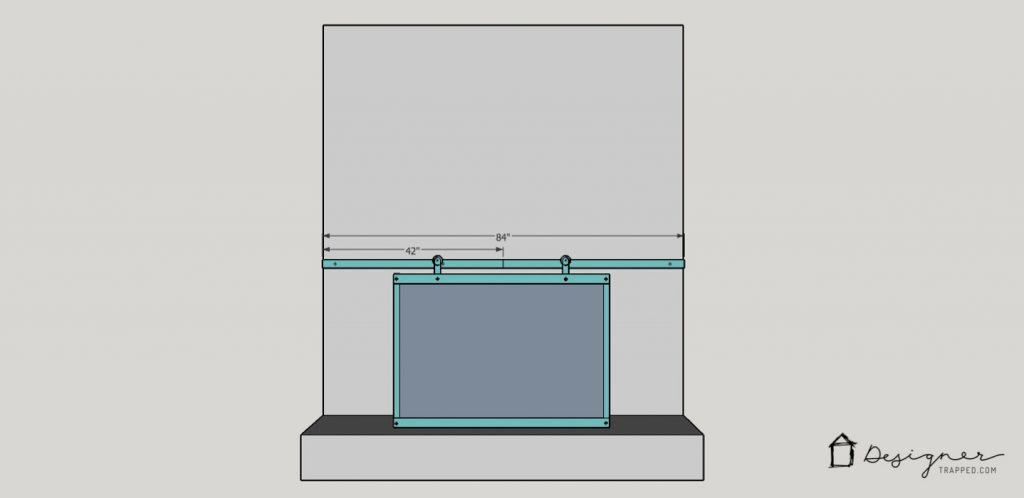
3) Drill holes at 3” and 28” from the end using the same method as you did for the fireplace screen rails.
4) Hold your steel bar(s) up to your fireplace surface at the height you have determined is appropriate, using a level to ensure it's level. Use a marker or pencil to mark where holes need to be pre-drilled through the fireplace using the holes in the steel bar(s) as your guide.
5) After the holes were marked, we pre-drilled holes following the instructions for the Tapcon screws using a hammer drill. We used Tapcon screws appropriate for our fireplace, which is brick covered with cement board and a thin cement overlay. You can read more about our DIY concrete fireplace here.
6) Next feed the Tapcon screws through the steel bar rails, followed by the steel spacers. Then tighten the screws into place.
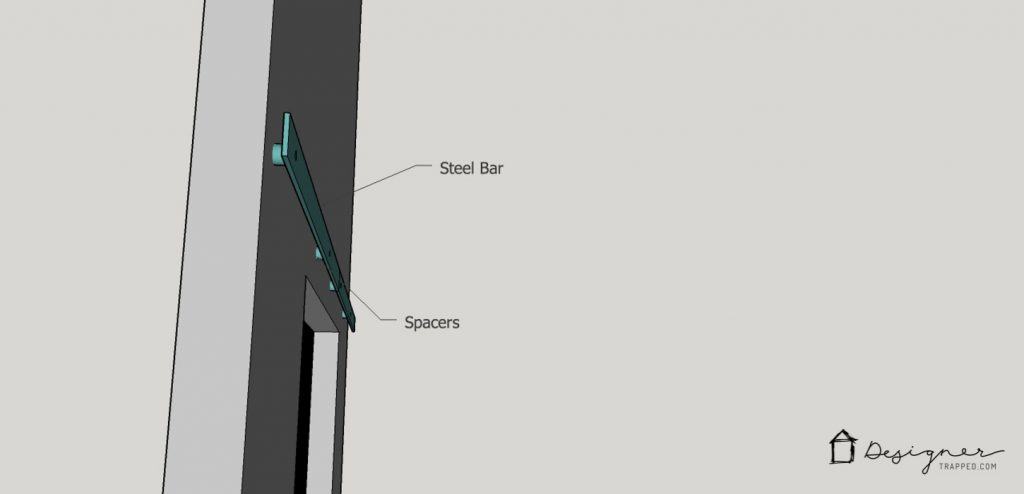
7) Finally use a touch of black paint to cover the blue on the Tapcon screws and hang your screen door on the rail by placing the pulley wheels on top of the rail.
That's it! Like I said, it's a lot of steps to learn how to make a barn door style fireplace screen, but it's really not difficult and the end result is AMAZING. Take a look.
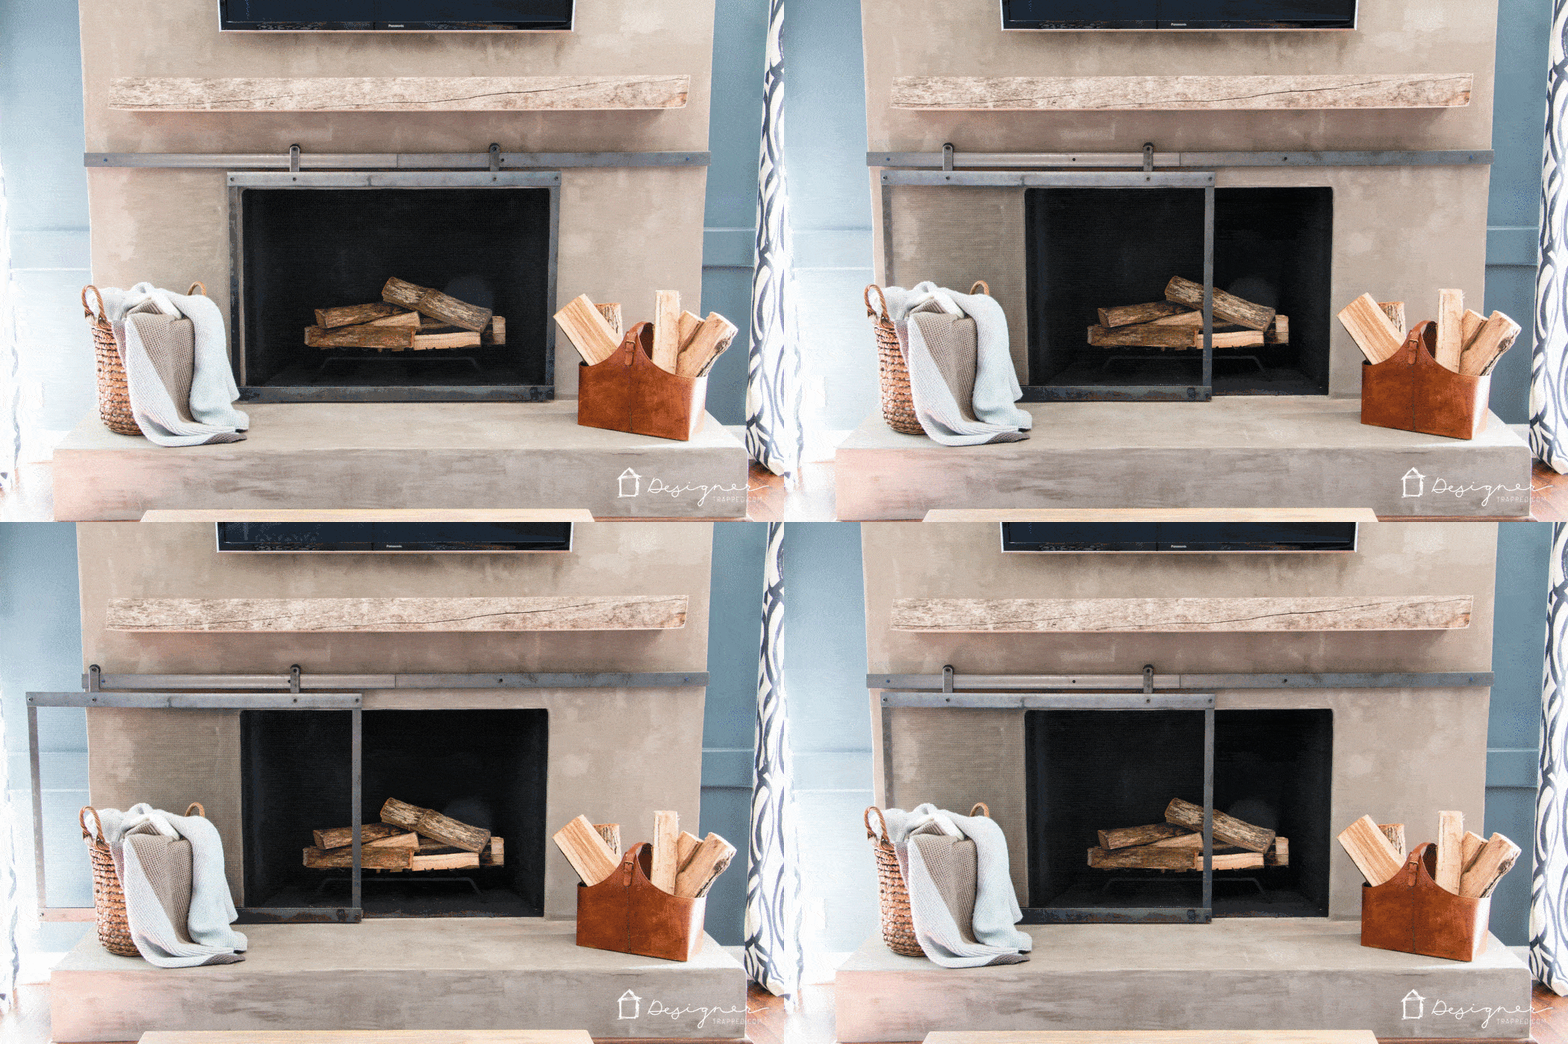
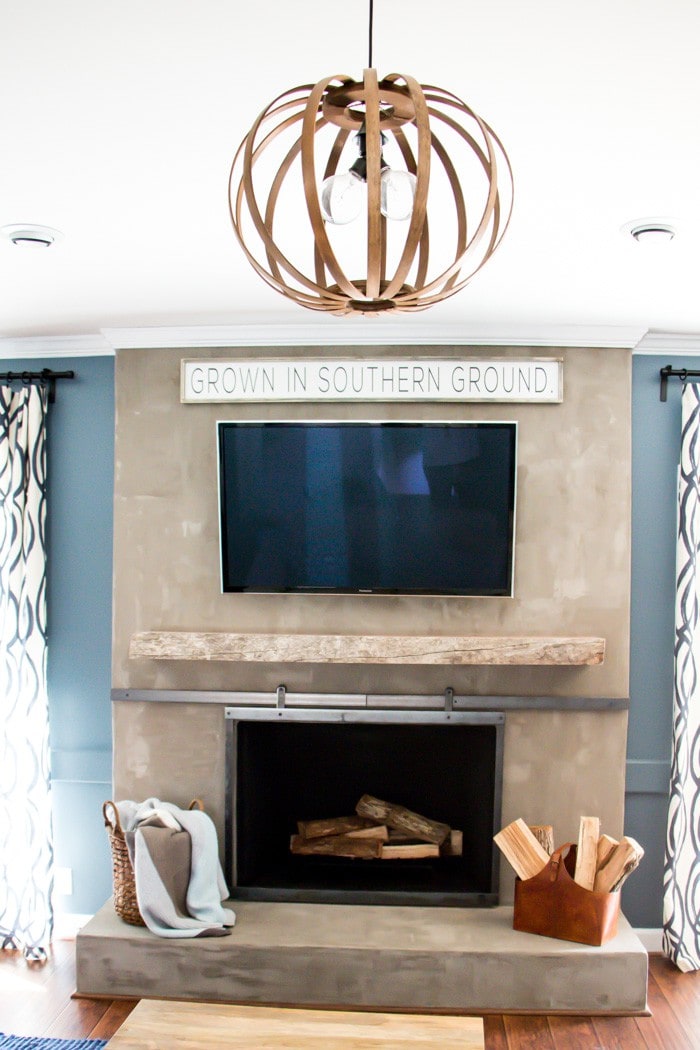
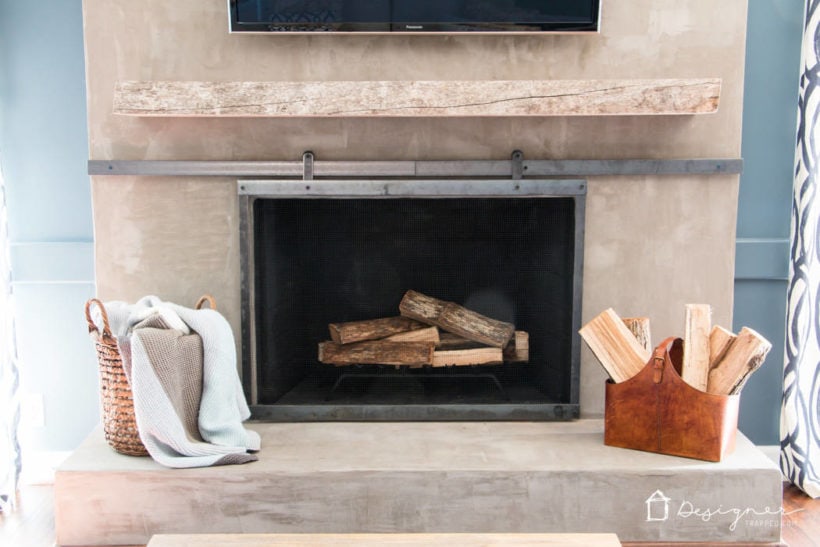
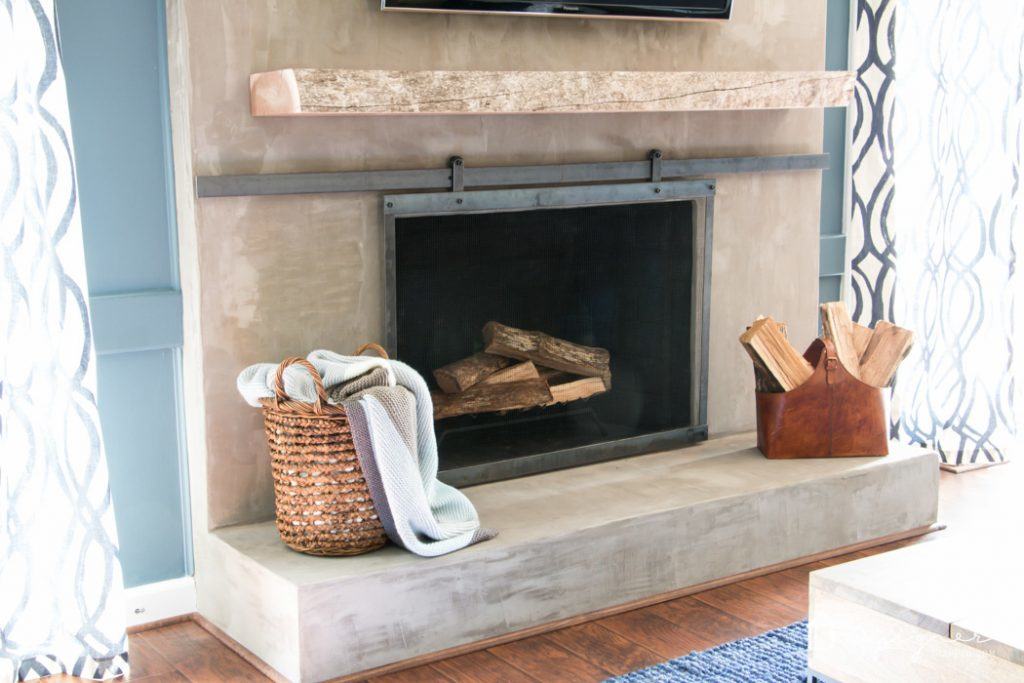

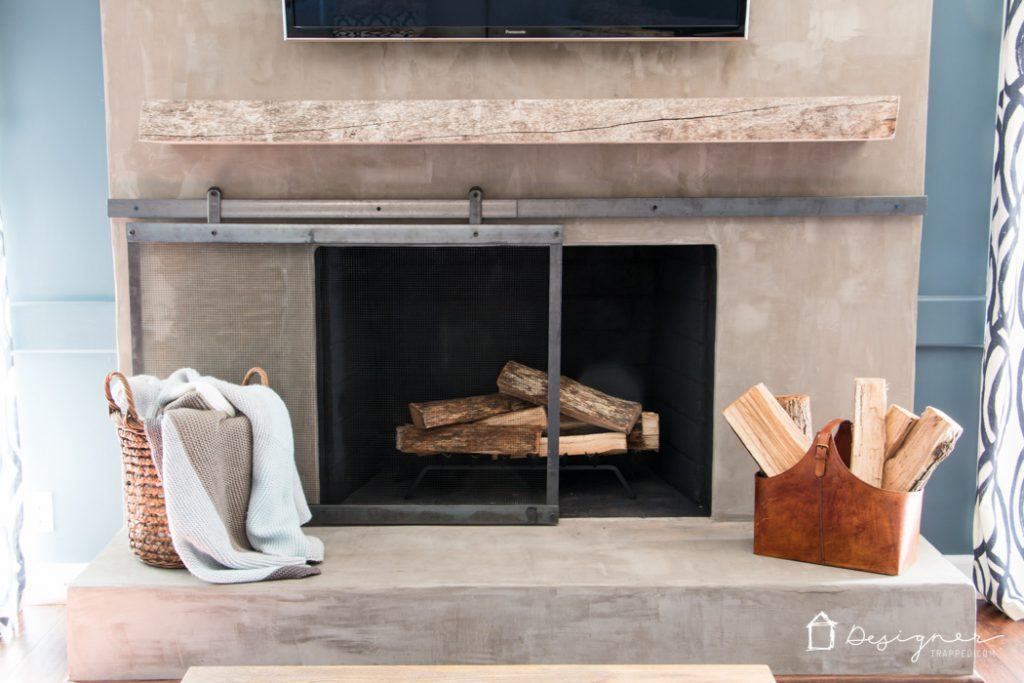
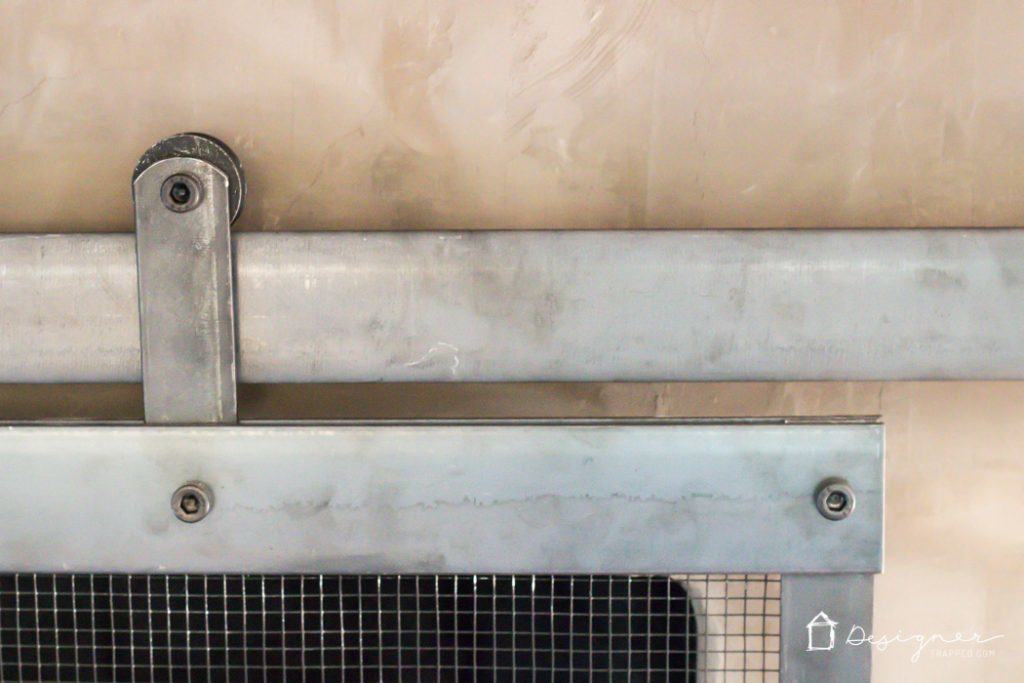
We are so, so happy with how it turned out. What do you think? If you love it, be sure to pin it so that you can find it again later.
[mv_create 1 11 200 2016 key=”1″ type=”list” title=”Most Popular Projects” thumbnail=”<a href=” https designertrapped com wp content uploads diy home decor projects blog jpg a]


Hi this is awesome!! im wanting to do this but with glass not a screen, i cant afford the ones i want so im getting creative!! would what you have built here work do you think? any suggestions?
Oh gosh, I don’t know how that would work. Sorry!
Looks great, but is there an issue not being able to access the entire fireplace, especially when building the fire?
I’m not sure what you mean. The door rolls entirely out of the way of the fireplace :)
Can you give a ballpark figure for cost of material?
Hi! I would say it was under $250 but I cannot be more exact. Thanks for reading!
This is so cool. Did you get your products to make it at Home Depot?
We were able to find almost everything at Home Depot–I do think we had to get a few things at Lowe’s, but I can’t remember off the top of my head what they were.
This is so clever and I love how it looks!
This is such a cool and unique project! I love how it turned out! Thanks for linking up with Merry Monday – I’m sharing your project on Pinterest.
WOWZERS, This is SO cool! You totally nailed it. I wish I have a real fireplace to try something like this. Love it!
Great tutorial! Love this fireplace!
Thanks so much for reading!