DIY Curtain Rod
Hey friends! This DIY curtain rod tutorial has been a long time coming–I'm so sorry it took me so long to post it! When I revealed my dining room makeover this summer (click here to see that reveal) many of you fell in love with our industrial pipe curtain rod and I can't blame you. I LOOOOOOOOOOOOOVE it so much! I am happy to finally share with you how to do it. It is incredibly easy. Anyone can do it–seriously. The biggest challenge is getting the 10 foot length of pipe home in your car :) If you are new to my blog and have NO clue what I am talking about, you can see a shot of our dining room complete with this DIY curtain rod in the shot below.
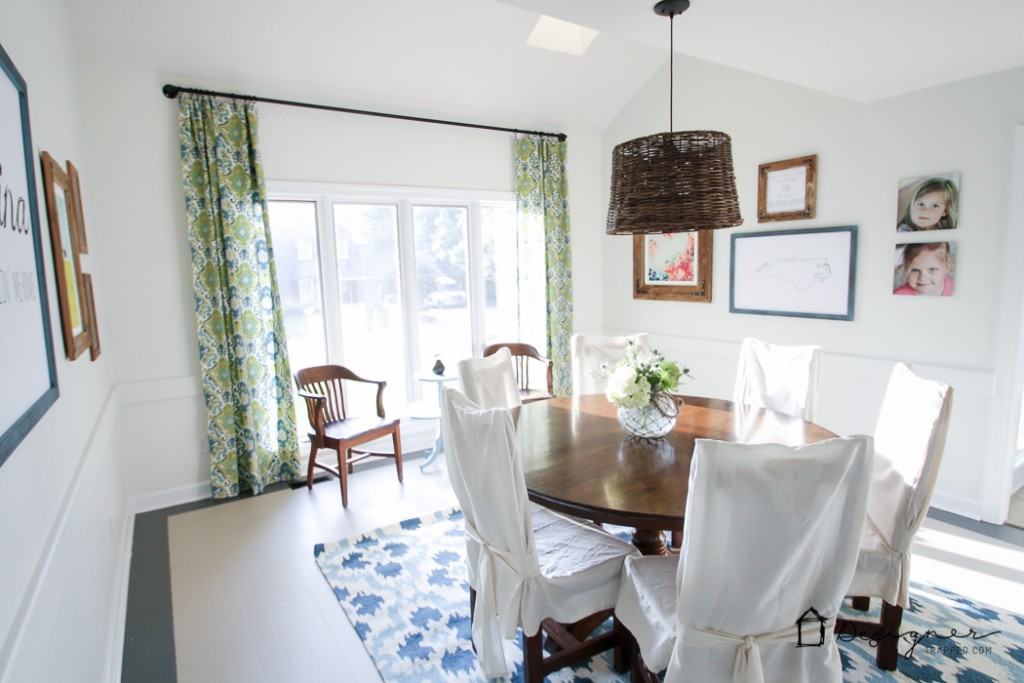
Let's face it. Long, substantial curtain rods that don't sag are hard to find and are EXPENSIVE, so if you are searching for a curtain rod that fits the bill, this DIY curtain rod tutorial is for you. It is incredibly easy. Anyone can do it–seriously.
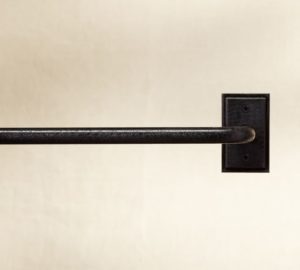
First, let me show you the gorgeous curtain rod that inspired this DIY curtain rod version. It's a cast iron curtain rod from Pottery Barn. I LOVED the industrial look of it, but I actually wanted a thicker rod and new I could save some money by making my own DIY curtain rod, so I got to work.
This post contains some affiliate links for your convenience. Click here to read my full disclosure policy.
DIY Curtain Rod Tutorial
Materials Needed:
- 1 inch black steel pipe (we used a 10′ length, but you can purchase other pre-cut lengths at Home Depot or Lowe's)
- 2 black steel elbow joints (1 inch)
- 2 black steel floor flanges (1 inch)
- 2 black steel nipples (1 inch x 1 inch)
- Drill
- Stud finder
- Wall anchors (if needed)
- Drapery rings
Steps:
1) Clean your pipe and remove any stickers. If you don't need to clean it, you are lucky! Most pipe comes with icky, greasy stuff on it, but it cleans off reasonably easily with something like Simple Green.
2) Put your drapery rings on your pipe rod (you won't be able to slide them on after the next step, so don't forget)!
3) Next, attach an elbow joint to each end of your pipe rod.
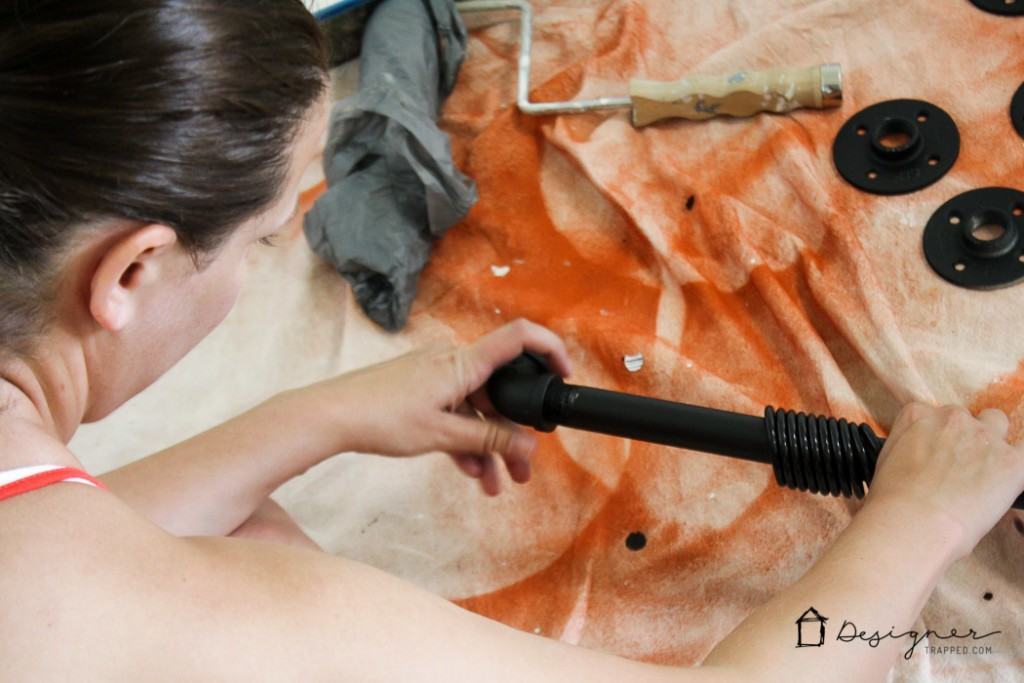
4) Then attach a steel nipple to the other side of each elbow joint. Finally, attach a floor flange to nipple.
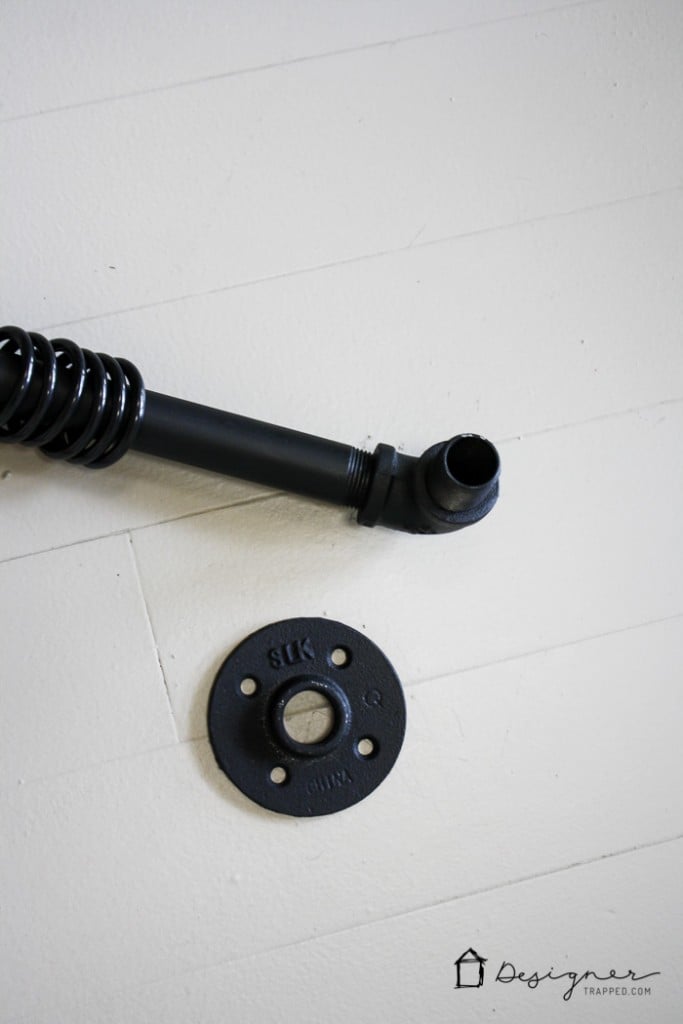
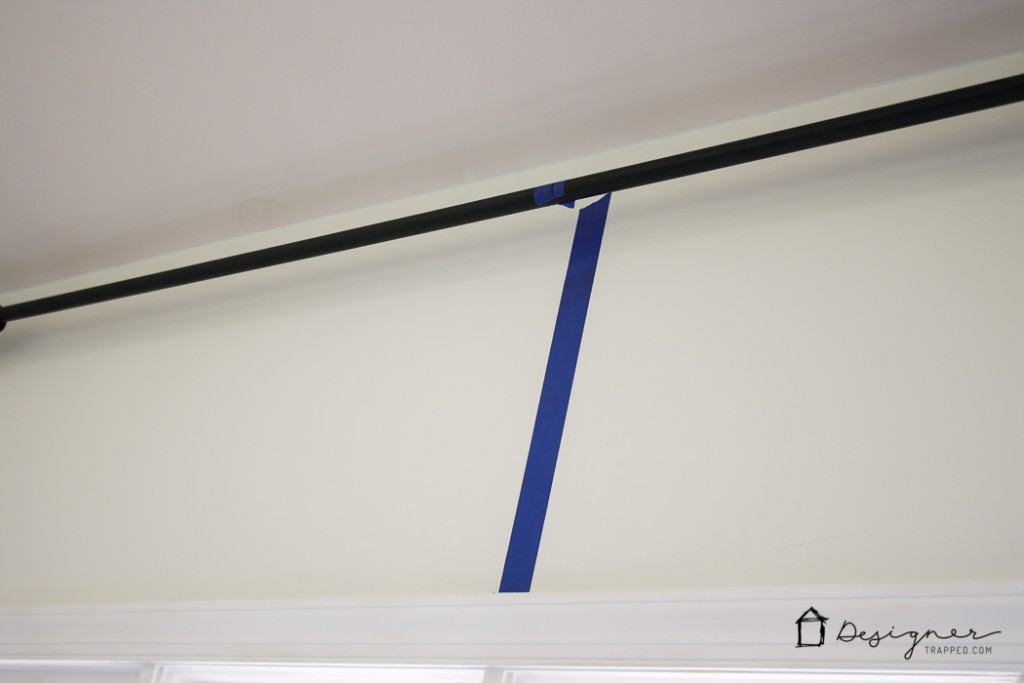
5) Now you are ready to hang your DIY curtain rod. If you are using a 10 foot length like we did, it's a bit heavy, so this is a two person job :) I recommend that you mark the center of your rod AND the center of your window with painter's tape first so that you can easily line them up when you get ready to hang it.
6) Lift your assembled rod into place and use the holes in the floor flange to mark where you need to drill. We were lucky to hit studs on each side, so we didn't have to fiddle with wall anchors. If you aren't as lucky, after you make your marks set the rod down and insert wall anchors.
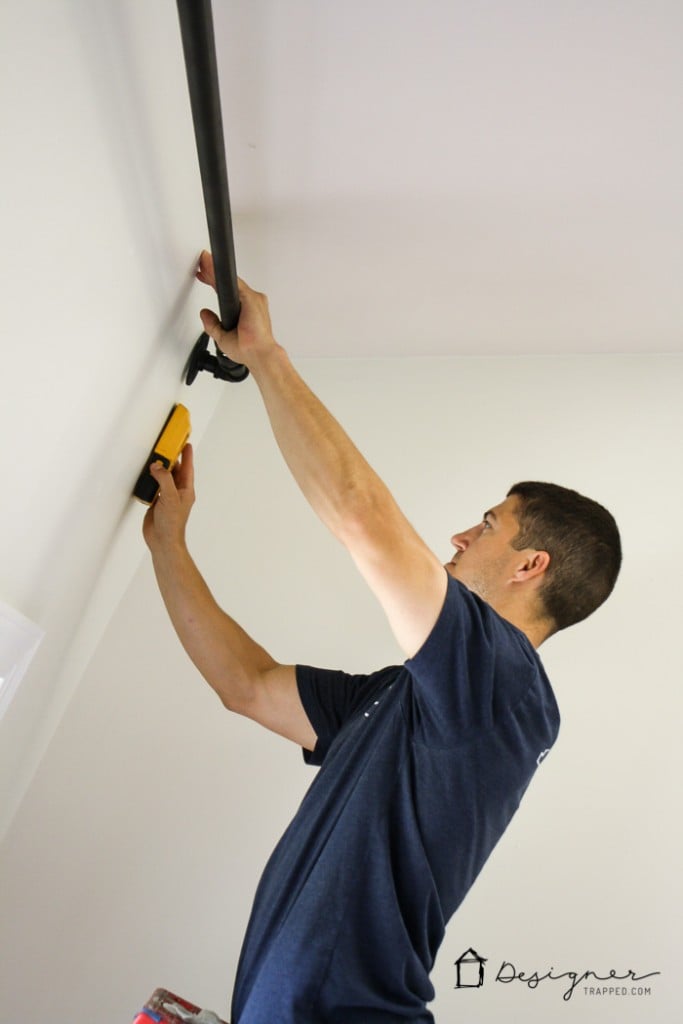
7) Screw it into place. Use screws appropriate for your particular application.
8) Attach your curtains to the drapery ring clips.
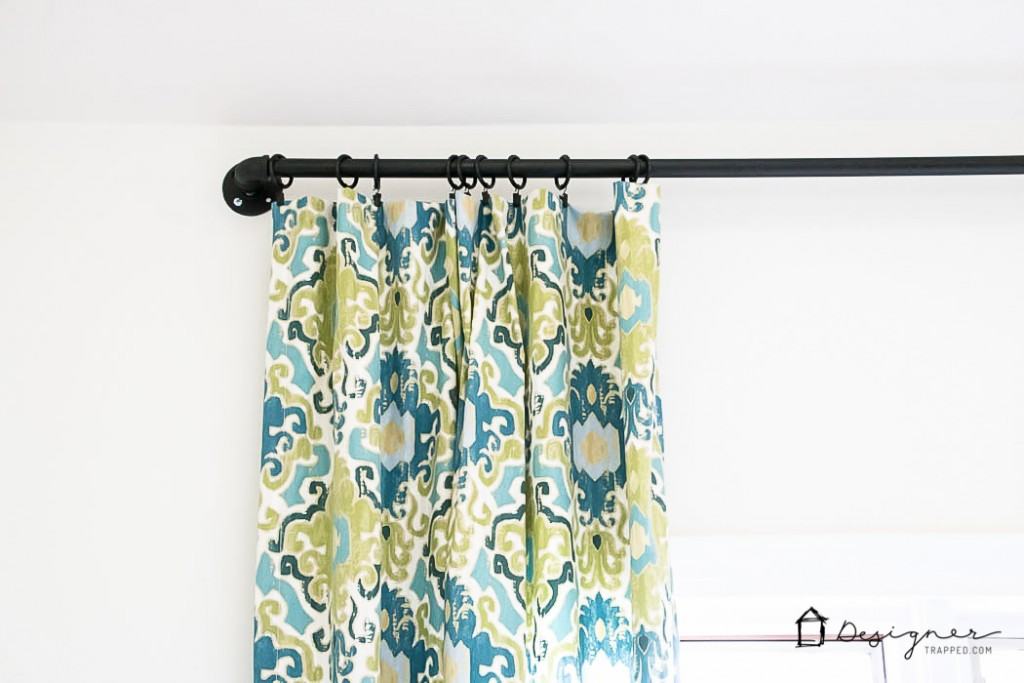
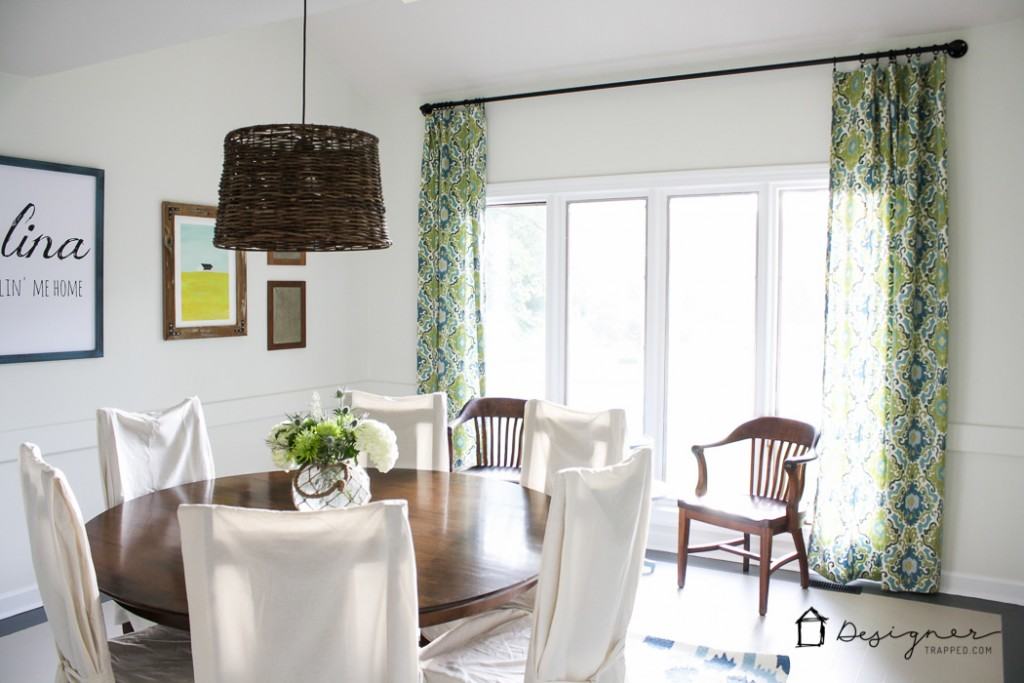
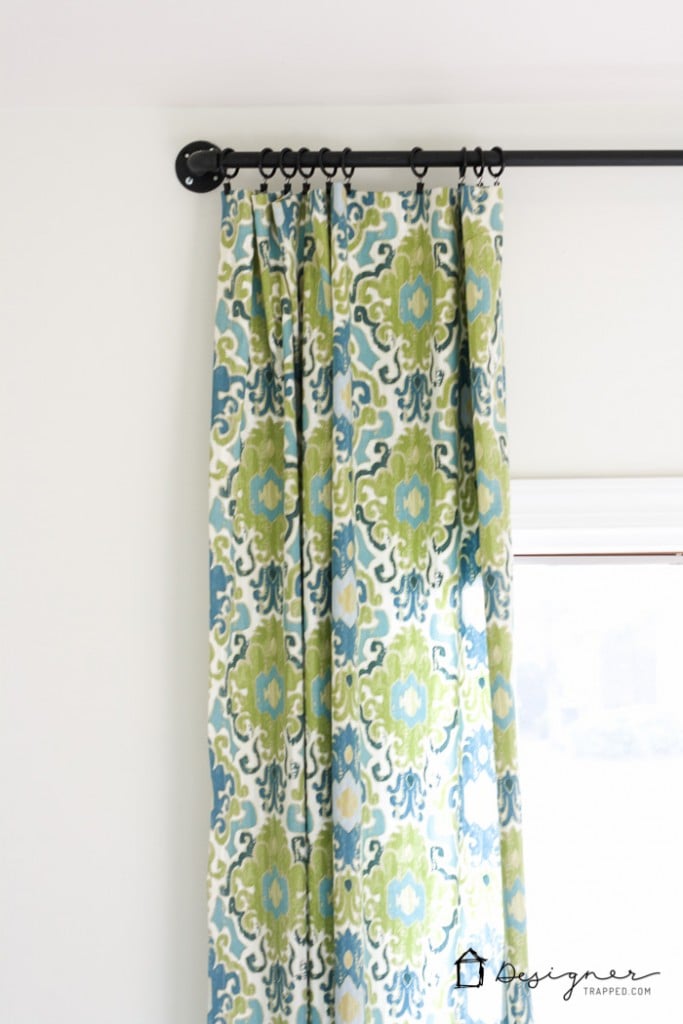
That's it! I absolutely LOVE how this project turned out. For around $45.00 we have a nice, substantial curtain rod that has that industrial look that makes me swoon. Best of all, it's steel so this baby does not sag at all AND you don't have to use a center bracket!
You can read all about how I made those gorgeous curtains the easy way by clicking here and see the rest of our DIY dining room makeover by clicking here.
And if you love inspiring ideas for windows and floors, be sure to follow my board on Pinterest for loads of great ideas!

[mv_create 1 11 200 2016 key=”1″ type=”list” title=”Most Popular Projects” thumbnail=”</span><a href=” https designertrapped com wp content uploads diy home decor projects blog jpg target=”_blank” a span]
Last Updated on August 10, 2021
USE THE FLOOR FLANGES ( METAL) AND JUST SPRAY PAINT SCHEDULE 80 PVC (PLASTIC)
USE A CENTER SUPPORT FOR LONG SPANS …A LOT LIGHTER AND LESS EXPENSIVE.
IF YOU WANT TO GET FANCY A VERDIGRIS FINISH IS NICE. FIRST COAT BLACK GLOSS ,
THEN YOU HIGHLIGHT WITH GREEN, BLUE AND THEN GOLD. SPRAY A COUPLE COATS POLYURETHANE TO PROTECT.
Great DIY, Tasha! I love your easy and beautiful style. You should come link these up at Welcome Home Wednesdays. Party opens Wednesdays 7a CST.
Also, someone said you took the EBA course…I just started. I was curios if you have any advice as I get started :) XO
We just used this same concept with a pipe and flanges for our barn doors on a TV console we built! So much cheaper than buying actual barn door hardware that costs hundreds of dollars.
Love the idea of using it as a curtain rod too. I will be trying this next!
amandakatherine.com