DIY Felt Doll Kit
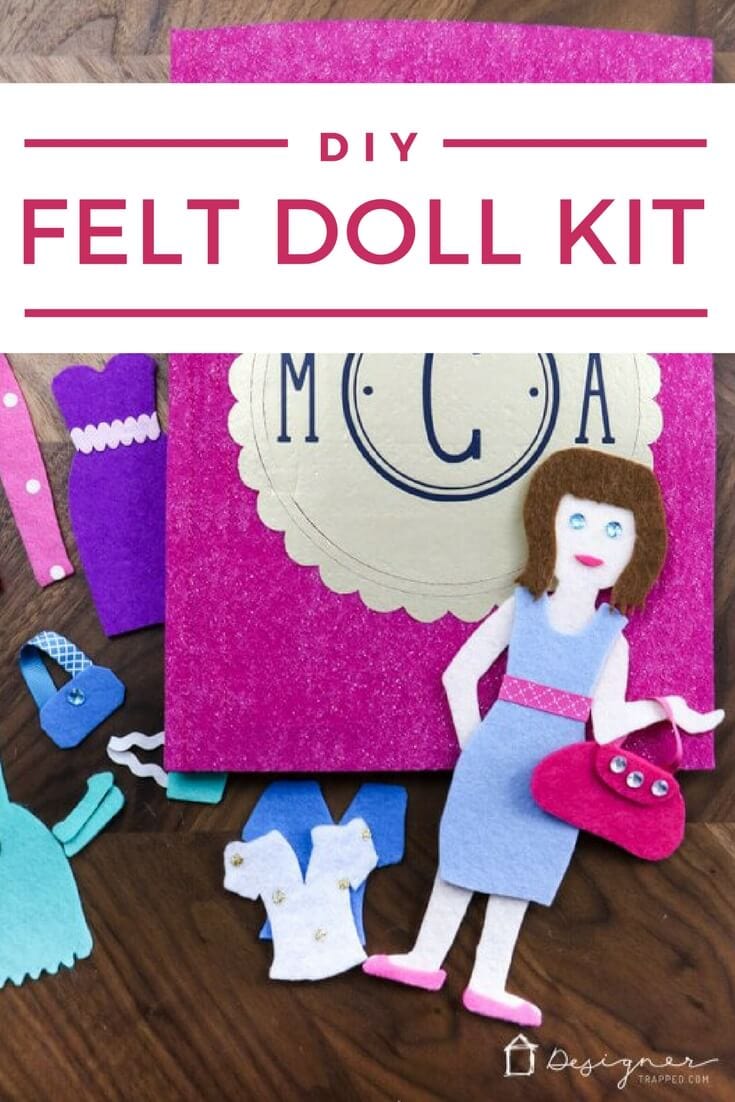
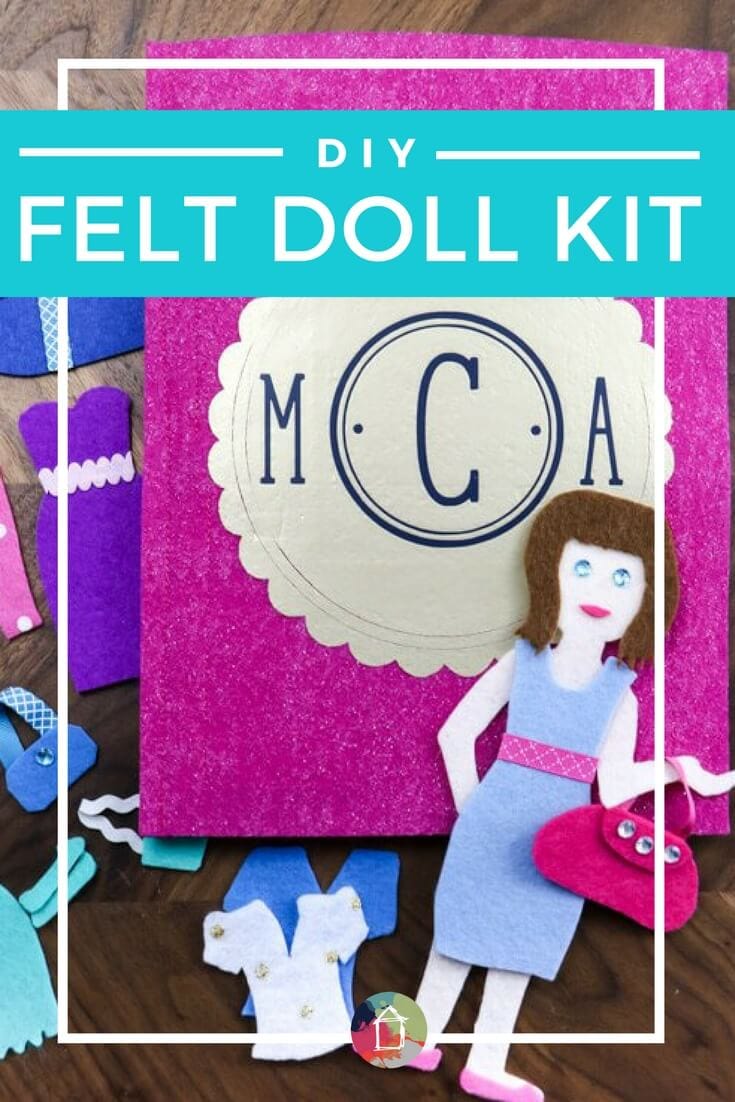
This DIY felt doll kit is fun to make and is a perfect quiet activity for any little girls in your life! Learn how to make your own DIY felt doll kit with this detailed tutorial.
Thank you to Cricut for sponsoring this DIY felt doll kit project!
Do you ever wish you had something quiet for your young daughter to play with while you are out in public, but you don't want to involve screen time? If so, I can totally relate! As a mom of two little girls, I know how important it can be to have quiet activities for them to play with when we are out and about at restaurants and church. Now that they are older and their attention span is a lot longer, we rarely need to keep them entertained, but when they were little, it was CRUCIAL! I made them these really cute felt dolls years ago and they loved them. So this year when my good friend asked me if I would be willing to make her little girl, who is almost 3, a felt doll kit for Christmas I jumped all over it! I already had ideas for how to improve upon what I had made my girls years earlier and knew I could make something her sweet little girl would love. So, read on to learn how to make the cutest felt doll kit ever :)
This post contains some affiliate links for your convenience (which means if you make a purchase after clicking a link I will earn a small commission but it won't cost you a penny more)! Click here to read my full disclosure policy.
DIY Felt Doll Kit
Materials Needed:
- Cricut Maker cutting machine (or scissors and a paper templates–that's how I made mine a few years ago, but it was SO much easier and the cuts are much, much cleaner with my Cricut!)
- You can read my full review of the Cricut Maker and how friggin' amazing it is in this post. And YES, it really can cut felt (plus a whole LOT of other things, like wood and thick leather).
- If you are curious about cutting machines in general, you can read my comparison of Silhouette vs. Cricut in this post.
- 1 sheet of felt in whatever skin tone you like
- 2 sheets of stiff felt in whatever color you like for the front and back cover of your felt doll kit
- 2 sheets of regular felt in whatever cover you want to use for the 2 pockets that will hold your doll's clothes
- Felt in a variety of colors for your doll clothes
- I used some felt that I purchased from Joann's and some Cricut brand felt. I strongly preferred the Cricut brand felt, even though it is a bit thinner. It's smoother to the touch and feels nicer.
- Felt glue
- Embellishments (like these stick-on rhinestones, ribbon, small pom poms, etc.)
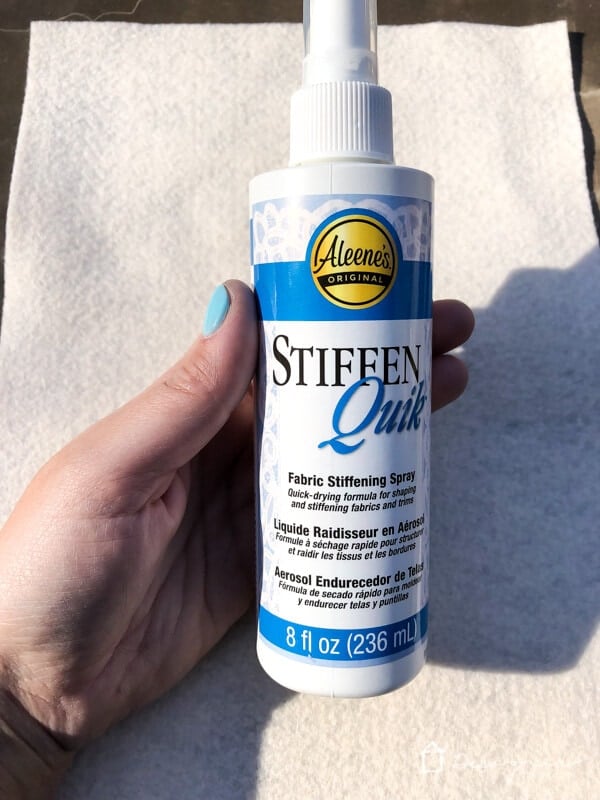
- Fabric stiffener (if needed–the skin tone colored felt I liked did not come in a stiff felt option, so I needed to stiffen it myself)
- Iron-on vinyl (if you want to add a monogram or name to the front of your cover)
- Sew-on Velcro
- Cricut EasyPress
- Weeding tool
If you are going to use a Cricut Maker to cut your felt, you will also need the cut files that I used. I sketched them on my iPad Pro to create digital files that I could use with my Cricut using these adorable templates from Smile and Wave as my guide with only slight modifications. Lucky for you, the .png files that you can import into Cricut Design Space are absolutely free for my newsletter subscribers. Just click on the image below to have them emailed to you right away.
If you are going to use paper templates and scissors to cut your felt dolls out, you can find easy to print templates over at Smile and Wave.
Steps:
If you’d like a video overview of this project, click below.
How to Create the “Book” for Your Felt Doll Kit
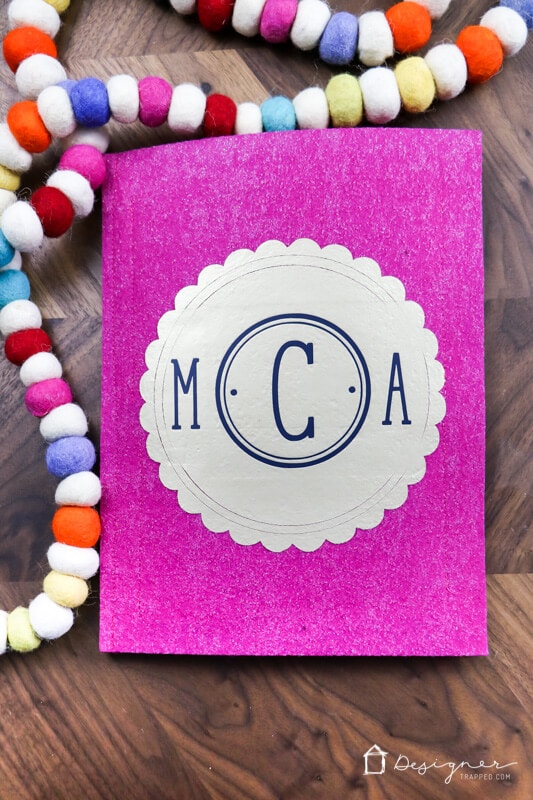
1) Start by decorating the front cover of your DIY felt doll kit. I used a really simple scallop circle and monogram design and cut it out of iron-on vinyl. You will want to cut and weed your designs–be sure to mirror your image before you cut it! I used my Cricut EasyPress to apply it. Super fast and easy! I applied the scalloped circle out of gold heat transfer vinyl first. Once it cooled, I applied the monogram in navy heat transfer vinyl right over it (yes you can layer vinyl)!
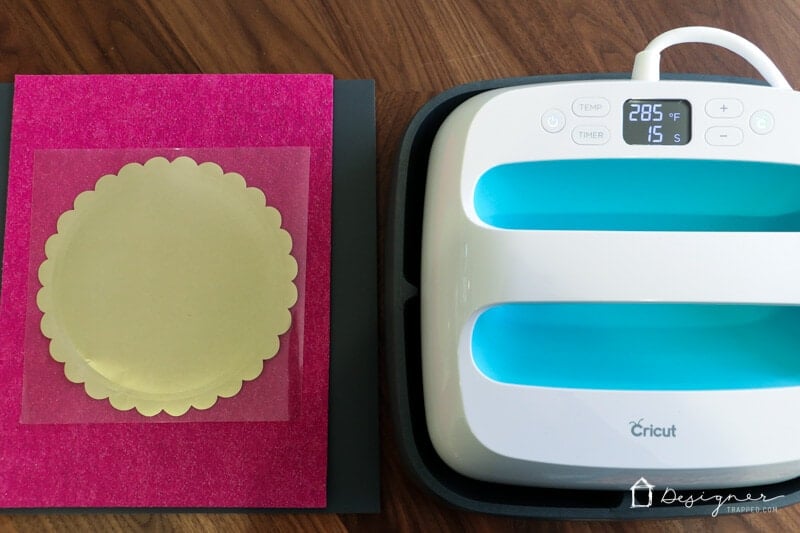
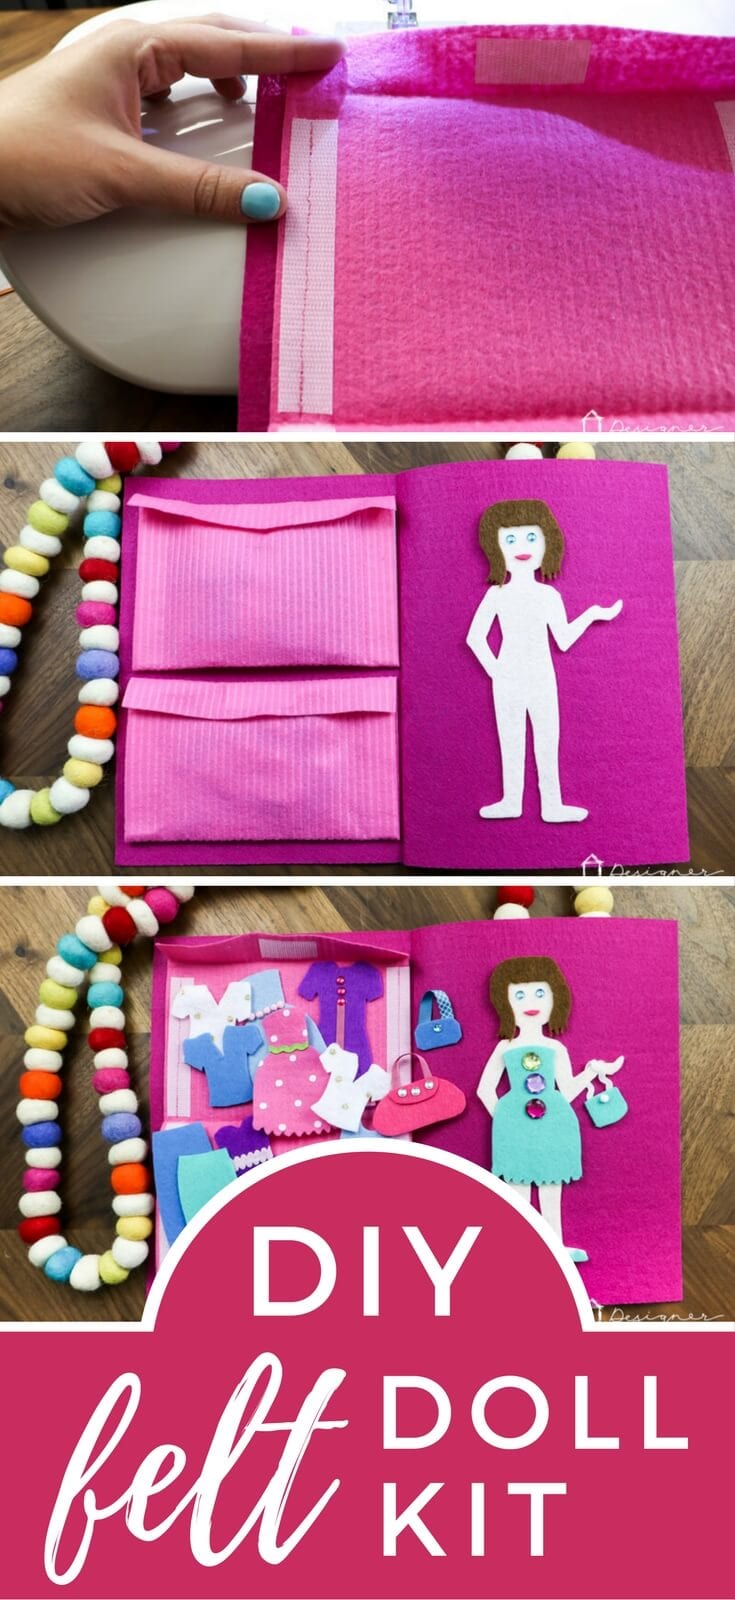
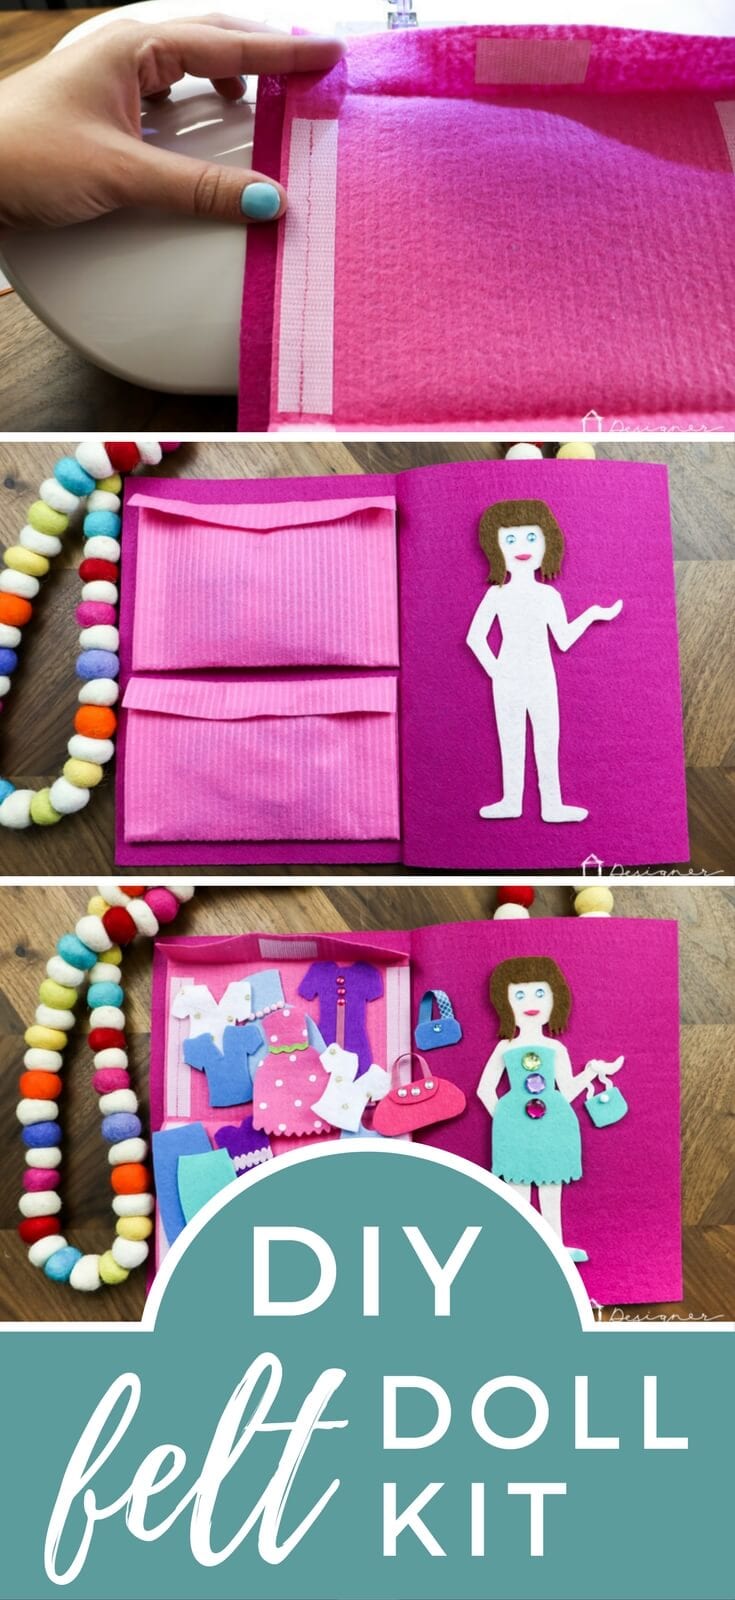
2) Next, you want to create the pockets that will hold your doll's clothes and accessories. I used one piece of regular felt per pocket. I trimmed about 1 inch off the long-edge of the felt so that it would fit onto the back of the cover without overhanging it at all. Then, I folded the bottom end up a little less than half way, leaving enough extra on the top half to fold it over to create a flap. I ironed the folds into the felt using my EasyPress (why bother getting the iron out?!).
3) Next, I sewed on velcro along the sides of the envelope and on the top flap (and corresponding velcro on the outside of the envelope when it is in the closed position). Super easy!
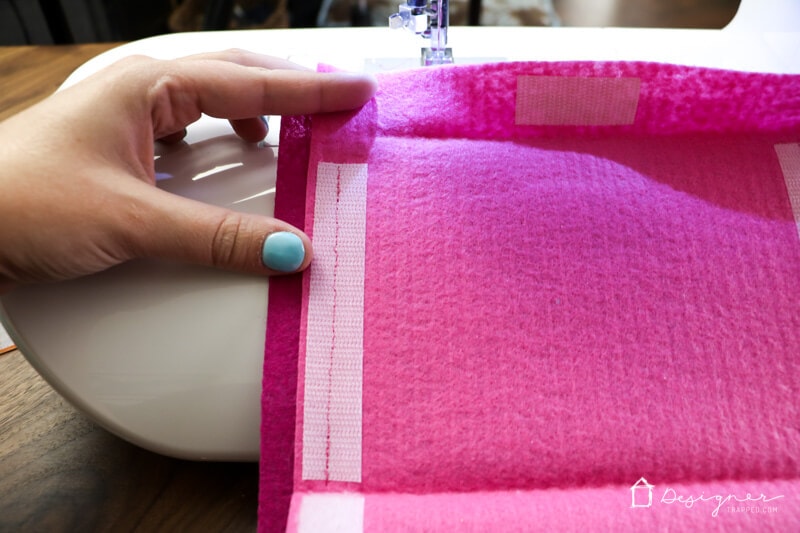
3) I then stitched the pocket itself onto the back of the front cover, following the same stitch line that I used to sew the velcro on. This may sound obvious, but you only sew the TOP HALF of the pocket onto the back cover. The bottom half/flap should be left loose so that it can hinge open and closed :)
4) Finally, I stitched the front cover and back cover together by running a seam along the outer edge.
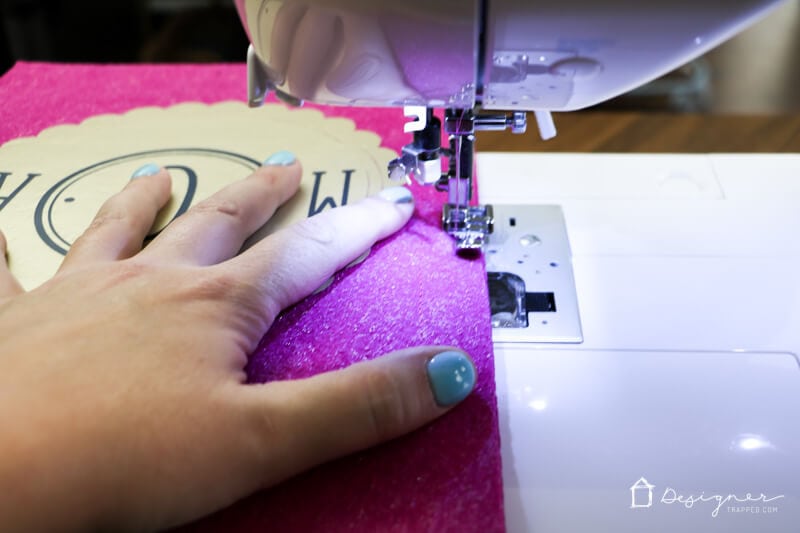
This is how the “book” looks when it's all done. So cute!
How to Make the Doll, Clothes and Accessories for Your Felt Doll Kit
2) If the felt that you are using for the body of your doll is not stiff, use your fabric stiffener to stiffen it. Allow it to dry BEFORE cutting out the doll shape with your Cricut. To cut the doll body out by itself, use the contour feature in Cricut Design Space to hide the hair, since I suspect you want the hair to be a different color :) If you aren't familiar with how to use the Cricut contour feature, this article explains it really well.
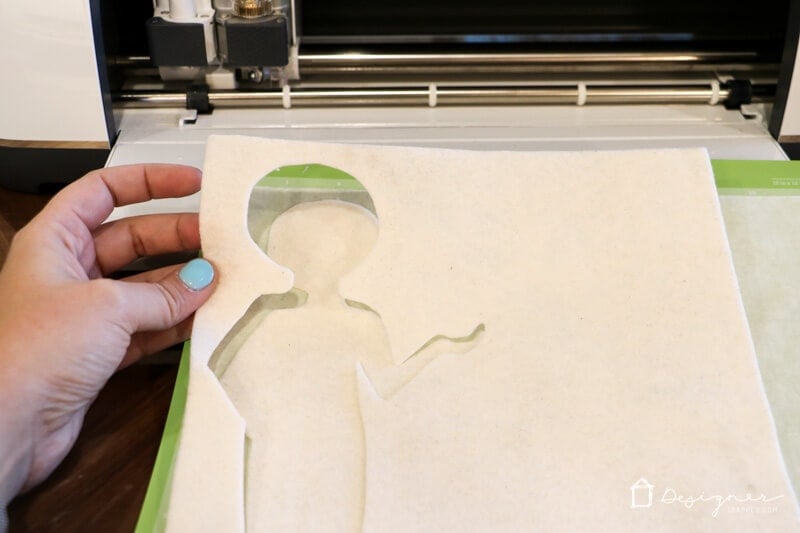
2) Cut out the doll body. I used my rotary blade and set the material to “felt” and my cuts were perfect.
2) Cut out as many clothes in as many different colors as you want! Again, just use the contour feature to “hide” any items that you don't want to cut out of a particular .png file (this article explains the contour feature really well).
3) Once everything is cut out, glue your doll's hair onto the body. You can use small pom poms or rhinestones for your doll's eyes. I cut out the lips by hand using pink felt.
4) Then decorate your doll's clothes and accessories to your heart's content! The felt glue does a great job of holding everything together, but it does require some time to dry, so after applying it, set everything somewhere flat where it can dry without being disturbed.
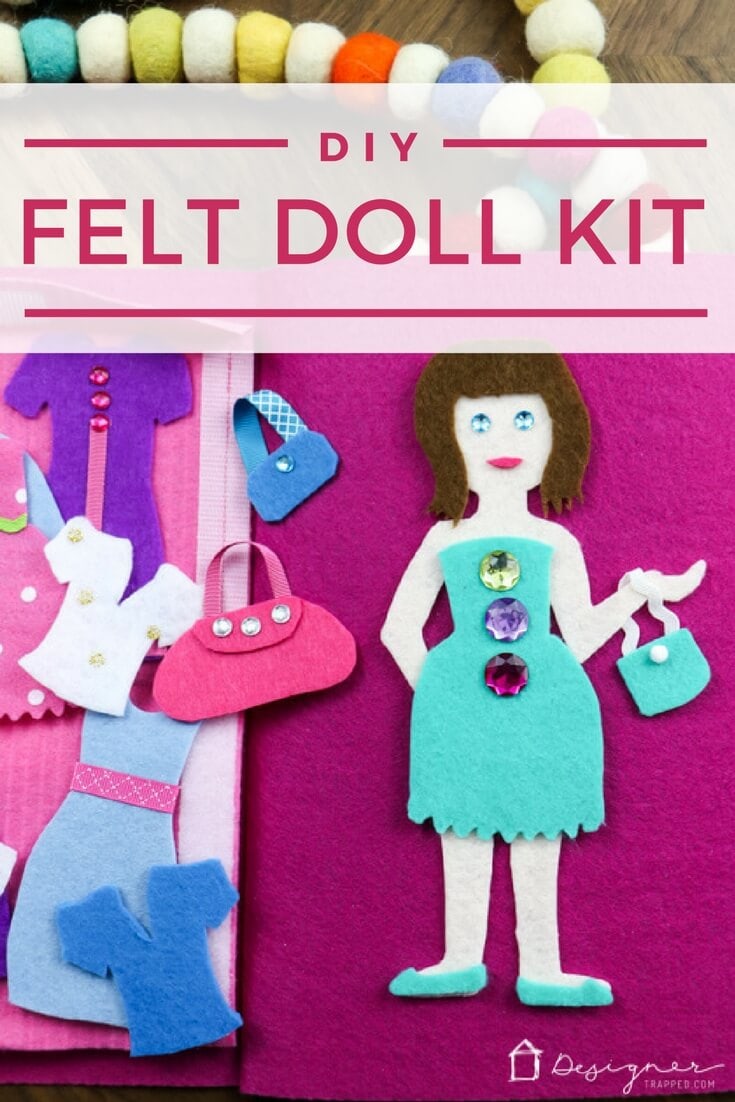
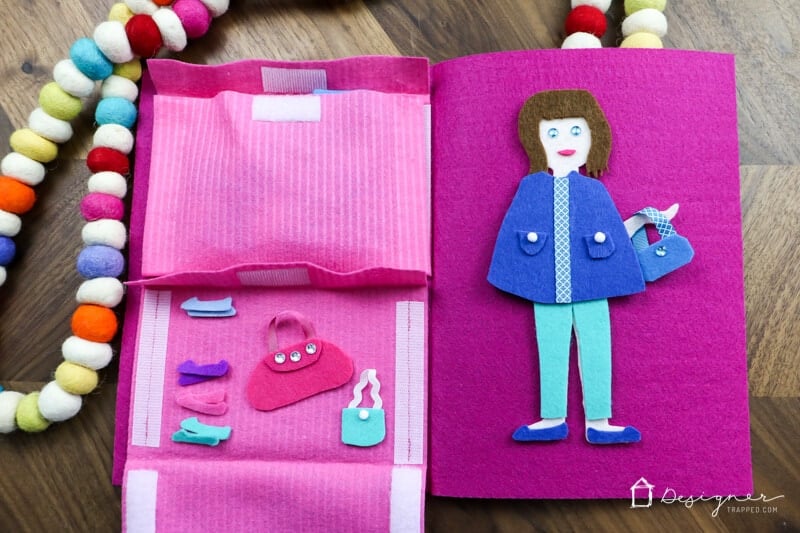
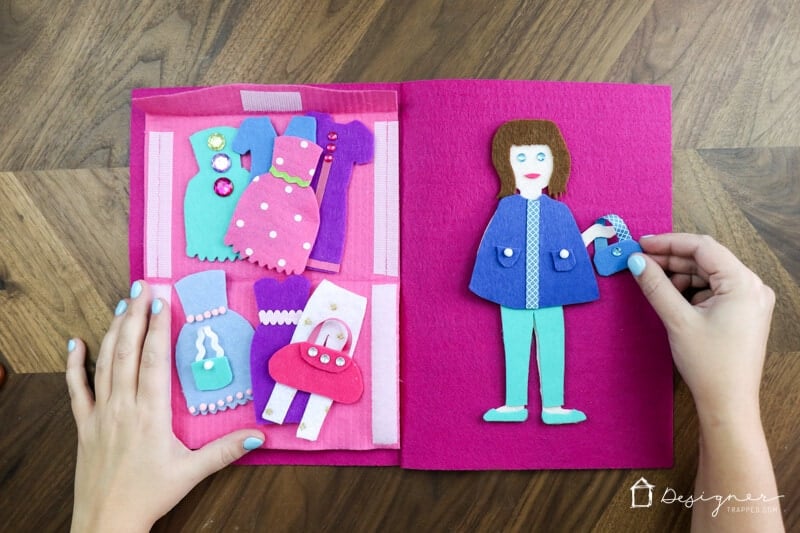
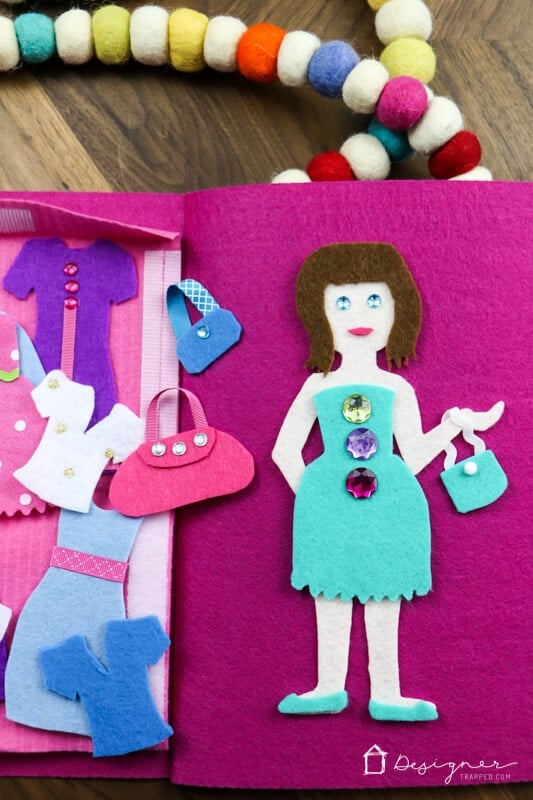
Take a look at how the DIY felt doll kit I made turned out :) I'm happy to report the recipient of it loves it (and her mom love that is is quiet and keeps her hands occupied).
This is what it looks like when everything is put away.
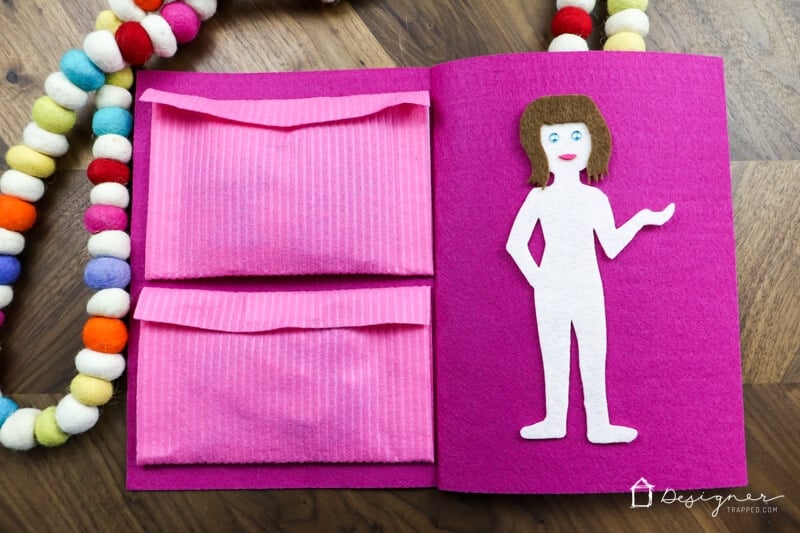
And this is how it looks when everything is out and being used :)
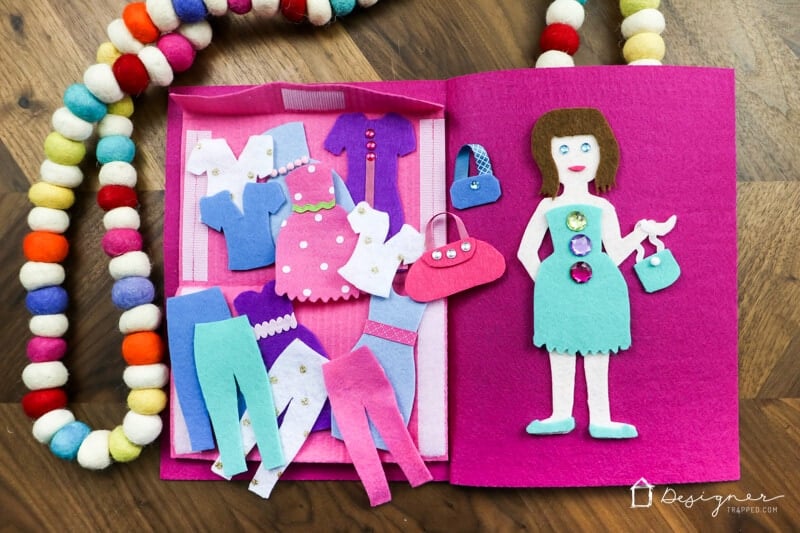
I placed all of the clothes in the top envelope and all of the shoes and accessories (including that cute cape!!!!!) in the bottom envelope.
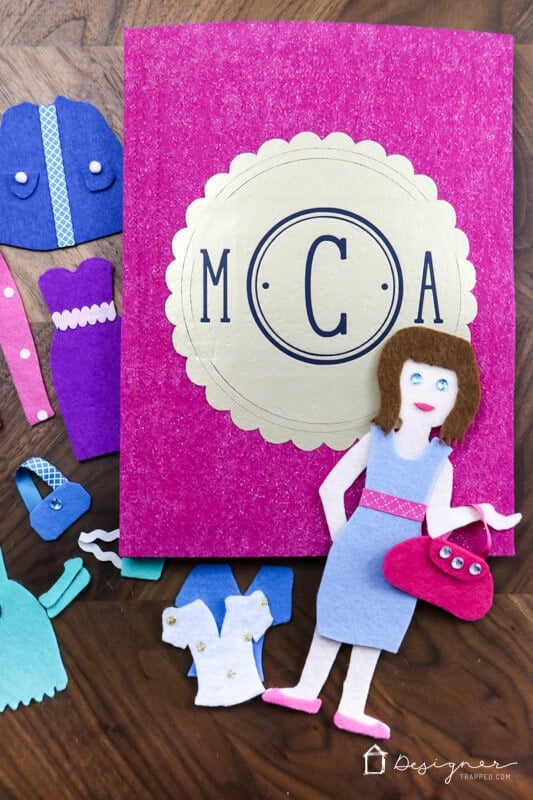
If you know a little girl that would love this, be sure to save it to Pinterest or share it on Facebook so you can find the tutorial again later :)
And before you head out, be sure to subscribe to my newsletter so you can get access to my FREE printables library!
[mv_create 1 11 200 2016 key=”1″ type=”list” title=”Most Popular Projects” thumbnail=”</span><a href=” https designertrapped com wp content uploads diy home decor projects blog jpg target=”_blank” a span]

This is a sponsored conversation written by me on behalf of Cricut. The opinions and text are all mine.
Last Updated on June 7, 2019
