Ikea Hack: DIY Lego Table
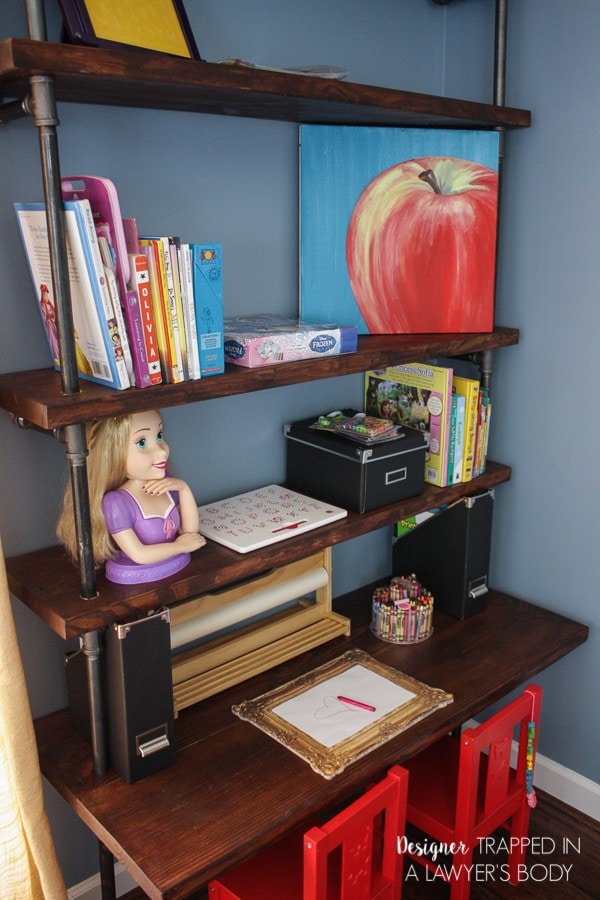
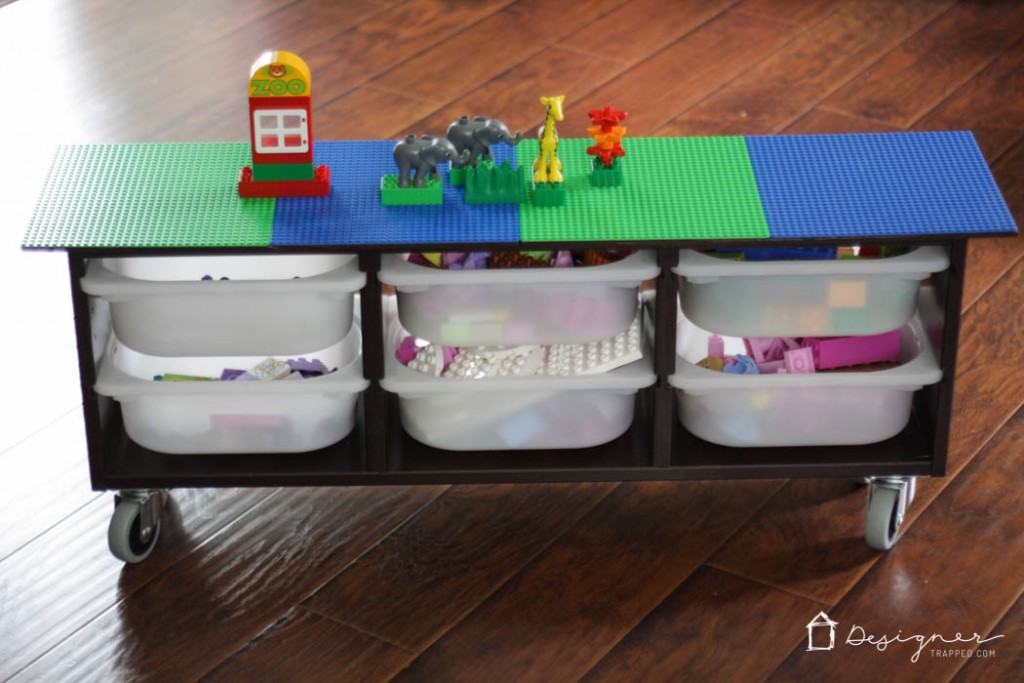
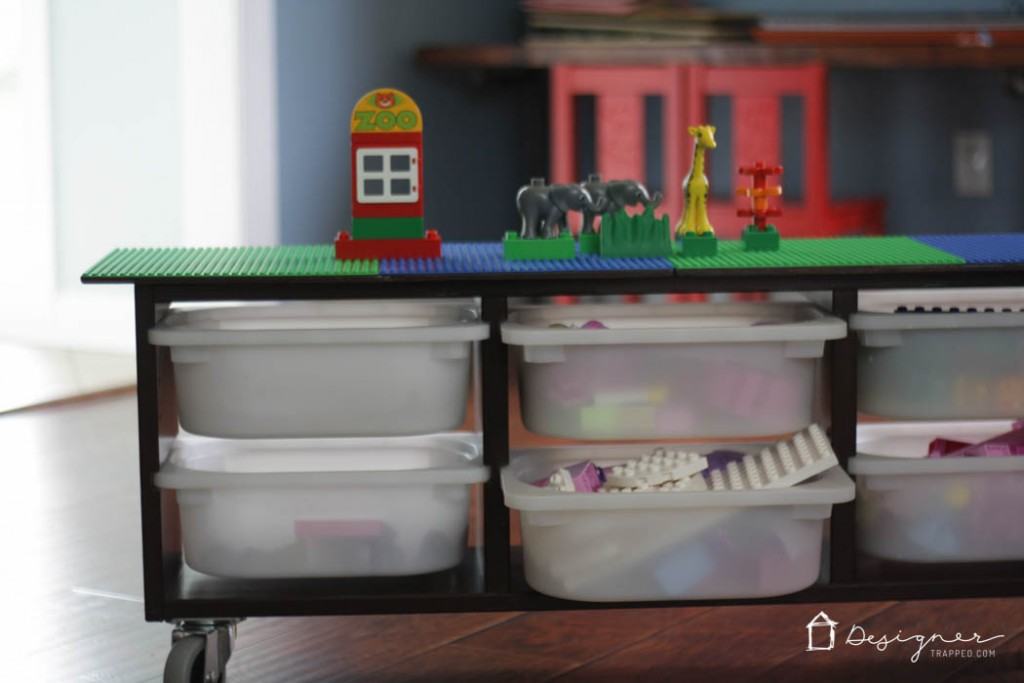
I've been focused on organization all month here on the blog. Our twin girls' playroom was a big area of focus for us–all those toys of different sizes can be a challenge to get organized. This past spring, we built some industrial pipe bookshelves and desks in their playroom, which helped a lot, but we still lacked storage for some specific toys, like Legos. Since then, we've come up with a great solution for their legos! Not only do they stay organized, but our girls now use their Legos more than ever before. How, you ask? With the DIY Lego table that we built for them. It's an awesome and easy Ikea hack that anyone can make! This post contains some affiliate links for your convenience. Click here to read my full disclosure policy.
How to Build a DIY Lego Table
Materials needed for a DIY lego table:
- Ikea Trofast wall storage unit
- Gel wood stain {if desired)
- 1/8 inch plywood, cut to size
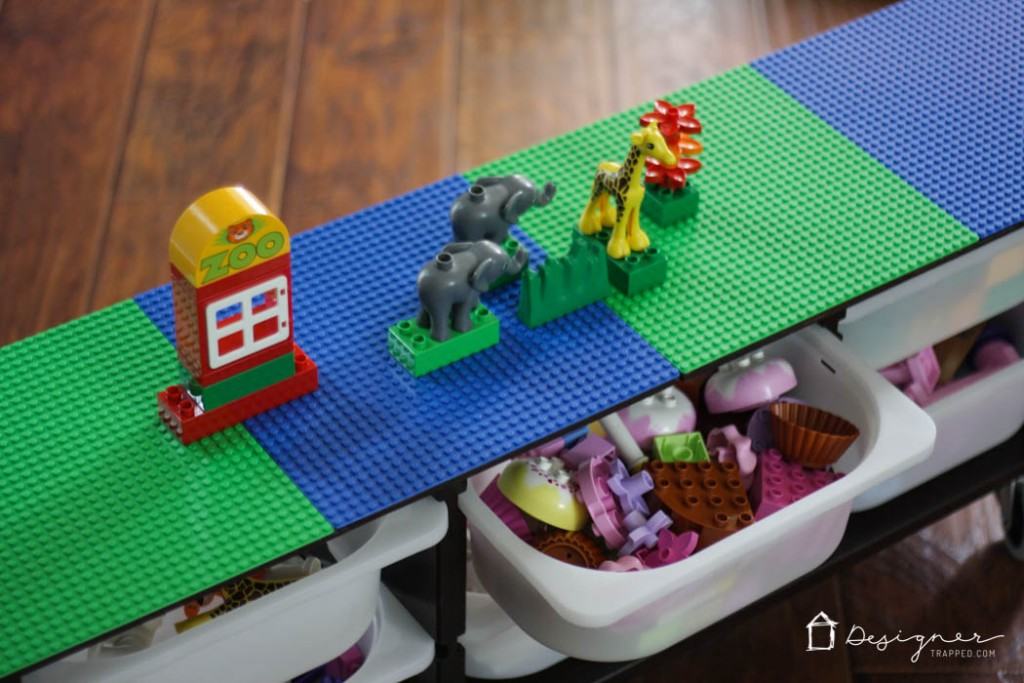
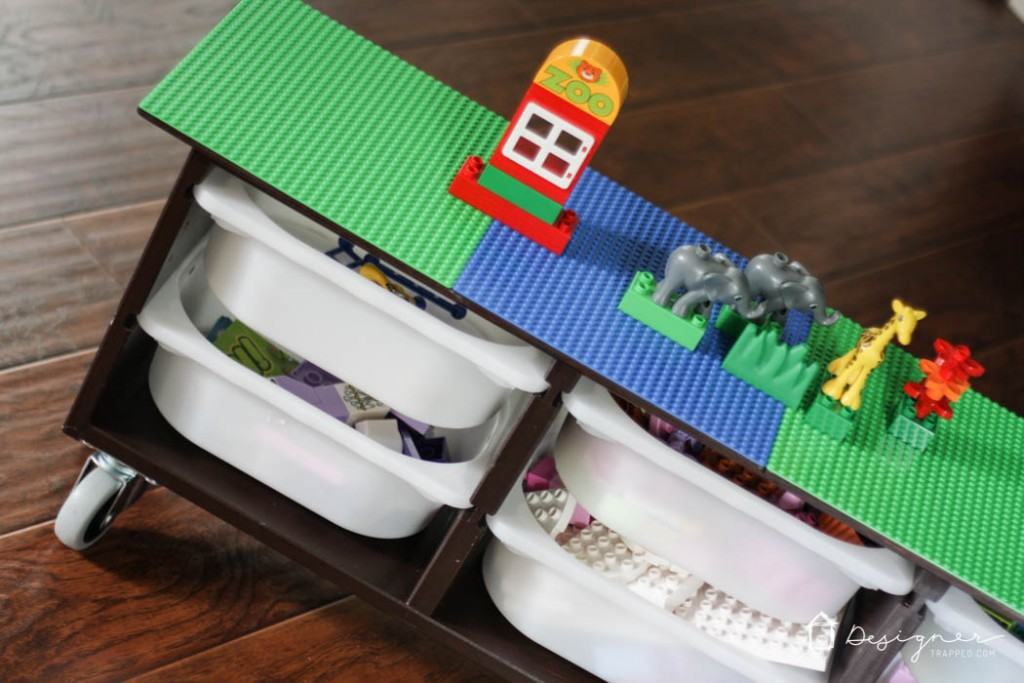
- 4 Lego base plates
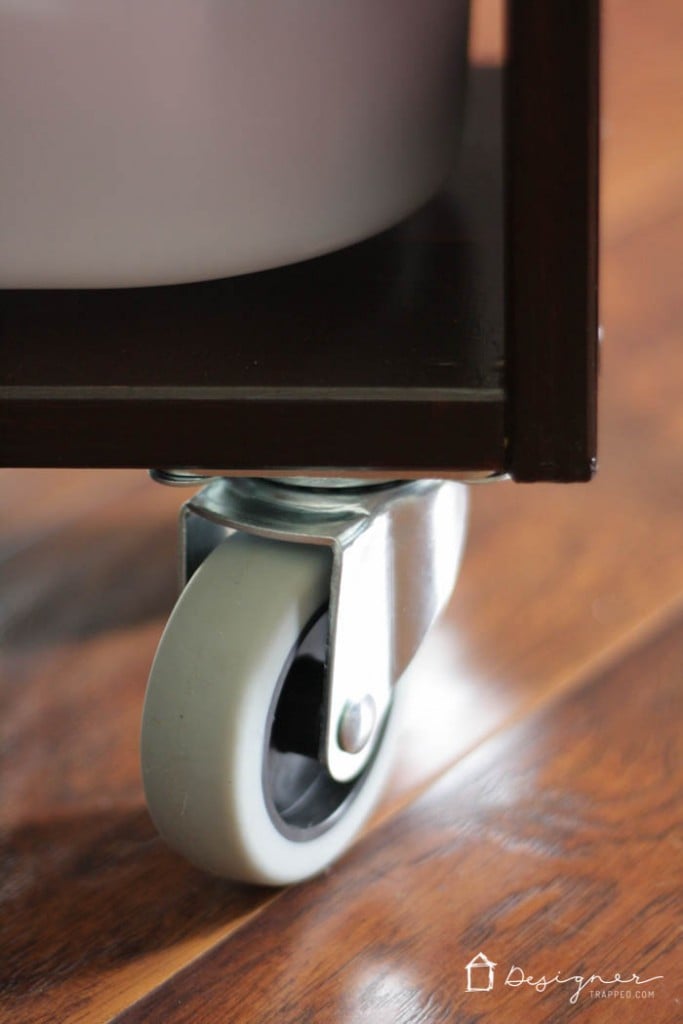
- 4 casters {we used 3-inch casters}
- Multi-surface glue {we used Elmer's Probond}
Steps to build a DIY lego table:
1) If desired, stain your Trofast wall storage. We wanted a darker stain so we used some General Finishes Gel Stain in Mahogany finish to darken ours, but if you don’t, you could certainly skip this step!
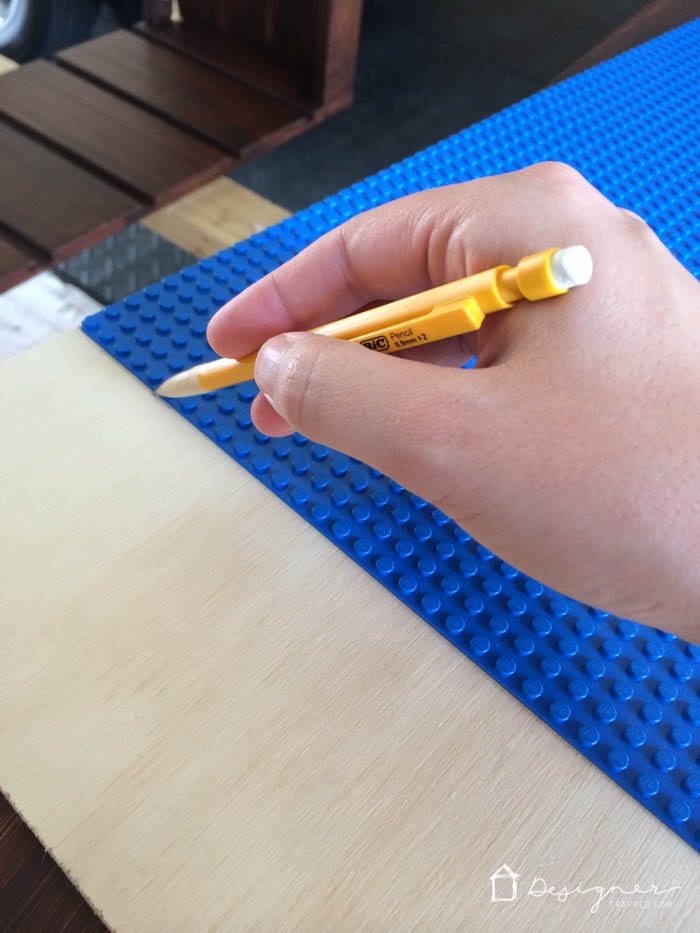
2) Lay your base plates on your piece of plywood and draw an outline with your pencil.
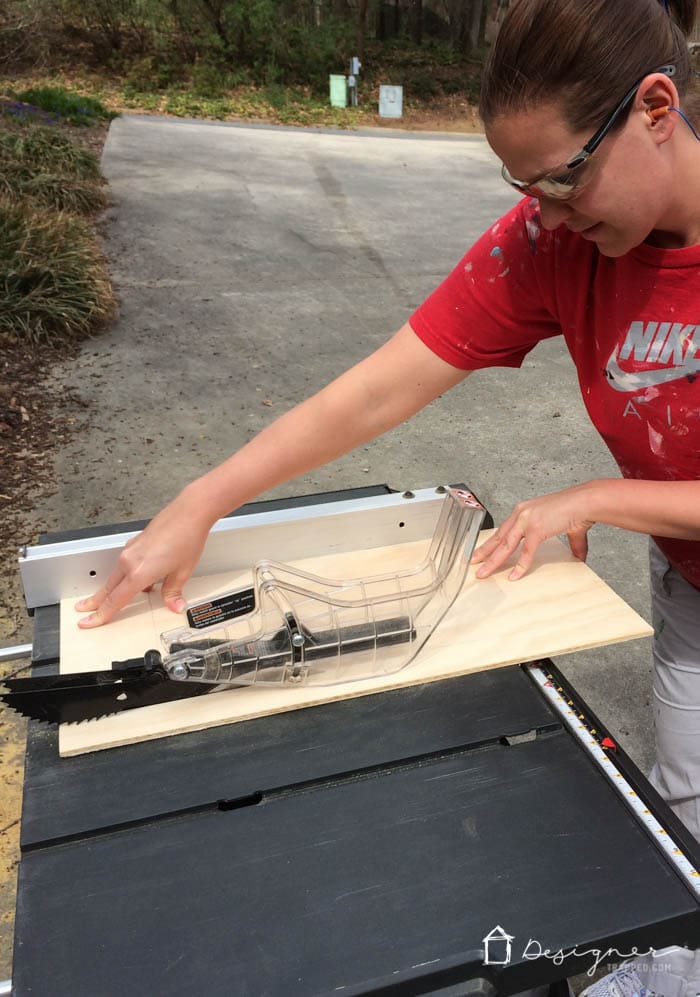
3) Cut your plywood to size. We were using scrap plywood, so we used two smaller pieces of plywood, instead of one continuous piece. We did not measure. We simply used the 4 Lego base plates as our guide, since we planned to glue the base plates directly on top of the plywood.
4) If desired, stain the BOTTOM side of the plywood. There is no need to stain the top that your base plates will be glued on.
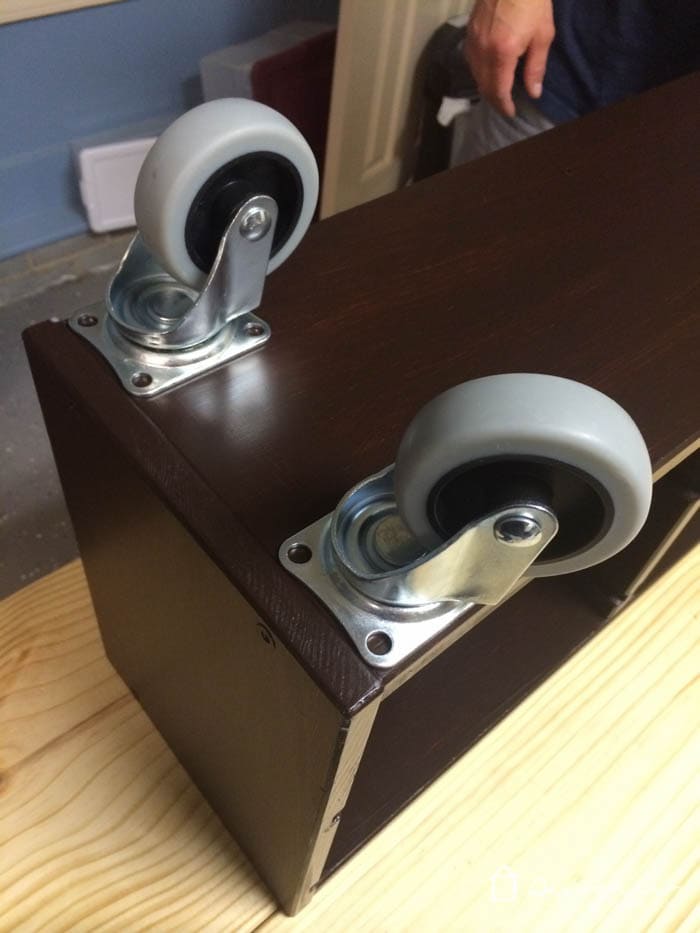
5) Attach your casters to the bottom 4 corners of the unit.
6) Attach your plywood to the top of the Trofast unit. Be sure to center it, since it will overhang the top and sides. Oh, are you wondering why I am in my PJs in this photo??? Most of our projects are completed at night after our girls go to bed, hence the PJs.
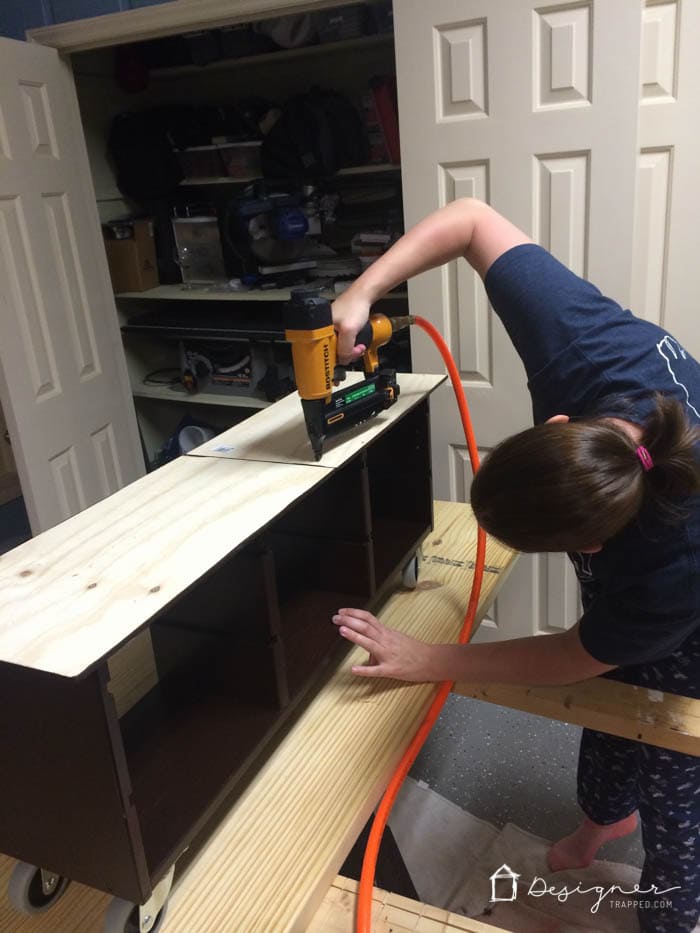
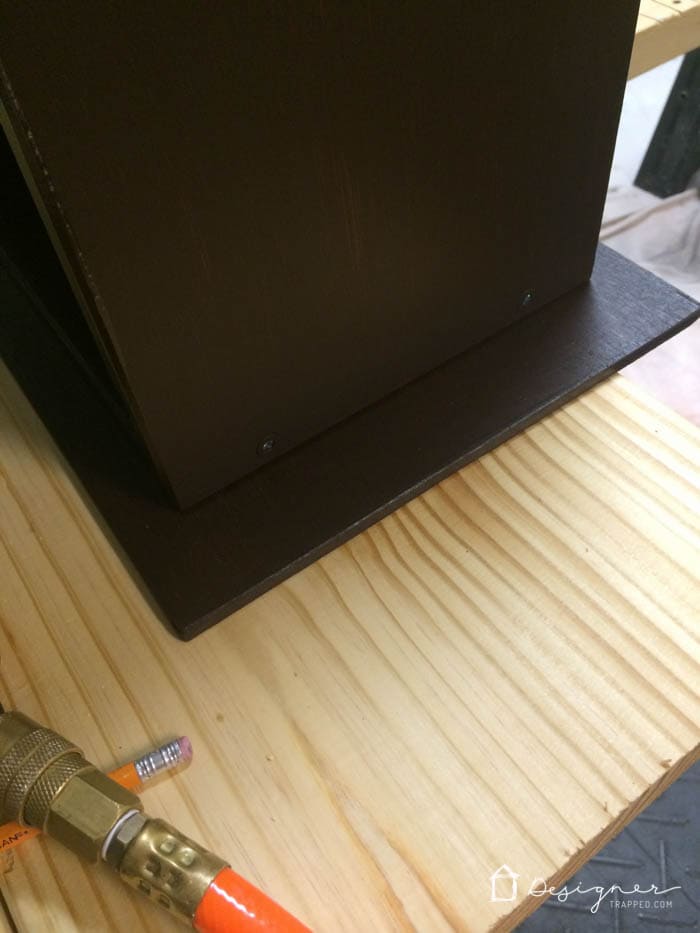
You can see in the photo below why we stained the bottom of the plywood–the overhang portion is visible from underneath.
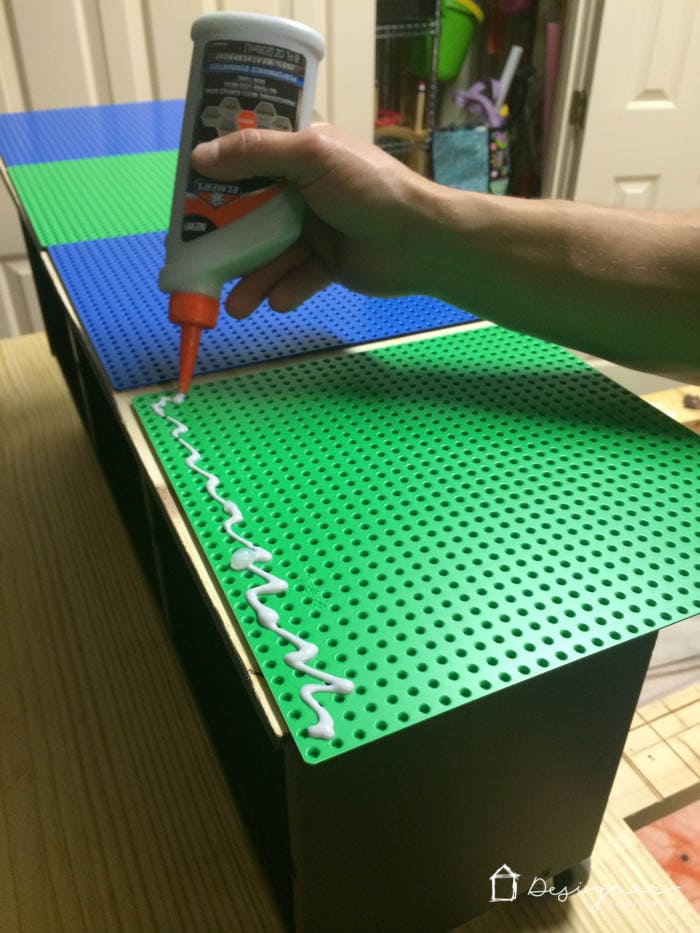
7) Glue on your base plates. We used Elmer’s ProBond Advanced and it worked like a charm. Place something heavy on top and allow it to dry overnight.
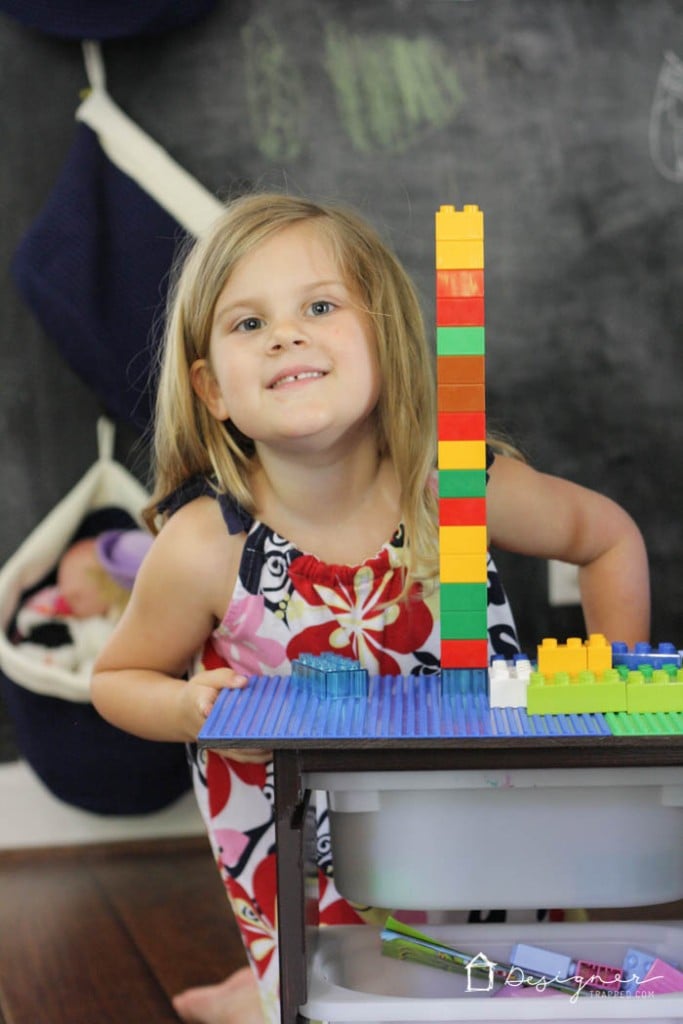
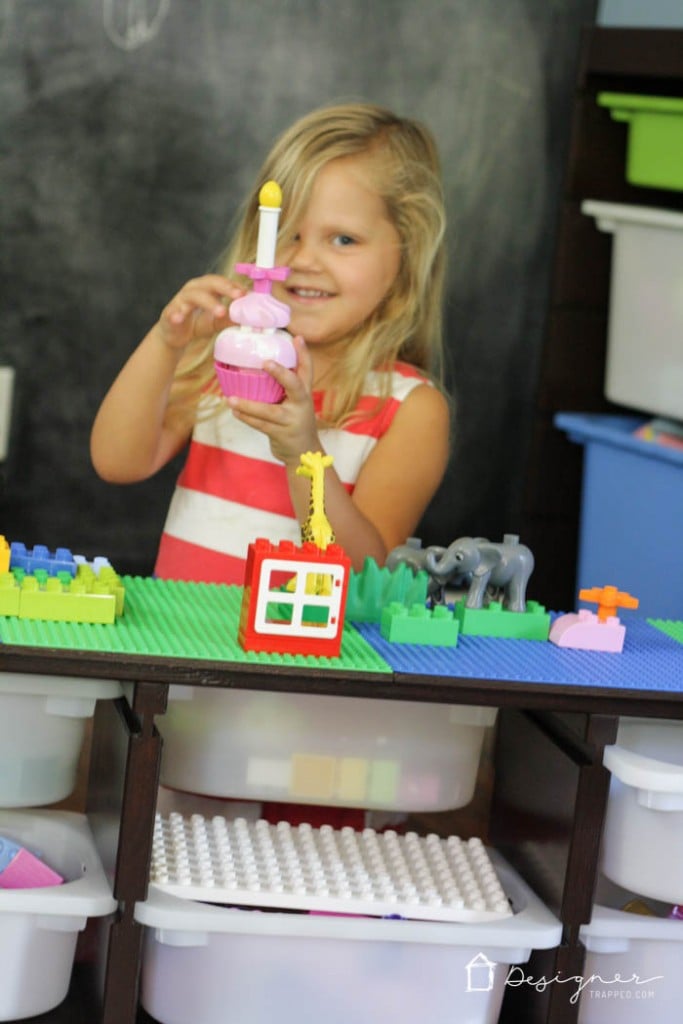
That’s it! How easy is that? And I have to tell you, it keeps our girls’ Legos nicely organized. Best of all, they are playing with their Legos much more now! They love moving the table around to different areas of the room and are actually EXCITED to separate the Legos by color/kit. Win!
What do you think of the finished product?
If you are looking for more toy storage/playroom storage solutions, check out these other posts.
DIY Pipe Shelves and Desks
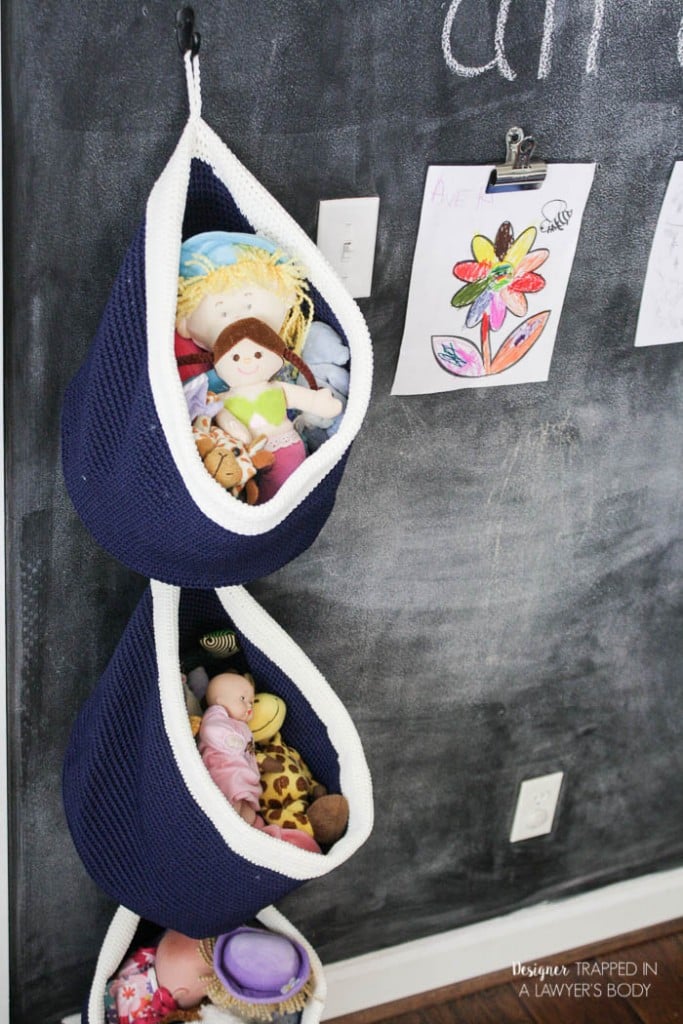
| Easy Hanging Toy Storage
|
And if you love this project, be sure to pin it so you can refer back to it later :)
[mv_create 1 11 200 2016 key=”1″ type=”list” title=”Most Popular Projects” thumbnail=”<a href=” https designertrapped com wp content uploads diy home decor projects blog jpg a]

[mv_create 1 2018 key=”2″ type=”list” title=”Design Posts” thumbnail=”</span><a href=” https designertrapped com wp content uploads 05 how to pick paint colors jpg target=”_blank” a span]
Last Updated on August 10, 2021
