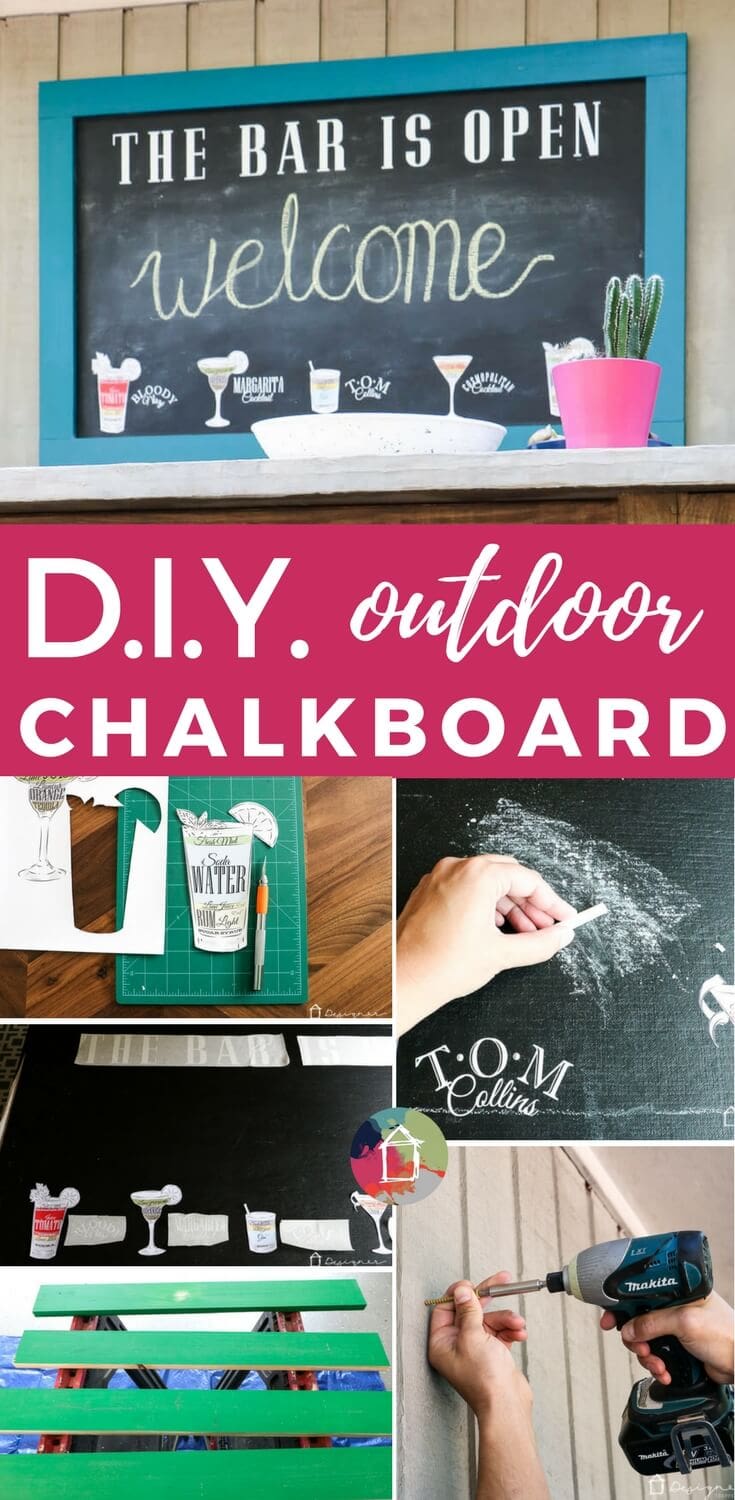
DIY Outdoor Chalkboard Tutorial
If you have ever wondered how to make a chalkboard to enjoy outside, you are in luck! This tutorial will show you exactly how to make a cute and durable DIY outdoor chalkboard!
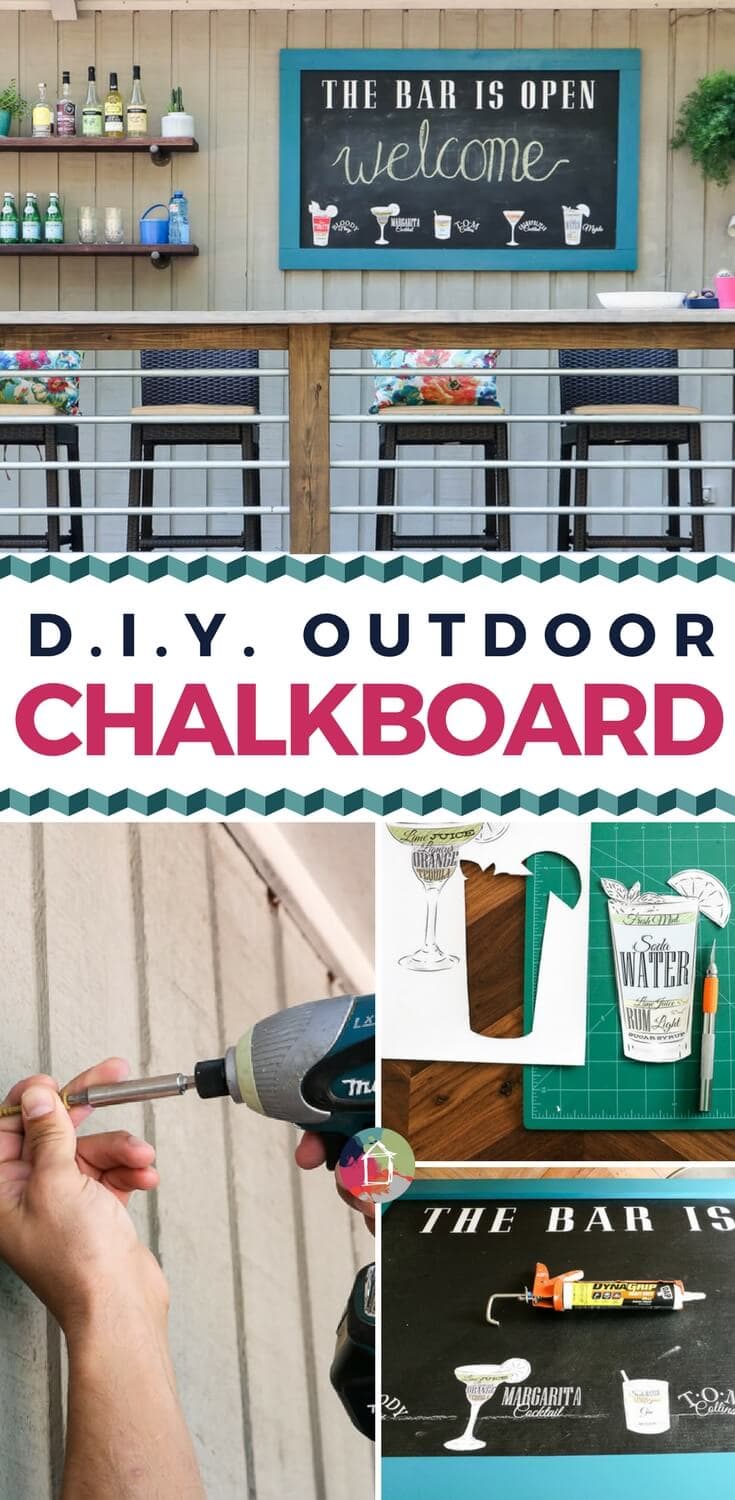
I'm kind of cracking up that it has taken me this long to finally write this tutorial. We made our DIY outdoor chalkboard about 8 months ago, lol! But, the fact that so much time has passed is good in one way–it means I can tell you with confidence that it is holding up to the outdoor elements without any issues! It's such a cute addition to our DIY deck bar and massive deck project that we tackled last year. I'll be super transparent and confess that it still says “welcome” on it allllll these months later, which is pretty lame and embarrassing. But I've promised myself I'm going to start writing different things on it soon ;) Read on to learn how to make your own outdoor chalkboard. It's SUPER easy!
Thank you to DAP for sponsoring this post. This post contains some affiliate links for your convenience (which means if you make a purchase after clicking a link I will earn a small commission but it won't cost you a penny more)! Click here to read my full disclosure policy.
How to Make an Outdoor Chalkboard
Materials Needed:
- Solid wood to make your frame. We used old scrap wood that was previously painted BRIGHT green. If you buy your wood, you would want to purchase 1 x 4 inch wood to get the same look we have.
- Cement board (sometimes called Hardie Board)- You just need a 3 x 5 sheet.
- This is IMPORTANT! Cement board is better able to handle water and other weather elements than wood or plywood (even if it's sealed and painted well). And it's way more mold and mildew resistant.
- Chalkboard paint- Click here to see the exact chalkboard paint we used.
- DAP Dynagrip
- Mirror hanging kit
- Paint in whatever color you choose for the wood frame (we used Velvet Curtains by Valspar because we already had it after using it on our front door)
Optional Materials (if you want to add text and/or drink images like mine):
- Cutting machine
- If you are curious about cutting machines in general, you can read my comparison of Silhouette vs. Cricut in this post.
- Printable vinyl
- Premium outdoor vinyl in white
- Craft knife
- Cutting mat
- Cute graphics (you can find the drink menu graphics that I used here–they are SO CUTE)
Steps:
1) Start by painting one side of your cement board with your chalkboard paint. I applied 2 coats. Just make sure you get full coverage.
2) While your chalkboard paint is drying, cut your wood frame pieces to size. We cut the horizontal pieces to just over 5 feet long and the vertical pieces to 28.5″ long. This will allow you to attach the frame directly to the chalkboard using simple butt joints at the corners.
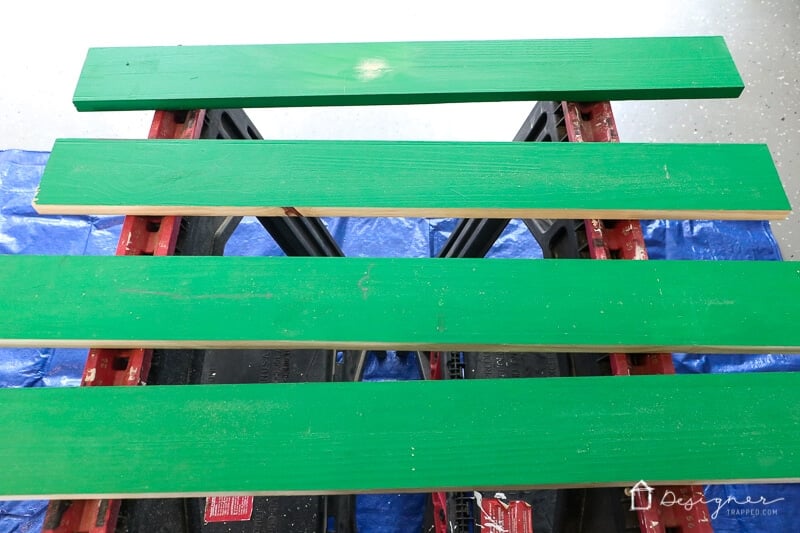
3) Paint your wood frame with whatever color paint your love. Use an outdoor quality paint :)
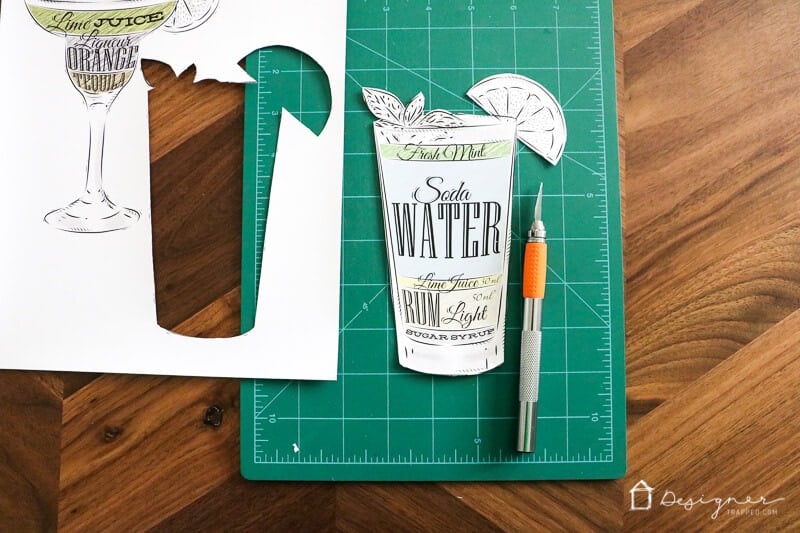
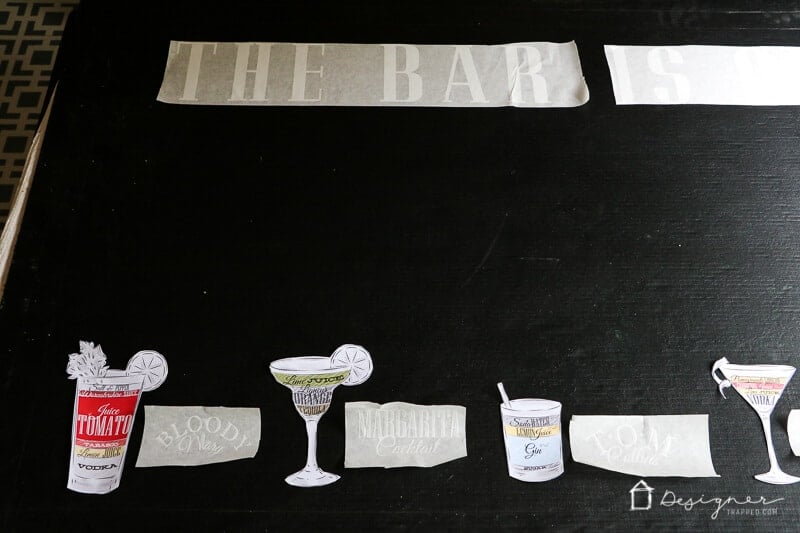
4) If you are going to apply text or images to your outdoor chalkboard, cut out your designs. I used my Cricut Explore to cut out “THE BAR IS OPEN” and the names of all the drinks on premium outdoor vinyl. The drink recipe images I printed out on printable vinyl. Unfortunately, the drink designs I used (you can find those here) were a bit too complex to use the print and cut feature to use my Cricut to cut them out, so I cut them out myself using a craft knife.
Once your text/designs are cut out, transfer them to your chalkboard before you attach the frame (but don't forget the frame is going to sit ON TOP of the chalkboard, so be sure your design doesn't get too close to the edges.
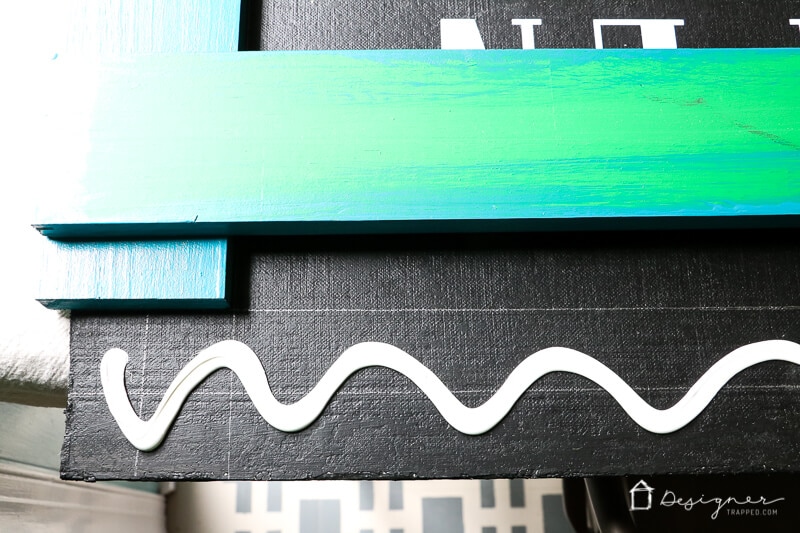
5) Attach your frame. We used our favorite construction adhesive, DAP Dynagrip. We applied it with a caulk gun and then used a clamp to hold the frame in place while the adhesive set.
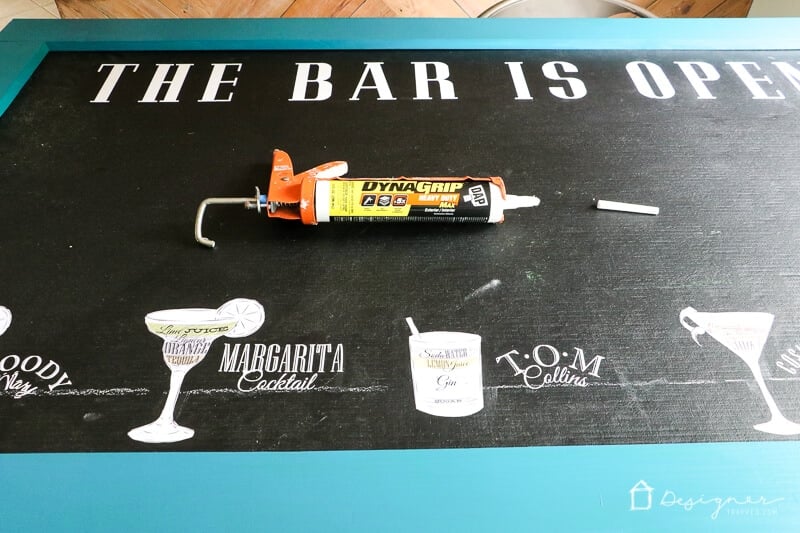
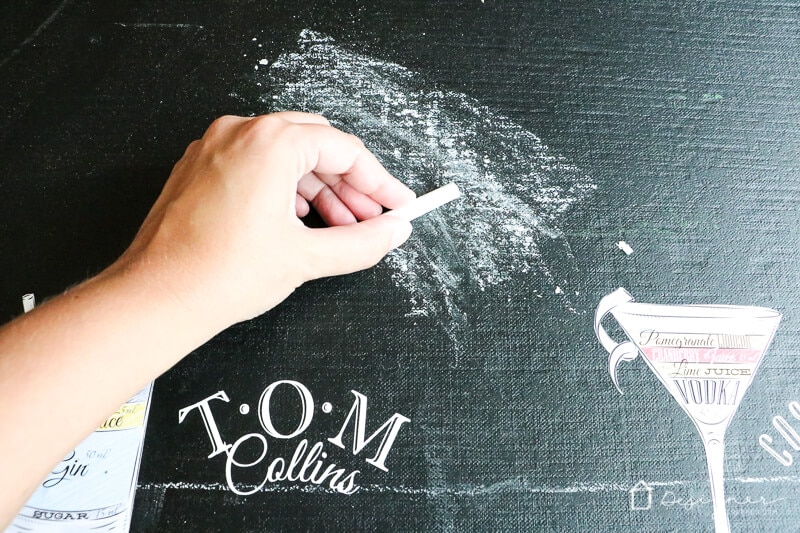
6) To make your vinyl designs look more authentic, gently rub chalk all over your chalkboard and then erase it.
7) Use your mirror hanging kit to attach hangers to the back of your outdoor chalkboard. Once the hangers are attached, thread the hanging wire through them and secure it.
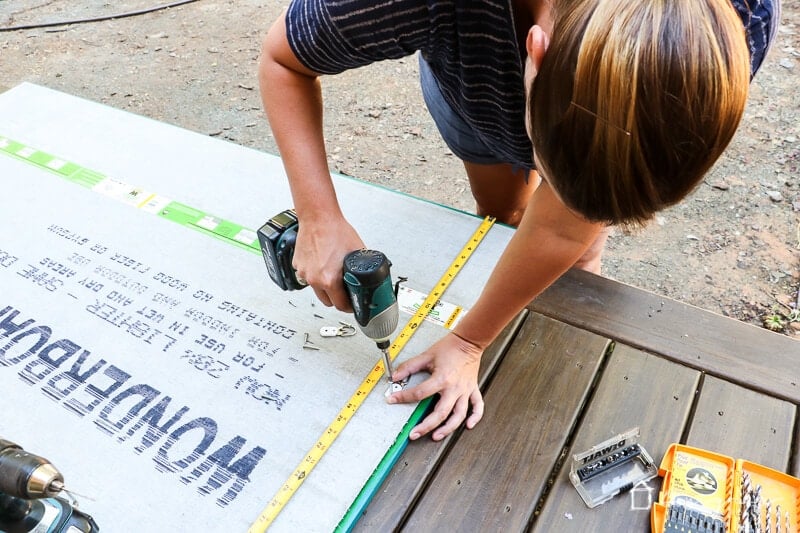
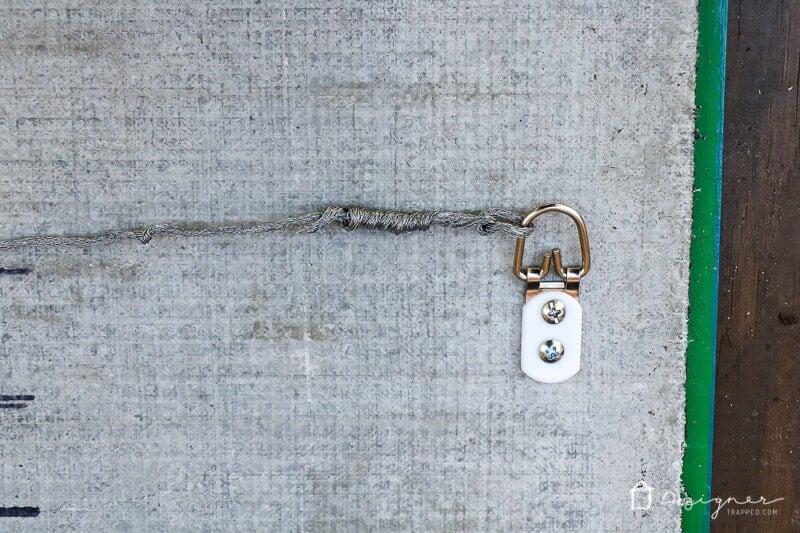
8) Attach appropriate hanging hardware to your house to hang your outdoor chalkboard. We have a wood house with cedar siding, so we just used a 3 inch deck screw :)
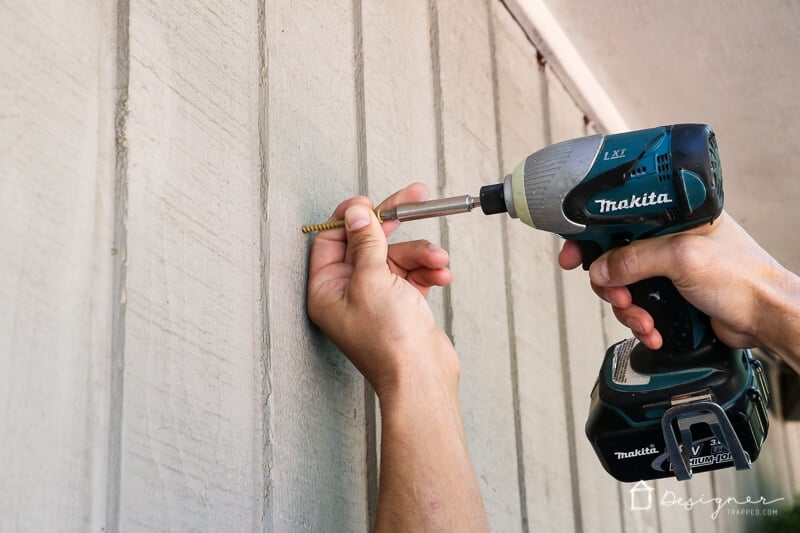
That's it! Hang up your outdoor chalkboard and enjoy it. Here's a look at how ours turned out.
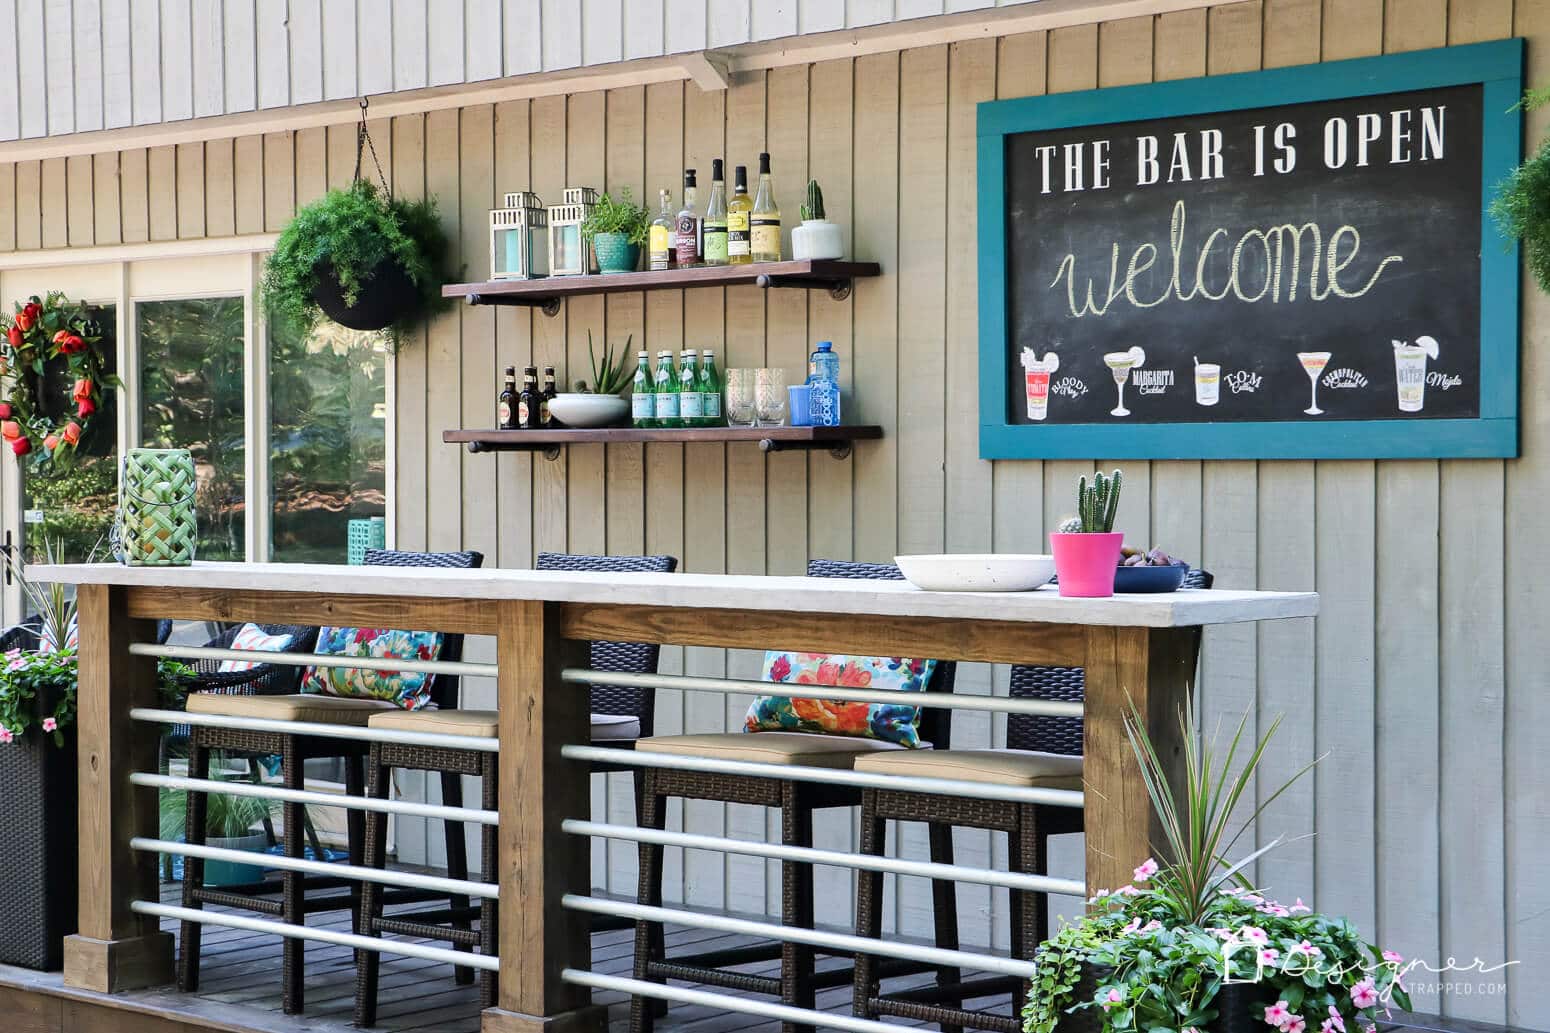
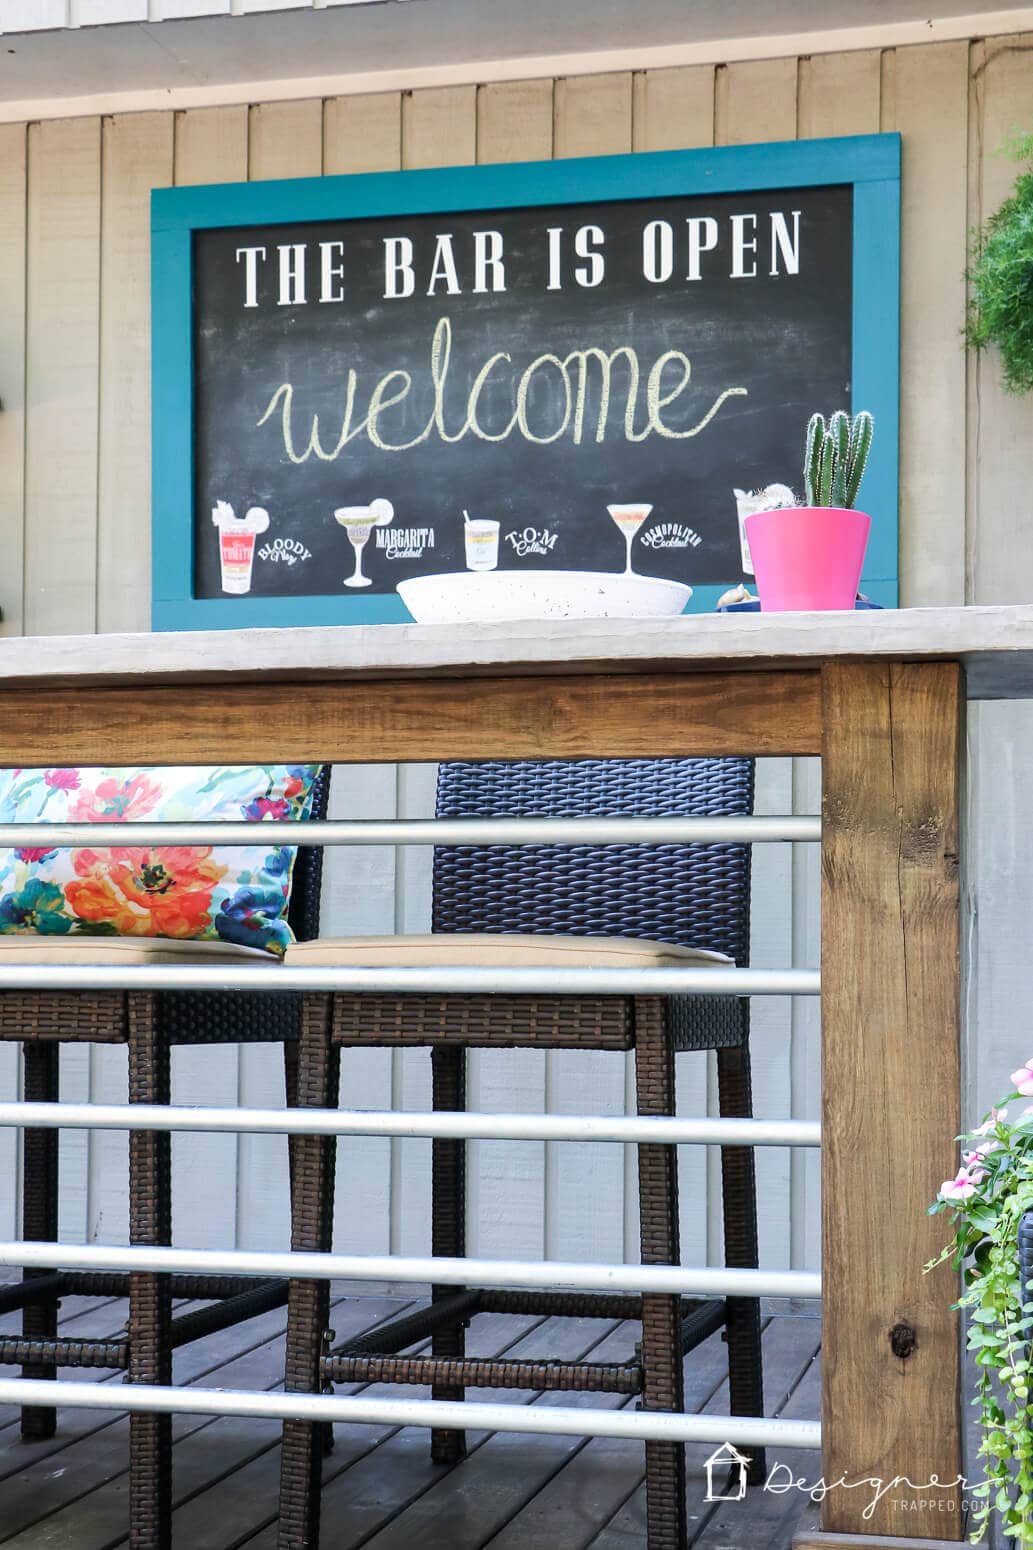
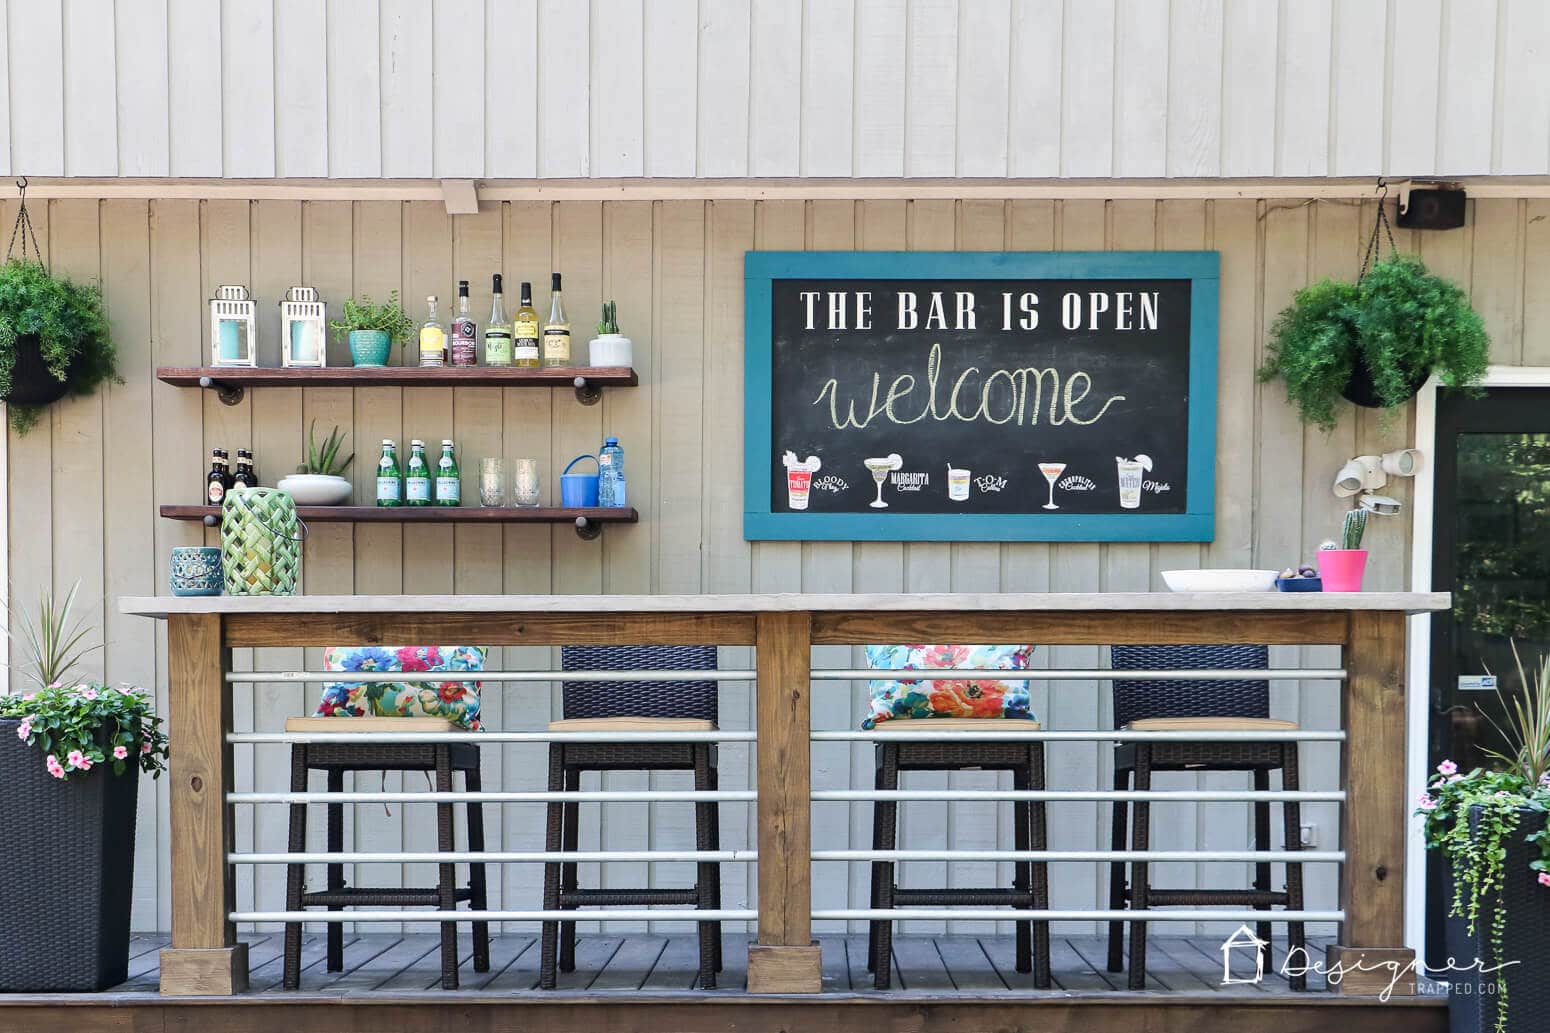
You can check out how we made that awesome DIY deck bar in this post and the rest of our DIY deck reveal in this post. Oh, and you can check out how we made those industrial pipe shelves in this post.
And before you head out, be sure to check out my brand new FREE guide on how the simple trick to understanding paint chips. It will help you so much whether you are choosing a paint color for your outdoor chalkboard frame or anything else!
[mv_create 1 11 200 2016 key=”1″ type=”list” title=”Most Popular Projects” thumbnail=”</span><a href=” https designertrapped com wp content uploads diy home decor projects blog jpg target=”_blank” a span]

Last Updated on March 27, 2022
