DIY Pendant Light
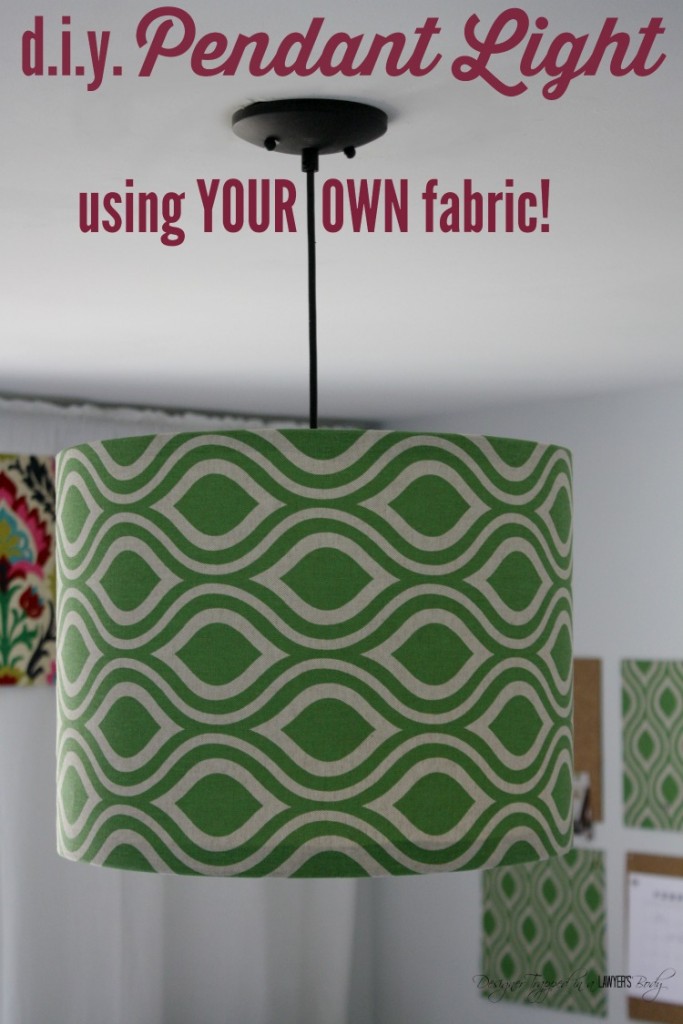
Hello lovely readers! I am BEYOND excited to share today's project with you. I am going to show you how I made a DIY pendant light for my craft room/office with the help of a seriously amazing lighting kit and some other basic supplies. But first, a bit of background…
You may remember that I revealed my craft room/office back over the summer. This post contains some affiliate links. Click here to read my full disclosure policy.
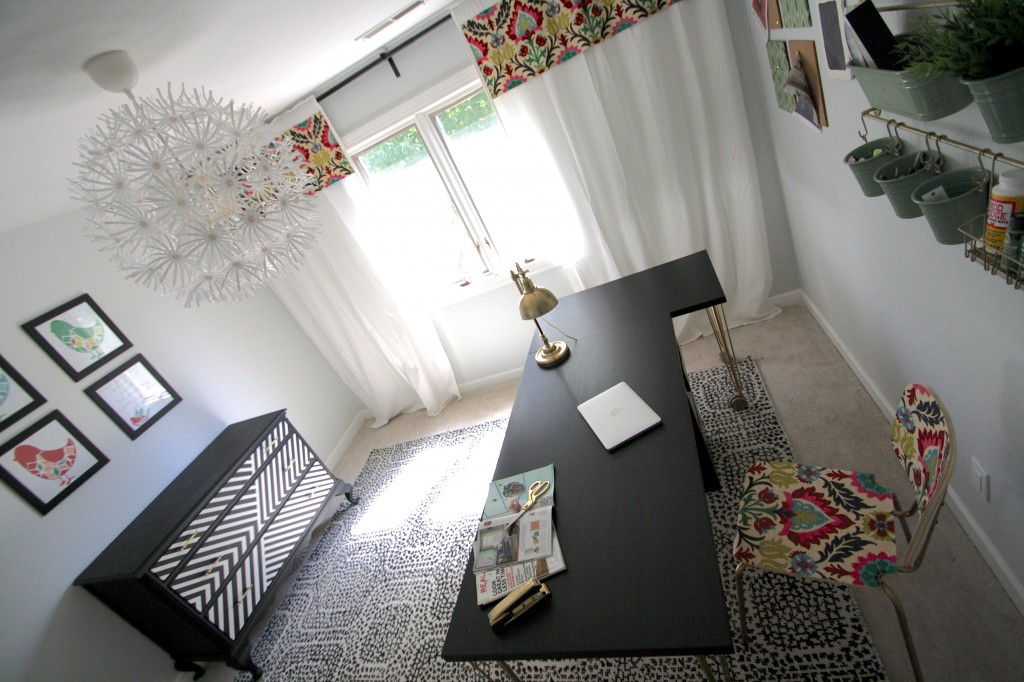
As you can see, the room included that SUPER fun and funky light fixture that I purchased at Ikea. The problem is that I use my craft room A LOT at night after my girls have gone to bed and that super fun light did NOT give off enough light for the room. So, our love affair ended almost as quickly as it began {don't worry, I have another plan for that light}.
Fast forward several months…I was so excited to learn about a brilliant product called I Like That Lamp.
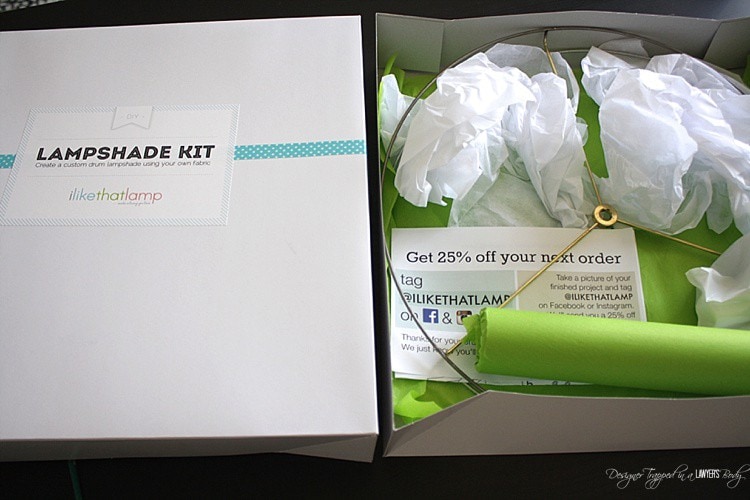
It is a kit that contains all you need to create a custom drum lampshade using your own fabric. You can purchase a variety of sizes directly from I Like That Lamp; a limited selection is also available on Amazon.
DIY PENDANT LIGHT TUTORIAL
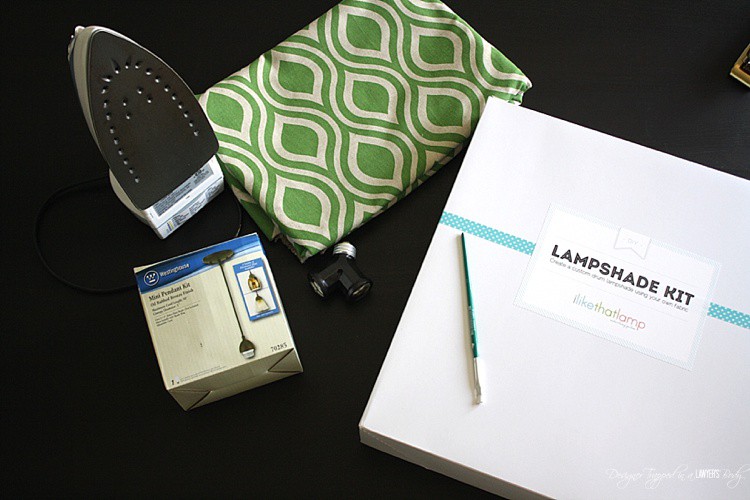
Materials Needed:
- 1 I Like That Lamp kit
{I used the 18 inch x 12 inch kit for my light. It is not available on Amazon, but you can order it directly from I Like That Lamp by clicking HERE}
- 1 Pendant Light Kit with Oil-Rubbed Bronze Finish
- 1 Twin Light-Socket Adapter
{optional}
- 1 2/3 yards {so it is at least 60 inches long} of light-weight, natural fiber fabric {I used Premier Prints Nicole Organic Green Laken Fabric from Online Fabric Store}
Steps:
1) Assemble the drum shade. I highly recommend you watch this YouTube video. It will help immensely. Below is my tutorial along with step-by-step photos.
- First, iron your fabric very well so that no seams or creases remain.
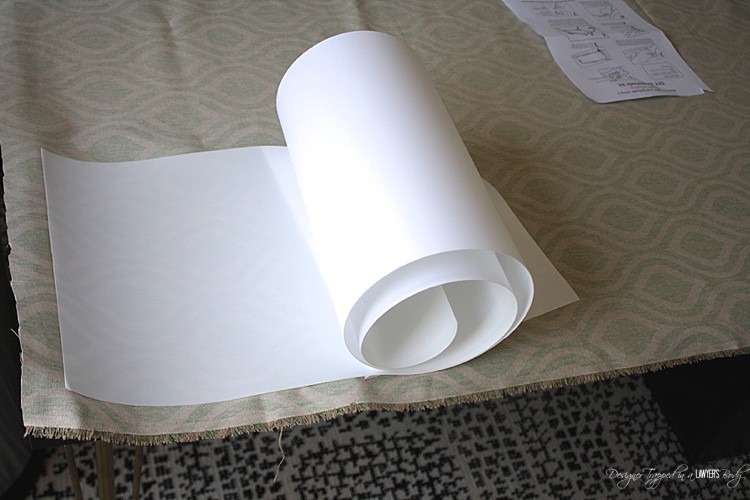
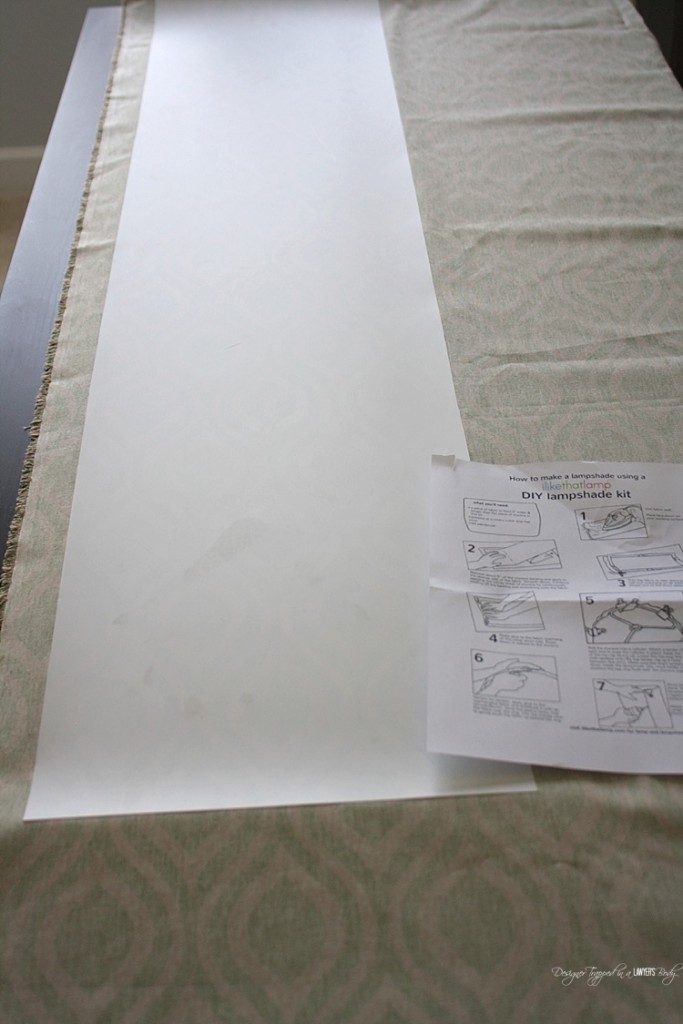
- Next, lay your fabric out UPSIDE DOWN on a flat surface and remove six inches or so of the backing from the styrene and place the sticky side of the styrene on the fabric. Slowly remove the rest of the backing while you are sticking the styrene to the fabric. Be sure to leave 1/2 inch of fabric overhang on each side and the end.
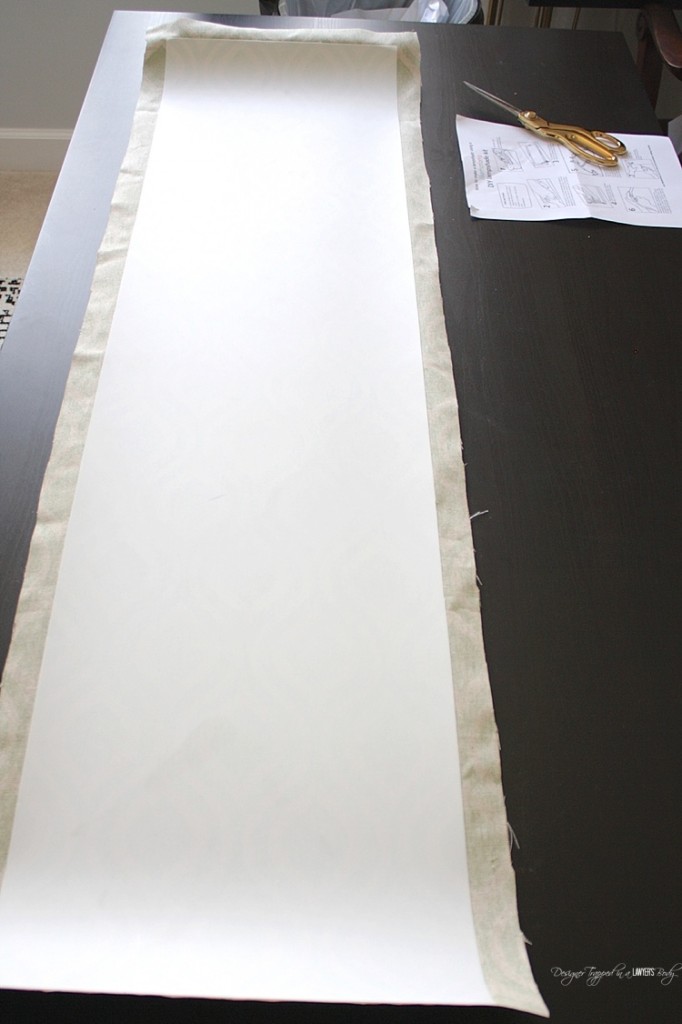
- Next, cut away the excess fabric. Again, be sure to leave 1/2″ overhang on each side except for one short side.
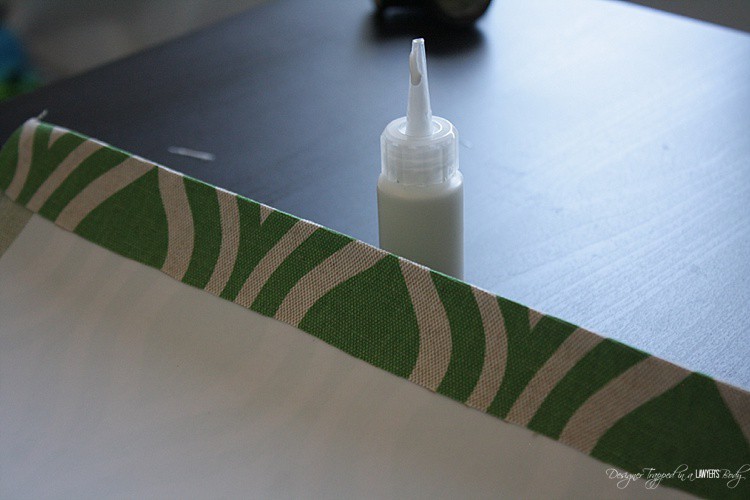
- On the one short end where you left some fabric overhang, fold the overhang over the styrene and glue it down. The glue is included in the kit.
- Stand the styrene up and shape it into a lampshade. Place your top lampshade ring {the one with the finial attachment hole} into place, using the included binder clips to hold them in place.

- Squeeze glue around the edges of your fabric and spread it around good with your paintbrush. Then, fold the fabric over the ring and press down. Finally, use the wooden stick that is included with the kit to push the fabric under the ring. {Sorry, I didn't get a photo of this step because both of my hands were busy}.
- When you have finished gluing the fabric around the top ring, flip the shade over, insert the bottom lampshade ring and repeat the gluing process.
- Finally, squeeze glue between the two short end edges of the lampshade and press them firmly together. Allow the glue to dry.
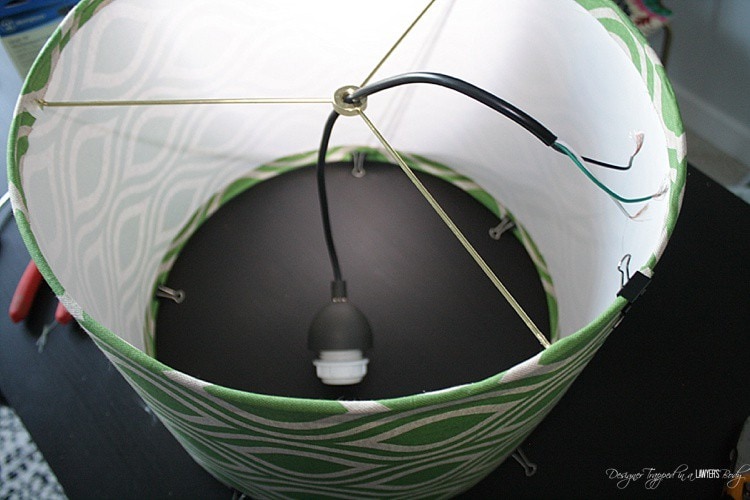
2) After your lampshade is assembled and the glue has dried, thread the wire of your pendant light kit through the finial ring on the top of the pendant light.
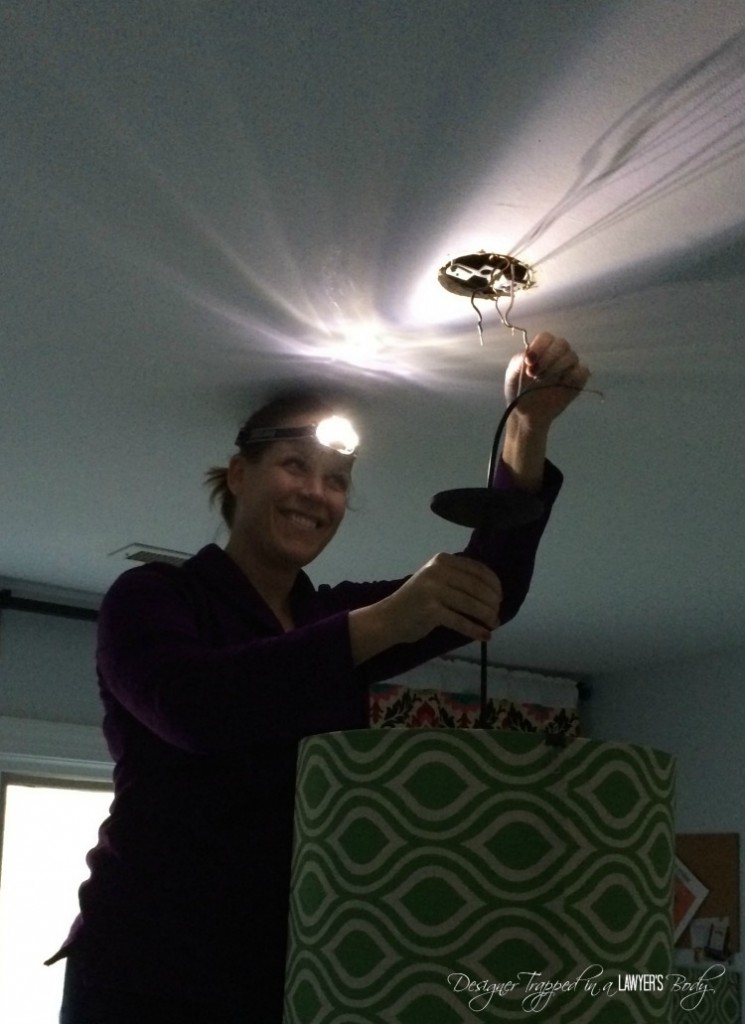
3) Hang your light! I do not provide specific electrical tutorials on my site, but I can tell you it's pretty darn easy to change a light fixture. That said, this is the very first light fixture I hung myself {Joe usually handles electrical stuff} and I made the VERY bad mistake of turning the power off only at the switch instead of at the breaker box, which did not work. I got a nice electrical shock about 10 seconds after Joe took the photo below. I wasn't smiling after that :) But, I rallied and finished the job AFTER we turned the power off at the breaker box.
4) Lastly, if you have opted to use a twin light socket adapter {to allow for more light output}, screw it into the light socket and then screw your bulbs into place.
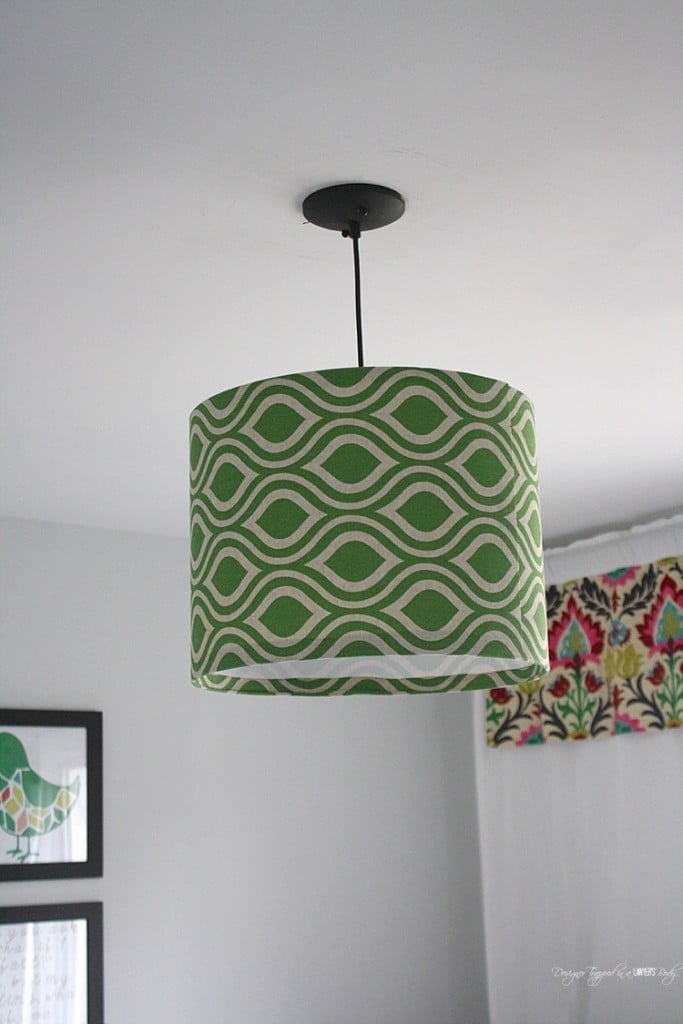
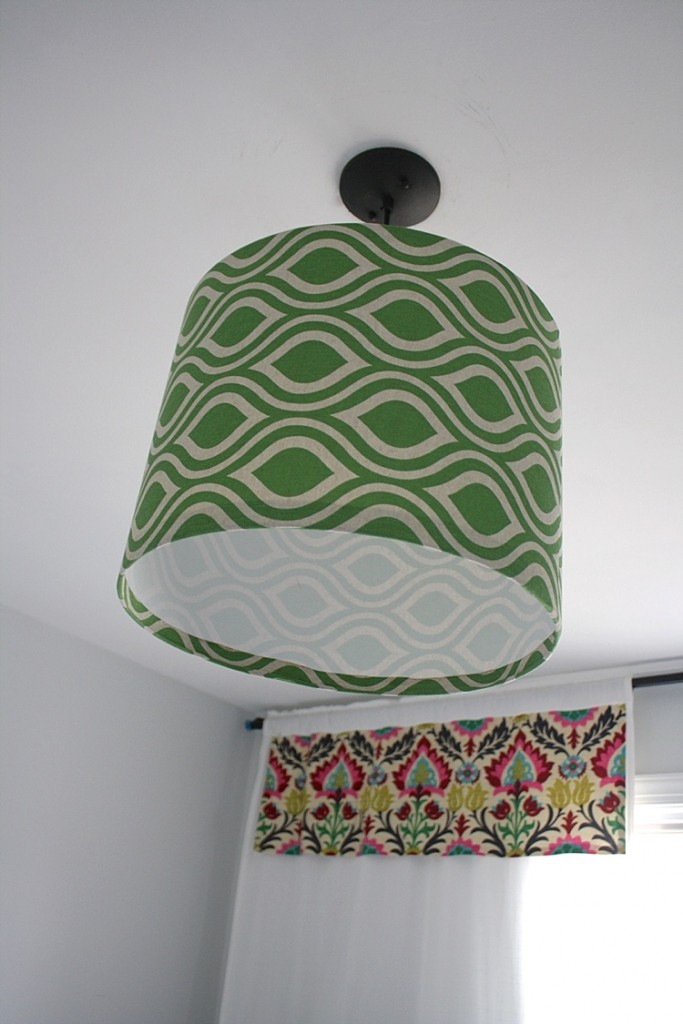
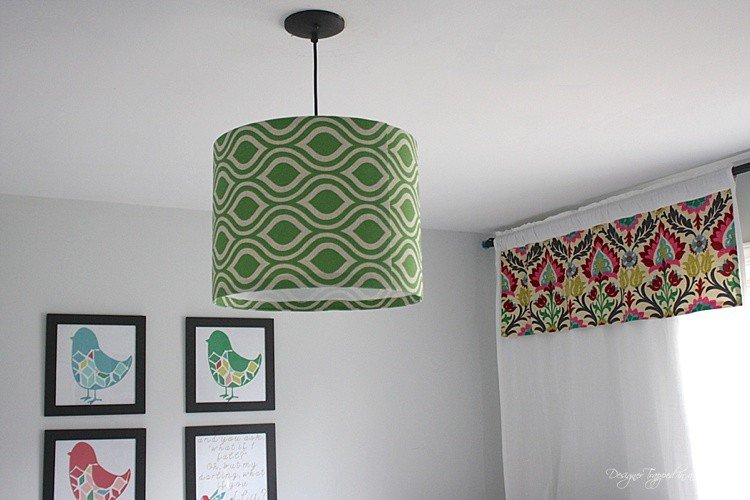
That's it! Isn't it GORGEOUS?!
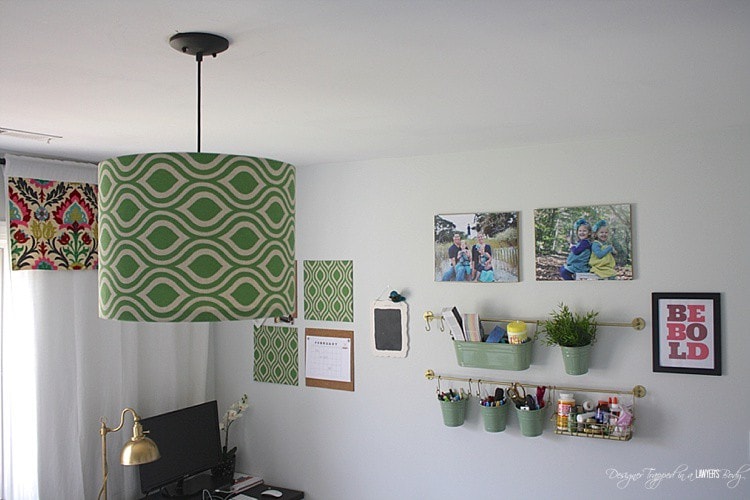
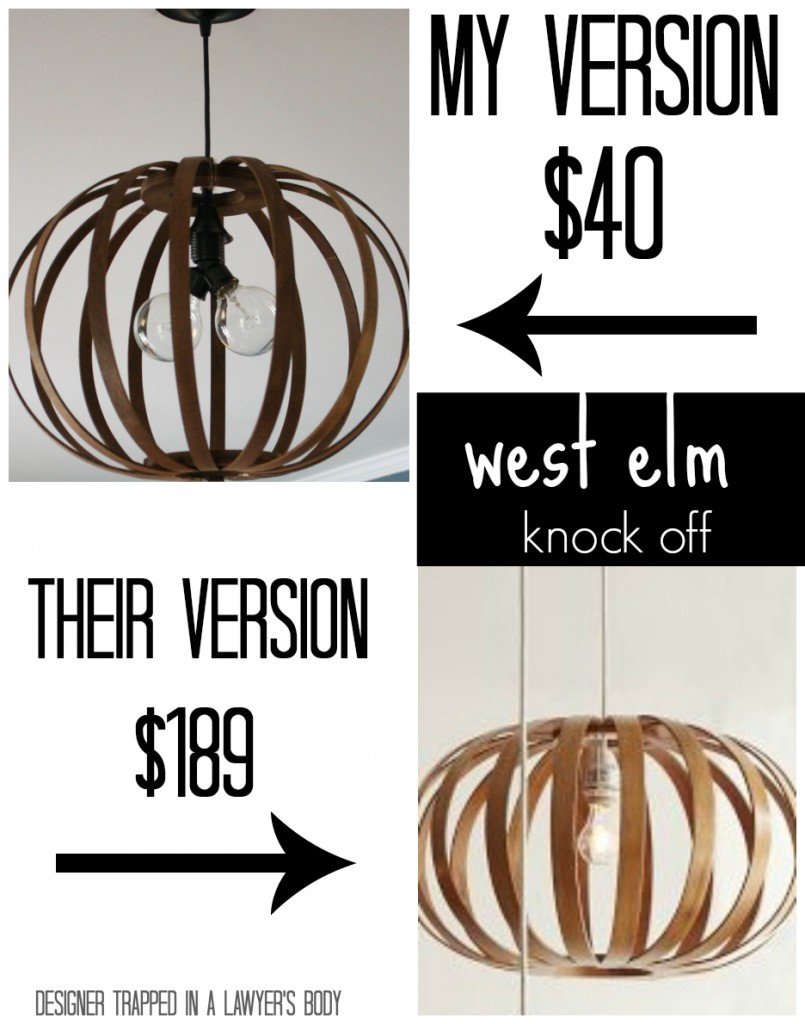
If you enjoyed this post, be sure to check out my other DIY lighting posts, like this DIY bentwood pendant light that I made from quilting hoops:
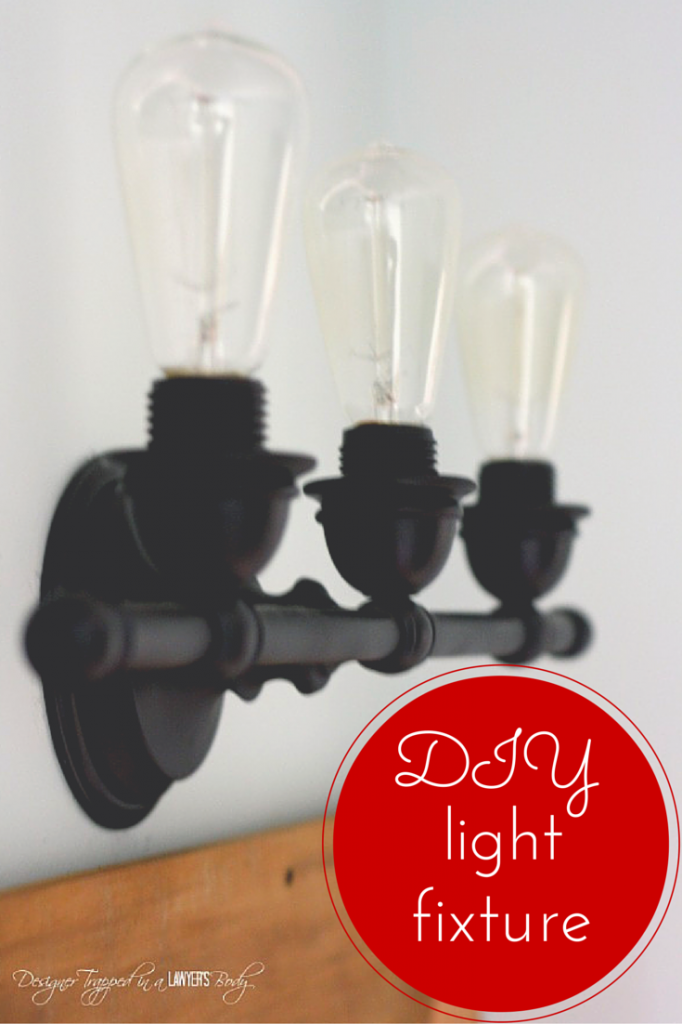
Or this DIY industrial lighting update for our powder room:
Do you love my latest DIY pendant as much as I do? If so, be sure you pin it so you can remember it later!

[mv_create 1 11 200 2016 key=”1″ type=”list” title=”Most Popular Projects” thumbnail=”<a href=” https designertrapped com wp content uploads diy home decor projects blog jpg a]
Last Updated on March 3, 2022

The green pendant looks fab, I am sick of my boring white drum, floor lamp and want to vamp it up with a colour! What sort of material will I buy and maybe I can follow the steps on your video to stick it on?
My fabric is just a cotton!
Super cool!
This is incredible, Tasha. I love the color and how perfectly it coordinates with the rest of the decor in your craft room since you used the same fabric. It’s too bad that funky light you initially installed didn’t give off enough light. It was so cool, but I can’t wait to see what you do with it instead.
Thanks so much, Carrie!
Love this Tasha!
Thank you, Mindi!
This is great! This one totally fits in so well with the rest of your craft room decor :) Can’t wait to see your plans for the other Ikea light!
Looove this! What a great idea!! I already have a drum shade over our dining room table and it’s a plain beige. Boring! I could easily spruce it up with some fabric! Thanks for sharing! :)
This is super cool! Your lamp turned out great! I’m glad you’re okay after that shocking bit of on the job training! ;) Seriously, sorry that happened but it is a great reminder for the rest of us. You probably saved me from having Einstein hair.
LOL! Thanks, Joy!
I would never be able to decide on a fabric :) So cool Tasha!!
Thank you, Emily!
How is it that I just found out about that kit? I love how yours turned out!
Thank you!
Love the lamp. I have been looking for a new & different light for my bedroom. Thanks for a perfect idea.
My pleasure!
Wow, looks great Tasha. The print is gorgeous and really adds a pop to that room!
So glad that you liked the kit!
The kit is AWESOME, Kiri! Thanks so much!
Oh my goodness, so simple! Love it.
AMAZING! What a cool kit! Hadn’t heard of this before, but will check it out!! End result is awesome.
Oh my goodness! I LOOOOOVE it! That fabric is killer Tasha!
It looks great!!
Thanks, Leigh Anne! I love it!
Nice project! I love the fabric you chose. Maybe I missed this in the post, but what wattage does the lamp take, and how do you find the light diffusion? I’m looking for an option for my music room, and the ceiling is fairly low, so this might be a possibility. Thanks!
Thanks, Sarah! The light diffusion is great! I can’t recall the wattage. We are using LED bulbs to maximize the lumens with the smallest amount of wattage. I hope that helps!