DIY Photo Christmas Ornaments Tutorial
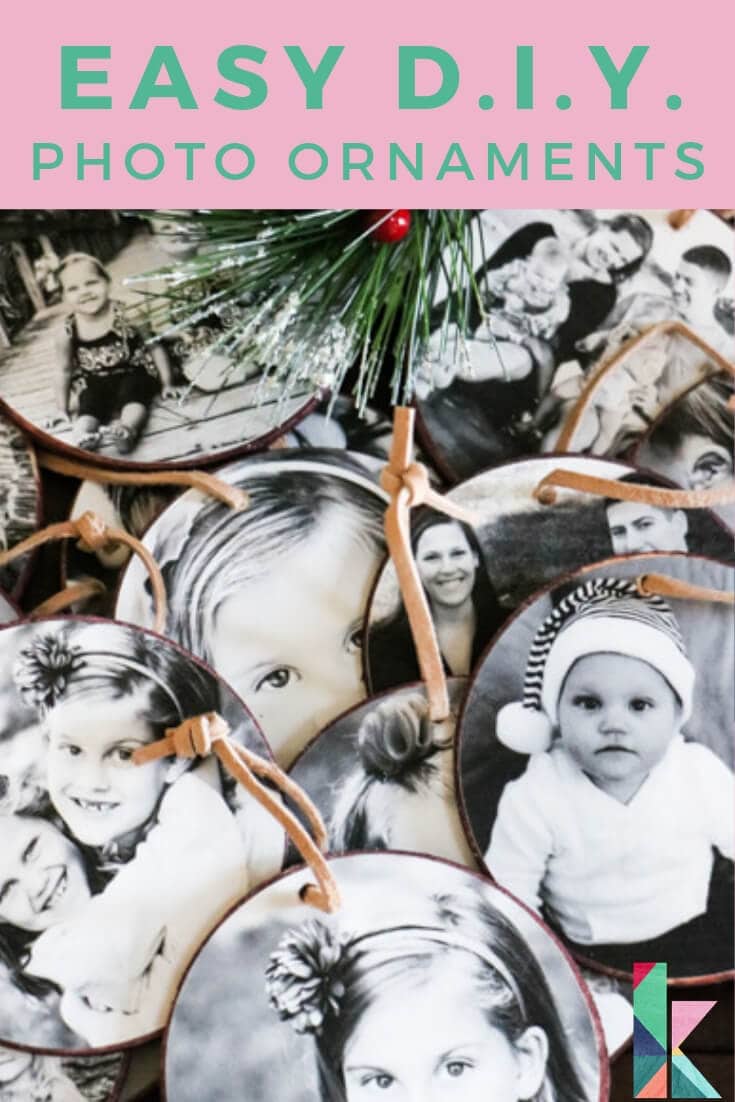
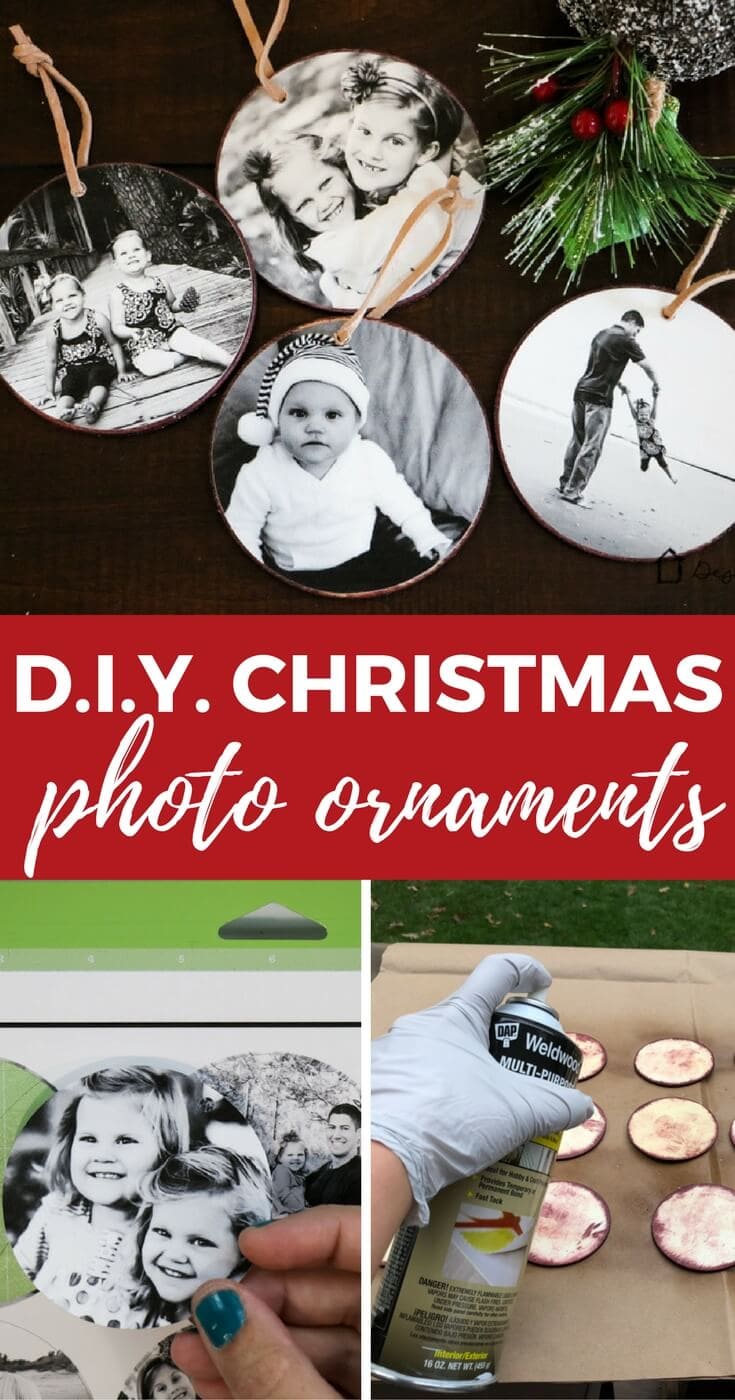
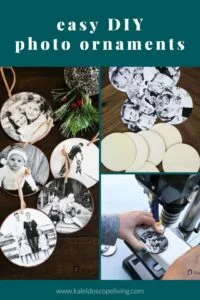
These DIY photo Christmas ornaments are so easy to make and are a great way to display some of your special family memories!
Thank you to DAP for sponsoring this post.
Hey friends! If you follow me on Instagram, you probably already know that I decided to make every single ornament for our new 9 ft. artificial tree that is in our foyer. I'll be sharing tutorials for each type of ornament over the next couple of weeks. Up first are these super easy DIY photo Christmas ornaments that I am oh so in love with! It was so, so, so much fun to go back through my old family photos to choose what photos to use, and I think I'll add a few more every year. Read on to learn how to make some for your own Christmas tree :)
This post contains some affiliate links for your convenience (which means if you make a purchase after clicking a link I will earn a small commission which helps keep my blog up and running but it won't cost you a penny more)! Click here to read my full disclosure policy.
DIY Photo Christmas Ornaments Tutorial
Materials Needed:
- Inkjet printer (this is the printer I use and I am OBSESSED with it–it prints large sizes up to 13 x 19 inches, which is awesome)
- Matte photo paper (this is the paper I used)
- Round wood discs (these are the exact wood discs I used)
- DAP Weldwood Multipurpose Spray Adhesive
- Wood stain (I used this stain in the”Blood Red” color )
- Paper towels
- Cricut cutting machine or scissors and a round template
- Suede cord
Steps:
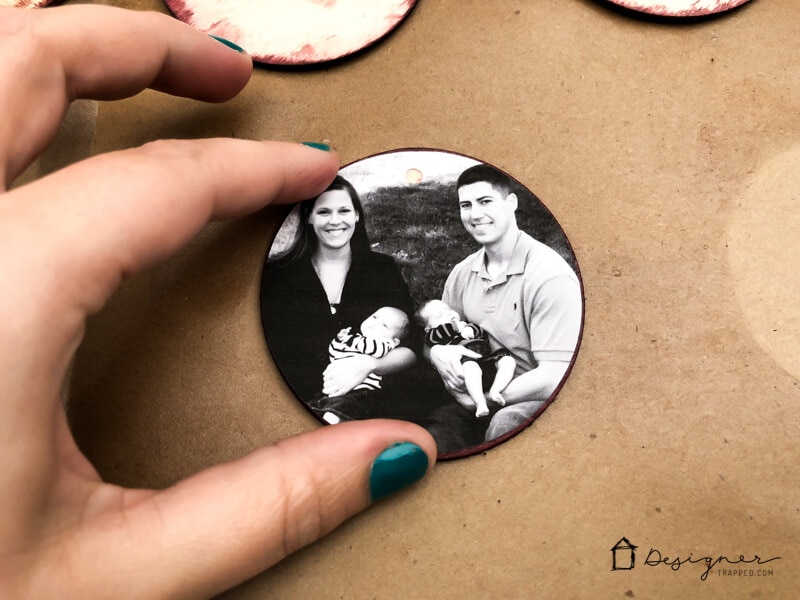
1) First you need to select and print the photos you want to use for your photo Christmas ornaments. They should be printed and cut just slightly smaller than your wood discs. My discs were 3″ in diameter, so I made my round photos 2.9″ in diameter. If you are cutting them out by hand, create a round template and use scissors to cut them out. Then use a hole punch to add a hole for the suede cording.
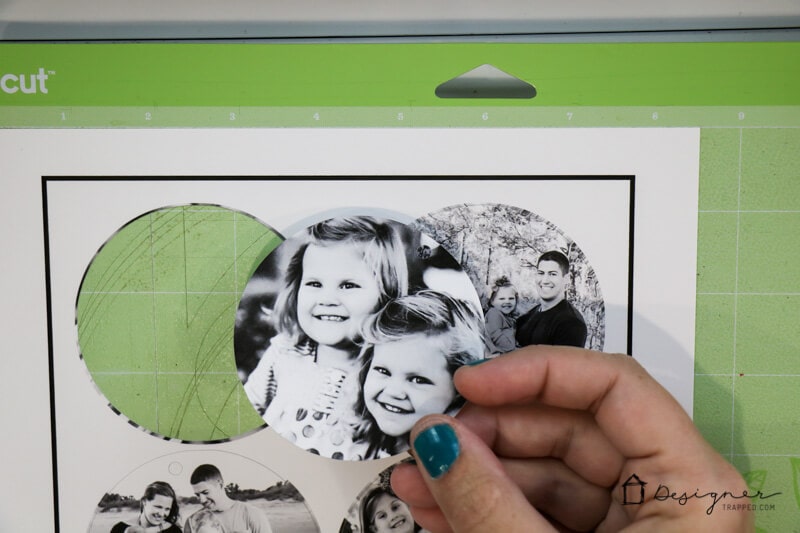
If you are using a Cricut cutting machine to make your photo Christmas ornaments, you can follow the steps in the video below. I recommend importing your photos AFTER you have already transformed them into a circular shape so that you won't have to slice all of your images within Design Space. You can easily do this by following the steps in this tutorial. But, I do show you how you can create circular images within Design Space in the video below, so fear not :)
This is what you will have after your Cricut cuts your photos out. PERFECTLY cut circles!
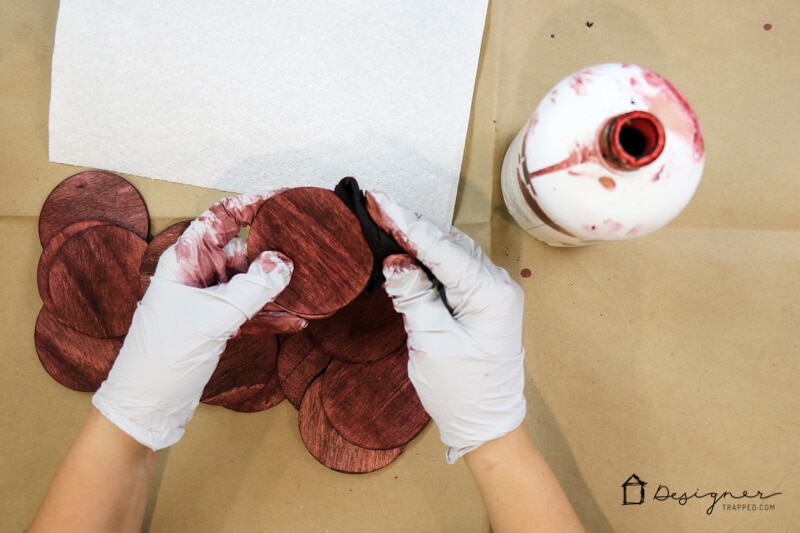
2) While your Cricut is cutting your photos out, stain the back of your wood discs.
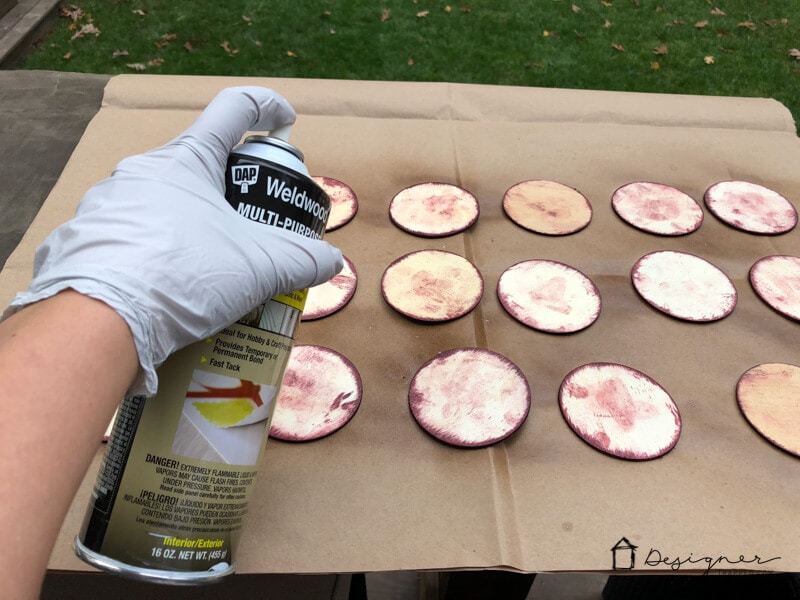
3) After your stain dries, take your discs outside and spray the unstained side with your DAP Weldwood Multipurpose Spray Adhesive. I can tell you I have used A LOT of craft adhesives that are messy to work with. This spray adhesive is hands-down my favorite. It's much easier to work with and I feel like I had to use a lot less of it to get the coverage I needed.
4) Place a photo on top of each disc, being careful to line them up as you do.
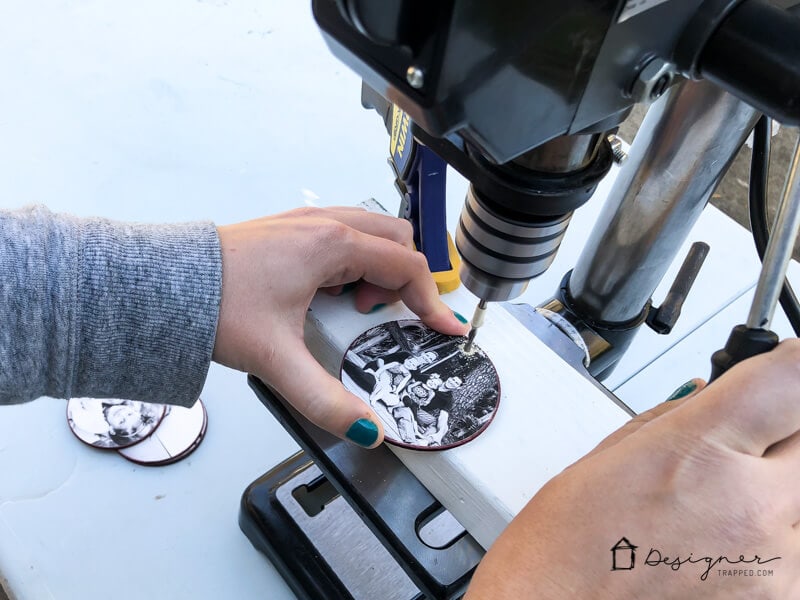
5) After your adhesive dries and the edges of your ornaments no longer feel tacky, drill holes through the wood discs, using the holes in the photos as your guide. I used our drill press, but a handheld drill would work perfectly fine!
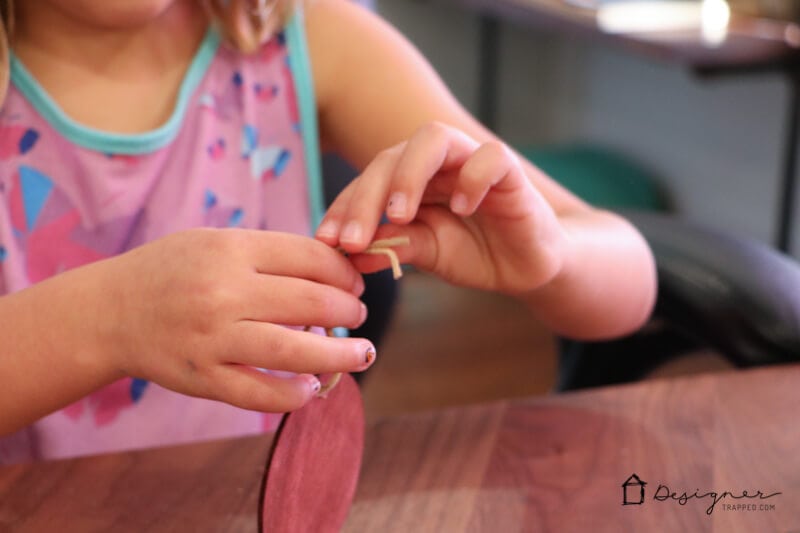
6) Thread your suede cord through the holes and tie knots to create a hanger for your photo Christmas ornaments. I used my little helpers for this step :)
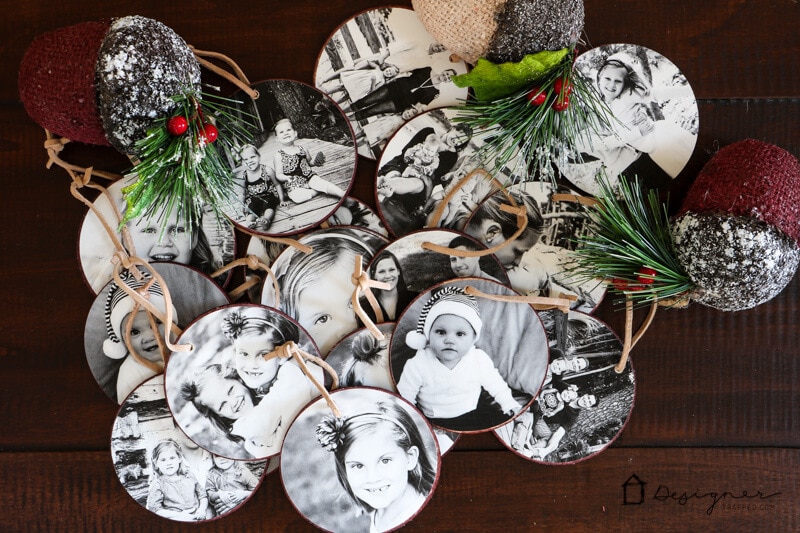
That's it! I am 100% in love with how they turned out! Take a peek.
If you love this idea, be sure to save it to Pinterest or share it on Facebook so you can find it again later! And be sure to grab my popular and FREE Christmas printables before you head out :) Just click the image below and let me know what email address I should send them to.

[mv_create key=”4″ thumbnail=”false” title=”More Cricut Projects” type=”list”]
Last Updated on March 3, 2022
Can you use regular printed photos for this?
Hi Dani! You could try! But I would be worried that the ink of glossy photos may be ruined by the spray glue.
I do. Just use Mod Podge both under and on top of the photos!