The Easiest DIY Light Tutorial Ever
Happy Monday friends! I am extra happy today because Spring has finally sprung here in North Carolina! We are expecting temperatures in the low 70s all week. YIPEE! With warmer weather coming to all of us, I hope everyone is thinking about what DIY home decor projects they can tackle once they can get back outdoors to work on some projects. Well, this easy DIY light is one you should add to your list. It takes about 15 minutes from start to finish and the result is awesome! Read on to learn how to make the easiest DIY light tutorial ever! This post contains some affiliate links. Click here to read my full disclosure policy.
The Easiest DIY Light Tutorial EVER
Materials needed:
- Pendant light kit (this is the exact kit that I used in the oil rubbed bronze finish)
- Electrial wire cutters
- Screw driver
- Basic electrical knowledge :) Seriously, don't attempt this if you are not confident with basic electrial wiring and safety.
- A large lamp shade with an Uno style fitter
- This is what an Uno style lamp shade looks like.
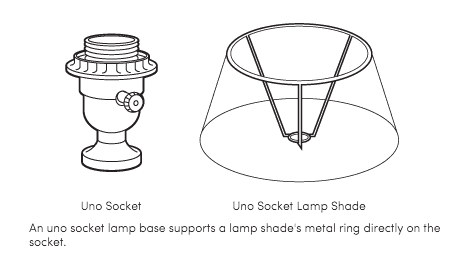
This is important! The lamp shade MUST have an Uno style fitter for this tutorial to work. World Market and I believe Ikea sell Uno style lamp shades. Amazon also has a large selection. I purchased mine at World Market on clearance. The exact shade I purchased is no longer available, but below are some options that would work beautifully as an overhead pendant light. If you want a large light like mine, look for shades meant to fit floor lamps (they are larger).
Steps:
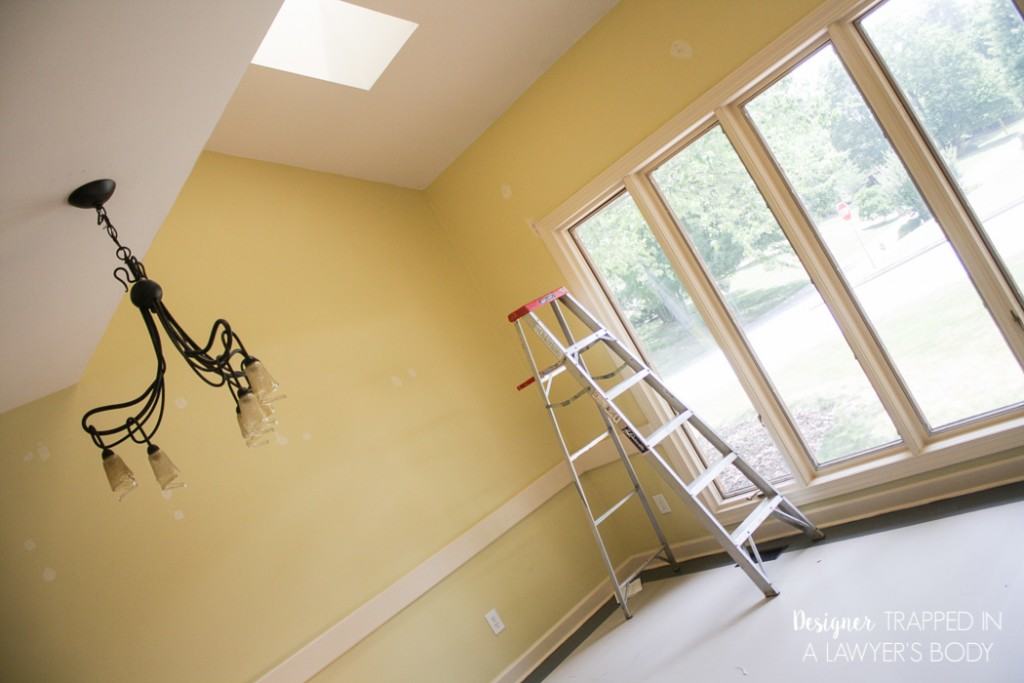
1) Start by removing your old light fixture. THIS is what we had in our dining room when we started the full dining room makeover, the details of which you can find here.
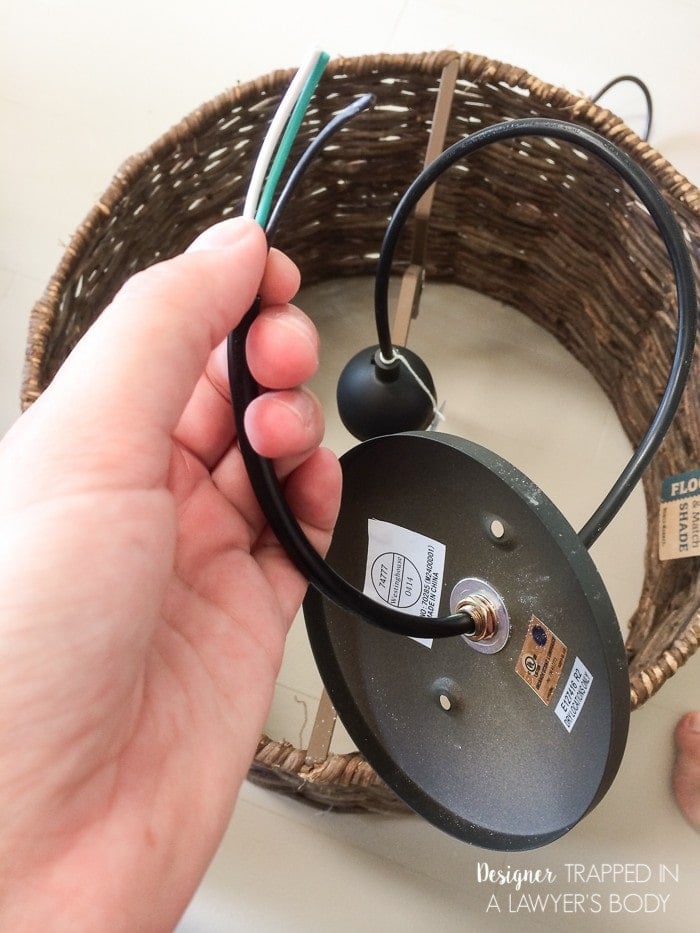
2) Feed the wire of your DIY pendant light kit through your lamp shade and lift it into place to determine how high you want it to hang. After you determine how high you would like your fixture to hang, cut the wire to the proper length, allowing enough excess of the necessary wiring.
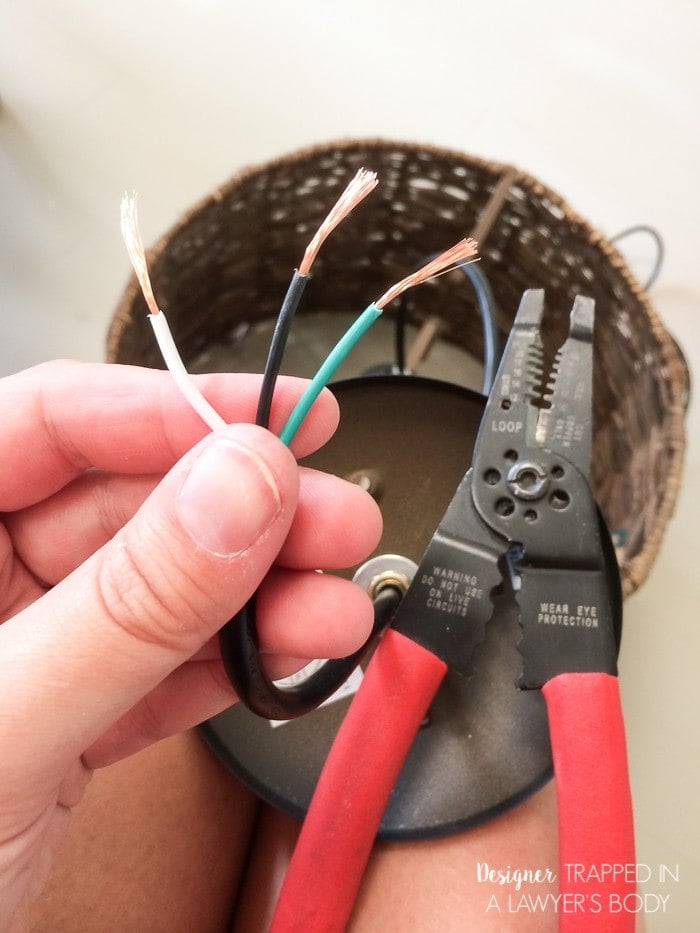
3) Use your electrical wire cutters to expose the copper wire.
4) AFTER making sure that power to the light is OFF, make the appropriate wire connections and mount the pendant light kit into place.
5) Now you are ready to attach your shade! Simply place the Uno shade mount over the socket and screw the retaining ring into place! It's a PERFECT fit.
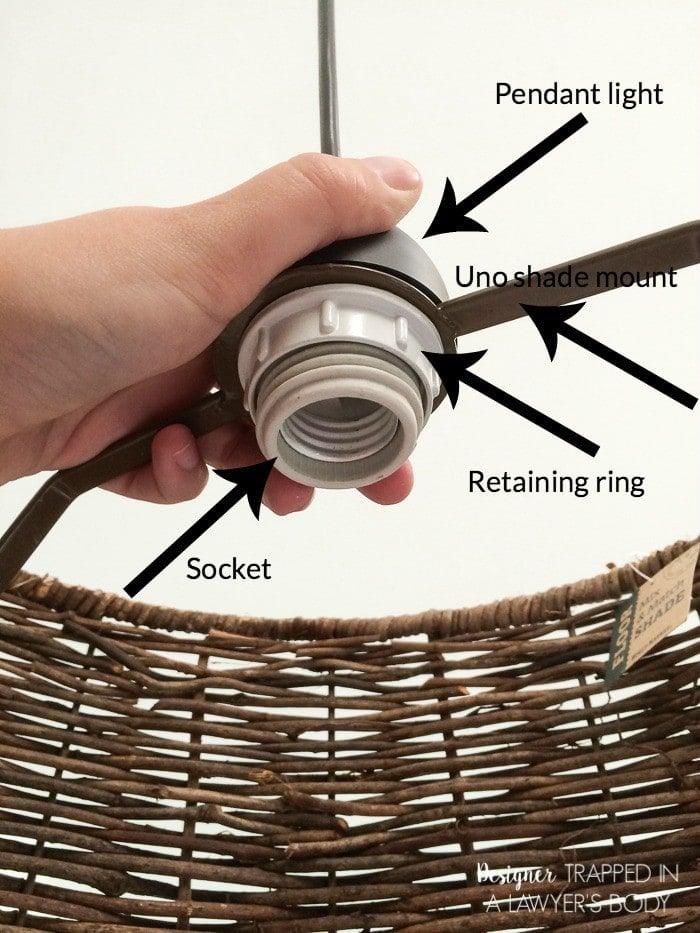
6) Finally, screw in your bulb(s). If you want a little more light than one bulb will provide, you can purchase an inexpensive twin light socket adapter (this is a link to the exact adapter I purchased).
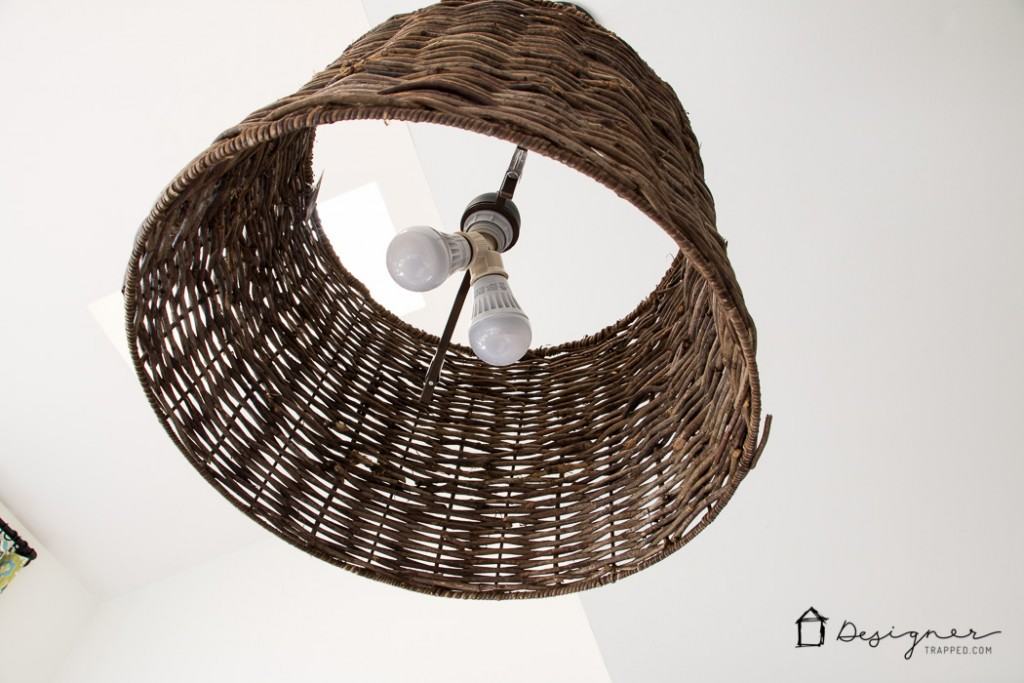
That's it! I absolutely LOVE how our DIY light turned out. Best of all, since I purchased my shade on clearance, this entire project came in at around $30 for me! Check out the finished product.
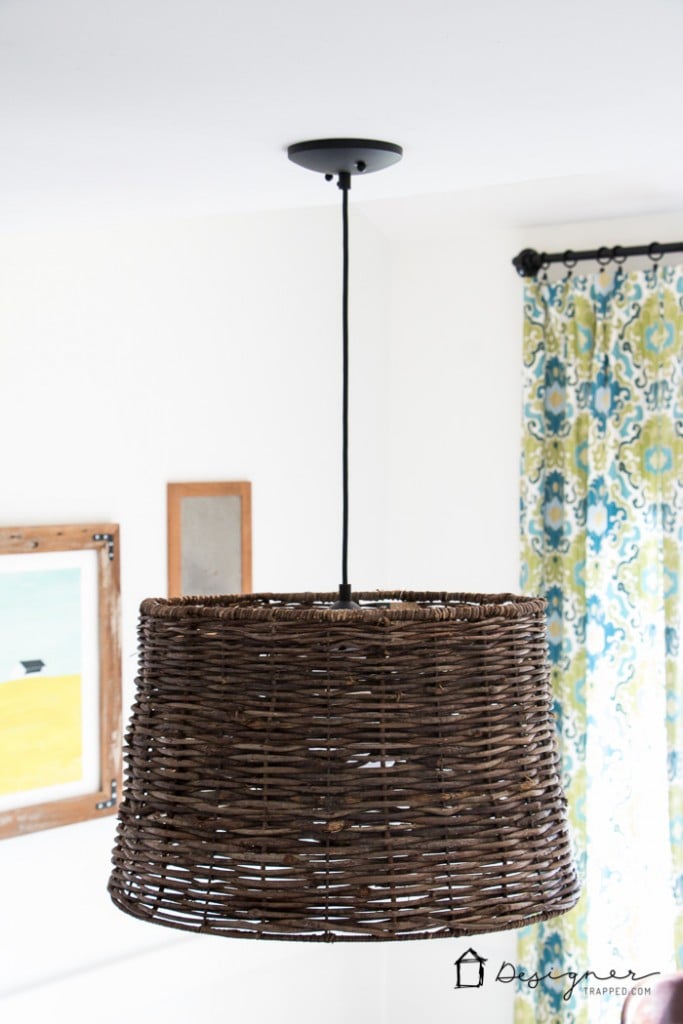
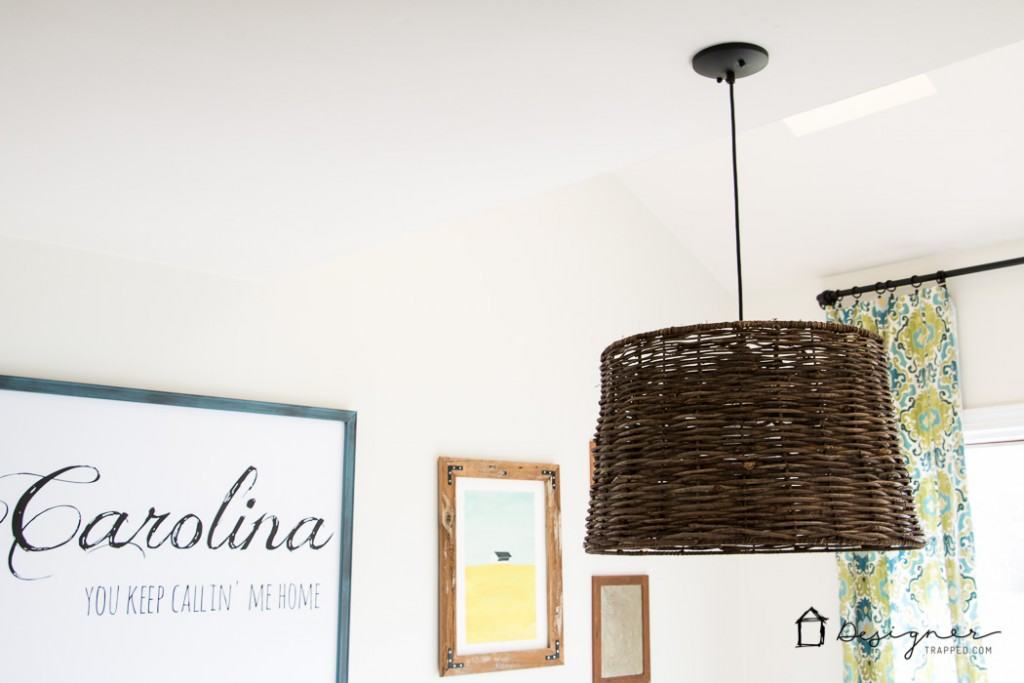
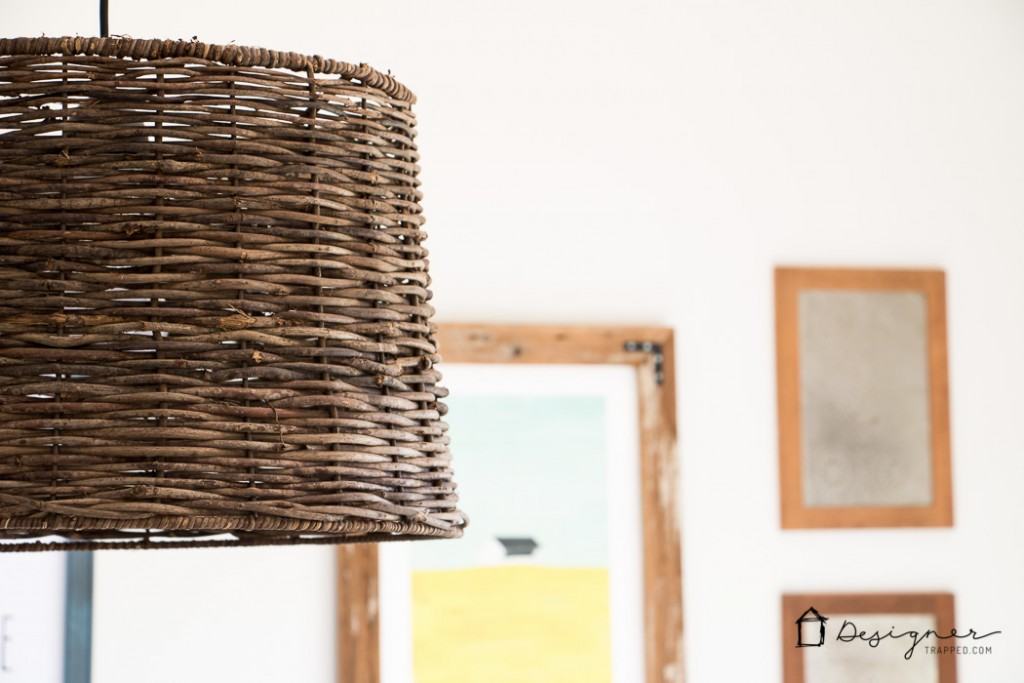
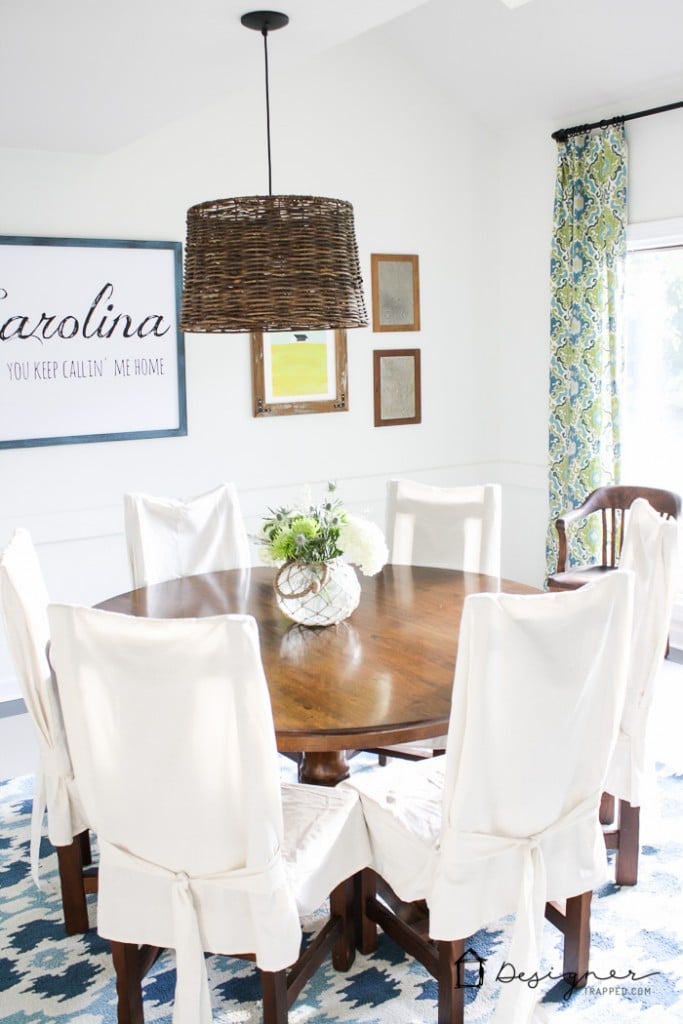
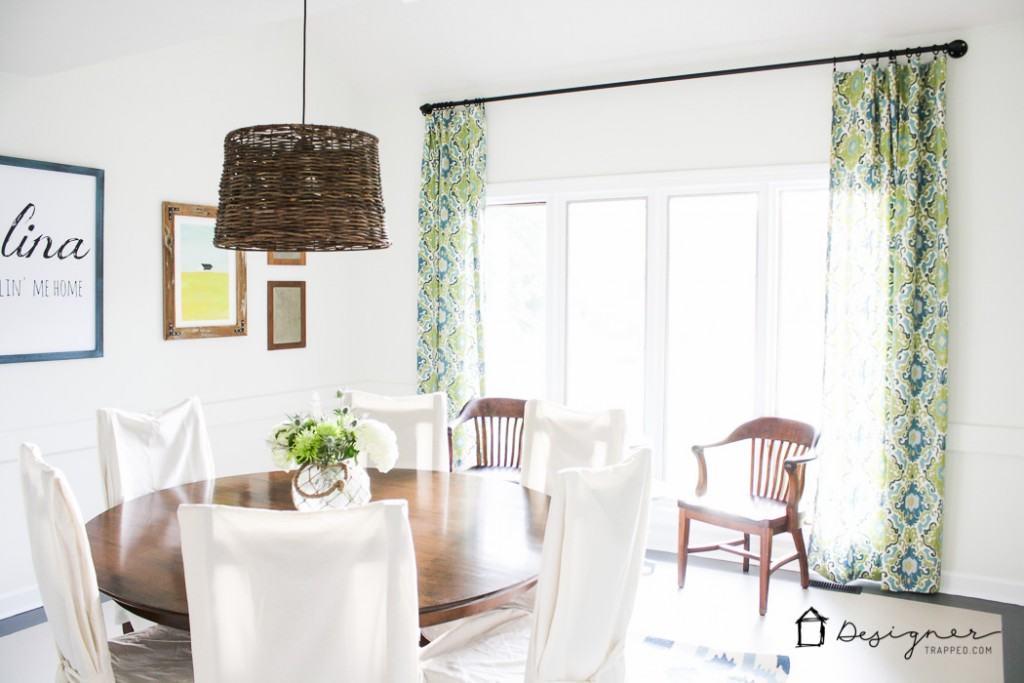
What do you think?! If you love it, be sure to pin it so that you can refer back to it later. And be sure to check out all the details of our DIY dining room makeover here.
You may also love my other DIY lighting projects. Click on any photo for full details!
[go_portfolio id=”diy_lighting”]

[mv_create 1 11 200 2016 key=”1″ type=”list” title=”Most Popular Projects” thumbnail=”<a href=” https designertrapped com wp content uploads diy home decor projects blog jpg a]
Last Updated on March 3, 2022

Love the idea of making your own lighting. I have a house that’s full of needing custom and unique lighting ideas. Visiting from The Creative Gallery.
Thanks so much Victoria!