Easy DIY Jewelry Organization For Necklaces, Earrings and Bracelets
Wondering the best way to organize all of your jewelry? This easy DIY jewelry organization is pretty and practical. Get your messy jewelry out of drawers with this hanging jewelry organizer.
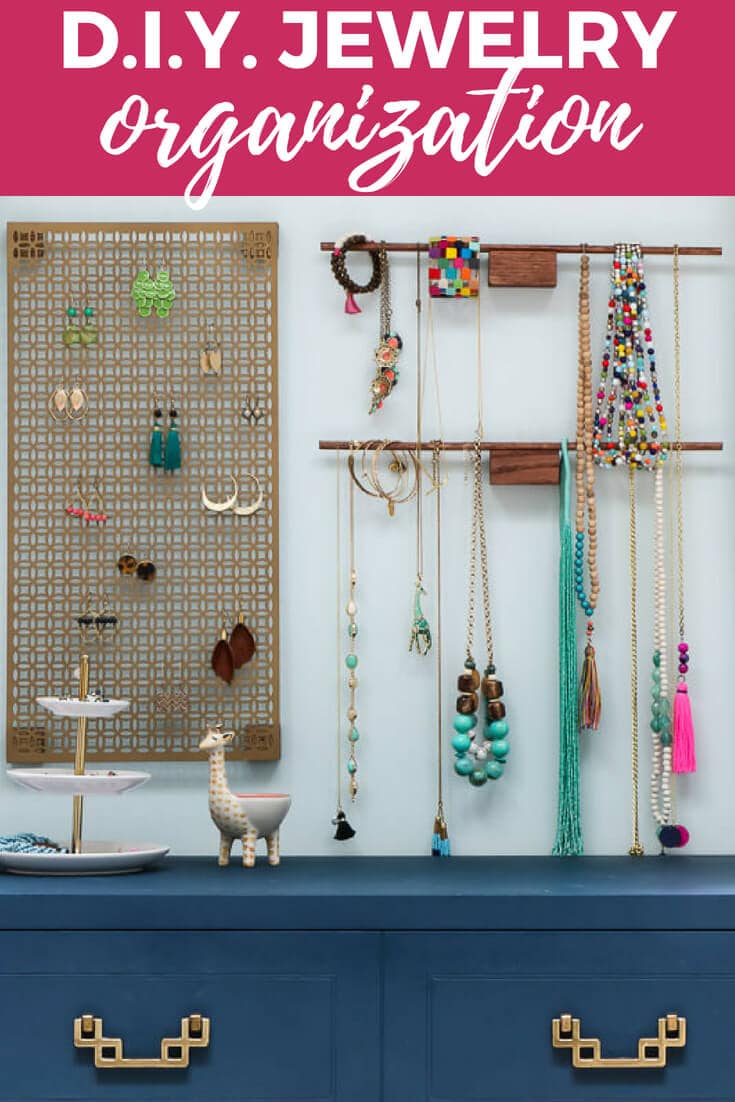
Is your jewelry a disorganized mess? Mine certainly was until I made this DIY jewelry organization display a couple of weeks ago. Now I wish I had done it long ago! It's not only organized now, but it serves double duty as pretty “art” for this wall in our master bedroom. If your jewelry is a mess, rest assured that you can make this DIY jewelry organization system in an afternoon on a very tiny budget.
I have to admit that I didn't really start accessorizing with jewelry until my friend Thea came into my life a few years ago. You see, she makes the most beautiful jewelry and she's kind of gotten me addicted. It all started when I saw her amazing tassel necklace one day at a church event and asked her where she bought it. When she told me she made it herself, I begged her to make me one for our upcoming family photos. Because she's awesome, she did it and that necklace started a bit of a jewelry addiction for me. The downside is that my jewelry quickly became a disorganized mess. Well, on Memorial Day it was raining, so I decided to take advantage of a day inside and quickly made this DIY jewelry organization. I love how it turned out! Read on for the full tutorial.
Thank you to DAP for sponsoring this post. This post contains some affiliate links for your convenience (which means if you make a purchase after clicking a link I will earn a small commission but it won't cost you a penny more)! Click here to read my full disclosure policy.
DIY Hanging Jewelry Organization Tutorial
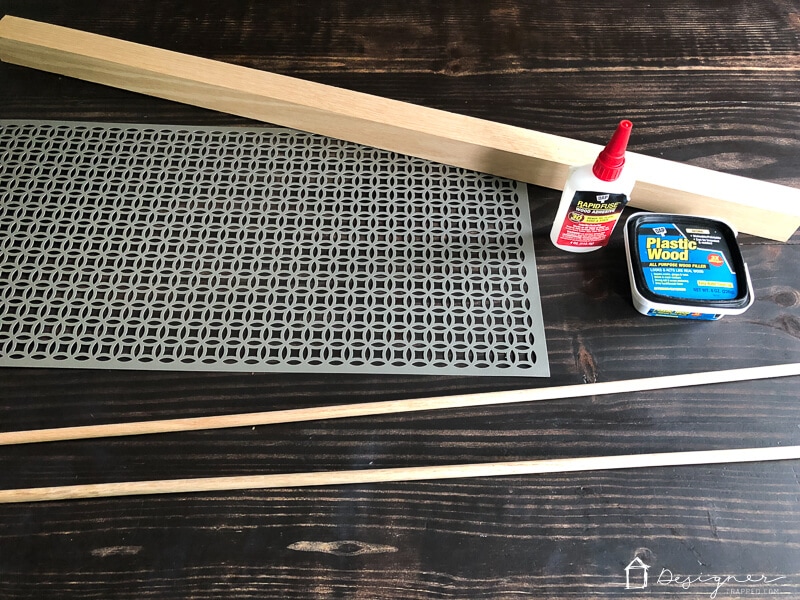
Materials needed:
- Decorative aluminum sheet 2 x 3 feet (my local store was out of stock of the one I used in the gold color, so I spray painted it)
- DAP Rapid Fuse
- 2 x 2 piece of solid wood (I used oak)
- 18″ wood dowel
- Hand Miter Saw Box
- Compound Miter Saw (optional)
- Clamps
- Wood stain
Steps to Make Earring Organizer:
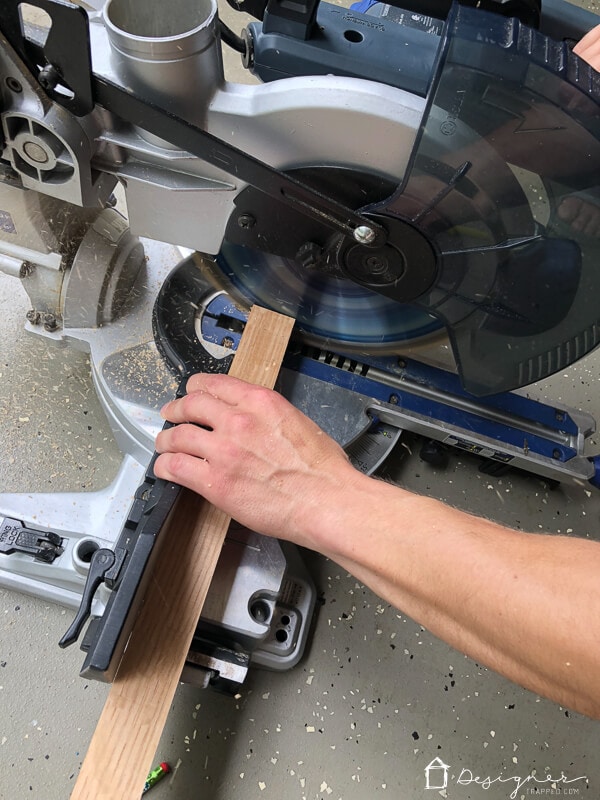
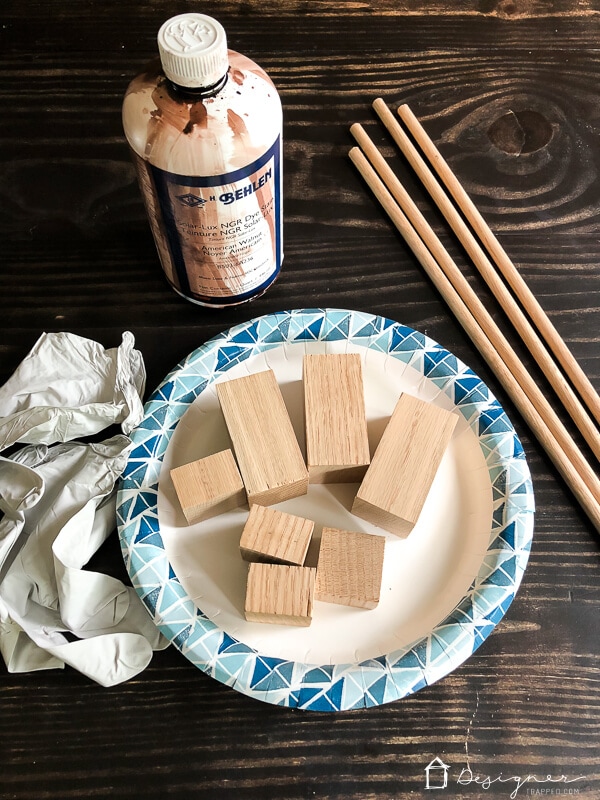
1) Cut four 1 inch thick corner blocks from you 2 x 2 piece of wood. We used a compound miter saw to make our cuts quickly, but you could also use a Hand Miter Saw Box.
2) Lightly sand the blocks that you cut and stain them with a wood stain of your choice. This is the stain I used.
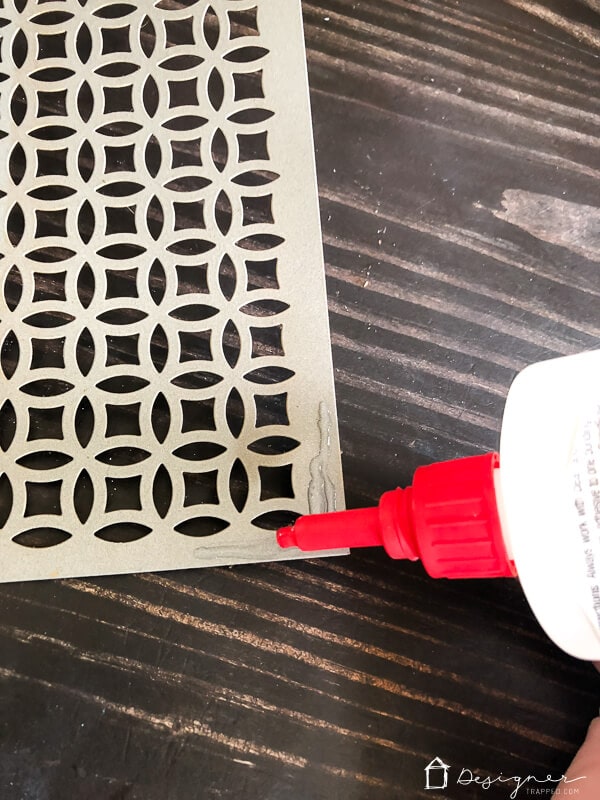
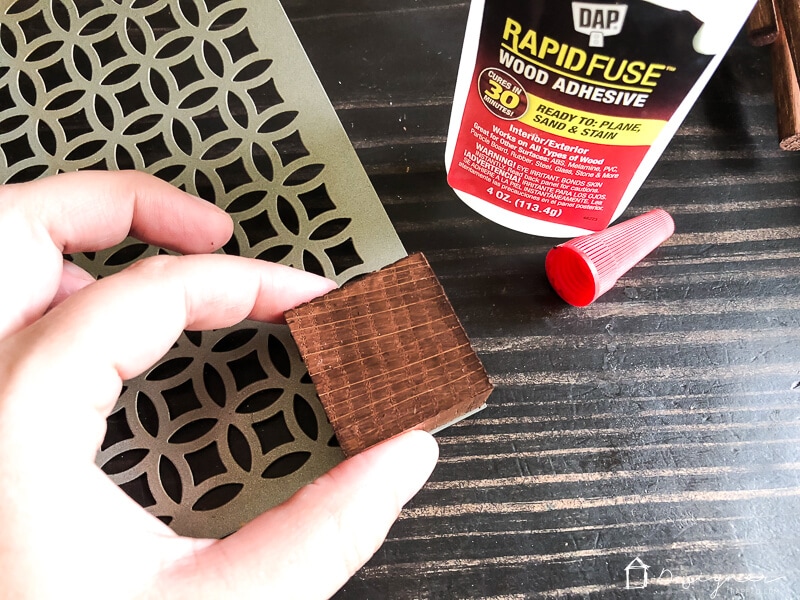
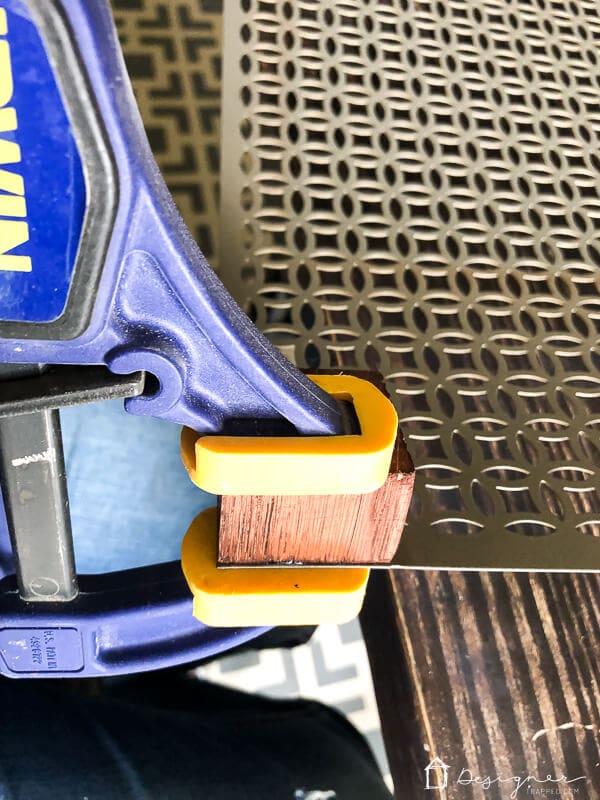
3) Apply DAP Rapid Fuse to the corner edges of the back side of your decorative aluminum sheet. Then place your wood block, making sure it is lined up evenly with the corner of your aluminum sheet. Then clamp it in place until your glue sets. Repeat for all 4 corners.
 |  |  |
4) Hang it on your wall by applying Command picture hanging strips to the back of the corner blocks.
Steps to Make the Necklace and Bracelet Organizer:
1) Cut two 3 inch long blocks from your piece of 2 x 2 piece of wood. Again, we used a compound miter saw to make our cuts quickly, but you could also use a Hand Miter Saw Box to make your cuts.
2) Cut your wood dowel in half. I used my hand saw for these cuts.
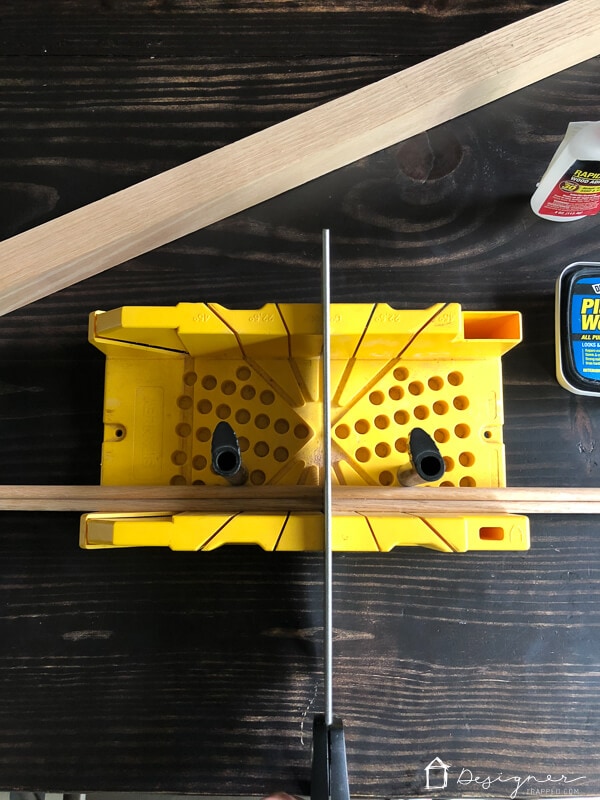
2) Lightly sand the blocks and dowels that you cut and stain them with a wood stain of your choice. Again, this is the stain I used.
3) Apply DAP Rapid Fuse to the center of your wood dowel. Then center it on your 3 inch block clamp it in place until your glue sets. Repeat for the second one as well.
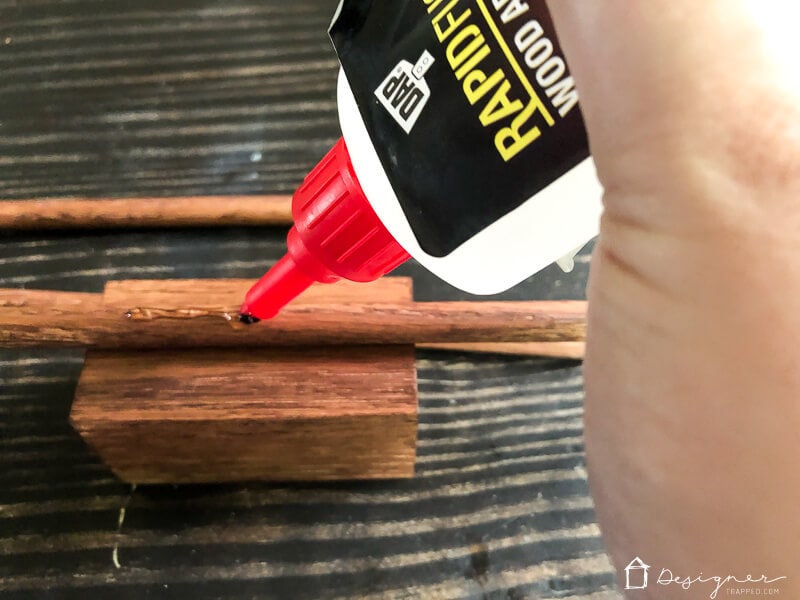
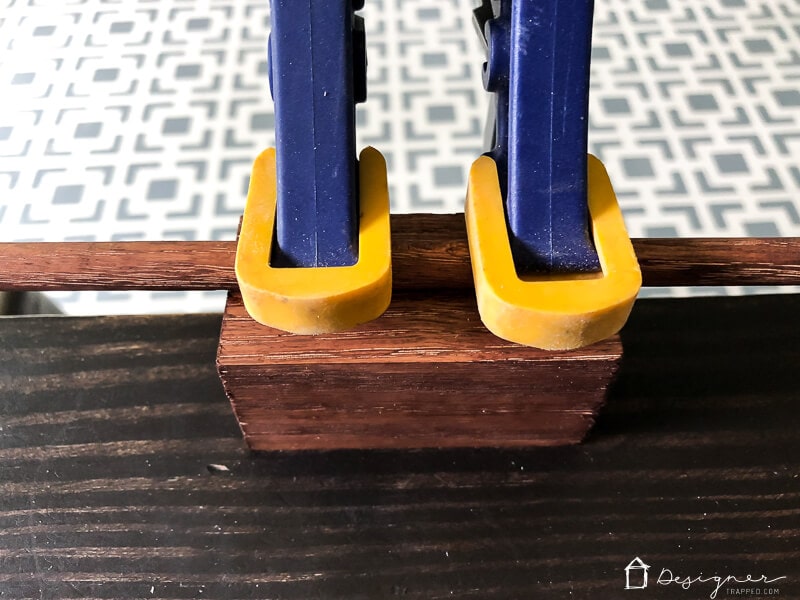
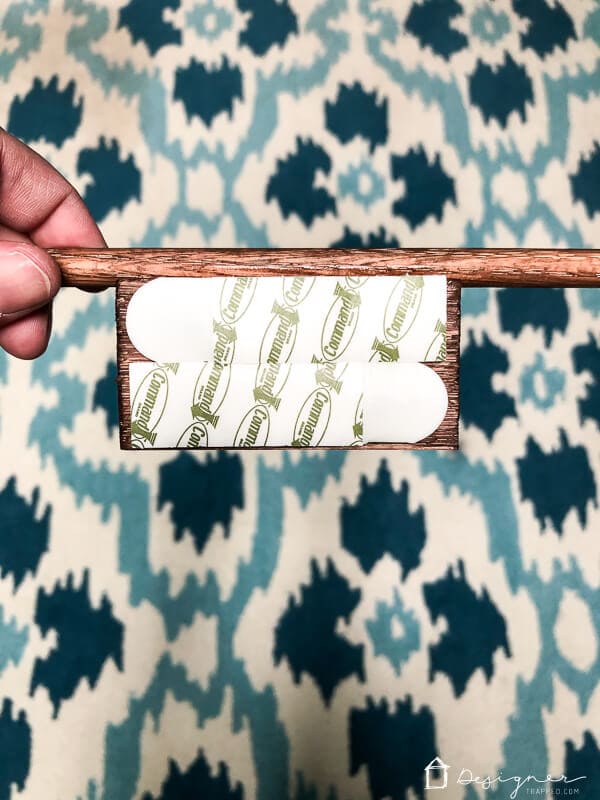
4) Hang them on your wall by applying Command picture hanging strips to the back of the blocks.
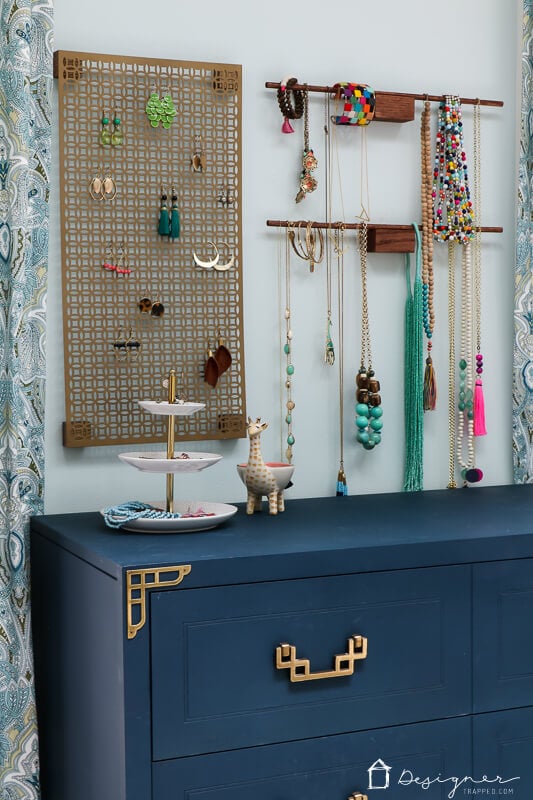
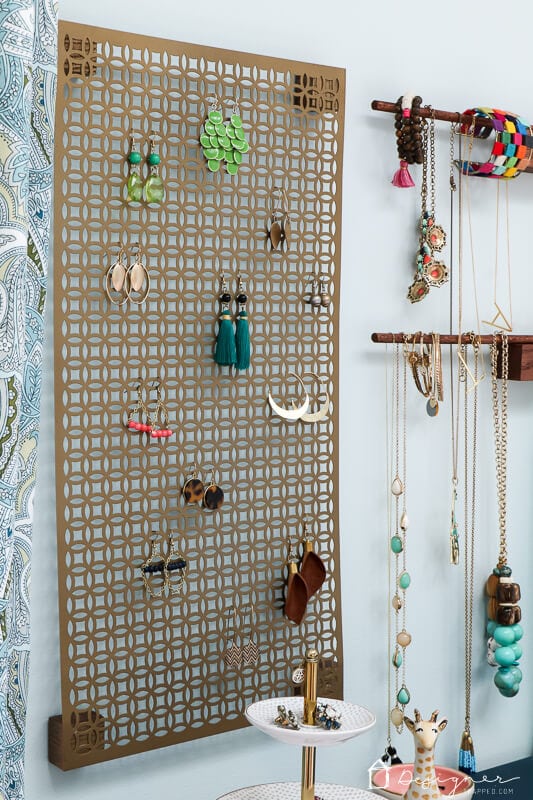
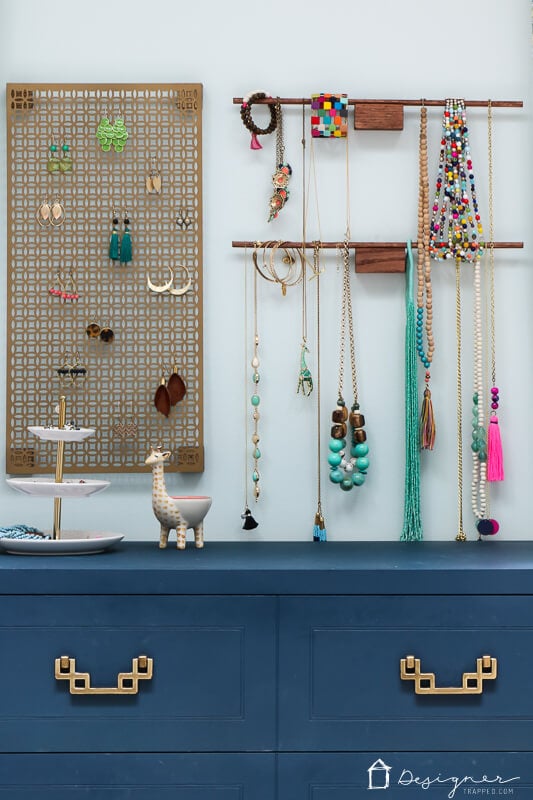
Check out my finished project! I'm so happy with how this hanging jewelry storage turned out.
Before you head out, be sure to grab my free guide on how to design a room you love!
[mv_create 1 11 200 2016 key=”1″ type=”list” title=”Most Popular Projects” thumbnail=”<a href=” https designertrapped com wp content uploads diy home decor projects blog jpg a]
Last Updated on August 10, 2021
