How to Install Faux Wood Beams: Beam Me Up Scottie!
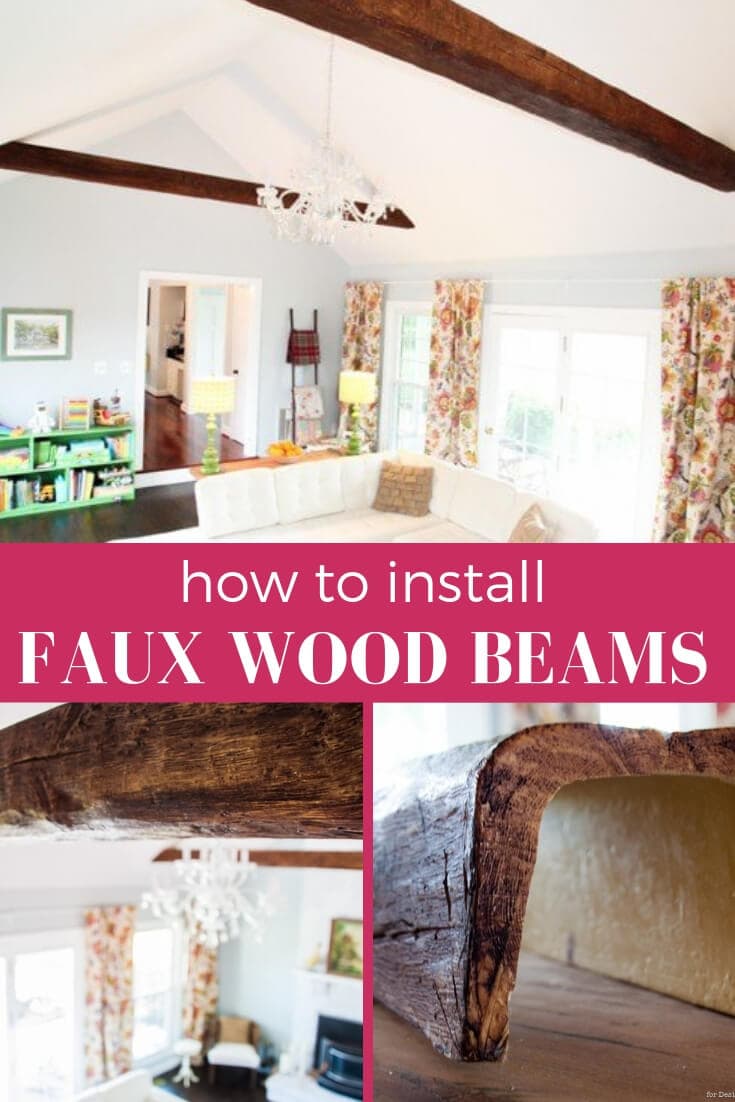
Beams. I dig 'em. Heather from The Heathered Nest here, and I think I've always had a thing for beams and today, I am going to show you how to install faux wood beams yourself.

To me, beams say “come on in and snuggle by the fire”…
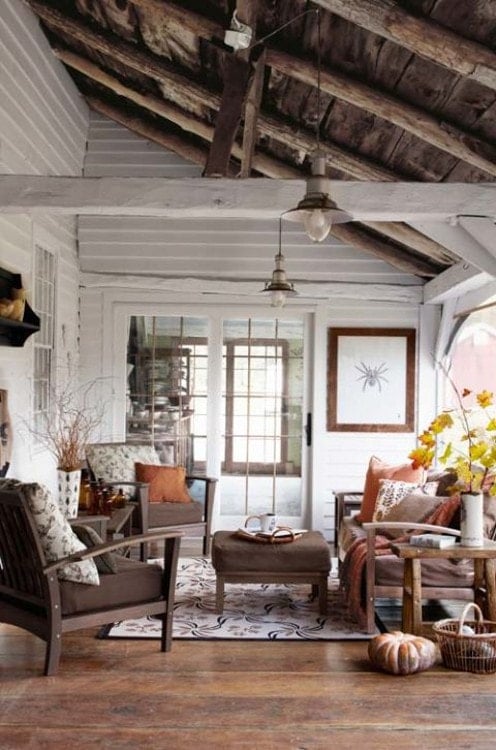
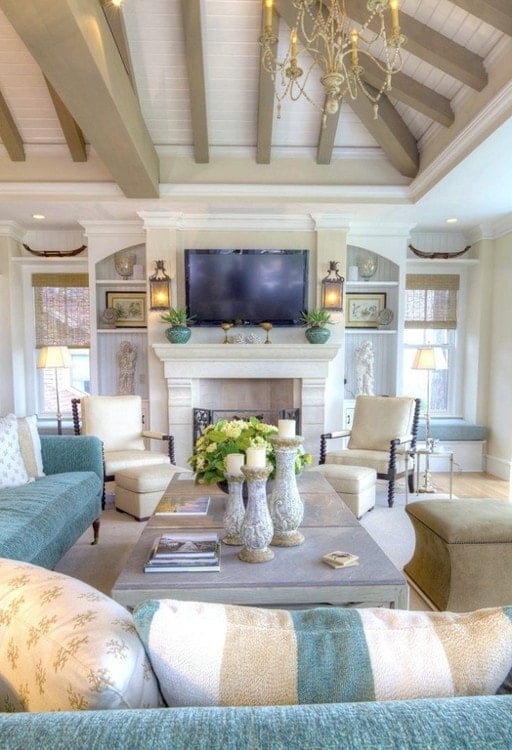
and “prop your feet up and relax in our rustic retreat”.
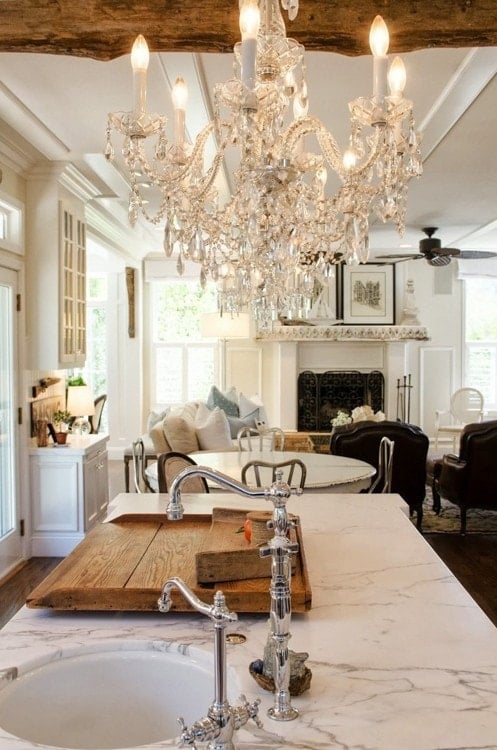
They also say “You the type of homeowner that likes paying for things through the nose? Then buy a couple of us!” That's when I stopped liking beams. Drats. Design dream dashed.
Or so I thought.
Until I discovered….FAUX BEAMS! For just a fraction (like 1/5) of the cost of REAL wood beams, and just a teensy, tiny percentage of the weight (which is important for installation), it is possible to buy and install faux wood beams. And guess what? They look real. Seriously. Hallelujah, hap-beam days are here again!! This post contains some affiliate links. Click here to read my full disclosure policy.
Do you guys want to know how to work with them? The male half of the Heathered Nest is gonna walk you through the process…
DON'T GET SCARED…this seems like a lot of stuff, but seriously, you can do this!
Materials Needed to Install Faux Wood Beams
- Faux beam(s)…ours are from Home Depot
- Joist hangers
- Two sets of hands
- 2×4's
- hand saw
- level (the bigger the better)
- Laser level or line level
- Angle finder
- Black drywall screws
- Ladder or possibly two (most likely depending on where you're installing)
- Telescoping work poles (optional, but pretty handy)
How to Install Faux Wood Beams
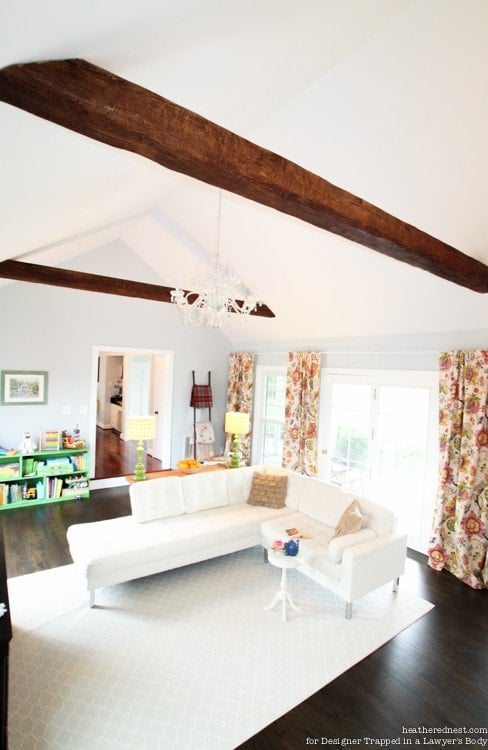
1. First step is to decide where, and how many faux wood beams you want. Sounds easy and obvious. But there's so many options for how to use these beams, that for us at least, this was the most difficult part of the entire process. We settled on using two beams based on the size of our room and the location of our chandelier, which we wanted to remain a focal point. Also remember that the size of the beams is important…the higher the ceiling, the bigger the beam you probably want.
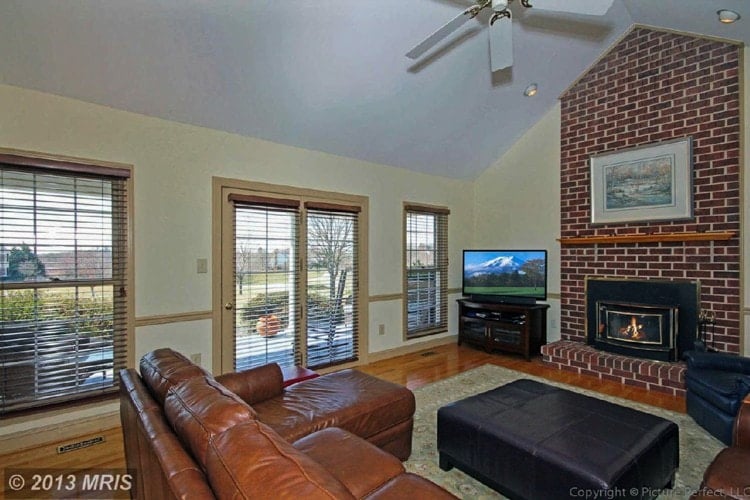
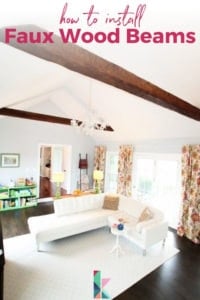
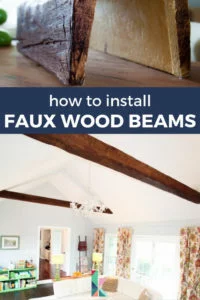
Here's an image of our family room from the real estate listing before we bought our house. We decided to put two beams in here to add some rustic flare and architectural detail since the room had nice high cathedral ceilings, but nothing to accent them.
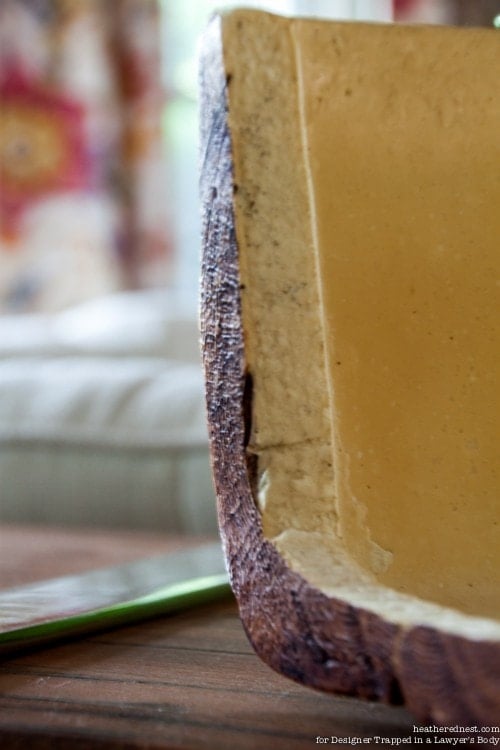
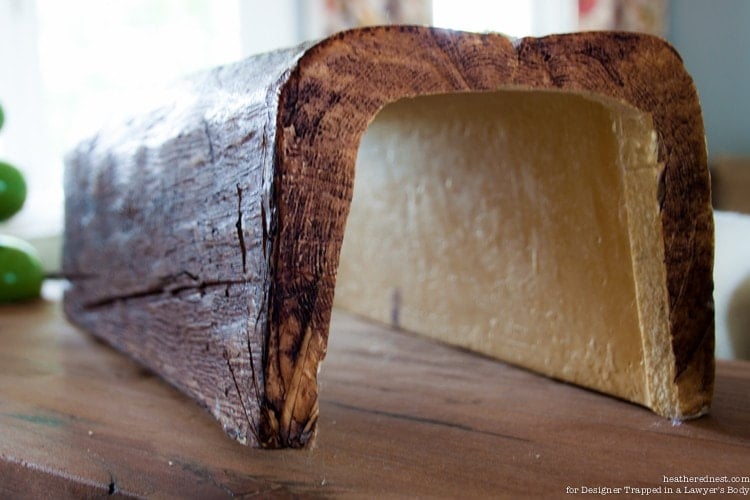
2. Installing joist hangers is the first step in the actual installation. Joist hangers you say? Aren’t those for, like, hanging joists? Yes they are, but they also come in handy for installing these faux wood beams. Since ours are installed in a vaulted space, we used joist hangers that were adjustable to the angle of our ceiling. If you are lucky, you have a stud where you want to put the hangers, which makes them pretty easy to install. If not, you need to use anchors..not a big deal in this situation since the faux beams are so light. They're made of high density foam…picture below.
The key here is to get all four joist hangers (two per beam) at the same height and level, which will greatly help when you put up the beam. A laser level comes in handy here, or a string with a line level will work too.
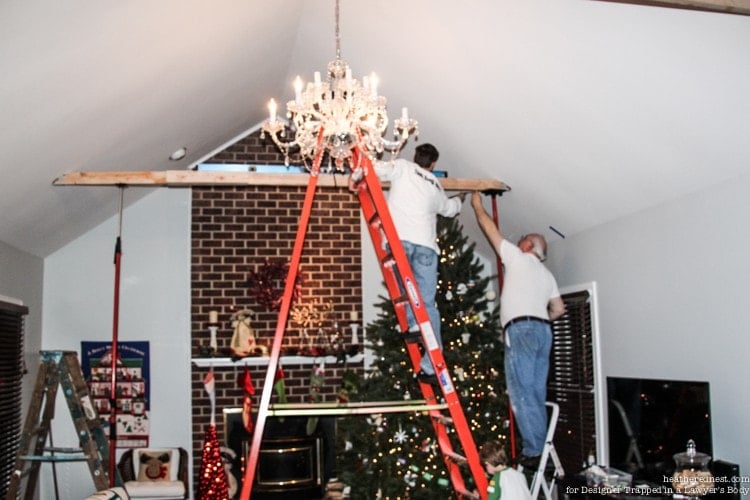
3. With the joist hangers up, now we'll install 2×4’s in the joist hangers. You need to sister two 2×4’s together (meaning, two 2×4’s screwed together, lengthwise). Remember, they make 2×4’s up to 16’ in length, so get the longest 2×4 you need fit the entire span. This makes for an overall stronger beam…you don’t want to try to put two 8’ 2×4’s together to make a 16’ span. Once you have sistered your 2×4’s together, cut them to length. Since this is a cathedral ceiling, you will need to cut an angle on the ends of the 2×4's. To measure this angle you can use an angle finder (I know, great name for a tool). Once they are cut to length you need simply set them in the joist hangers and screw them together….you are now about 75% done with this project!
BAD PICTURE ALERT…but you can kind of see the “sistered” 2×4's in this image if you look closely. You can also see the ends of the 2×4's sitting in the joist hangers. Also, those red telescoping poles on either end of the 2×4's? Those were pretty clutch for completing this project.
4. Time to cut the faux beams to length. This was the most painful part of the process because we had to cut the ends of our beams at an angle. Getting the angle just right was a little tricky. Use your trusty angle finder to measure the angle of the ceiling (remember, measure twice, cut once). The actual cutting of the beams is no problem! You could almost use a butter knife (just kidding, use a hand saw silly). It took a little bit of trial and error to get the angle right, but we finally got it pretty close.
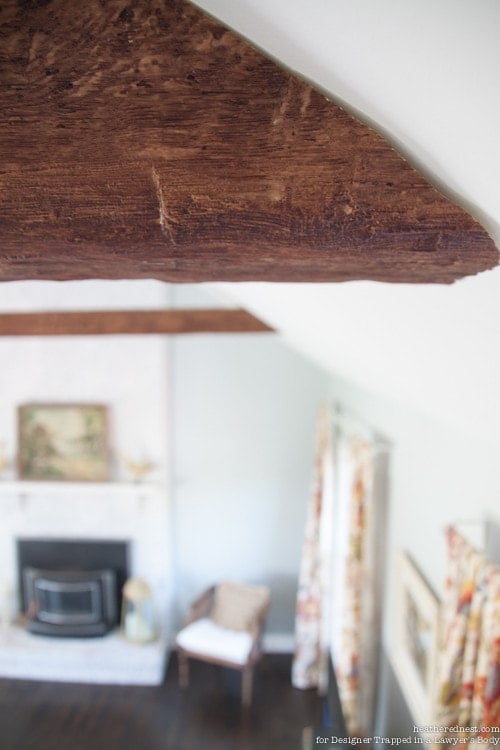
5. Moment of truth time. Install your beam. Believe or not, this is the easiest part. You'll need your helper/second set of hands. The beam is open on the top (shaped like a “U”). Here's a picture of it, uninstalled.
Lift the beam up to cover the 2×4 “joist” you installed. Depending on the width of your beam, it might be a snug fit around your 2×4(s). If not, cut a few 2×4 spacers out of whatever scrap wood you have lying around, and screw the scrap spacers to the joist. Use the spacers every few feet or so. Now lift the beam back up and see if you have a snug fit. If not repeat this process with various size spacers. Once the beam fits up there nicely, put a level on it and get it nice and straight.
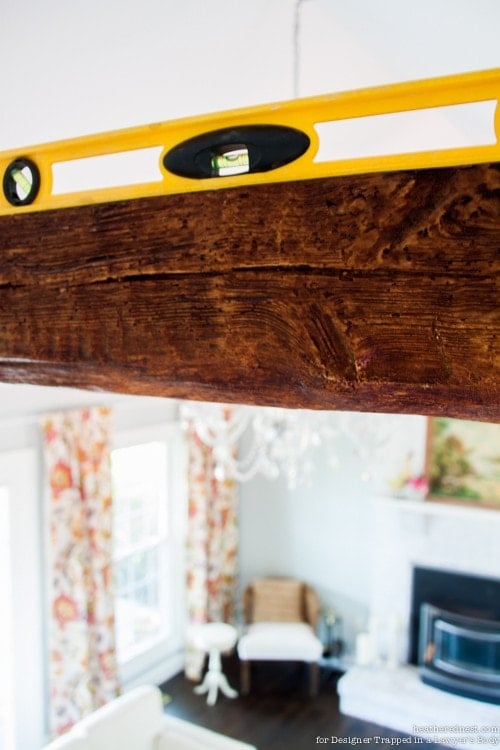
Even if your joists are a little off, you can still make the beam perfectly level. Now screw through the faux beam into the joist. We used black drywall screws. Fill the screw holes with wood putty (make sure the putty matches the beam) and there you have it…beautiful faux wood beams!
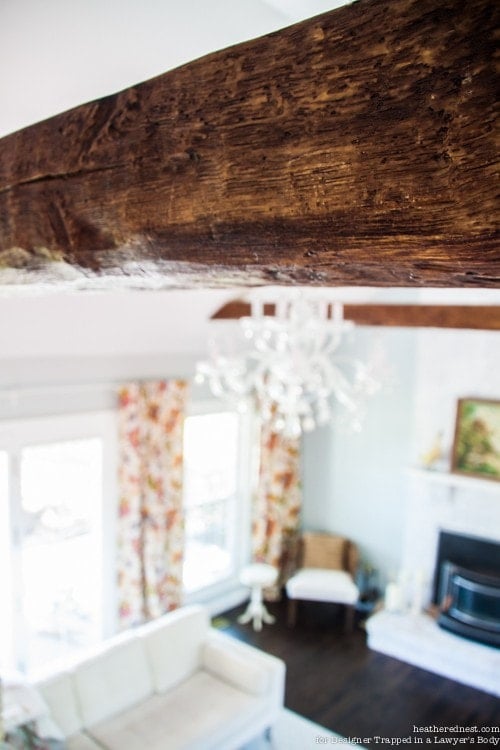
And no one will be able to tell the difference.
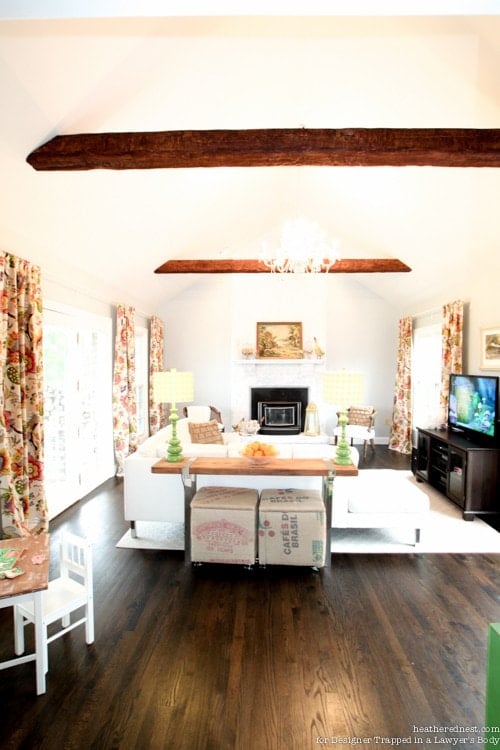
So come on! Faux-get about it! Give these beams a try. We “wood” love to see how they turn out if you do!
It's been awesome to meet you guys over here at Designer Trapped in a Lawyer's Body. Don't be a stranger! I would love to connect with you on social media–you can find me pretty much everywhere: Facebook | Pinterest | Google+ | Twitter | Instagram
Now, be sure to stop by my blog, The Heathered Nest, and check out some of my most popular posts. Just click on any of the images below to be taken to the full posts!
[mv_create 1 11 200 2016 key=”1″ type=”list” title=”Most Popular Projects” thumbnail=”<a href=” https designertrapped com wp content uploads diy home decor projects blog jpg a]
Last Updated on August 10, 2021

Wow, I did not know Hime depot sold these faux beams, thank you so much for this info, because I want some in my kitchen. Now I got to start buttering my hubby. Your beams are beautiful and works lovely what your home. Loving your chandelier.
I love them too! She did a great job with them. Thanks for reading!
Love the color of the faux beams….what is the color and are these from home depot?
Thank you
Lisa Ward
Clearcreekkeeper@yahoo.com
The color pictured here is rich walnut. This link will take you to the post, which contains a link straight to Home Depot!
https://designertrapped.com/2015/05/faux-wood-beams.html Thanks for reading!
OMG! How did I miss this post?! I have been lusting after some beams however my budget has determined that it will not happen. Until now!!! Hooray for Heather and Tasha!
Yay! So glad to hear it, Brenna!
Do you think this could be done over an already existing beam that’s been plastered and painted? It’s not wood, but I’d love to have it look like wood
Great question, Rachael. My guess is no because the cut out in the center is meant to fit over a 2 x 4–your existing beam is probably bigger than that, but you could measure and check!
Yes, faux beams can be made to custom sizes to cover an existing beam, wood or otherwise. We provide them on our site (www.owtraditions.com) but there are a few other sites you can get them from as well.
Great work Heather, we could recommend you out for install services ! :)
*Great work Tasha* :)
Seriously, I’m SO exited I found this. Now, I’m on a mission to get these into our home. Also, your home is Ahhhhmazing. Totally diggin’ your style! Def a new follower!
Do you think it would work for me to do 1 beam in a small space?? Would you center it then? Thank you
Hi Danielle! I do think 1 beam in a small space could work, and yes, I would center it. I hope that helps!
I have wanted to do this for a long time. Thanks for posting this!
My pleasure, Gina!
Tasha – love the beams! They seriously make a difference! We have a slightly vaulted living room – we may just have to try this idea there. Thanks for sharing! I do like the fact you have a full-time job and still find time to blog. I have started a blog for the first time and find it is challenging at times juggling both.
Thanks so much, Michele! Blogging and working is a challenge, but is so worth it! You may be interested in subscribing to my newsletter JUST for bloggers :) http://eepurl.com/bpIjB5
I have wanted to do this for years! I love how easy you make this sound!
I couldn’t quite believe it myself, Trish! Heather did an AMAZING job!
Dude, I didn’t even know faux-beams existed!! Beam-up job Heather! (That was supposed to be a joke on “bang-up”, it’s all I could come up with…)
Ha! Oh, I got it Emily! You know my taste in humor too well :)
I like your beams, girl. And, umm… your home is ri-donk-ulously gorgeous! Great work. ;)
Faux-get about it? NO way! This project is fabulous!
Thanks so much for the awesome tutorial!