“DIY” Gold Frames for Less Than $10 Each
Gold frames are very on trend right now, but even the “affordable” ones are pretty expensive! But with this easy tutorial you can make your own semi-DIY version on a tiny budget and they are gorgeous!
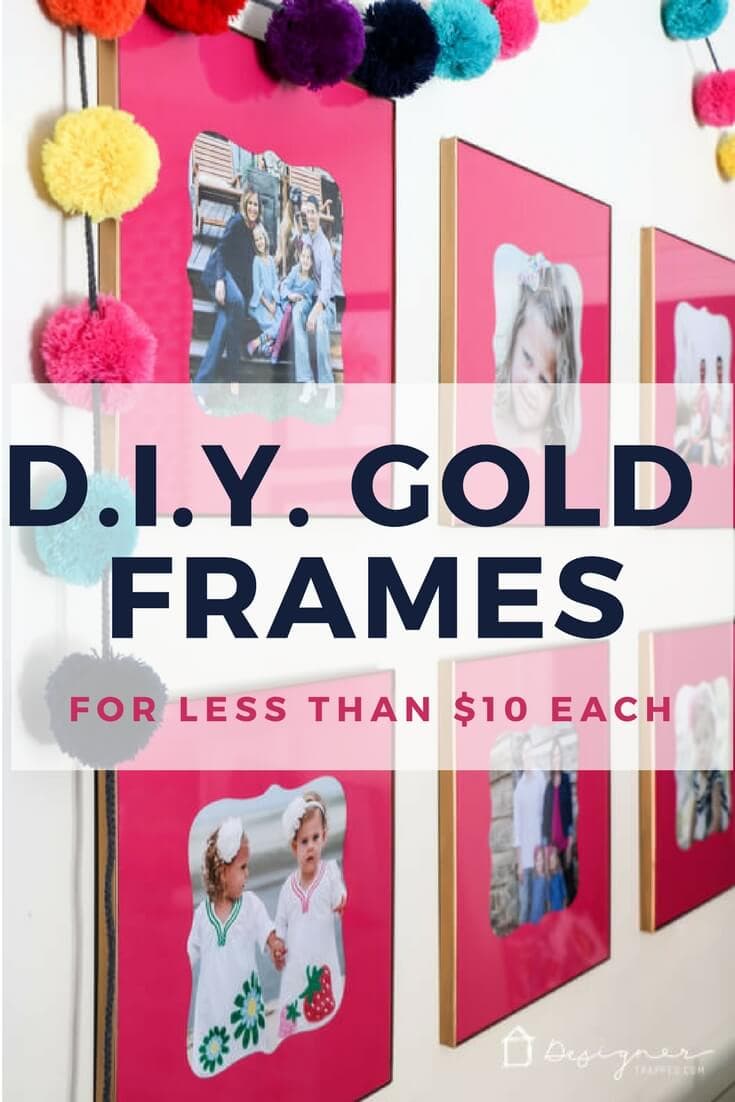
Hi friends! It's not super typical that I get asked repeatedly for a tutorial, but after sharing my post on how I made these DIY photo mats for Attley's room, I started getting tons of questions about where I purchased the frames. When I responded explaining that I modified some store-bought frames to create the look, I got tons of requests for the tutorial ASAP. So, here is it! I got to it as quickly as I could. Read on to learn how to make these semi-DIY gold frames for yourself.
This post contains some affiliate links for your convenience (which means if you make a purchase after clicking a link I will earn a small commission but it won't cost you a penny more)! Click here to read my full disclosure policy.
Semi-DIY Gold Frames Tutorial
Materials needed:
- These frames (I bought the 6 pack and 2 individuals–you can buy them individually here)
- Rub N' Buff in Antique Gold (we used less than 1 tube for 8 frames)
- Paper towels
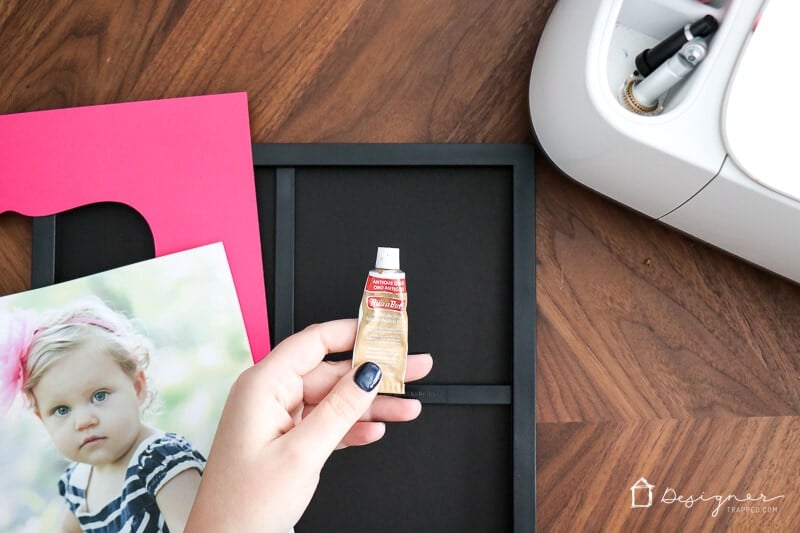
Steps:
If you’d like a video overview of this project, click below.
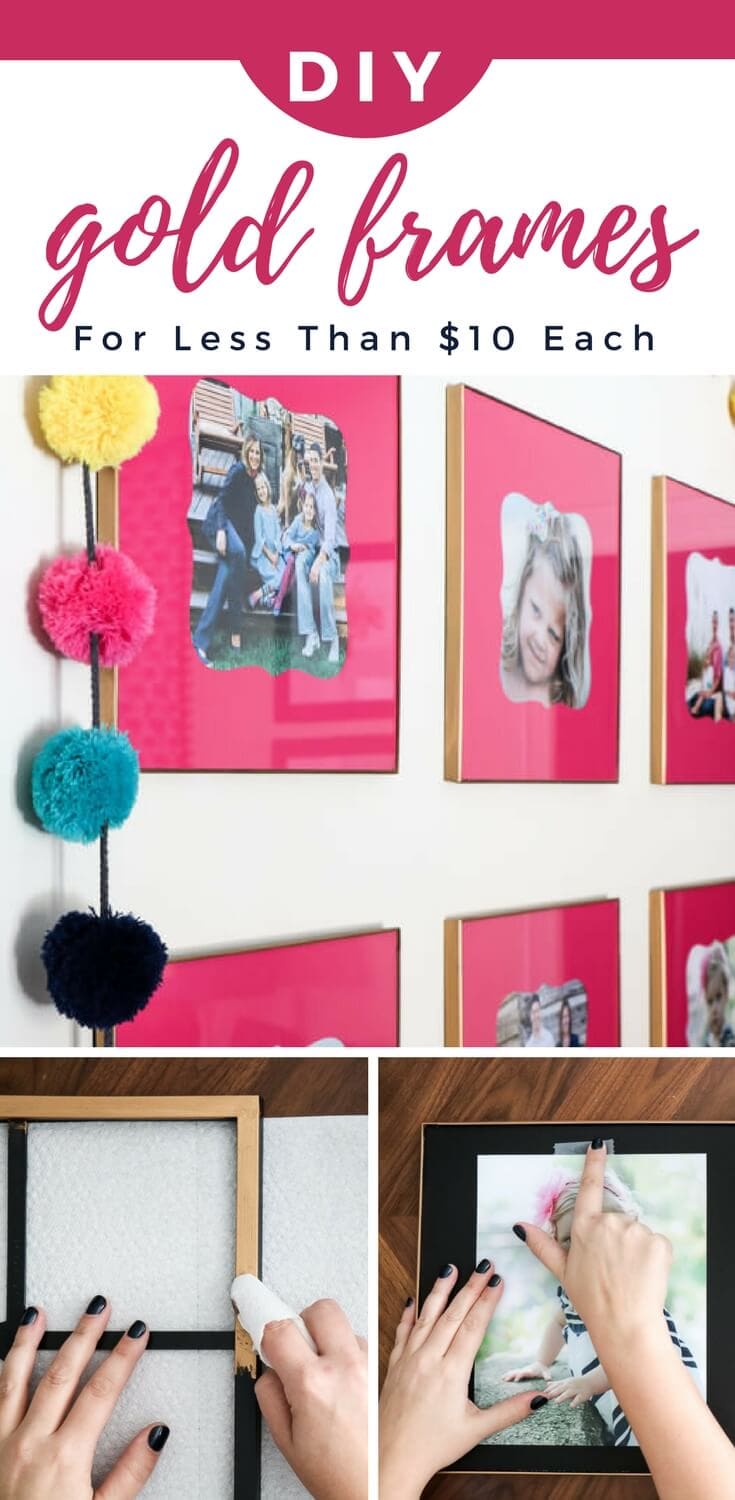
1) Remove the glass and back insert from your square plastic frames. YES, the frames are plastic, but they will look like gold metal beauties when you are done :)
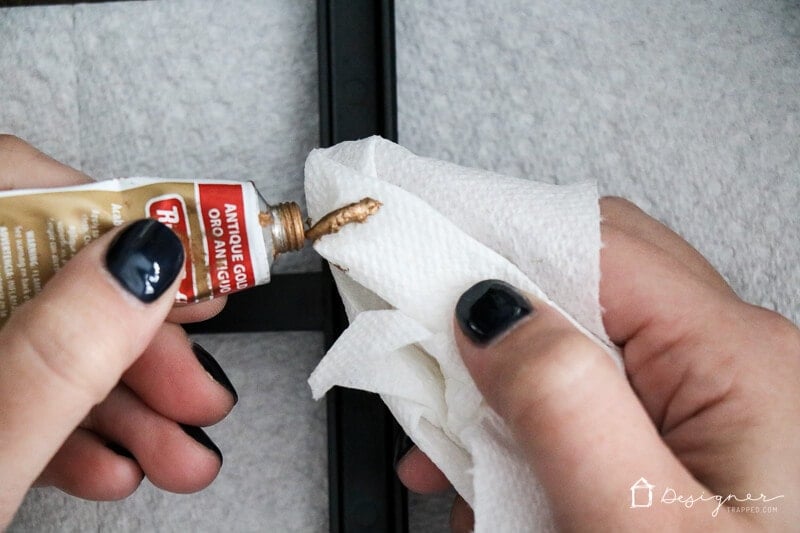
2) Squeeze a small amount of Rub N' Buff in Antique Gold onto a paper towel and rub it on the black, plastic frame. It is a wax product and little bit goes a long way.
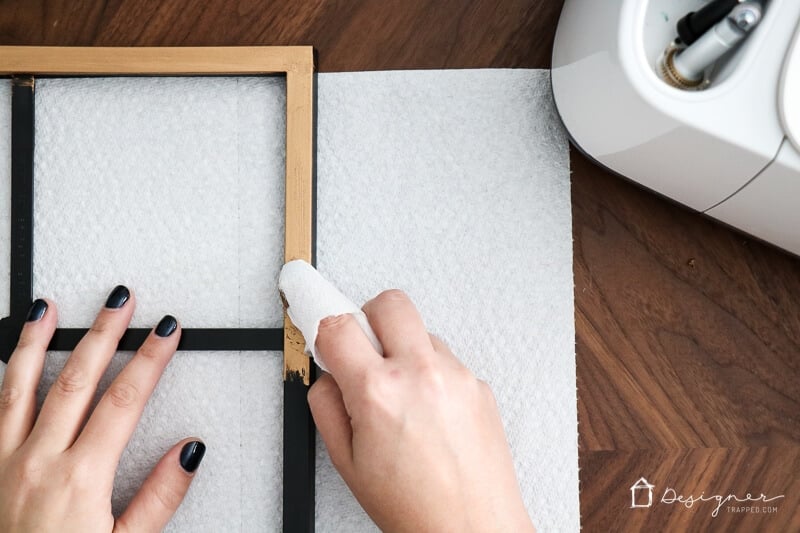
Be sure you get complete coverage, and don't forget to fully coat the thin profile that will show on the front.
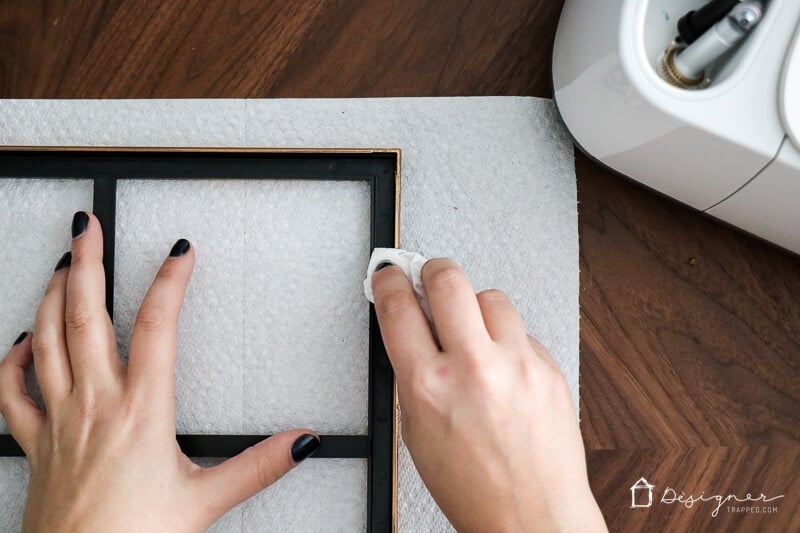
You don't have to coat the inside of the frame that will be covered. Work smarter, not harder ;)
3) The product dries pretty much instantly and it's sooooo much more durable than spray paint. So, you can insert the backer, and your photo mat and photo pretty much immediately. Then replace the glass (which just pops into place) and hang them up!
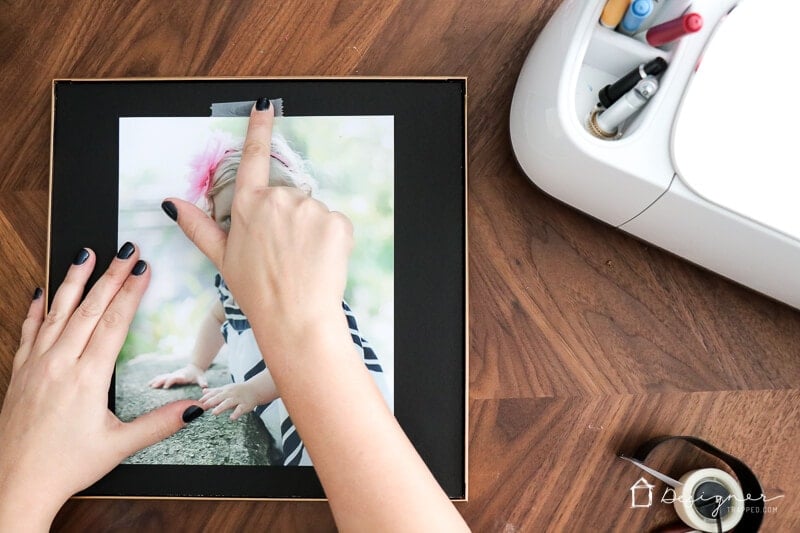
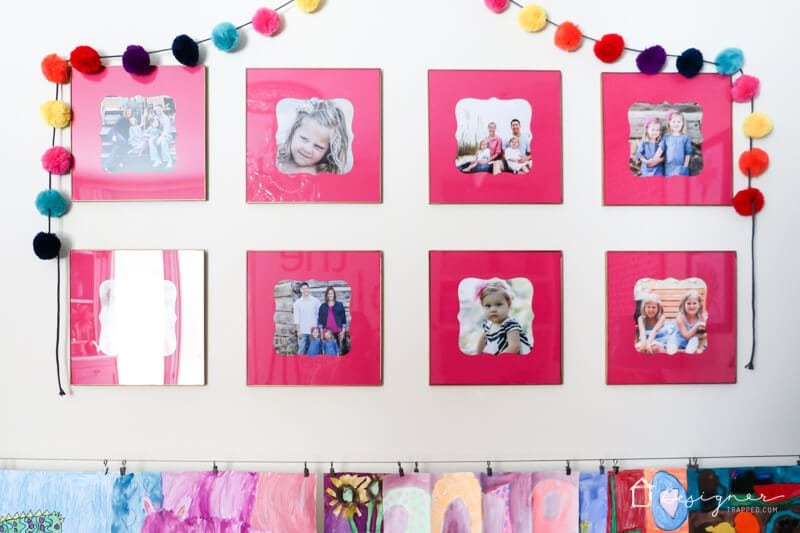
We purchased the 8 frames for $66 and used less than one tube of the Rub N' Buff in Antique Gold (which costs around $7.00). Then we made the photo mats for about $.50 each. So our total cost per frame was less than $10. I call that a HUGE win.
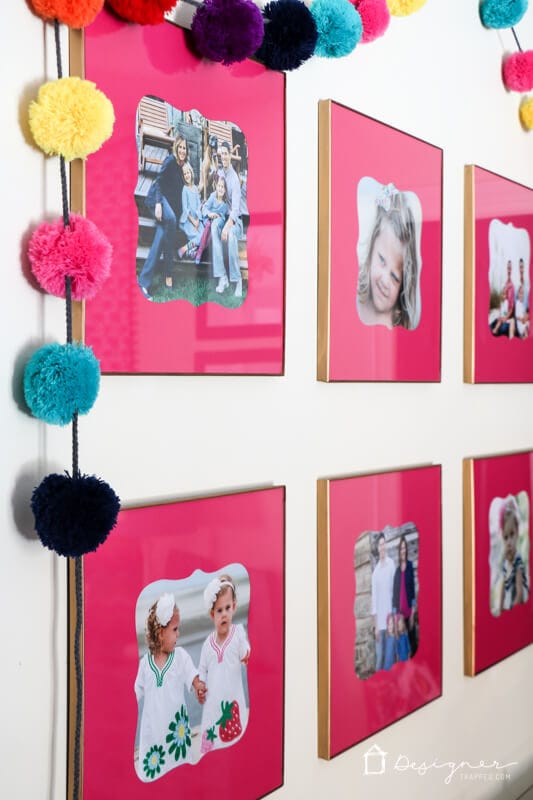
I made these bright pink DIY photo mats for our frames, but with a white photo mat, they would be pretty indistinguishable from these MUCH more expensive options.
Before you head out, be sure to grab free guide so you can create a beautiful room to include your new, super affordable gold frames in ;)
[mv_create 1 11 200 2016 key=”1″ type=”list” title=”Most Popular Projects” thumbnail=”</span><a href=” https designertrapped com wp content uploads diy home decor projects blog jpg target=”_blank” a span]

Last Updated on May 17, 2019

Rub n Buff is working wonders. Gives absolutely flawless finishing to the frame. I love the product! Thanks, Tasha:)
Oh yay! So glad you are loving it!
Just wanted to add that Walmart has those frames for around $1 apiece in 5x7s (can’t remember how much the other sizes are, but not much)–I just got them to finish a gallery wall. :) Didn’t know rub’n’buff was stronger than spray paint! I might use it for some door knobs, then… Thanks!
Oooh, good to know. Thanks Mariele!