How to Paint a Faux Brick Wall
Hi! I’m new around here so let me first introduce myself. My name is Courtney and I along with my husband Brent blog over at Gray House Studio where we share our home renovation journey as well as DIY projects, tutorials and plans.


Brent and I are all about dreaming big when it comes to transforming spaces in our home and our latest project in our spare bedroom to home gym makeover was no exception. We have always loved the idea of having a brick accent wall somewhere in our home and when we decided to create a home gym with an industrial loft look, we knew it was the perfect room to go for it. After looking into the different ways to achieve a brick wall, we realized we didn’t have the budget to do the brick veneers like we originally intended. Our only option for what we were willing to spend was to buy three sheets of embossed hardboard wall panel that looked like brick. 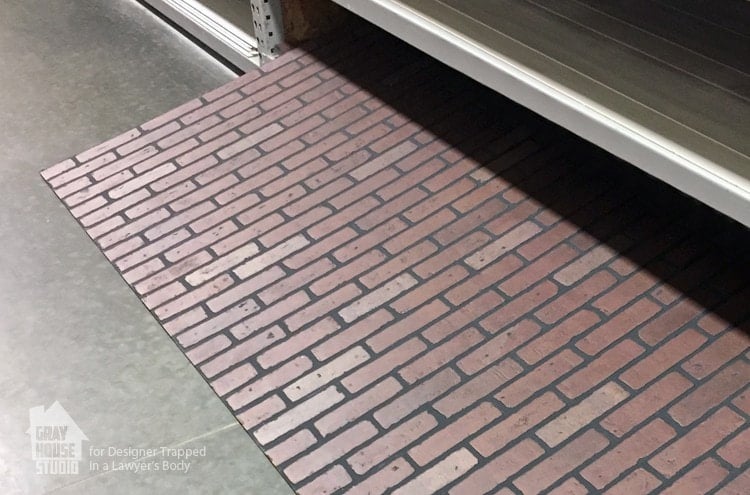 The only paneling we could find came in the undesirable combination of red brick and black mortar. We had our work cut out for us to get it to the style we wanted but we knew if we could paint the wall with a new color palette first rather than just painting the entire wall white, that it would transform the wall and the space into the exact industrial look we had in mind.
How to Paint a Faux Brick Wall
To see how we we transformed embossed hardboard paneling into a realistic looking brick accent wall check out our video tutorial and follow along below as we show how we used our technique in the video to paint the faux brick wall we installed in our home gym with a new color palette. This post contains some affiliate links for your convenience. Click here to read my full disclosure policy.
Materials
- Faux brick embossed hardboard paneling (we needed 3 sheets to cover our wall)
- Foam paint rollers
- Large piece of cardboard
- Paintbrush
- Various colors of sample paint (our selections are detailed further below)
Cost
- 3 panels x $25 each = $75
- 8 sample size paints x $7 each = $56
- Total = around $130 (depending on whether you have to purchase paint brushes, rollers, etc.)
A good starting point for painting a faux brick wall is to find inspiration photos of your desired style and color of brick.
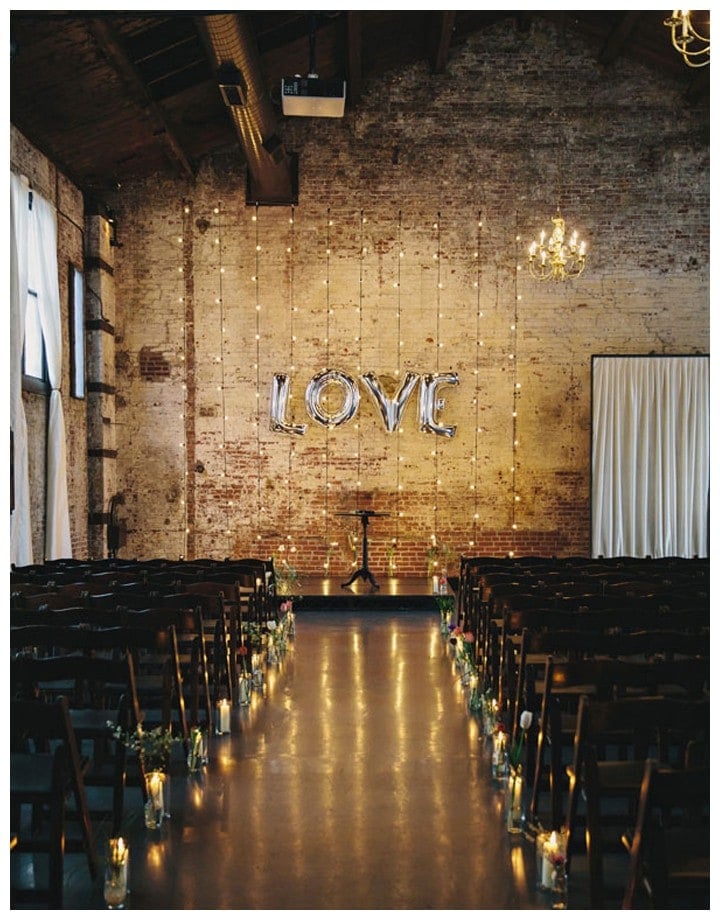 Source: Ruffled
We really liked the industrial loft look and wanted to replicate old brick covered in worn white paint.
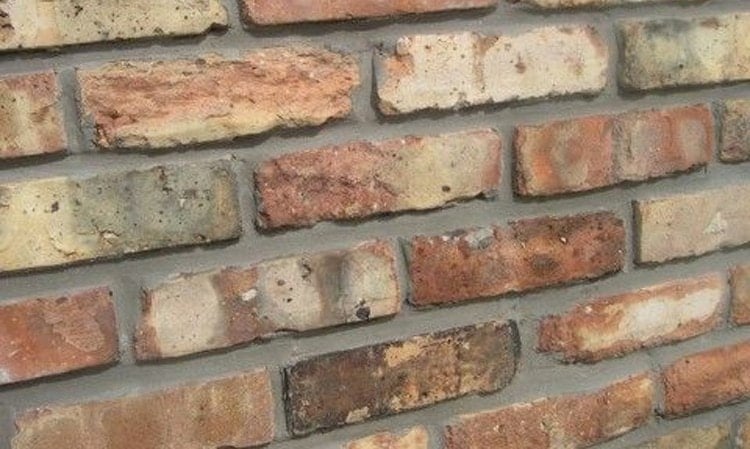 Source: Brick Salvage
For the colors of the brick we wanted to go lighter and choose colors that were more neutral to blend well with the other walls in our room which are beige. 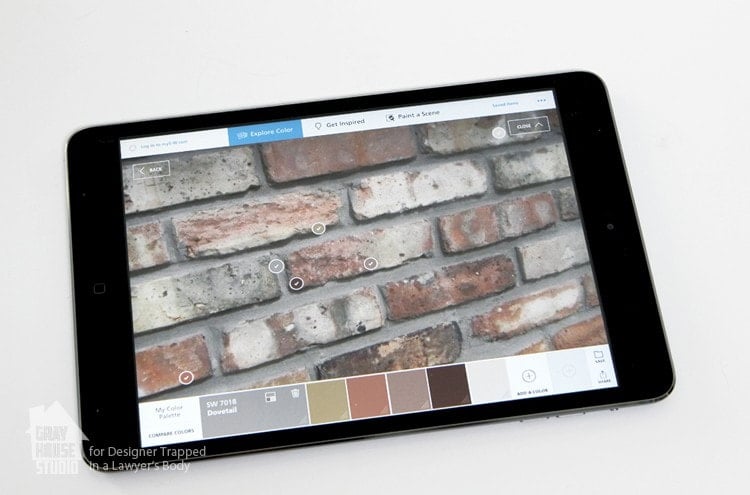 Once you have an idea of what you want your wall to look like, you will need to determine the paint colors for your new color palette. To do this we used the ColorSnap app to pull the colors from the screen in our inspiration photo and translate them into actual paint colors we could purchase to use to paint our brick wall.
 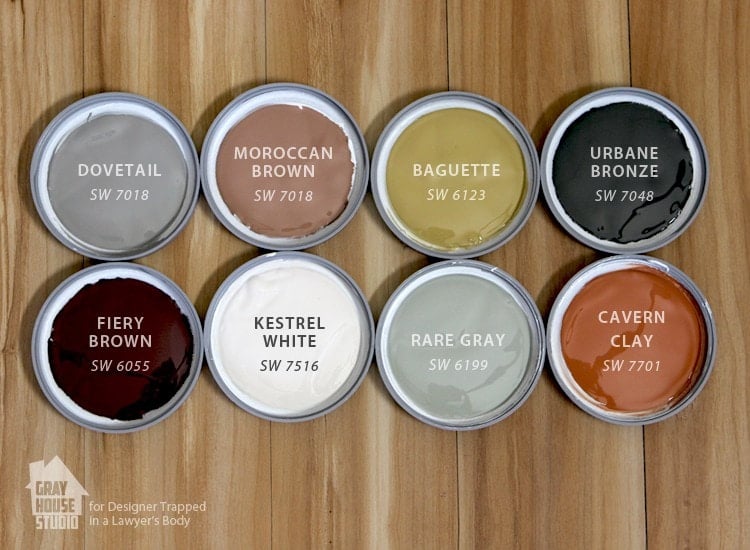 When determining what colors you need from your photo, look for two midtone colors, two highlight colors and two to three accent colors. Using that many colors can seem overwhelming at first and some of the colors may seem like odd choices but once they blend together they will give the wall a more realistic look with depth and dimension. You will also need to select a color for the mortar. We purchased all of our paints at Sherwin Williams.
Our New Color Palette
- Cavern Clay SW 7701 (midtone)
- Moroccan Brown SW 6060 (midtone)
- Fiery Brown SW 6055 (accent)
- Baguette SW 6123 (accent)
- Urbane Bronze SW 7048 (accent)
- Rare Gray SW 6199 (highlight)
- Dovetail SW 7017 (mortar)
- Kestrel White SW 7516 (whitewash)
TIP: You will only need to buy sample sizes of the paint colors. It is plenty to get even a large wall done because you will be using a small amount of each color. 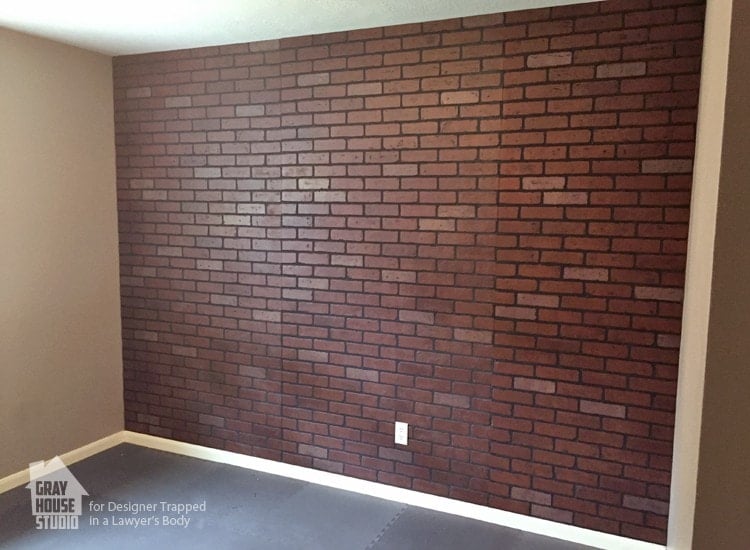 We recommend installing all of your wall panels first. That will make the paint look much more cohesive. If you have a left over piece of the hardboard you can always test paint on a smaller piece first before you start working on the large wall.
 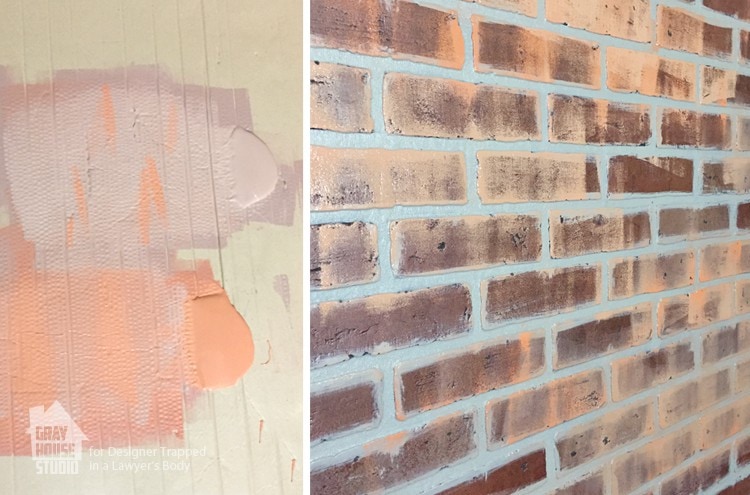 Once you are ready to paint, start with the two midtone colors in your color palette. We used Cavern Clay and Moroccan Brown. Pour the two paint colors out on a large piece of cardboard. The cardboard allows for plenty of space to roll paint together and let it mix naturally. We love the authentic texture the foam roller gives the paint as it rolled across the surface.
 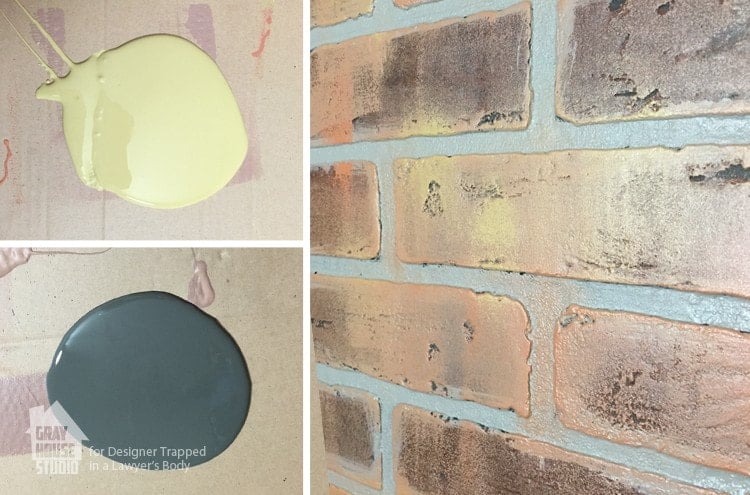 When the wall is completely covered with the two midtone colors, move on to the accent colors. These are the colors that really stand out in the color palette. For accent colors we used a bright yellow (Baguette), dark brown (Fiery Brown) and dark gray (Urbane Bronze). With these colors you do not want to cover the entire wall but rather concentrate them to certain areas. Finally, apply the highlight colors. We used Rare Gray. The highlights should be mixed in around the wall liberally but if it becomes too overwhelming you can always go back and grab midtone colors or highlights from the previous step and mix them back in to tone it down.
 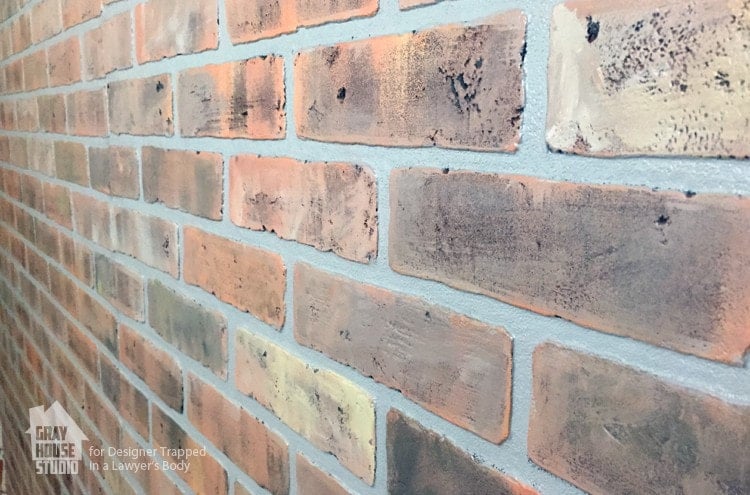 When we first started our wall we actually started painting the mortar first but quickly realized that when you paint with the roller it will get in this area. So we recommend painting the mortar last. That way you can take a paintbrush and come back with a lighter color, we used Dovetail, to paint over the black mortar and any stray paint that may have gotten into these areas from the previous steps. Touching up the mortar really cleans up the look of the brick. If you are going for a more traditional brick look then this is the last step.
 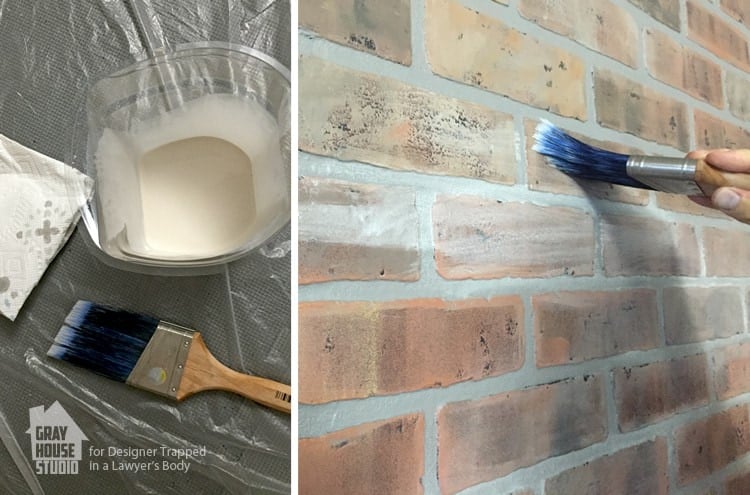 We wanted a more old industrial feel that you might find in an old loft so we whitewashed portions of the wall. We wanted to give the appearance that the wall was once painted white but the paint is now wearing off. To achieve this look paint the wall with various shades of white paint. First significantly water down your white paint (we used Kestrel White) and lightly brush on the paint in your desired pattern with a paintbrush. We chose to leave certain areas untouched. These areas would be our worn and exposed brick.
 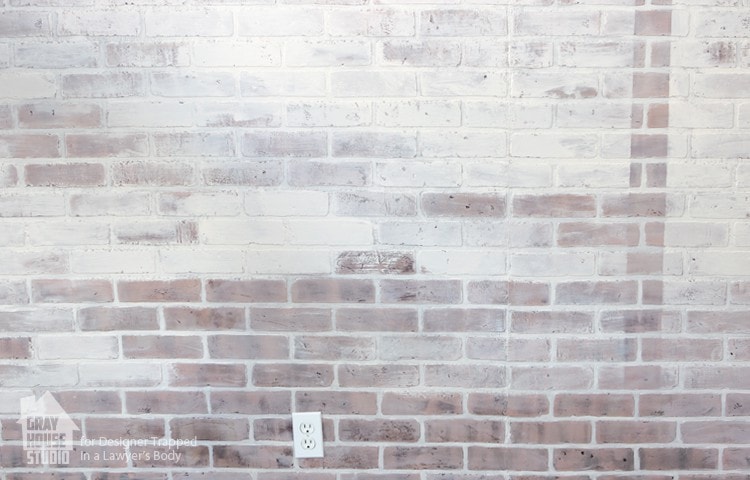 Then come back with less diluted white paint and cover additional areas of the wall that you want less of the brick to show through.
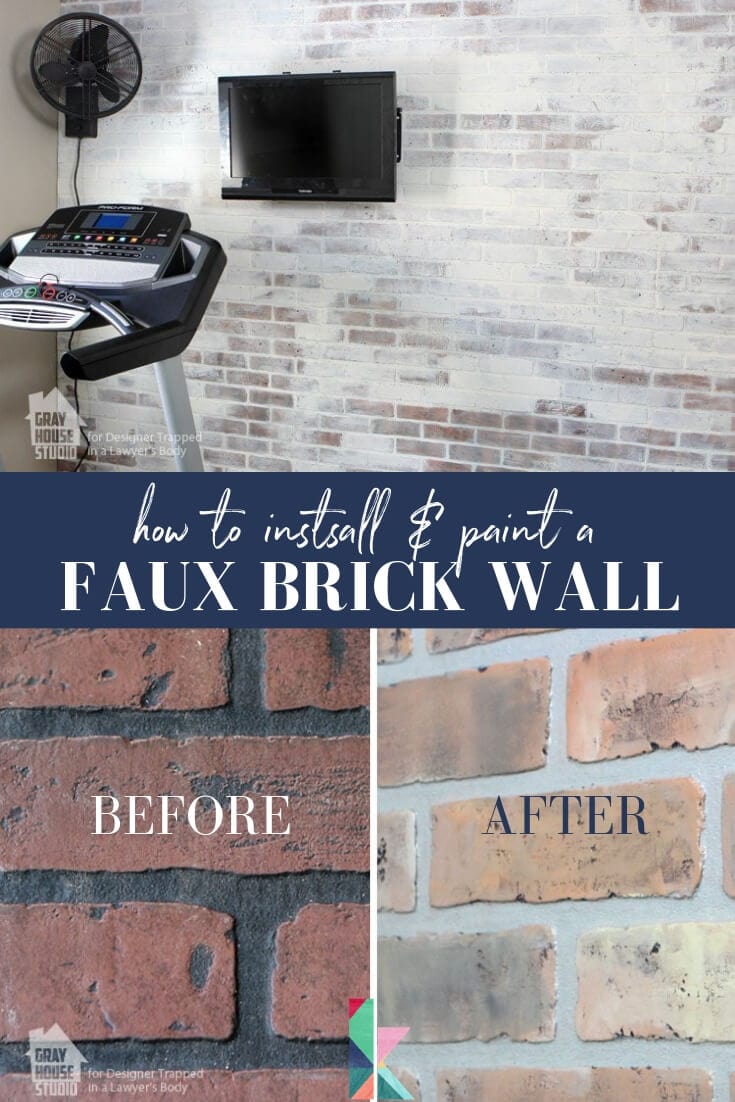
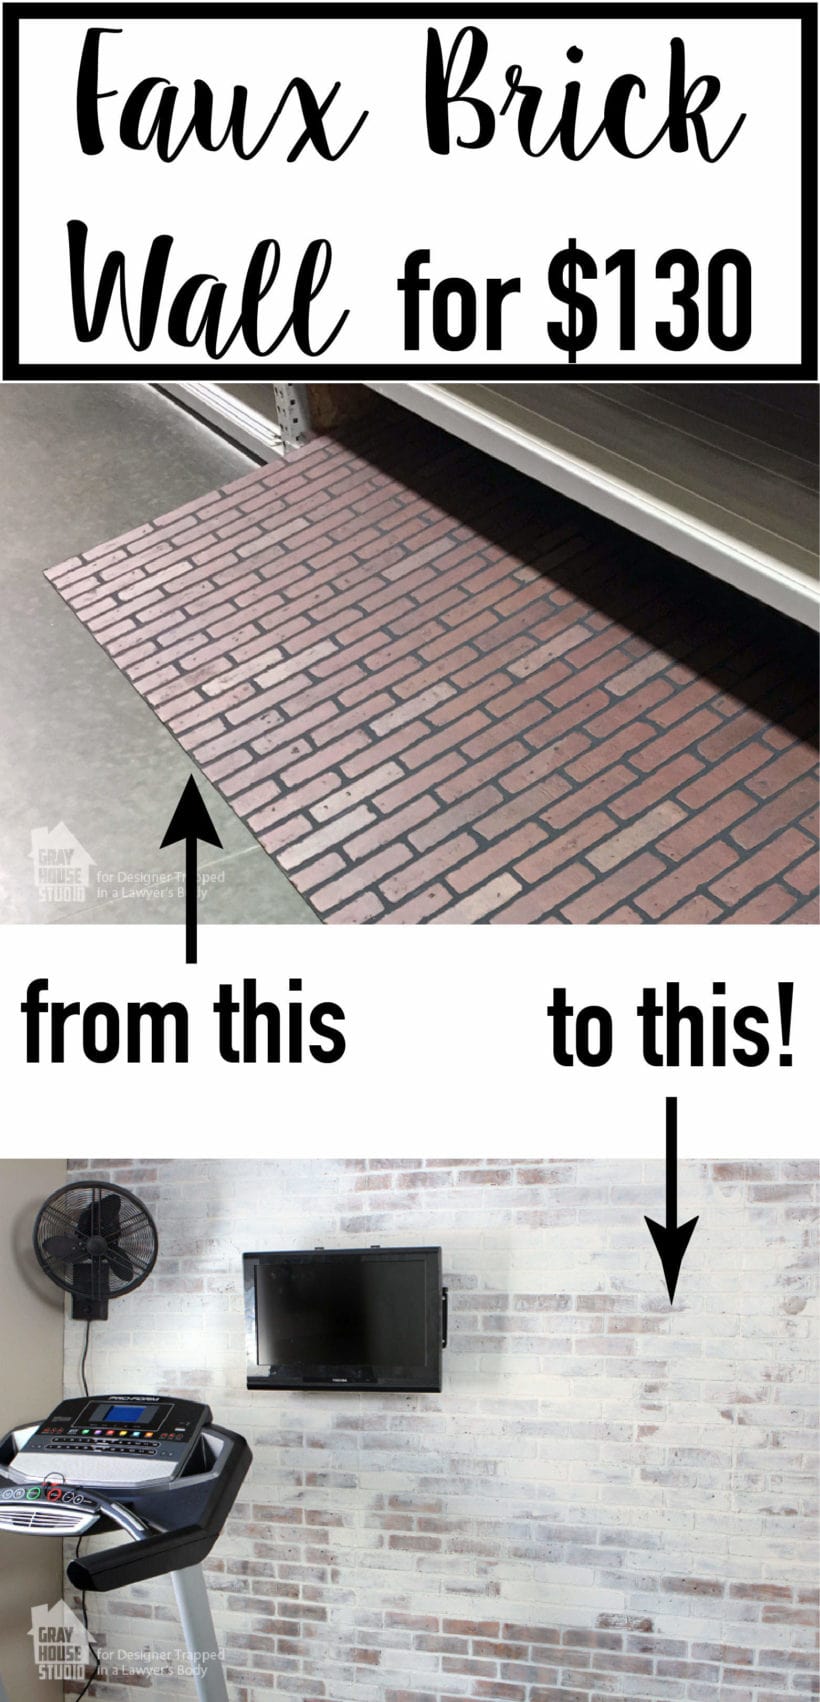
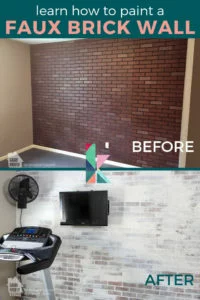
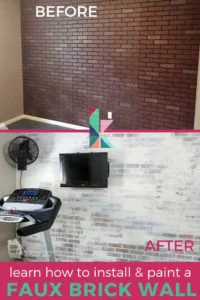
 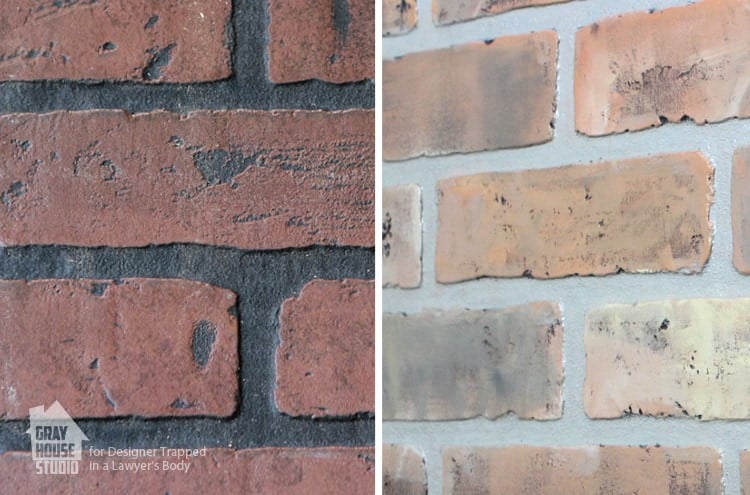 Here is the difference from where we started to what it looked like with our new colors, such a big difference, right?
 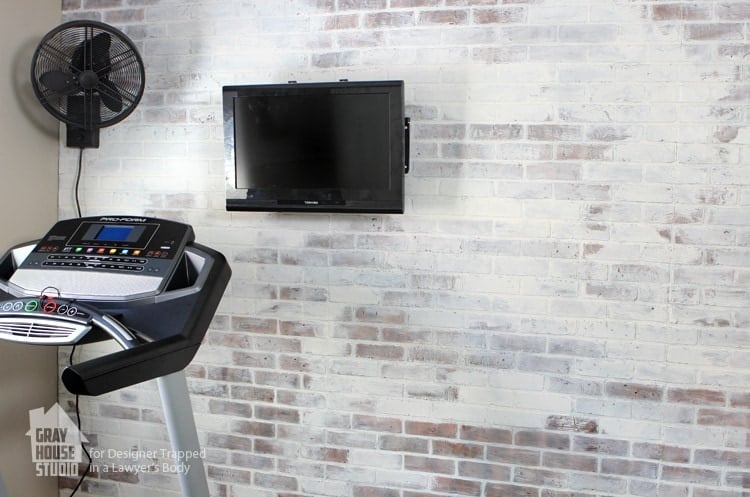 Above is what our finished wall looks like after we whitewashed certain areas. The wall with our new color palette is much more pleasing to the eye and fits with the style of the room better than the red brick and black mortar. When you walk in the room it passes for real brick. We learned that you don’t have to spend a fortune to get an authentic brick look, just a little time, effort and creativity. Remember that you are not confined to the original colors of the hardboard paneling and can change the look of it drastically by painting it with a new color palette. The sky is the limit on what you can create. We hope this tutorial inspires you to get creative and paint your own brick wall. I am so happy that I was able to stop by and share our latest project with you today.
You can keep in touch with us over on Facebook, Pinterest, Twitter, Instagram and YouTube. If you enjoyed this project, we would love for you to check out a few of our other projects below.
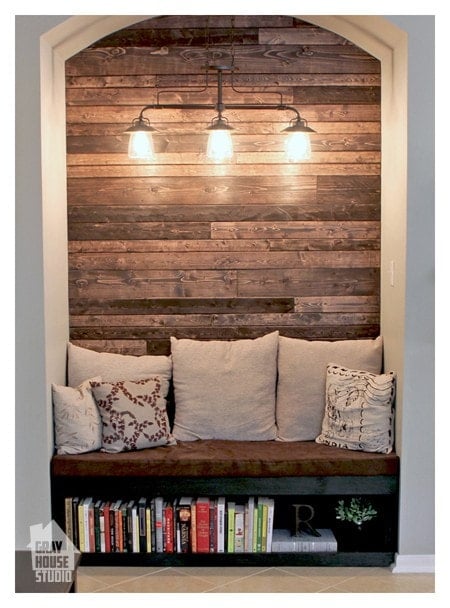 Reading Nook with Wood Plank Wall
[mv_create key=”1″ type=”list” title=”Most Popular Projects” thumbnail=”<a href=”]
Last Updated on June 13, 2019

Wow, this looks amazing! I love that you blended colors to make it look like real brick instead of opting to paint it all white. Great job!
Thanks! She did a really great job.
Live it! I tried it and need help. The lines between each panel are very obvious. How did you get each panel to come together smoothly so you can’t see where each new panel starts?
Hi Brittany! Did you caulk where the panels meet? If not, try that!
It looks great! Where’d you get the fan? (It’s just what I need for my kitchen!)
Love the look and so going to steal it! By the way, you “dilute” paint, you “delude” people (meaning you lead them to believe something that isn’t true). Sorry- it’s the amateur linguist in me!
Thanks Christine! And thanks for catching that error–I have corrected it :)
It’s beautiful guys!!! So inspiring! You guys are so talented :)
Thanks!
GREAT idea! I love it!
Isn’t it AWESOME, Brook?!