How to Make Picture Frames from Reclaimed Materials
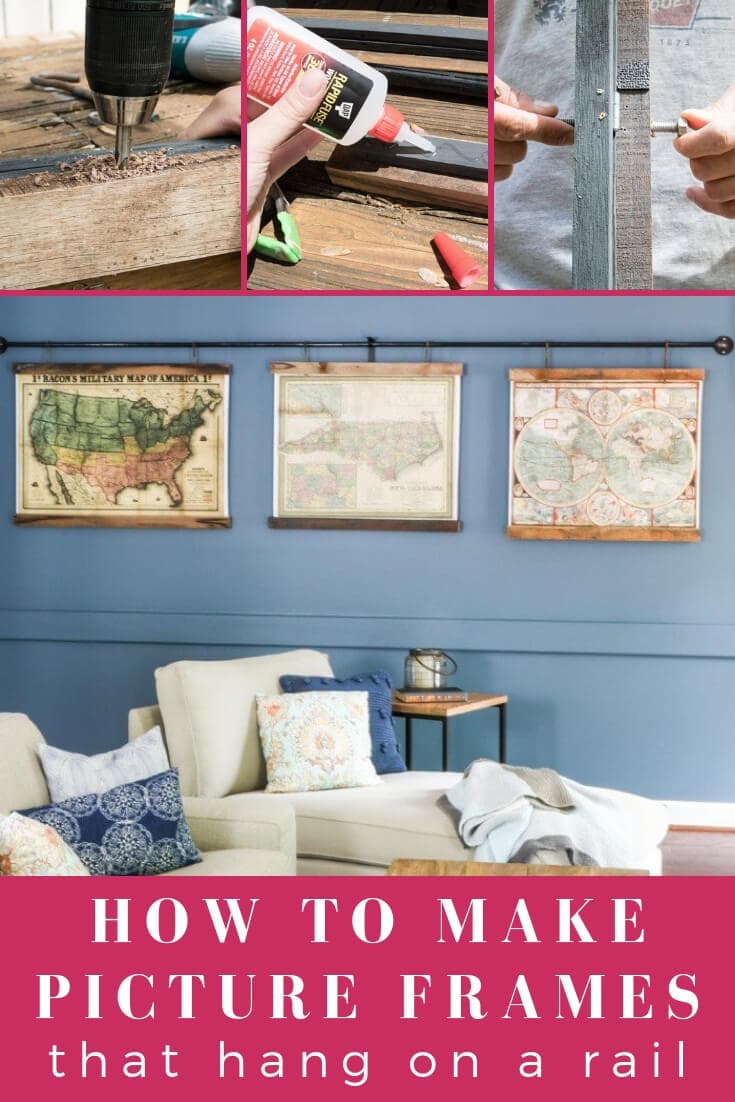
Learn how to make picture frames from reclaimed materials AND hang them from a pipe for a unique twist!
A big thank you to Dap for sponsoring this project. As always, all opinions are 100% my own based on my experience.
Y'all, I could not possibly be more excited to show you how to make picture frames for maps today! GAH! I'm so in love with this project and it was so affordable because we used an old pallet to make them, which cost us NOTHING. First, let me tell you how this project came to be. We have a large family room and there is one GIANT wall at the end of it. I wanted to change up the art work on it, but since it's such a big wall, things can get expensive quickly, so I knew I needed an affordable DIY art solution. Around that time, my husband scored an old pallet and my wheels started churning. Joe and I have always loved maps and I knew I could purchase some fairly inexpensively. Once I knew we wanted to hang maps and use the old pallet, we were off to the races. PS- There's a complete source list for the items you see in the room AND the paint color at the end of the post–THERE'S ALSO A GIVEAWAY YOU WON'T WANT TO MISS OUT ON AT THE END OF THE POST! Now, read on to learn how to make picture frames like ours! This post contains some affiliate links for your convenience. Click here to read my full disclosure policy.
How to Make Picture Frames from Reclaimed Materials
Materials needed:
- An old pallet (or any other wood reclaimed wood you would like to use)
- Maps (I purchased all of my reproduction maps at this awesome Etsy store)
- DAP Rapid Fuse Wood Adhesive
- Clamps
- Table saw
- Chop saw or hand saw
- Drill and drill driver
Optional if you want to be able to change your maps and suspend from pipe:
*NOTE: Your pipe fittings must match the diameter of your pipe. We used 1 inch pipe.*
- Narrow utility hinges
- Anti-skid pads
- Paint
- Screw hooks and nuts (we had some old rusted ones that we liked the look of, so we used those)
- 10 foot iron pipe
- 2 90 degree iron elbows
- 2 iron nipples
- 2 iron floor flanges
How to Make Picture Frames (the SUPER easy method):
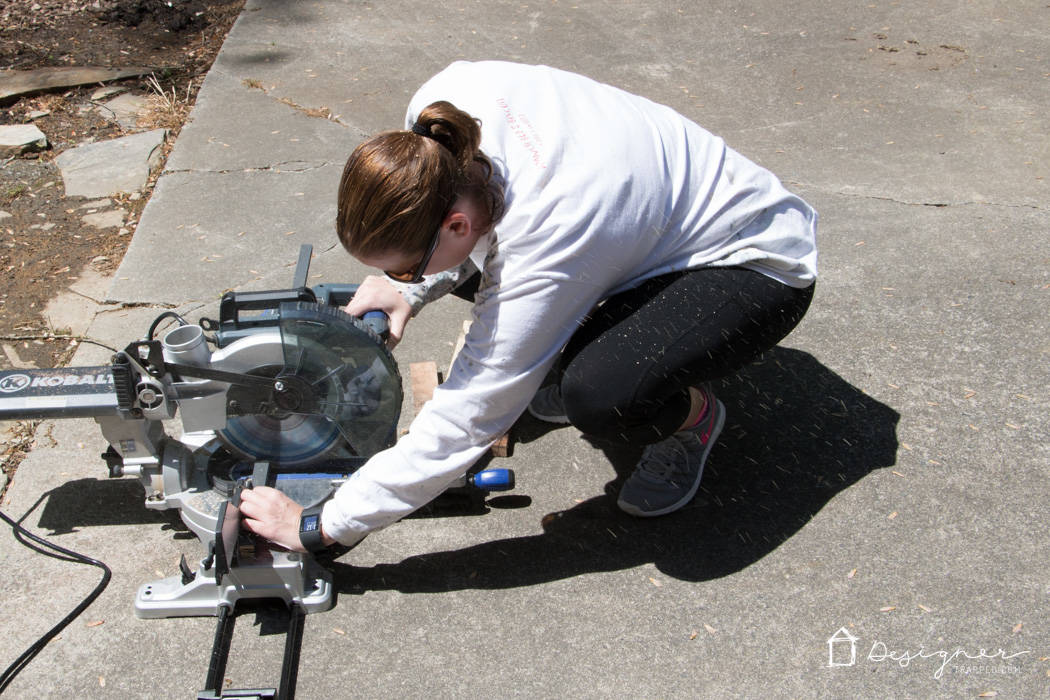
1) You will need 4 lengths of wood for each print. Cut the pieces to length using a compound miter saw or hand saw. We cut ours so that they overhang the maps slightly.
2) Grab your Rapid Fuse and some clamps.
3) Squeeze on a small amount of Rapid Fuse over both pieces of wood. Then sandwich the print in between them and clamp them together for 30 minutes while the Rapid Fuse cures.
4) Attach the picture hanging hardware of your choice (I'm obsessed with Command Picture Hanging Strips) and hang it up!
Don't believe it's that easy. I'll prove it! Check out the video below.
How to Make Picture Frames (the more complicated way that will allow you to easily swap out your prints)
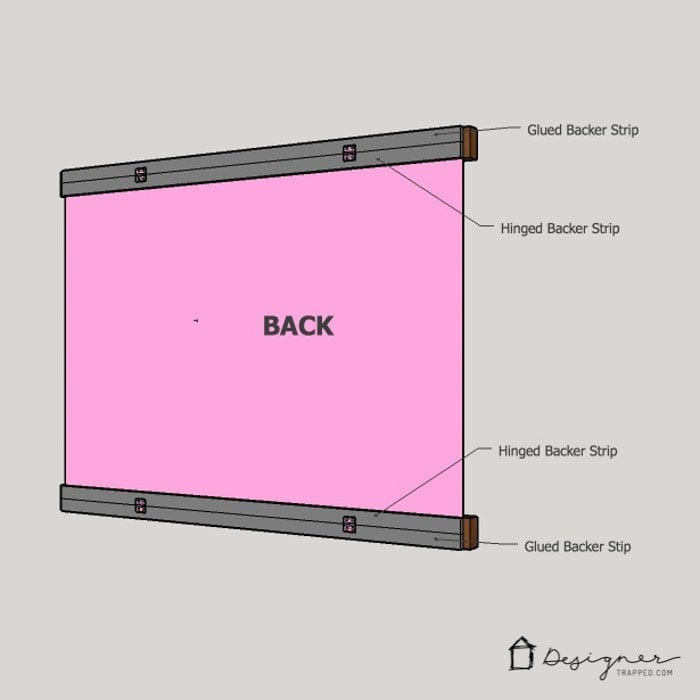
Before we get started, here are some diagrams to identify the different pieces of the project that I refer to in the tutorial (don't worry, it's really not THAT complicated, promise).
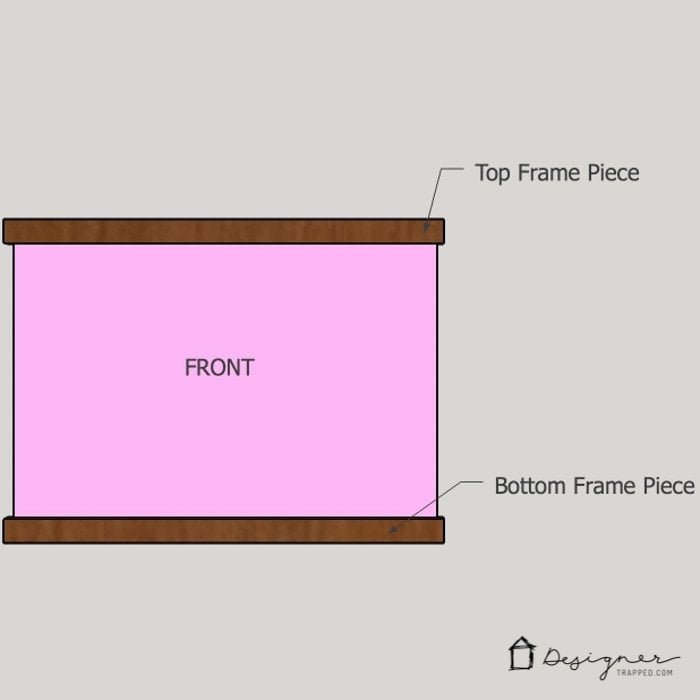
1) For the top and bottom frame pieces: If desired, use your table saw to rip your wood to your desired width. This is TOTALLY optional. We only had one pallet to work with, so we needed to rip ours down to effectively double the amount of wood we could work with. But it would look awesome with wider wood pieces as well!
2) For backer strips: We also opted to use plywood for the backs so as not to waste any pallet wood (we painted it gray to make it slightly more aesthetically pleasing, but if I had it to do over again, I would skip this step). Start with wood pieces that are the same width as the front pieces of wood (from Step 1). Rip the back pieces in half. One half will become the glued backer strip and the other one will become the hinged backer strip (as shown in the diagram of the back of the frames).
3) Cut all of your wood pieces to length with a compound miter saw or a hand saw. We cut ours so that they overhang the maps slightly.
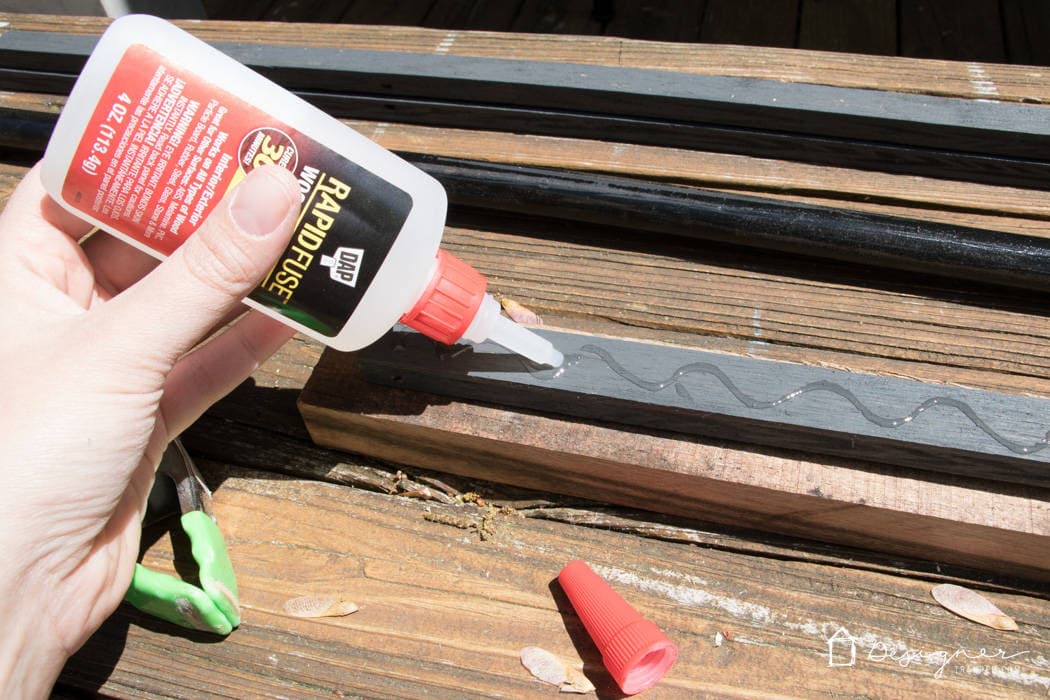
4) Use your Rapid Fuse to attach a glued backer strip onto each top and bottom frame piece. When working with reclaimed wood, I STRONGLY prefer to minimize screwing and nailing into it when at all possible because it breaks and splits easily. That's why I am a HUGE fan of Rapid Fuse Wood Adhesive. We use it whenever we can when working with reclaimed wood.
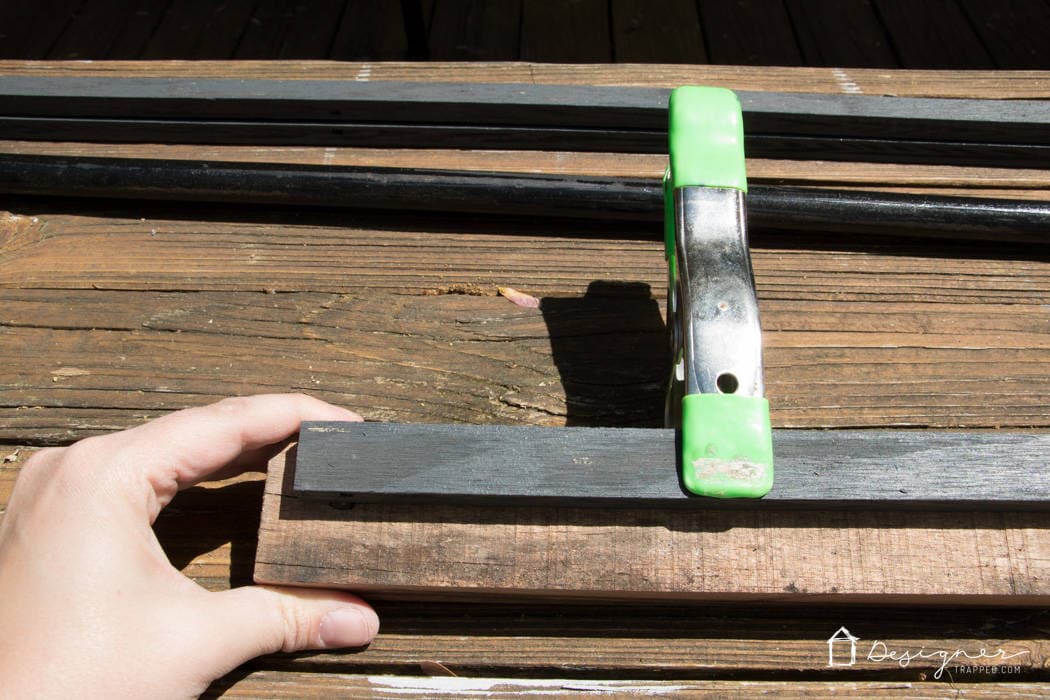
5) Clamp the pieces together for 30 minutes until the Rapid Fuse cures. By the time you glue and clamp all the pieces, the first one you worked on should be ready to be unclamped!
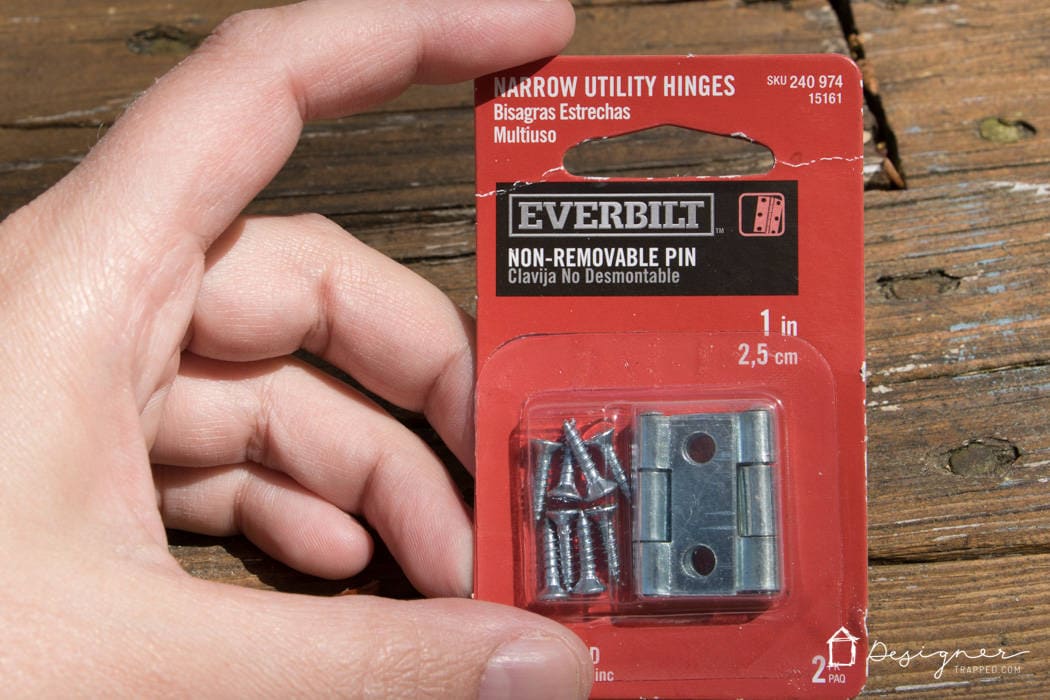
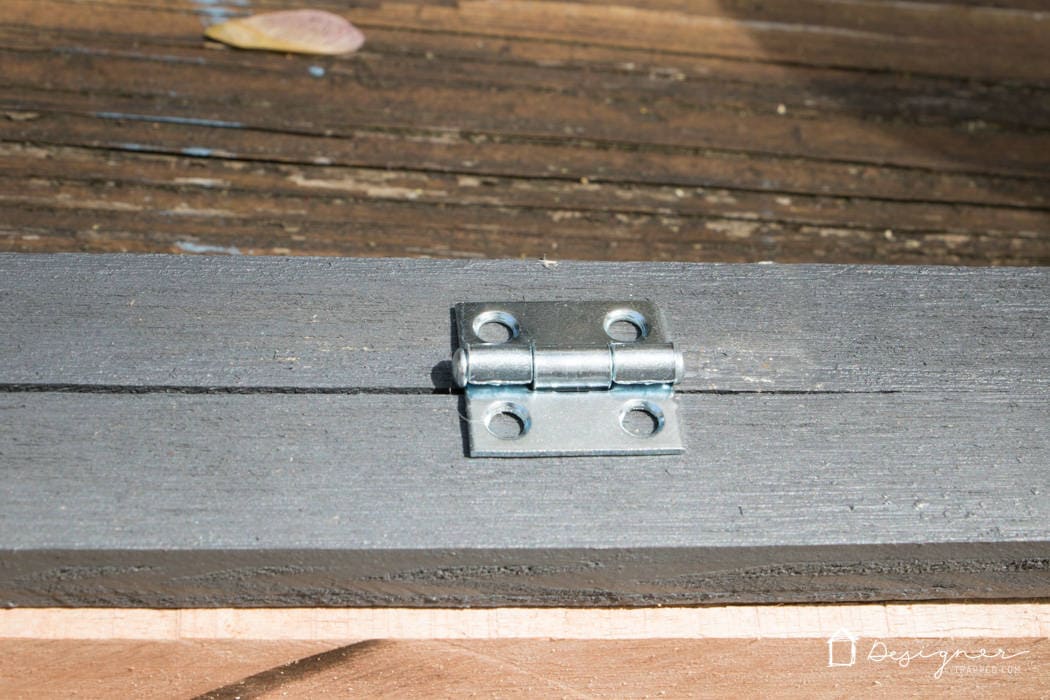
6) Once the Rapid Fuse has cured, you are ready to add your hinges and the hinged backer strips.
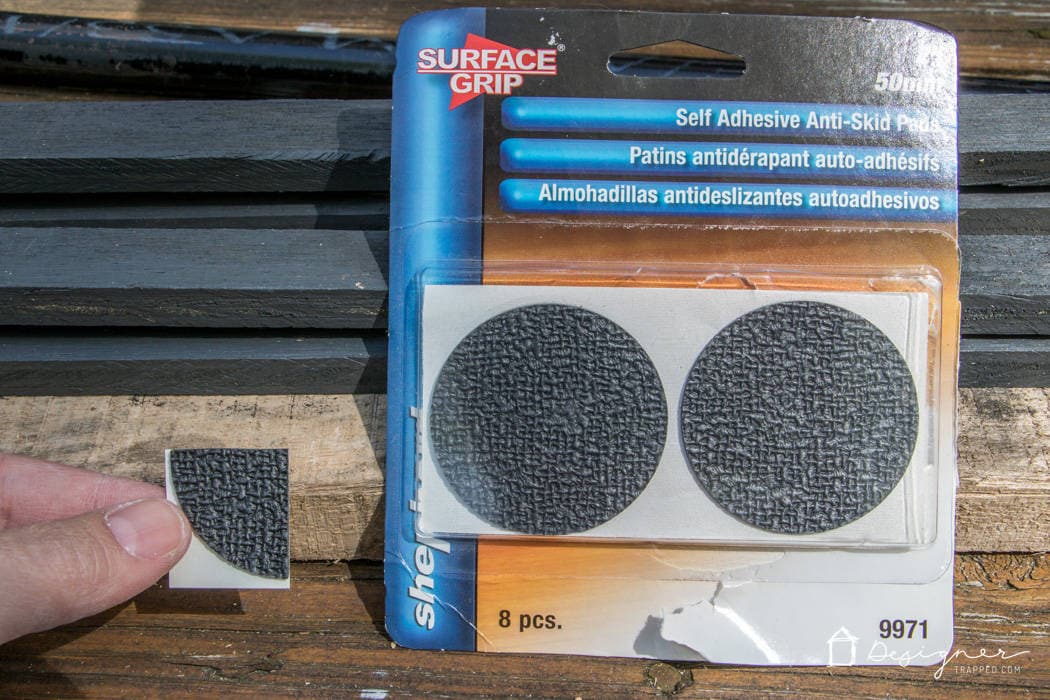
7) We also added some non-skid adhesive pads to help ensure the maps did not slip out of the frames.
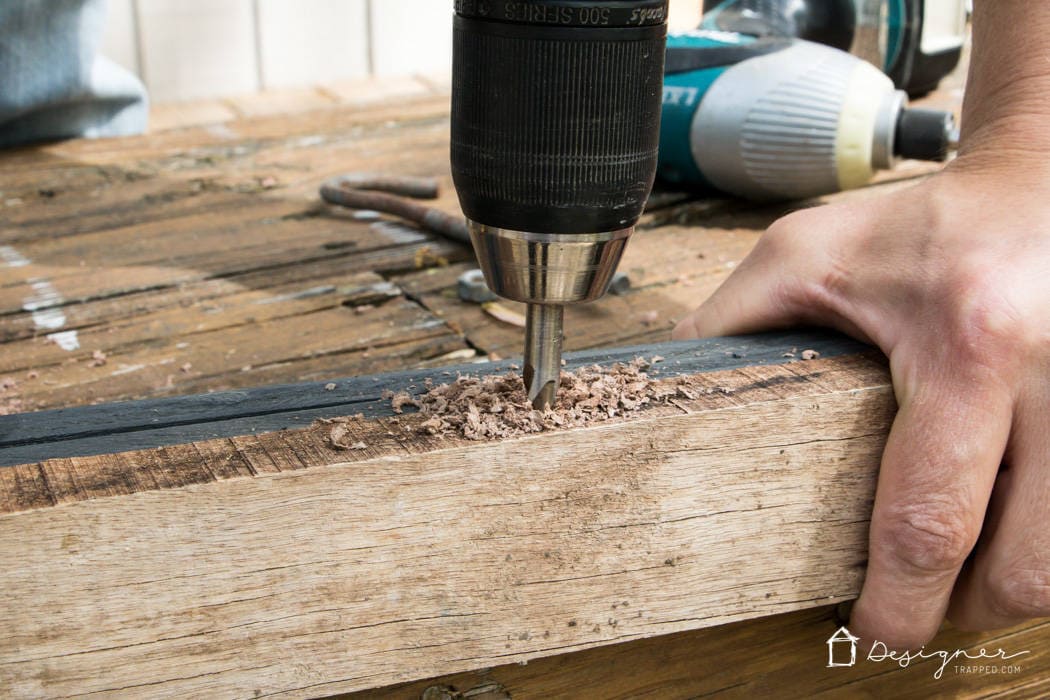
8) Next, drill through the top frame pieces with a drill bit that is slightly larger than the diameter of your screw hooks. You will need two screw hooks at the top of each frame to hang it from the pipe.
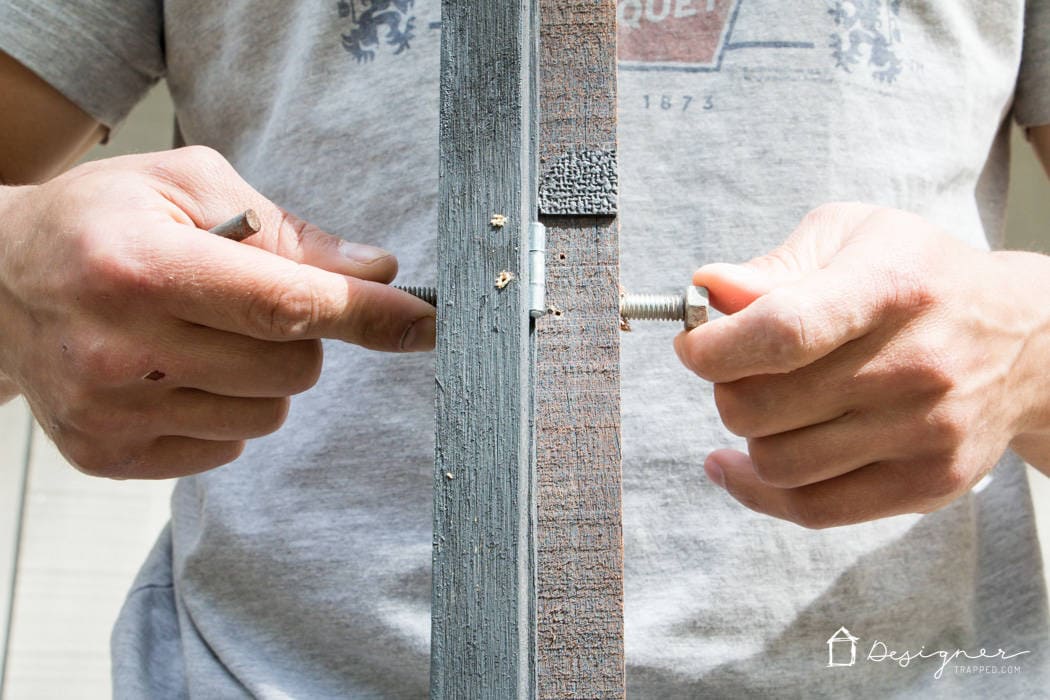
9) Fasten nuts at the end of each screw hook.
10) Insert your map or large print between the frame pieces and the hinged backer strips. Then close the hinged backer strips and use two small screws on each end to keep it closed. This will allow you to easily change out your prints down the road if you choose to! This is what the frame will look like from the back once your print is in place.
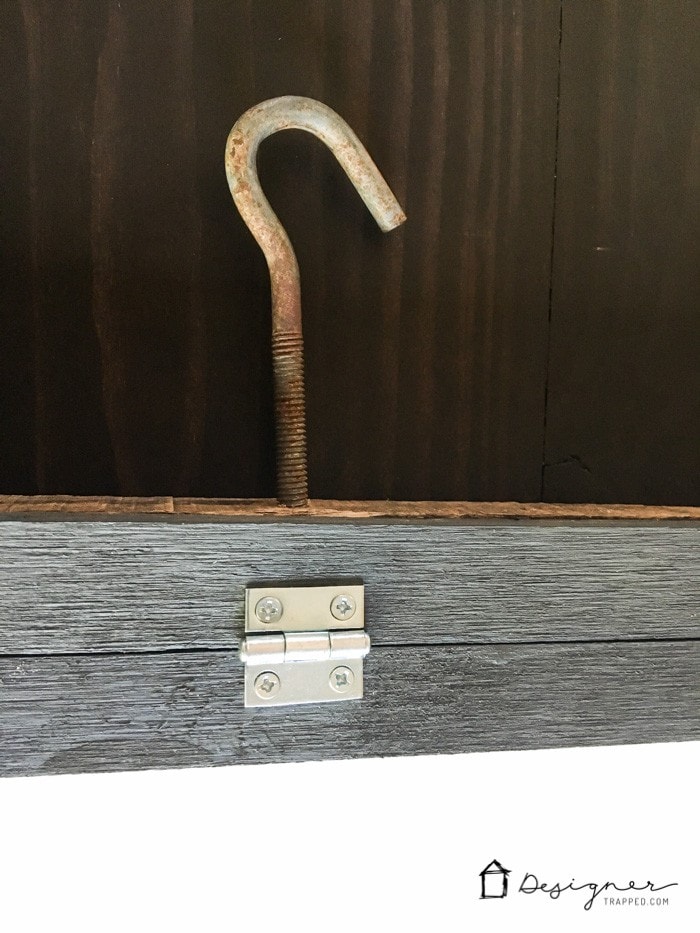
11) The last step is to assemble and hang your pipe rod. You can read about exactly how to do that in this post. Note that because these frames are so heavy, we did use a curtain rod bracket in the center to give the pipe some additional support.
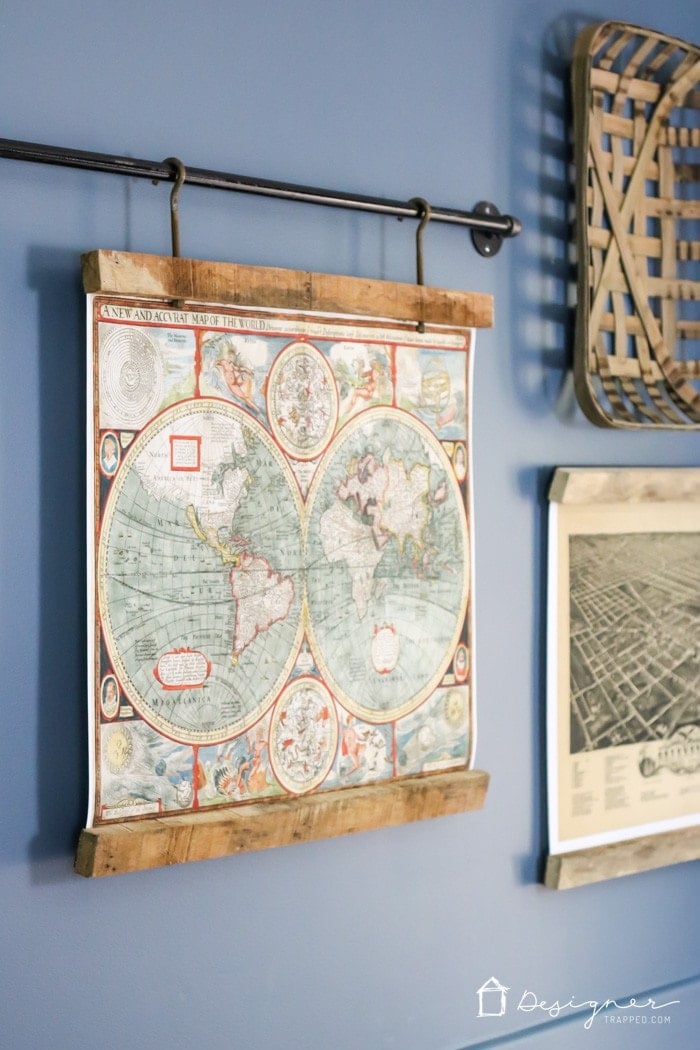
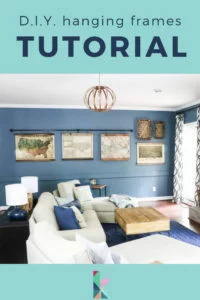
That's it! You have officially learned two different methods for how to make picture frames out of reclaimed materials. This is perfect for maps or any other large scale print and it's SO affordable. Check out how GORGEOUS the result is. I am 100% in love.
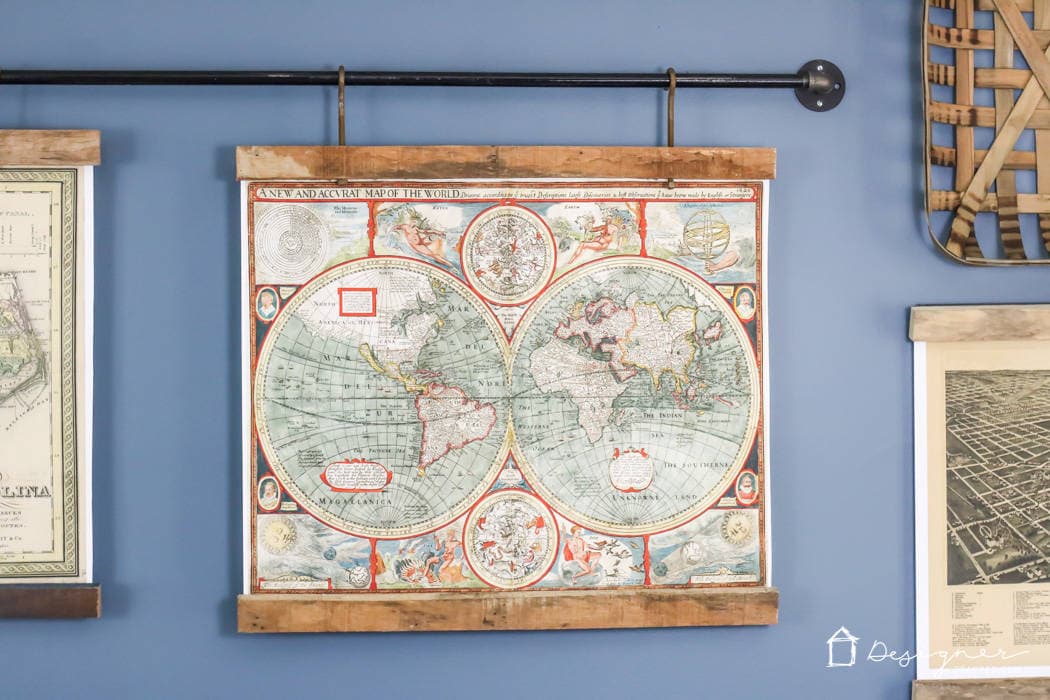
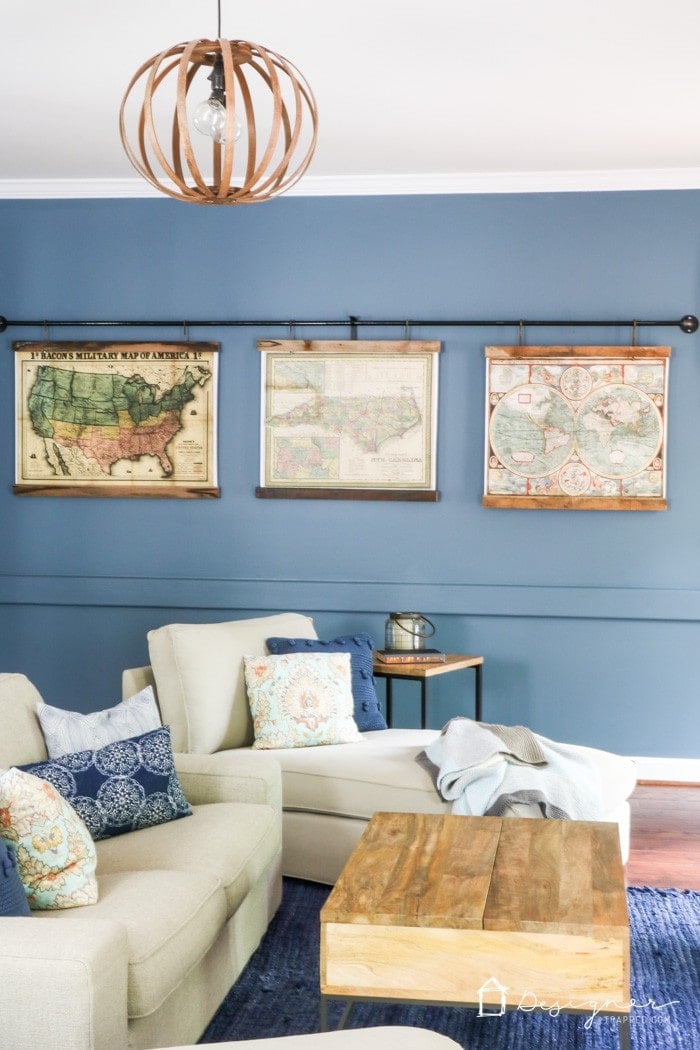
The framed maps look awesome with our fireplace that we recently updated for an industrial feel. We made that DIY barn door style fireplace screen :) You can read more about our fireplace makeover in this post.
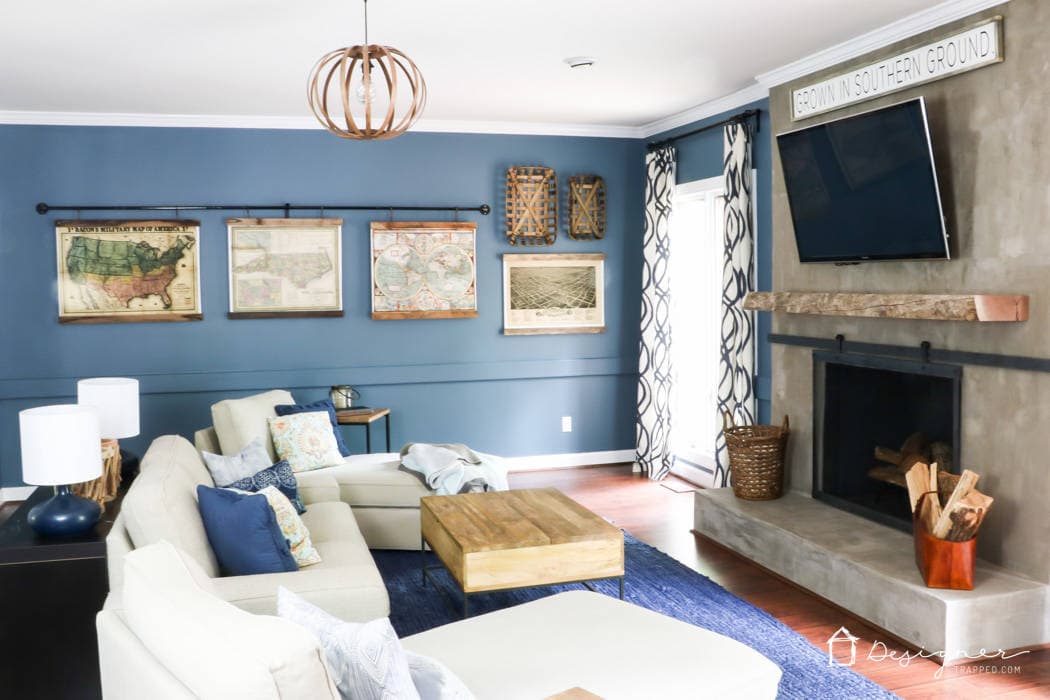
We could only fit 3 of the maps on the 10-foot length of pipe, so we hung the fourth map on the wall and added these gorgeous North Carolina tobacco baskets above it. I love the added texture and dimensions the baskets add. And it's super cool that they represent the history of the great state of NC!
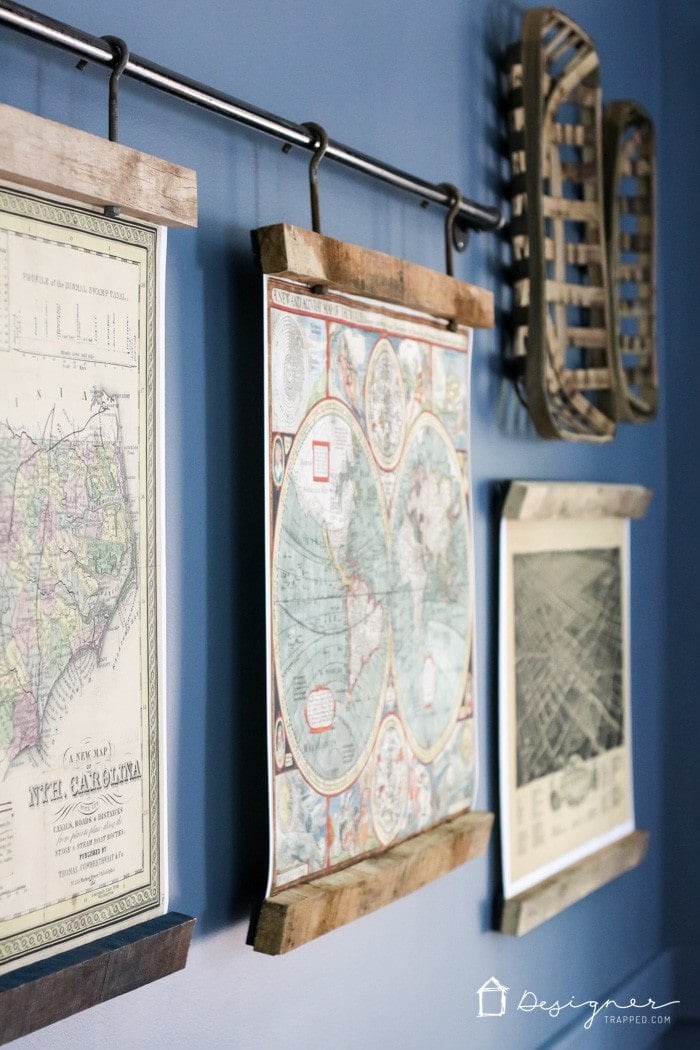
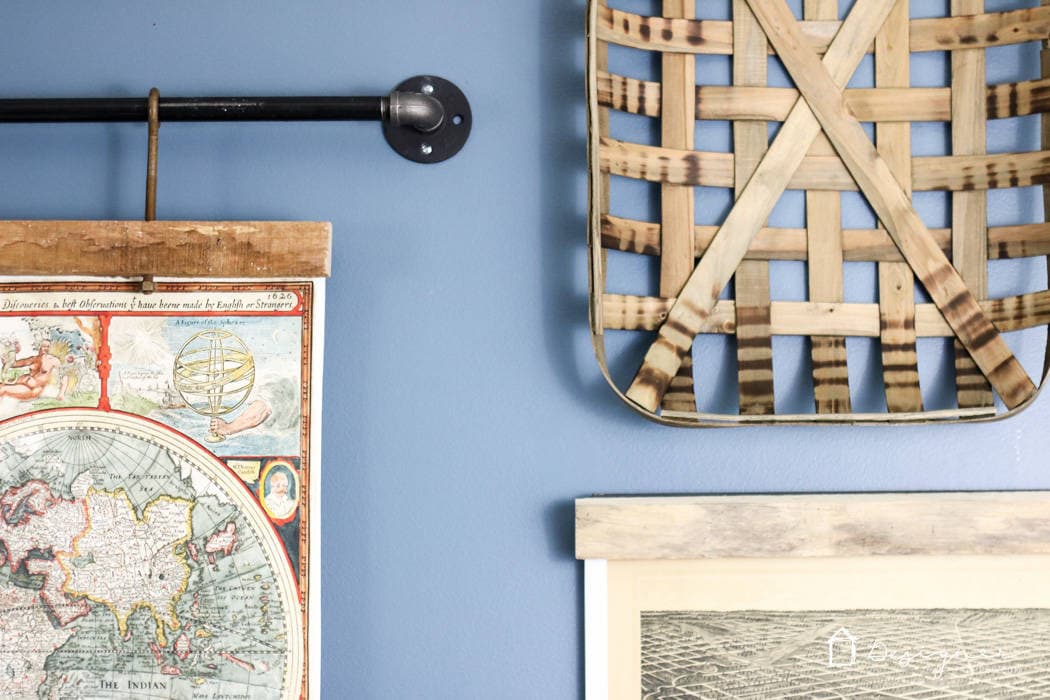
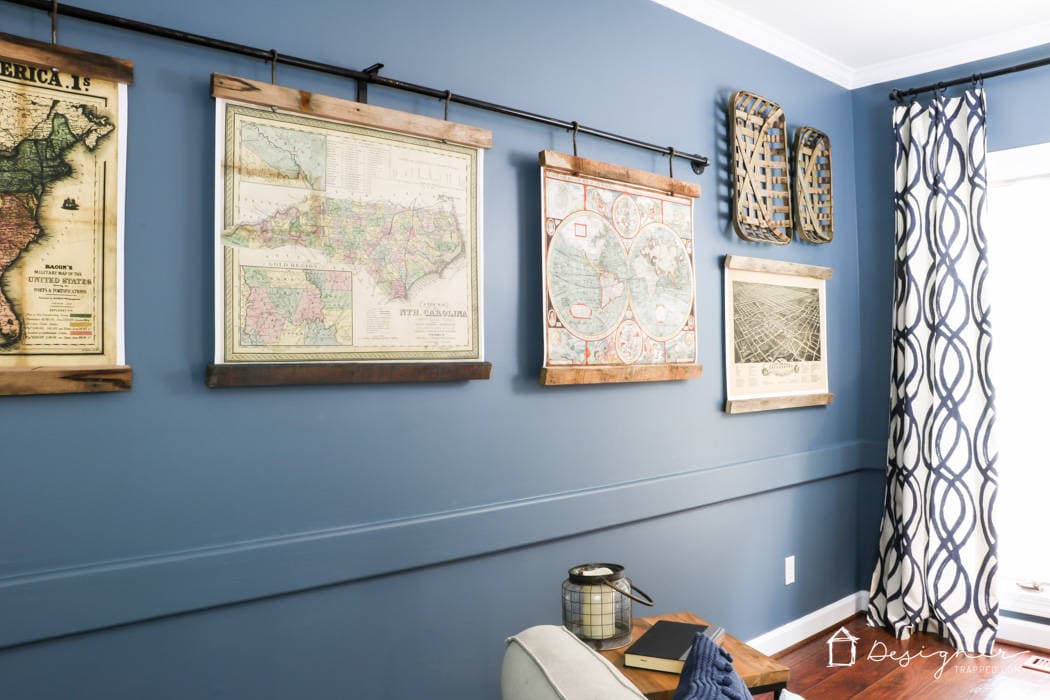
SQUEAL!!!! Seriously so excited about this project. What do you think?
If you love this idea, but aren't sure how to tackle the rest of the room you are wanting to hang these in, be sure to check out my FREE guide!
Source List:
- Wall color- Phillipsburg Blue by Benjamin Moore
- DIY bentwood pendant light- tutorial can be found here
- Tobacco baskets
[mv_create 1 11 200 2016 key=”1″ type=”list” title=”Most Popular Projects” thumbnail=”</span><a href=” https designertrapped com wp content uploads diy home decor projects blog jpg target=”_blank” a span]

Last Updated on March 3, 2022

What size are the map prints that you ordered for this project from the etsy store?
They are really big because that is what fit in my space!
This is amazing! I have a print I have been wanting to hang like this for a long time! Great tutorial!
Awesome! Thanks for reading!
Tasha: I love how the room came out and the frames are a great idea. You have such different and great ideas.
Kathy
Thanks!!!! We are really excited about them :)
I LOVE what you did with the Pallet Frame! Very clever and practical. What I love even more about your room is the sliding screen on the fireplace. Can you tell me where you got that from? thank you, Kathy Reyes
We made it! A tutorial is coming on the fireplace screen in the next few weeks! I am so excited about this project…love the positive feedback I am getting on it. Thanks for reading!
Your project is my absolute favorite I’ve ever seen on Hometalk!
Well done!
Thanks so much Peggy! It is one of my favorites too!
Love this! The wood adds such warmth and character to the art. And who doesn’t love a map?! I used galvanized pipe to hang a wood sign in my kids’ room, but the rusty screw eyes you used look so much better that I want to find some myself!