DIY Desk Organizer Trays
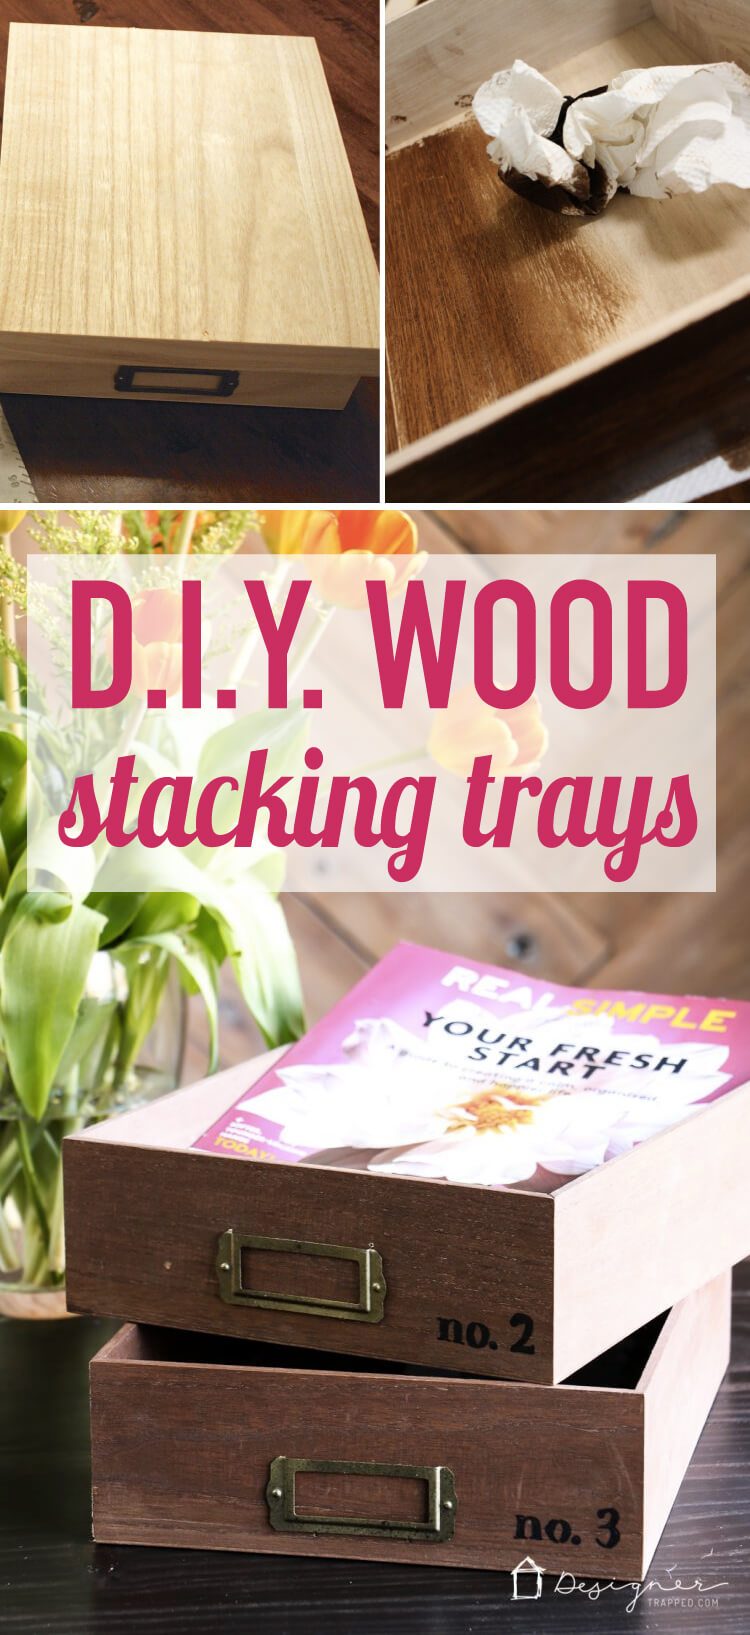
Hey friends! Desk organization can be super challenging for me, which is weird because I am fairly organized. But my desk always seems to wind up being a mess at the end of the work day. For me, the only thing that seems to be able to help is to sort documents and papers by category. It's not only practical, it's a really good reason to have to find some stylish storage for your desk! Of course, I fell in love with some stacking wood trays from Anthropologies that cost $128.00. That wasn't going to happen. So, I made these fun and super cute DIY desk organizer trays for only $21! Check out how to make them for yourself! his post contains some affiliate links. Click here to read my full disclosure policy.
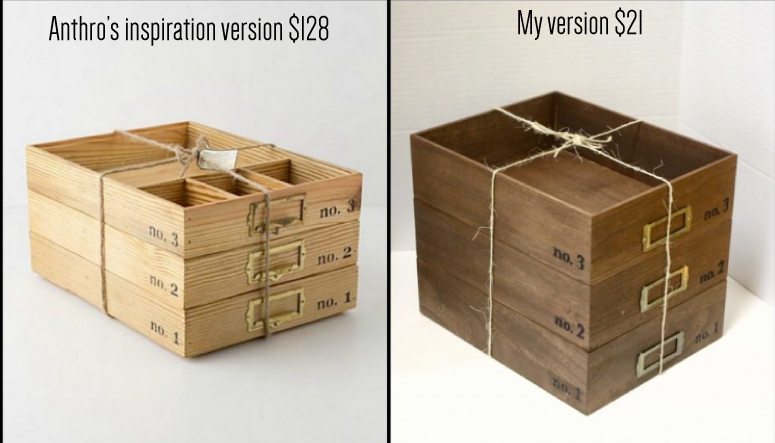
DIY Desk Organizer Trays Tutorial
Materials needed for 1 DIY desk organizer tray:
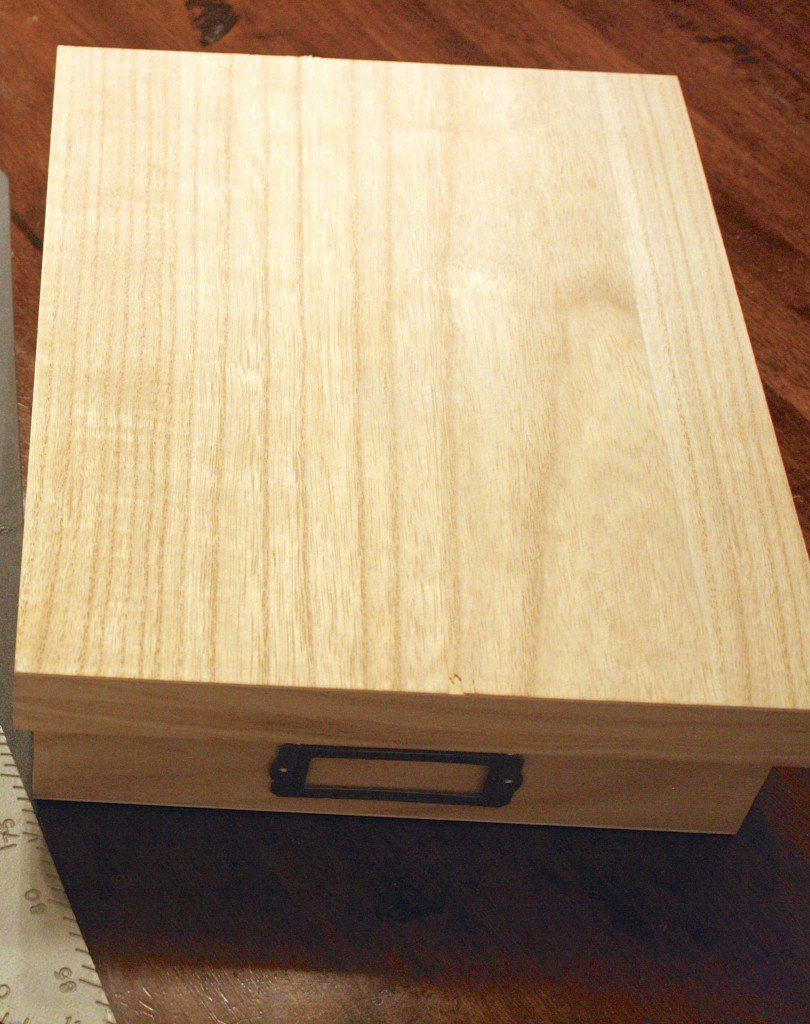
- 1 unfinished wooden box with cardholder
- Wood stain
- Paper towels
- Spray paint
- Carbon paper
- Black sharpie marker
Steps:
1) Remove the lid and the metal card holder. You will want to save your lid so that you can make these AWESOME Anthropologie inspired monogram clips :)
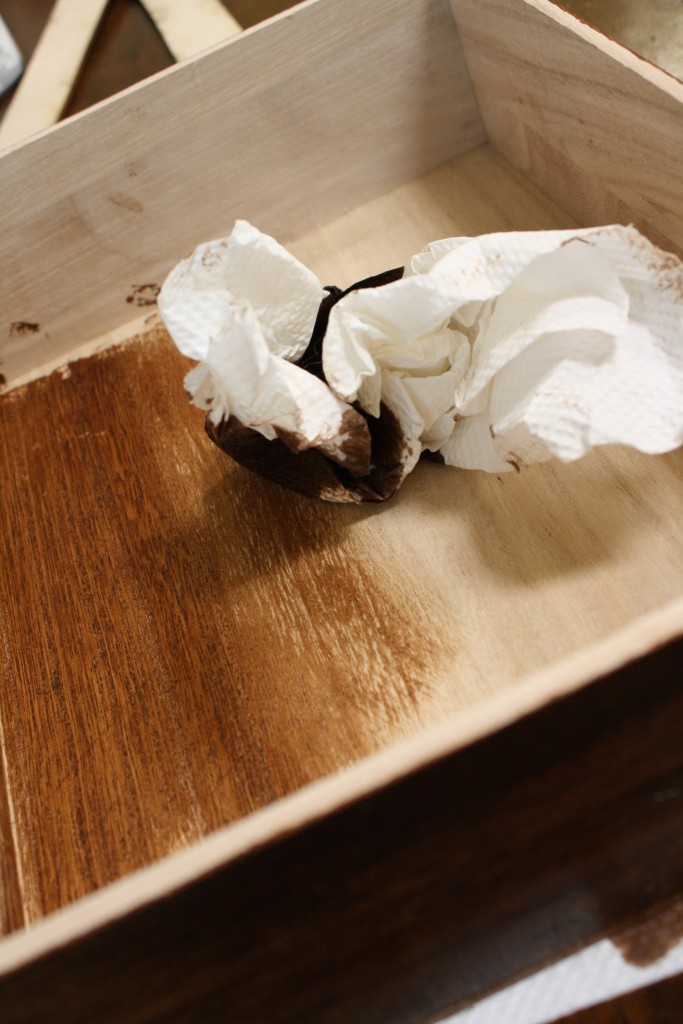
2) Stain your DIY desk organizer tray. Note that if you wipe down your tray with a damp wash cloth before you stain it, it will take the stain better. I used a darker stain that the Anthropologie tray both because I prefer it AND because I already had it on hand so it was FREE. You should choose any stain color that you like.
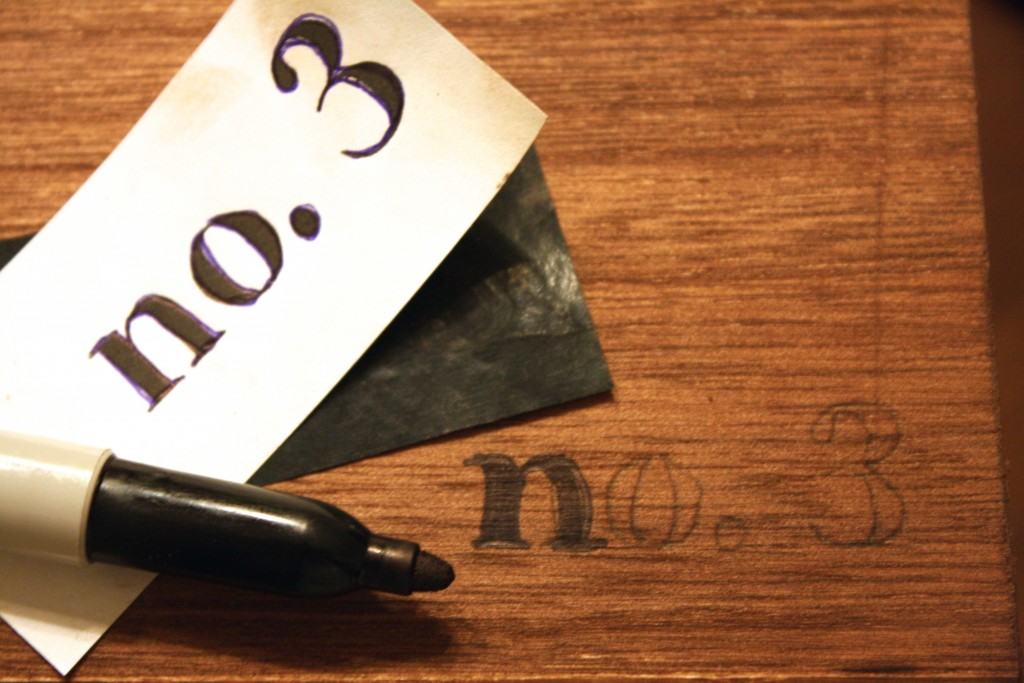
3) Next you will use carbon paper to transfer an outline of the typography onto your box. Type out your text in any word processing software. I typed “No. 1” “No. 2” and “No. 3” using Didot Font, size 60. Print it onto regular printer paper. Then cut out your typed text and a corresponding piece of carbon paper. Trace it onto each tray, in the two separate spots pictured. Then use your sharpie marker to color in the outlined text.
4) Now you need to spray paint your metal cardholder (if it is a shiny silver color, like mine was). I already had gold spray paint and oil rubbed bronze spray paint. I started with the gold, and while it was still wet, lightly went over it with the oil rubbed bronze spray paint to achieve a finish similar to the finish on the Anthropologie tray. Once your cardholder is dry, replace it on your DIY desk organizer tray.
That’s it! I just love how my DIY desk organizer trays turned out. Since I had all the supplies on hand already with the exception of the boxes, I was able to make all three boxes for only $21.00!
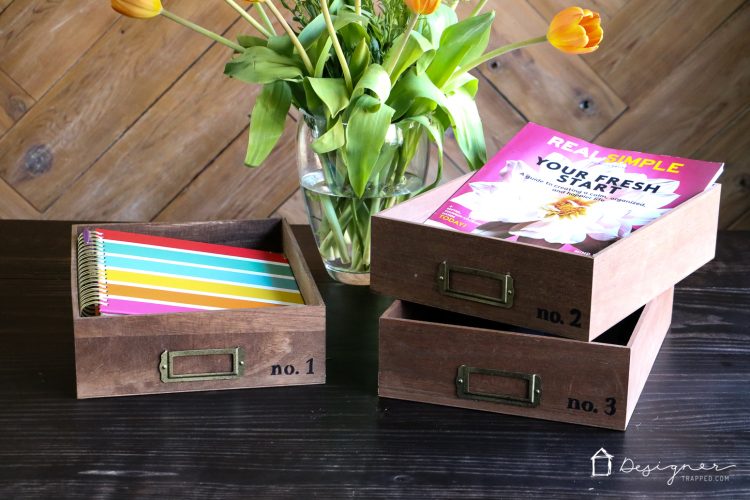
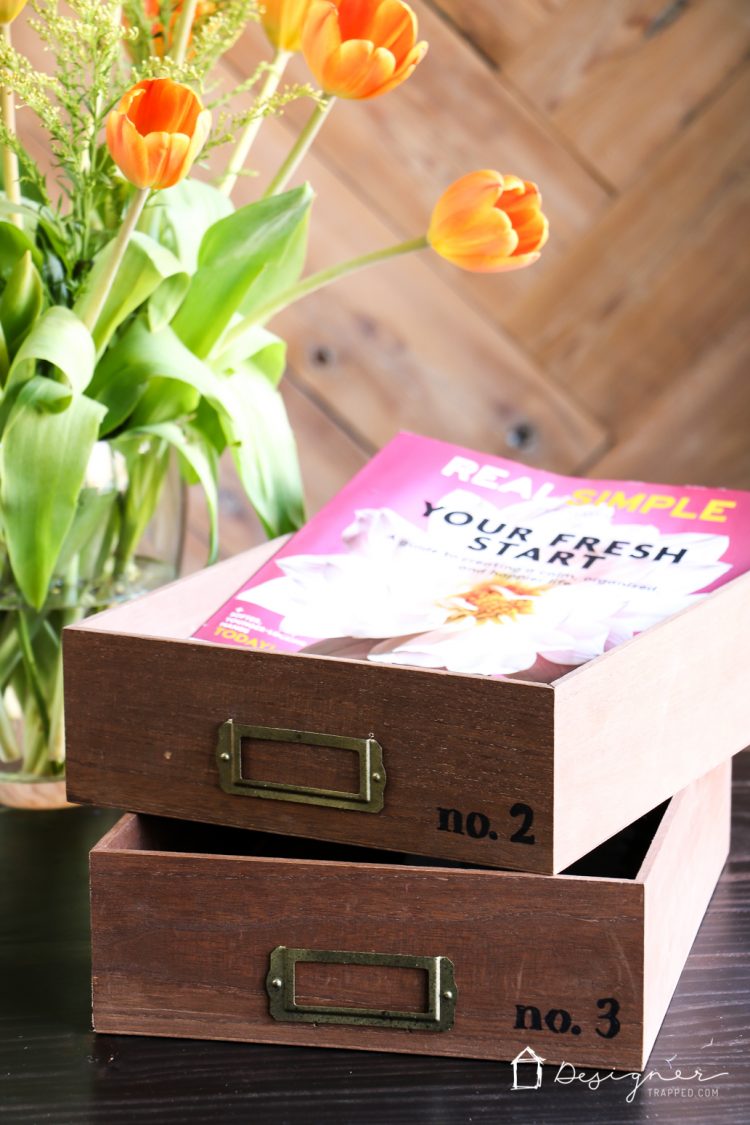
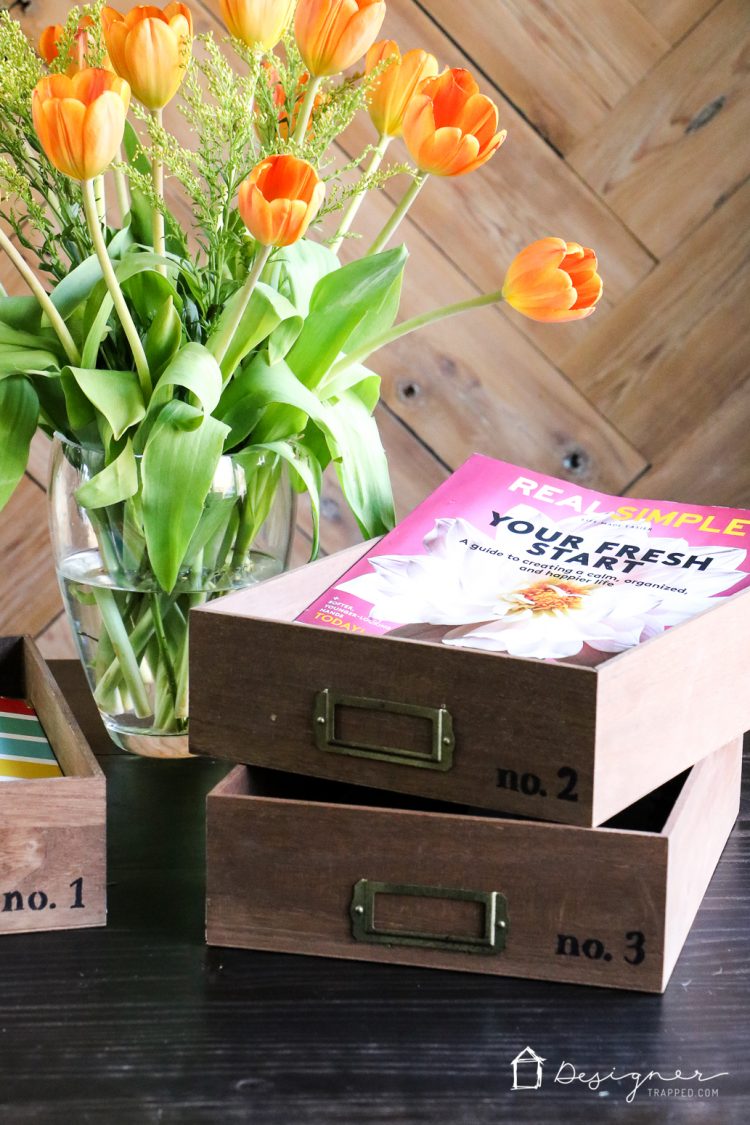
Now my desk is a bit more organized and more stylish, too :)
[mv_create 1 2018 key=”2″ type=”list” title=”Design Posts” thumbnail=”</span><a href=” https designertrapped com wp content uploads 05 how to pick paint colors jpg target=”_blank” a span]

Last Updated on March 3, 2022
Love a good knock off where the “real” and “faux” are truly comparative with such a huge price gap. Beautiful work :)
Thanks so much, Kristine!
I ♥ this! I’m doing a DIY jewelry organizer & think this might be a perfect solution. I went onto the Michael’s site and there is no dimension for the depth of the boxes -do you know what it is? I am putting them in an existing box/cabinet so they will be more like drawers but I would like to know how many I can stack. Thanks!
Hi Charlene! The boxes are about 3 inches deep. I hope that helps!
Hi, thank you so much for sharing this project. It’s a wonderful idea and yours are indeed nicer than the others. I can’t wait to move to put your ideas in action.
My pleasure, Carmen! Thanks for reading my blog!
Interesting … I would slice up at least one of the tops and make the dividers for the trays.
Tasha these are amazing! I can’t believe how much money you saved and yours are better!! Thank you so much for linking up to Get Your DIY On- Knock Off Projects! I hope you’ll join us on July 6th to link up your Summer Fun Projects!
Mandy @ The Hankful House Blog
My pleasure, Mandy! Such a fun party. I will mark my calendar to link up on July 6th :)
Love these so much! Such a fun project.
Thank you, Shannon!
I love these! I love yours even better than Anthro’s! So gorgeous!
Thank you so much, Heather!
Honestly, I like yours even better! Thanks for linking it up on Monday Funday! Pinning to our board!
Wow, Katie, thank you so much!
I love your knockoff version! I’m going to have to look for these boxes at Michaels!
Awwww, thanks so much, Katie! Have a fabulous weekend!
I love those stacking trays… you did awesome! I’m featuring them in my Friday Features tomorrow. Thanks for joining our Inspire Me Monday party.
Thank you so much, Maryann! You made my day!
These are awesome! I like your’s better than A’s. Wish we had a Michaels nearby.
Awww, thanks so much, Deborah! You may able to find them at other craft stores or order them online.
Oh I am going to have to make these! How clever and thrifty – right up my alley!
Thank you, Shannon. It was quick, easy and I love the color it adds to our kitchen!
Tasha!!! I love yours so much more! Beautiful stain color – what a fabulous knock off! Well done!
Awww, thanks so much Chelsea! I hope you had a fabulous Mother’s Day with your gorgeous little girl!
Oh wow! Love these! Love the idea of using a sharpie for the stencil.
Thank you, Glenna! It’s definitely easier than painting :)
Wow Tasha these look amazing, seriously!! You girls are doing a great job with these knock off projects.
Thank you, Courtney! Aren’t all of the projects amazing?! I can’t believe some of the projects from the other girls. AWESOME!
Love this knock off Tasha and I can’t wait to see what you do with the lids!
Thanks so much, Corey! My third project is my favorite–I can’t wait for everyone to see it tomorrow. Thanks for following along!
I love these!! Fabulous job Tasha, they turned out amazing :)
Thanks so much, Sonnet! I can’t wait to check out all of today’s projects in detail when I get my girls to bed tonight!
I love your knock-off versions!!!! I need to do these!!!
Thanks, Selene! I was literally just checking out your faux wood tiles in your kitchen–looks FANTASTIC!