DIY Duvet Cover
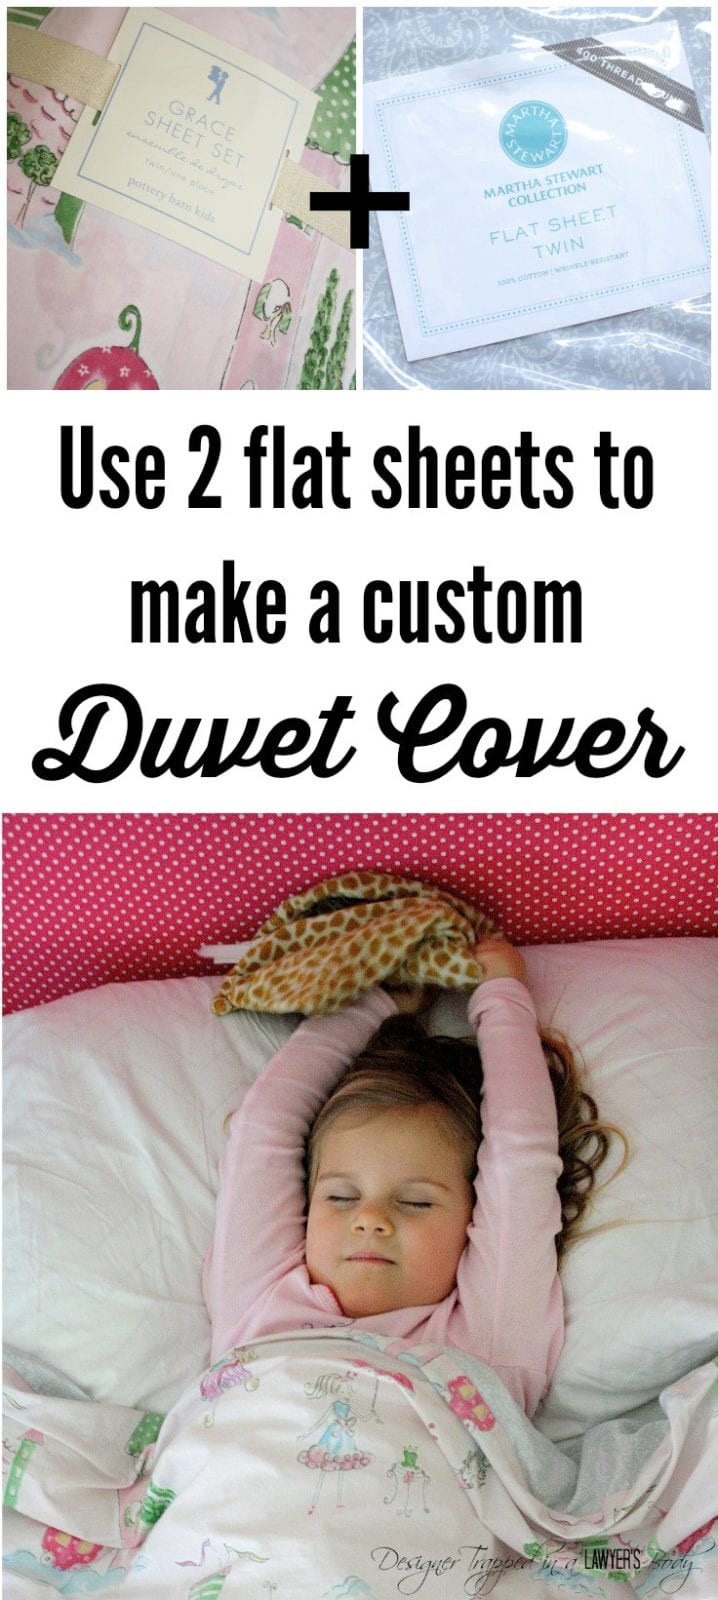
Hello friends! If you are a subscriber to my newsletter, you have been anticipating this tutorial since I let you know it would be coming soon! This DIY duvet cover is easy to make and is such a thrifty way to get exactly the look you want for your bedding. I made these for my twin girls, but of course, the tutorial would be just the same for an adult's bedroom, you would just have to adjust the sheet size that you use. This post contains some affiliate links. Click here to read my full disclosure policy.
Materials Needed for DIY Duvet Cover
- 2 flat sheets of the same size. For my girls' twin beds, I used 2 flat twin sheets.
- Note: The only princess bedding I could find that I liked is the Grace sheeting made by Pottery Barn Kids. EXPENSIVE. The duvet covers alone were $129 each. I don’t think so. The funny thing is that I actually preferred the sheets to the duvet covers themselves, so I ordered two sheet sets for $50 each {I got them on sale}, as well as two flat twin sheets from Macy’s for $9.00 each. By using one flat sheet from each Pottery Barn Kids set on the top and one of the inexpensive Macy’s sheets on the bottom, I had the duvet covers I wanted! Plus, I also had a pillowcase and fitted sheet for each daughter. I did not want to use flat sheets under their duvets because in my experience kids get twisted up in them. In short, for $120.00 I had two complete bedding sets. Not too shabby.
- Scissors
- Thread and sewing machine
- http://rstyle.me/n/bnynmebyrafRibbon
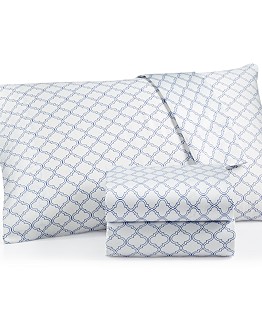
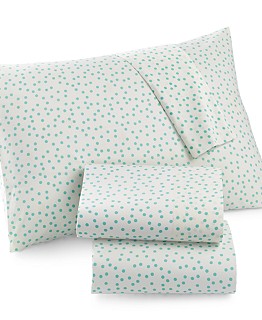
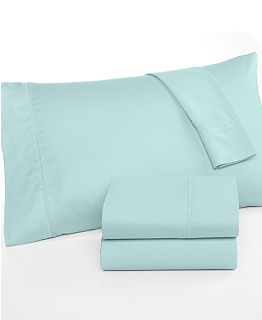
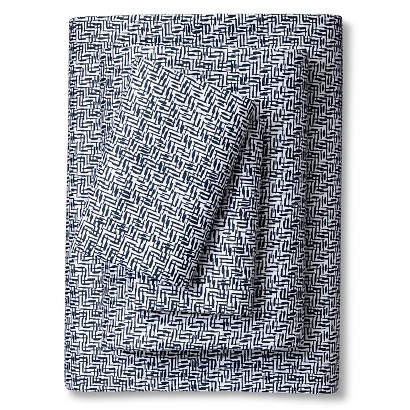
As a bonus, I have pulled together some combos that I think would make STUNNING duvet covers. Each combo includes at least one sheet set and/or a flat sheet to pair it with so that you can get a COMPLETE bedding set like I did :) There are several feminine options, but I included two masculine options as well!
Xhilaration Sheet Set from Target | |
Xhilaration Paisley sheet set from Target | |
Room Essentials Oxford sheet set from Target |
DIY Duvet Cover Tutorial
1) Lay your twin sheets out flat on the floor with the right sides facing each other {in other words, they will be inside out}. The lay your comforter on top of the both sheets. Line up your comforter to the top and right edges of your sheets. This will leave excess fabric on the left and bottom edges–don't worry about that. We will deal with that later on.
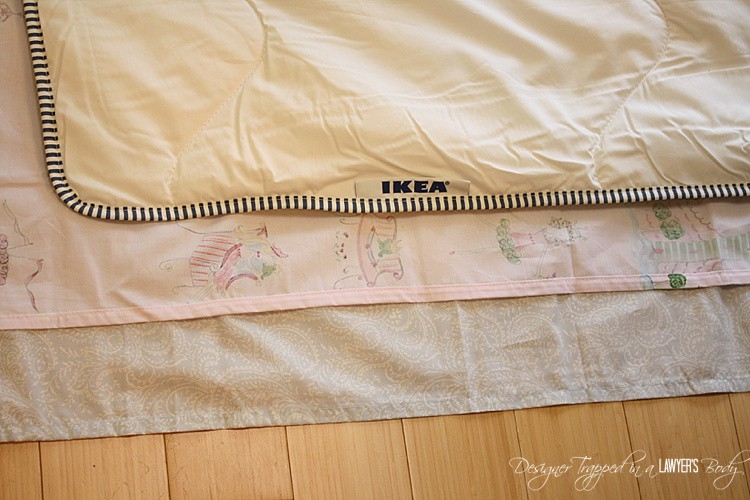
2) Pin along the left edge of your comforter, where the sheets extend beyond the comforter. This is so that you will know where your sewing seam should be. I placed pins every 10-12 inches or so. DO NOT PIN THE BOTTOM EDGE since you will not be sewing the bottom edge shut :) {Yes, yes, I made that mistake and sewed all 4 edges shut, resulting in some quality time with my seam ripper. I don't recommend it}.
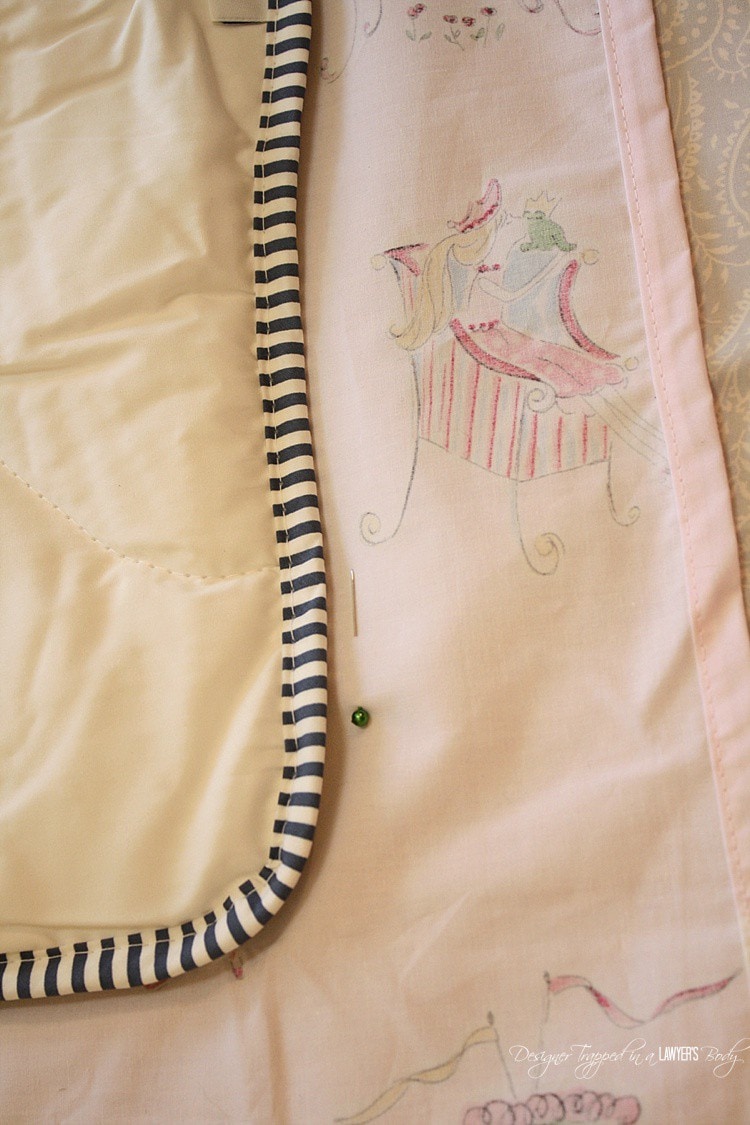
3) Sew the top and side edges of your duvet cover. Sewing the top and right side will be easy since the sheets will line up perfectly on those edges. When you sew the left side, use your pins as your guide. The sheets will remain inside out as you sew.
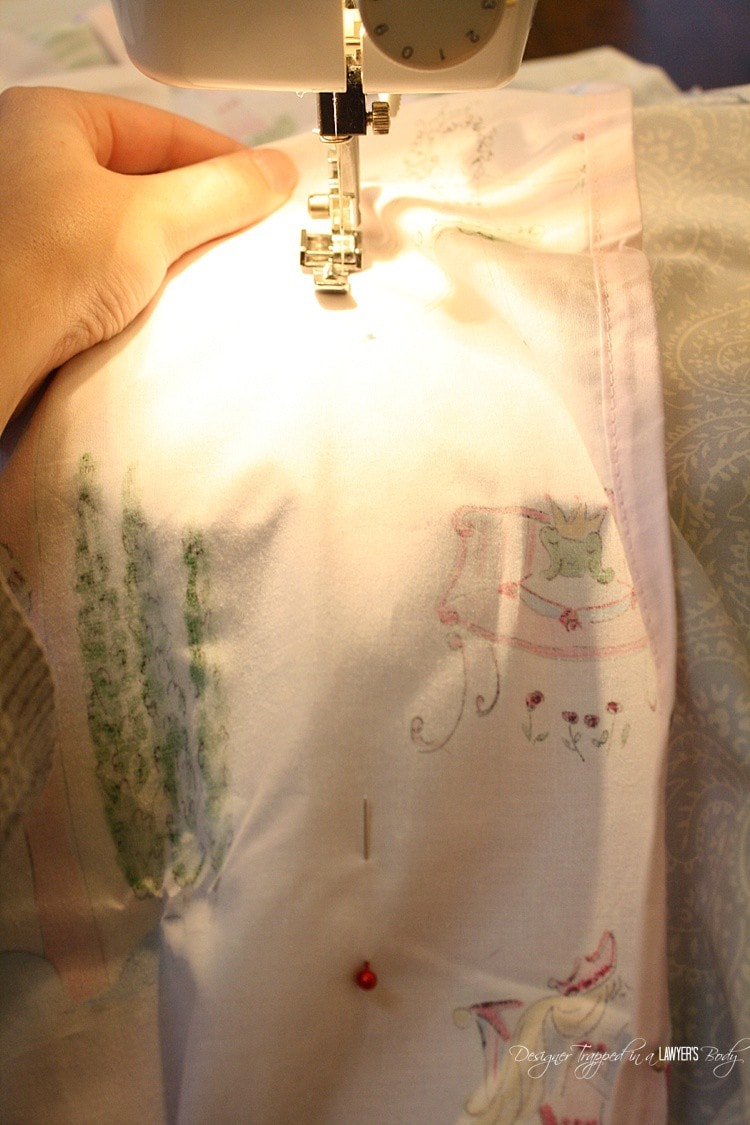
4) Once you are done sewing your top and side edges, trim the excess fabric off the left edge, about 1/2 inch away from the seams that you have sewn.
5) Now it's time to deal with the bottom. Since one of my sheets was longer than the other, I used scissors to even them up and then sewed a small hem along the bottom edge of the sheet that I had to cut. Easy peasy.
6) You can either use hook and loop velcro to close your bottom edge, but I opted to use ribbon. I sewed on 4 inch lengths of 1/4 ribbon 6 inches apart along each bottom edge and tie bows to close the duvet cover. {I totally forgot to take photos of this step–sorry}!
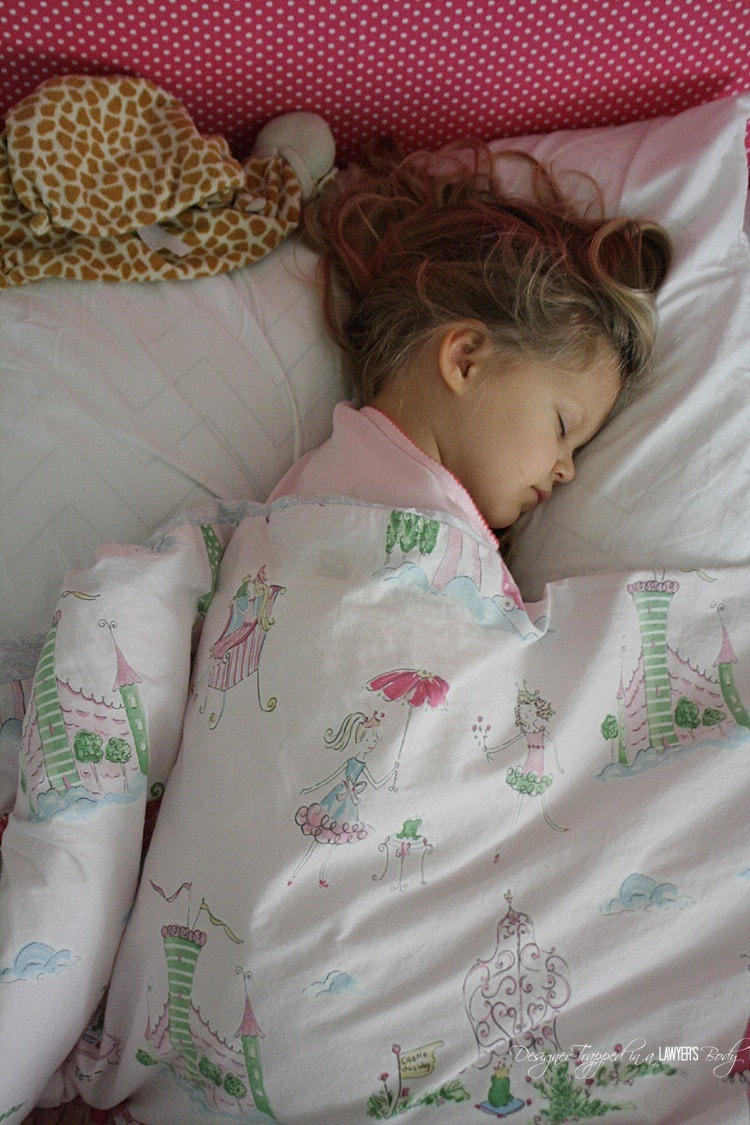
That's it! Aren't they beautiful! Best of all, they are TOTALLY customizable.


Before you go…
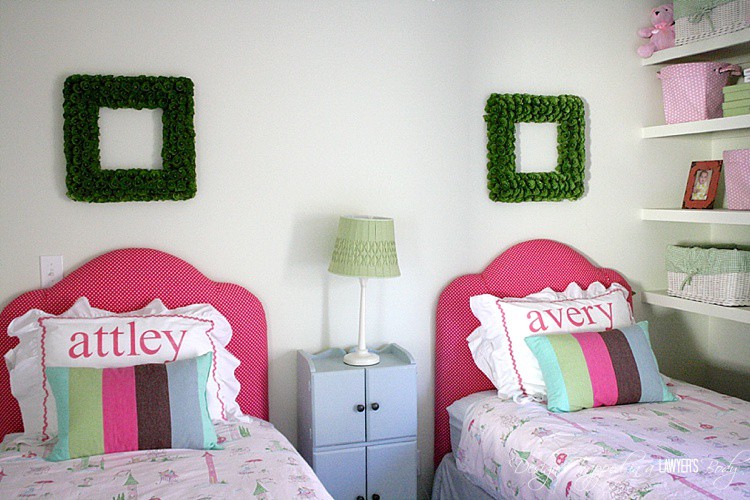
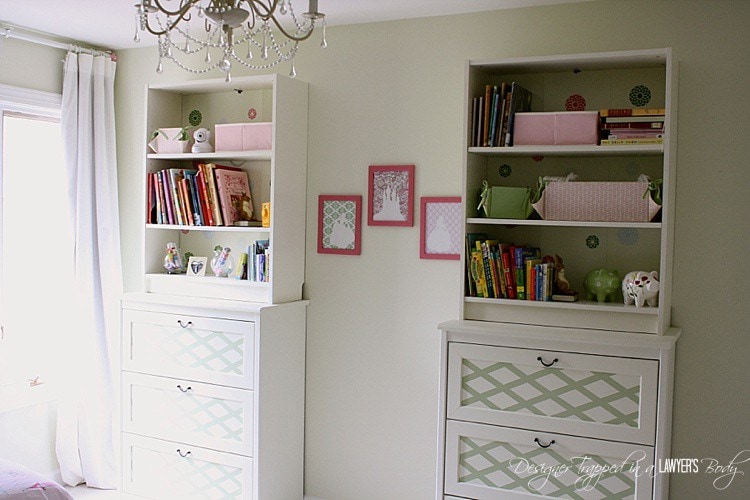
You can check out all the details on my girls' “big girl” room reveal here. It is full of tons of DIY projects, including the DIY bed skirt with NO SEWING and NO CUTTING, DIY washi tape wall decals, DIY floating shelves, DIY upholstered headboards, and how to customize Ikea furniture to create a “built-in” furniture look.

[mv_create 1 11 200 2016 key=”1″ type=”list” title=”Most Popular Projects” thumbnail=”<a href=” https designertrapped com wp content uploads diy home decor projects blog jpg a]
Last Updated on March 3, 2022


Could your idea be used for a queen sized duvet cover?
Absolutely Lani! It should work for any size duvet cover!
Perfect timing! I’m making one to change the color scheme of my daughters dorm room! Did you do anything to keep the inside blanket from shifting inside the duvet?
Hi Michelle! I have not…YET! I intend to sew in a velcro strip at the top to hold it in place, but I haven’t gotten around to it yet :)
Can’t you add pictures of the ribbon closures? Or could you email me a pic? That’s a pretty big omission. I guess I could also look elsewhere.
Hello Paula. I intend to add photos of the ribbon closures, but have not been able to find the time. Here is a photo that looks exactly like mine do. http://www.killerbdesigns.com/woodland-tails-gypsy-duvet/duvet-ribbon-bow-closure/
I know an artist who was trapped inside a lawyer’s body. She broke out by devoting her time to art and today is very successful. I sent the duvet design to my fashion-designer daughter. I bake and cook, but don’t sew, neither does my wife. It could save a lot of money,thanks for sharing.
My pleasure, Henry! Thanks for sharing it with your daughter!
I made a duvet cover from sheets for my camp trailer. It is fantastic. Made it several years ago. One thing I did was to slide one (top)sheet down and turned the other (back) of the sheet so that it made a different top. Hard to describe but it ended up looking like a large sandwich bag, the kind w/the top that you turn instead of ziplocks…It is my favorite duvet cover I have ever seen. Once you slide the top sheet down and turn the bottom sheet down, you sew them together so that the bottom sheet shows on the top and the top sheet folds up to create the bottom flap. I secured buttons and then put velcro on them to fasten the bottom. hope this makes sense.
Ooooh, that is a great idea. Thanks, Kris!
Beautiful girls! Love the tutorial as well. Hope to make one soon.
Your girls bedroom is so beautiful it made my uterus skip a beat. Lol. I loved the duvet cover. Think I’m gonna try it myself.
Awww, thanks so much Alex!
This is SUCH a great idea and I love the sheets you chose! I’ve used a curtain panel to make a bedskirt, but never sheets to make a duvet. I just might have to “steal” this idea for my son’s room. Thanks so much for sharing!
Can you put pictures up of the ribbon closure? I’d love to see how it looks!