DIY Furniture Restoration Tutorial
This post is sponsored by Mohawk Consumer Products. As always, my opinions are 100% my own.
Raise your hand if you think furniture is super expensive! MINE IS RAISED! Y'all, the price of furniture is one reason I became a DIYer. My husband and I were newly married and started shopping for bedroom furniture. We were SHOCKED by the prices. So instead we bought some basic tools and built a headboard and bedside tables ourselves–they were our very first DIY furniture projects! But we don't just build furniture, especially if it's a piece with a lot of drawers (drawers can be tricky)–we like to rescue old pieces of furniture as well! So, I want to share my DIY furniture restoration tutorial with you. The methods I use should help you makeover any piece of furniture!
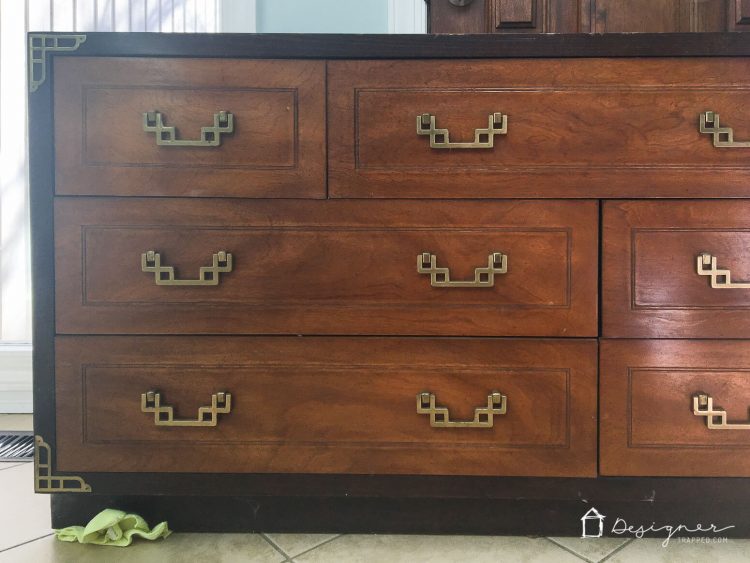
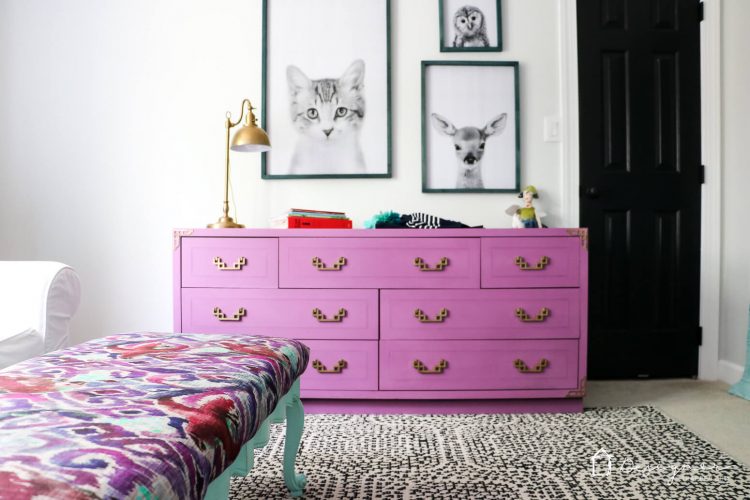
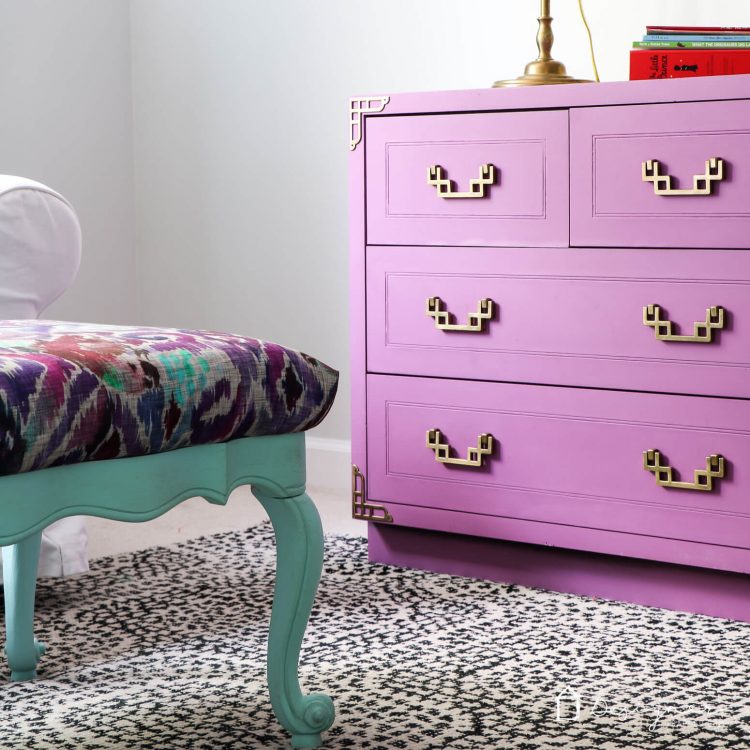
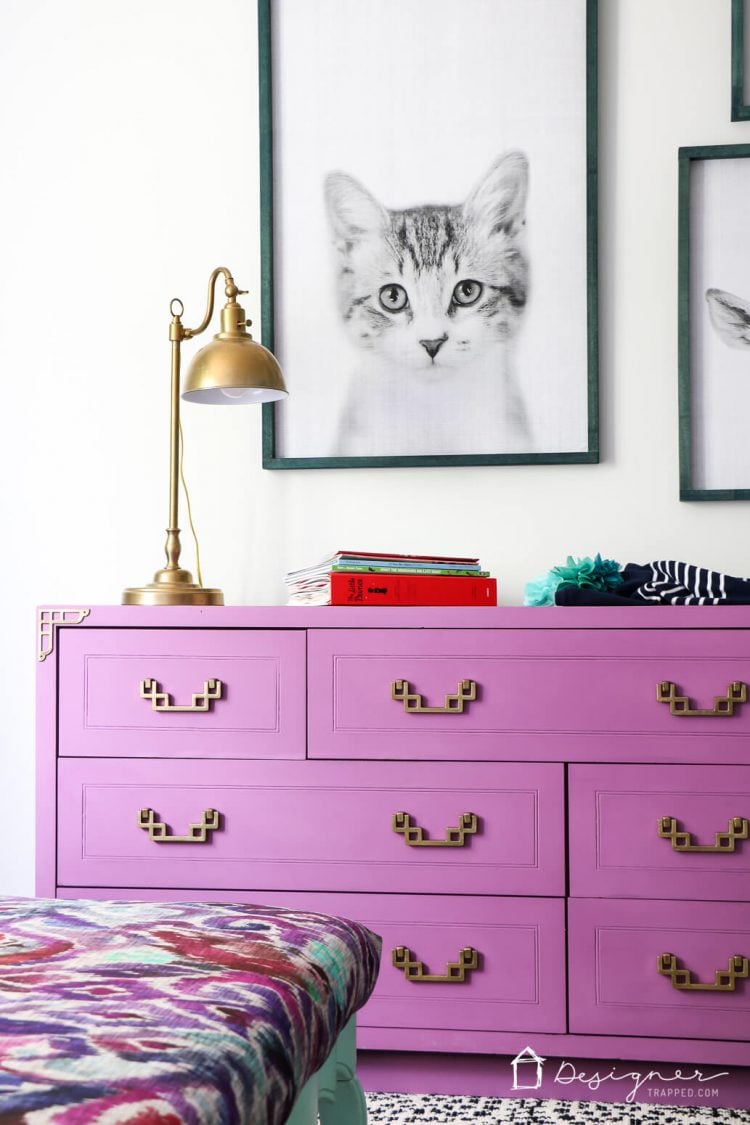
The dresser you see in this post was part of a set that I scored them from the side of the road. I literally the set in a parking lot of a “Fruits and Veggies” store front that doesn't sell fruits and veggies anymore (in fact, it mostly sells junk refrigerators and things like that). But when I saw this furniture, I asked Joe to stop so I could check it out. Turns out I scored an entire set that included the 2 bedside tables, a dresser, chest of drawers, and a mirror for $160! Y'all, the set is solid wood and the brass hardware was in pretty condition, it just needed some TLC. The condition of the wood was less than stellar, but I prefer painted pieces anyway, so that was a non-issue for me and my DIY furniture restoration turned this piece into a showstopper!
DIY Furniture Restoration Tutorial
I recommend watching the overview video below first, and then reading the full tutorial. The video will play after a brief ad.
This post contains some affiliate links for your convenience (which means if you make a purchase after clicking a link I will earn a small commission which helps keep my blog up and running but it won't cost you a penny more)! Click here to read my full disclosure policy.
Materials needed:
NOTE: If you find an old dresser to restore and want to ADD campaign hardware (the type of brass hardware on my piece) to it, you can find campaign hardware here!
- Paper towels
- Simple Green
- Bar Keeper's friend
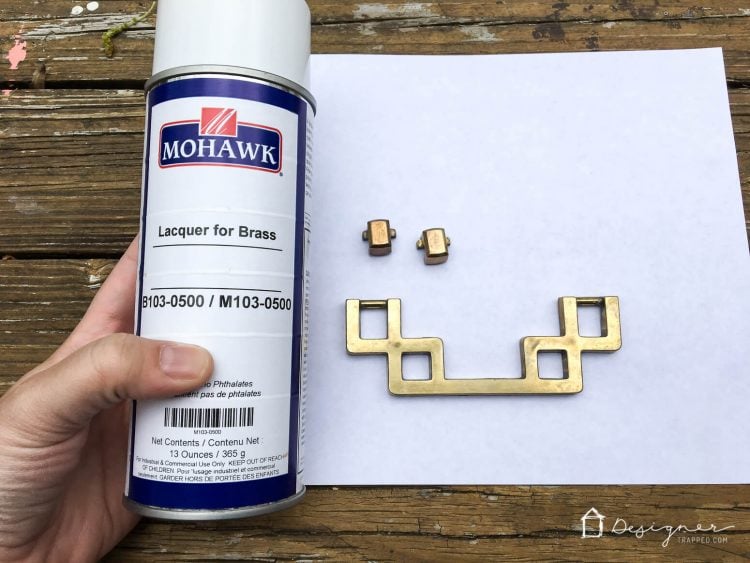
- Mohawk Lacquer for Brass
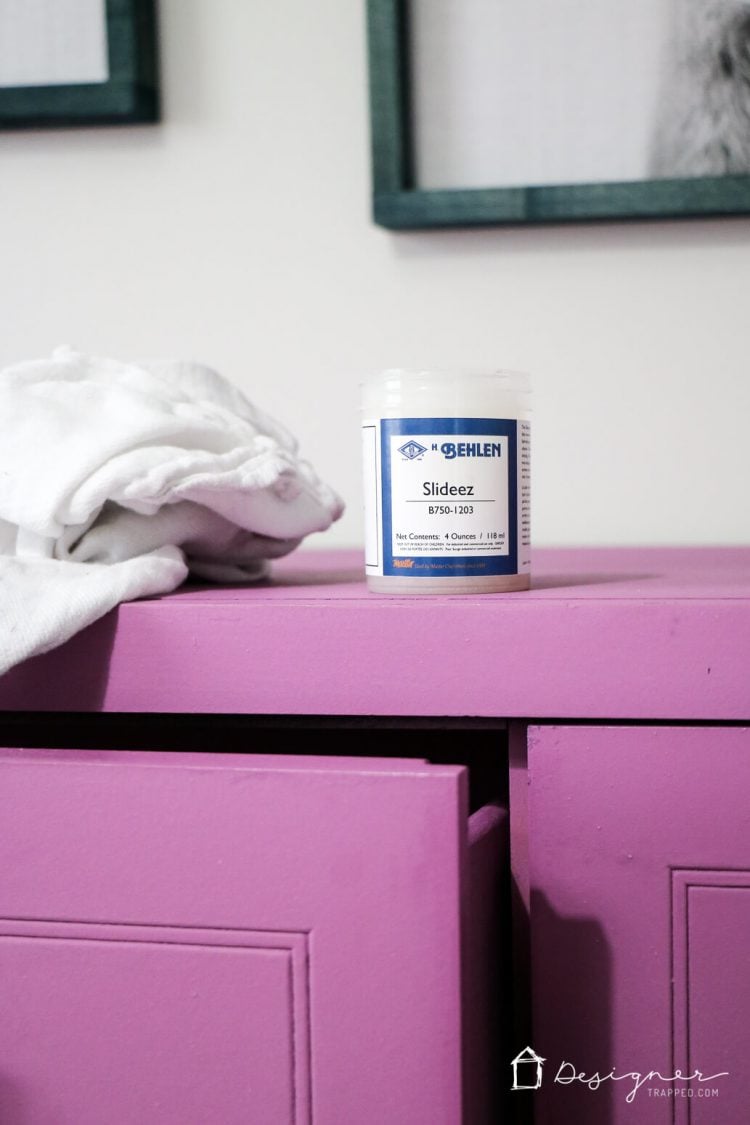
- Behlen Slideez
- 5 in 1 tool
- Hammer
- Screwdriver
- HomeRight Finish Max Fine Finish Sprayer or paint brushes/rollers
- HomeRight spray shelter
- Paint
- I used and recommend Amy Howard At Home One Step Paint in Orchid. I NEVER recommend painting furniture with latex paint (you can read more about why I don't use latex paint on furniture here).
- Amy Howard At Home light antique wax (if desired)
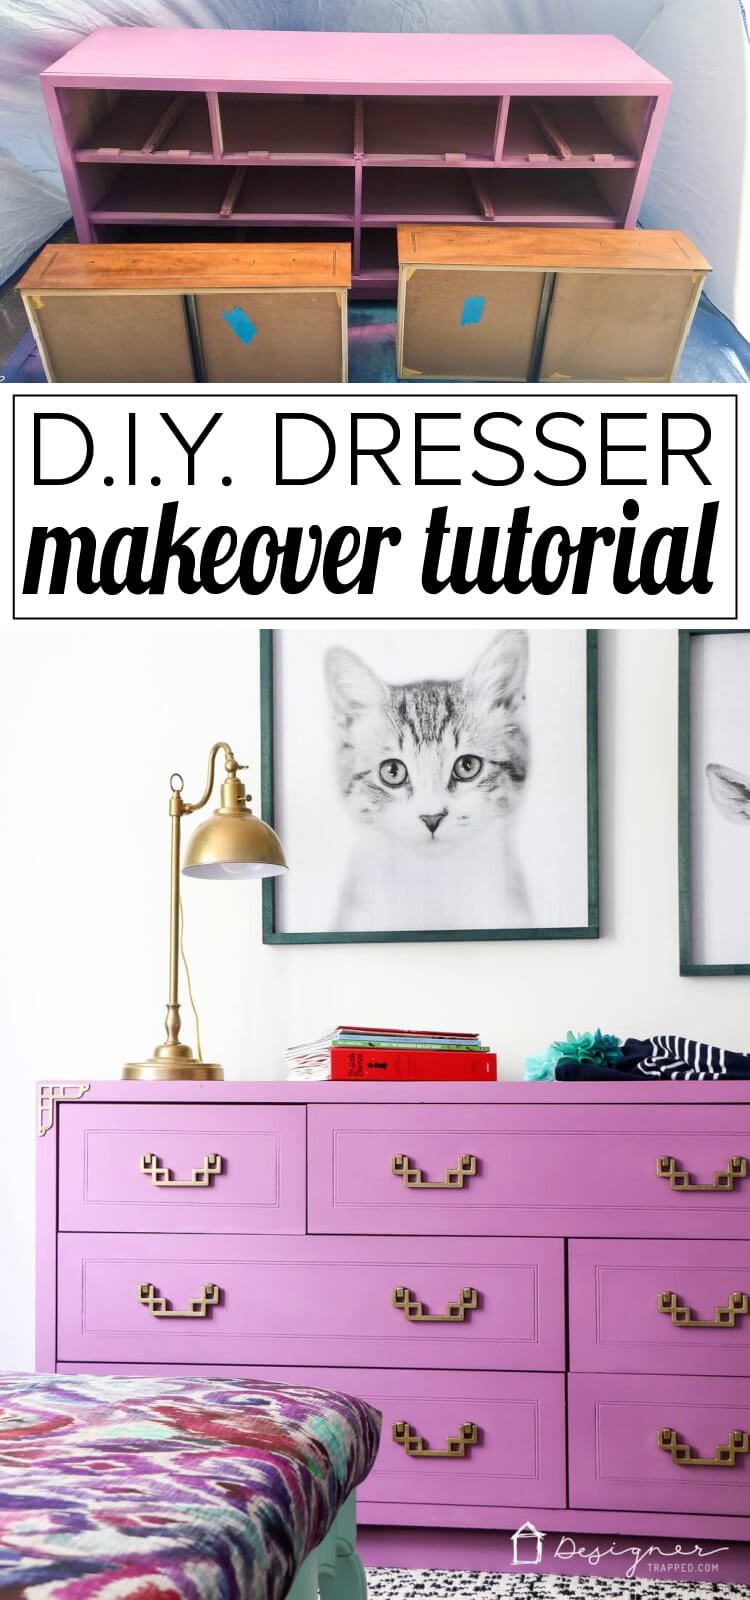
This is what this dresser looked like before I got started.
Steps:
1) Gently remove your hardware using your 5 in 1 tool. Then sand any really rough spots on your piece, as needed. You do NOT need to sand your entire piece. Just knock down any really rough areas quickly.
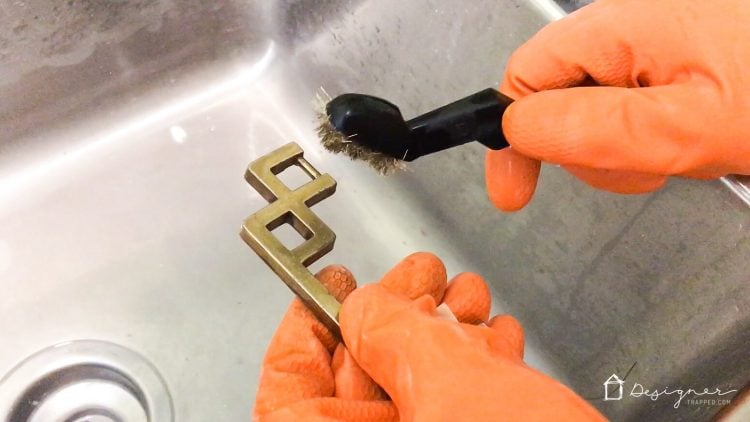
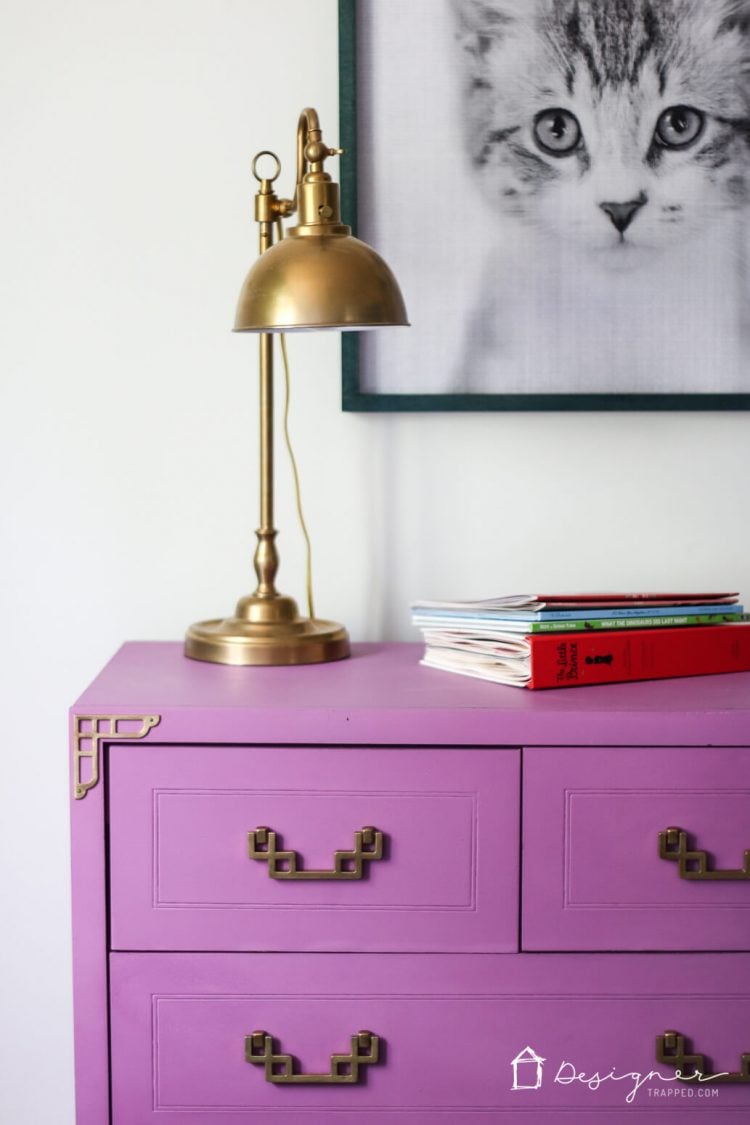
2) Clean your hardware with Bar Keeper's friend and a wire brush. After it's clean and dry, coat it with Mohawk Lacquer for Brass to prevent tarnishing and discoloration down the road. It's such a quick and easy step and it will save you time and effort in the long run.
3) Clean your wooden furniture piece with Simple Green. After you have cleaned it with Simple Green, spray your piece down with water and dry it with paper towels to ensure there is no Simple Green residue remaining on the piece, as it could interfere with paint adhesion.
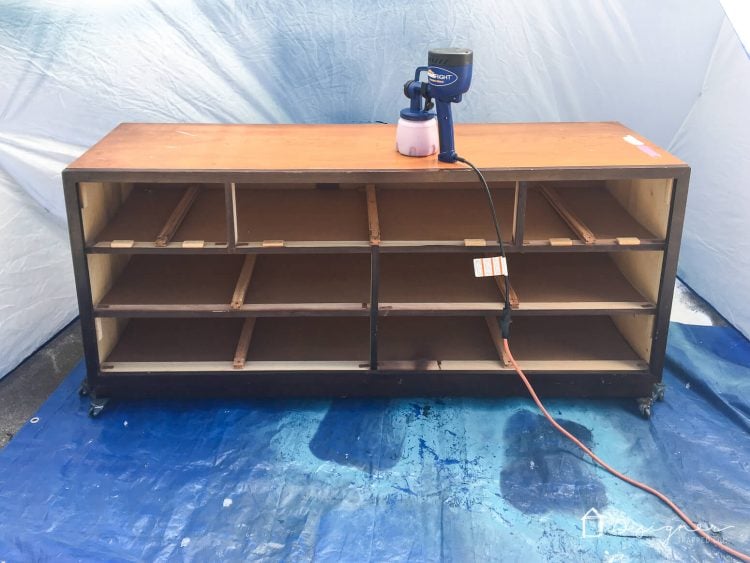
4) Now you are ready to paint! I quickly set up my HomeRight spray shelter and loaded my HomeRight sprayer with my paint. Note that you need to read the directions for the sprayer well to make sure your paint is the ideal consistency. I had to thin my paint out a bit with water. If you don't have a sprayer, use paint brushes and rollers. I like to use a sprayer when I am painting the entire piece, including the inside of the drawers, because it moves a little faster!
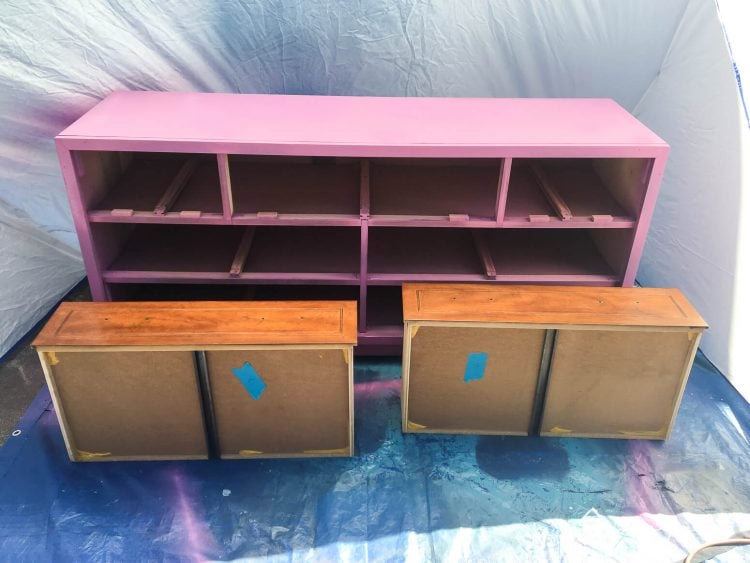
5) When my paint was dry, I applied Amy Howard light antique wax to the entire piece. The light antique wax will not really change the color of your paint, but it will give it a bit of sheen and depth, plus it adds some protection. If you are looking for a completely uniform, flat finish on your piece, do not wax it. I waxed mine because I didn't want the pieces to look perfect or brand new. You can see my video on how to apply the wax in the video below.


Last Updated on June 18, 2020
Very nice Tasha! This DIY furniture looks now just like a very expensive one from a retail store. Thanks for the inspiration!
Thank you so much Nadya! Glad you enjoyed this post. We love how the dresser turned out!