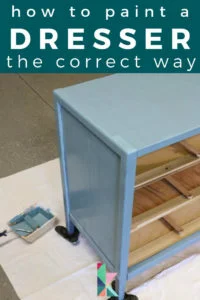
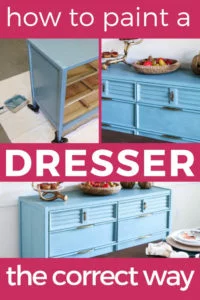
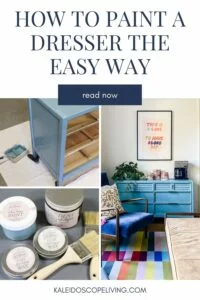
How to Paint a Dresser The Correct (and Easy) Way!
Do you have a dresser that you love, but it's not the right color for your home? Or do you have a dresser that has good bones but looks rough on the outside? A fresh coat of paint can completely transform your piece of furniture! This step-by-step tutorial shows you how to paint a dresser the correct way. It's easy and gives you LONG-LASTING results!
I originally wrote this tutorial in 2015, but updated it in March 2023 because this is STILL a method I often use to paint furniture. And we still have this painted dresser that is holding up perfectly 7 years later. So I absolutely stand by this tutorial!
What kind of paint do you use on a dresser?
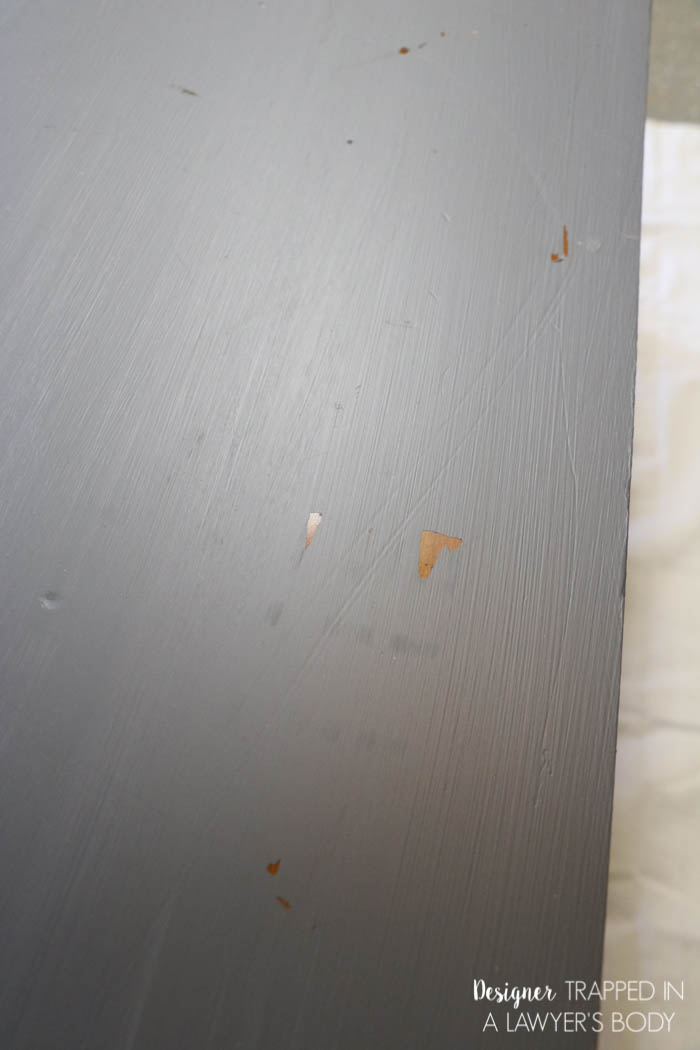
DO NOT PAINT YOUR FURNITURE WITH LATEX PAINT OR SPRAY PAINT.
You know that leftover wall paint in your garage? That's most likely latex paint and you don't want to paint your furniture with it. Why? It will peel and will not hold up well. AND you will have tons of brush strokes, which is just not cool. The dresser that I purchased to rescue and restore had been painted with latex paint, and look at those nasty brush strokes and all the spots where it is peeling. You know how the Nike slogan is “Just do it”? Well, when it comes to latex paint and furniture, your slogan should be “Just don't do it.”
This post contains affiliate links for your convenience. Click here for my full disclosure policy.
The type of paint you use matters so, so much. In fact, I have a whole post about the best paint for every kind of furniture. But here's the short version… These are the types of paint I recommend for painting a dresser:
Chalk Paint
Chalk-based paint is a water-based paint with a very flat finish that has excellent adhesion. The adhesion is so good, in fact, that chalk paint requires very little prep beforehand. It is fairly durable on its own, but you can also protect it further with a wax finish that is quick and easy to apply. Another benefit of chalk paint is that it self-levels reasonably well (meaning brush marks are minimized). My favorite chalk-based paint is Amy Howard at Home is the One Step Paint.
Mineral Paint
Mineral paint is a paint made using natural minerals from the earth for its color pigments. The minerals are mixed with a binder, such as acrylic resin, and a solvent. The resin gives mineral paint excellent adhesion and makes it very durable. My favorite mineral paint is Fusion Mineral Paint. As with chalk paint, very little prep work is required. I've used Fusion Mineral Paint to give new life to everything from furniture pieces to cabinets! It is my personal favorite and the furniture paint I reach for the most often. I have never been sponsored or paid by Fusion Mineral Paint–I'm just a big fan!
EXCLUSIVE DISCOUNT
I've never been sponsored or paid by Fusion Mineral Paint, but they have generously offered my readers a 10% discount, which will be automatically applied when you click and order here.
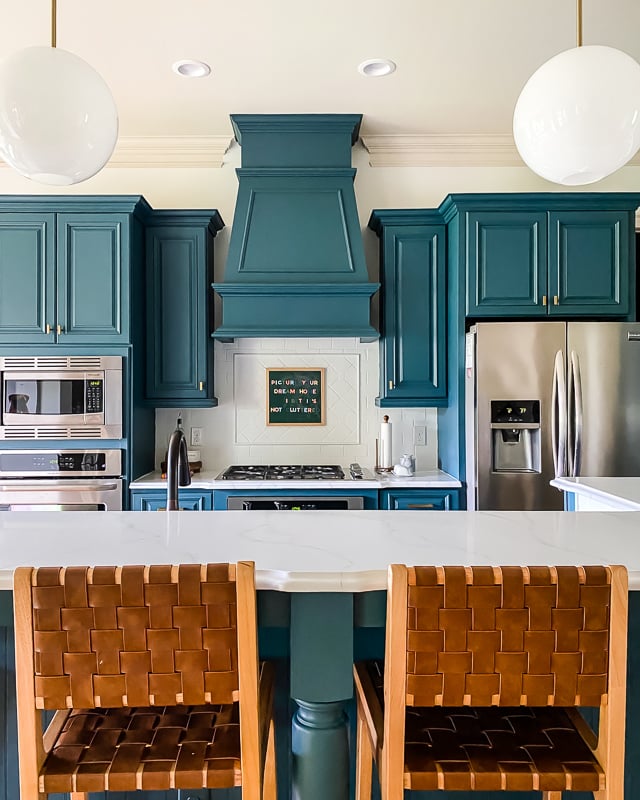
Remember, a little bit of this paint goes a LONG way, so you don't need much (we used only 4 pints to paint the wood surface of our kitchen cabinets as part of our budget-friendly kitchen makeover).
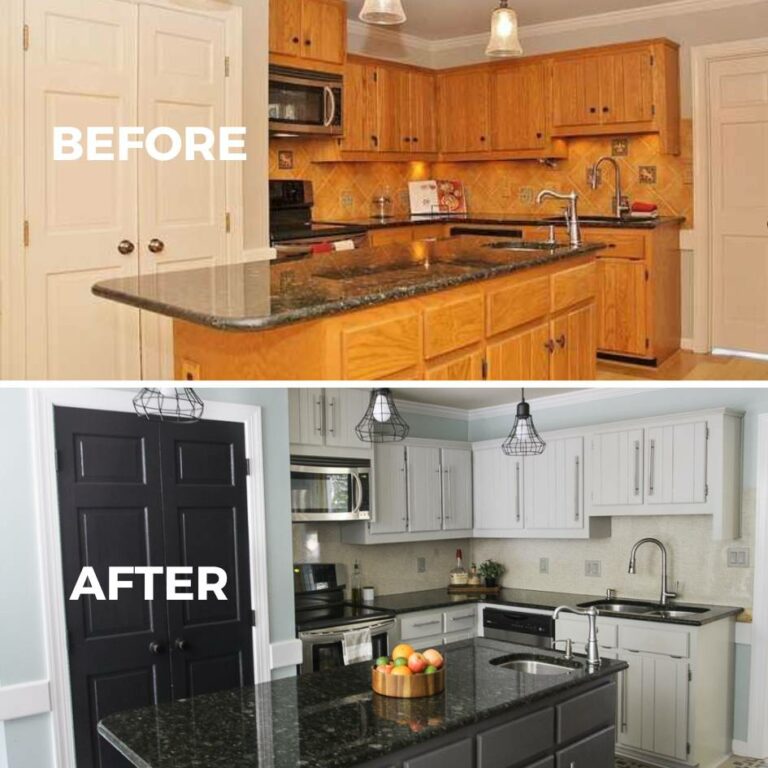
Best of all, Fusion Mineral Paint requires minimal preparation of a clean surface and may only need a light hand-sanding. That's all we did in Thea's kitchen, and the light-sanding took no more than 30 minutes for all her cabinets combined, so don't let that put you off. Her kitchen cabinets turned out beautifully, and they are still in perfect condition–no peeling or chips to be seen! Look at that transformation.
Acrylic Paint
A high-quality acrylic paint is easy to apply and it goes on smoothly (it self-levels nicely). Acrylic paint is far more durable than latex paint and has excellent adhesion, so it requires minimal prep work. It's so durable that a top coat is optional. My favorite high-quality acrylic paint is General Finishes Milk Paint.
Can you just paint a dresser without sanding?
You can kind of paint a dresser without sanding. Let me explain. If you choose one of the paints I recommend above, you definitely don't need to sand down your entire dresser or remove all of the old paint/finish from it first. All you need to do is sand any rough or peeling spots. Or if your dresser is really shiny and smooth, you will want to lightly scuff sand the entire piece. Bottom line… your sanding efforts should take under 5 minutes.
Also note this… if you are painting a piece of laminate furniture, the entire process is a bit different. You can read my post all about how to paint laminate IKEA furniture if you want to paint a laminate dresser!
Where can I find a used dresser to paint?
I found this dresser at a local thrift shop, but I have also had a ton of luck by searching Facebook Marketplace. You can often even find free dressers in FREE/Sell/Trade groups on Facebook!
How to Prep and Paint a Dresser
Materials Needed
For this particular dresser, I chose to use Amy Howard One Step Paint, but again, I recommend any of these types of paint for furniture.
- Simple Green (diluted with water per the instructions on the bottle)
- Water
- Paper Towels
- Amy Howard One Step Paint (the color I used is Vintage Affliction)
- Amy Howard Light Antique Wax
- Amy Howard Dark Antique Wax
- Scrap cardboard
- Paint brushes and foam roller, if desired
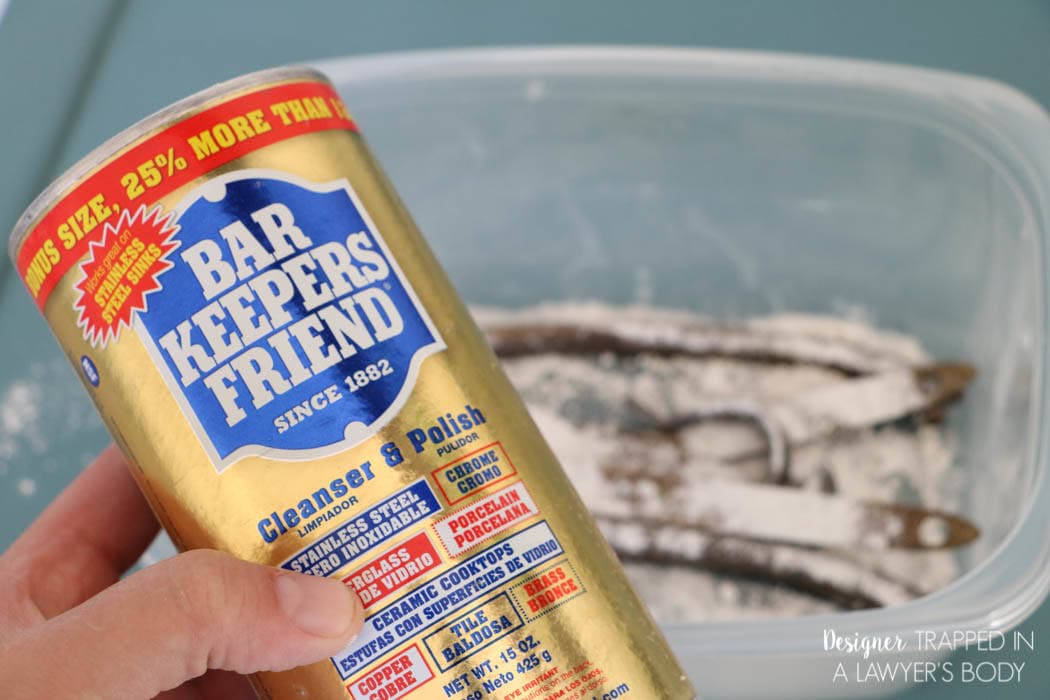
- Bar Keepers Friend (to clean hardware if needed)
Time needed: 3 hours
Painting a dresser is quick and easy if you prep correctly and use the right products! Read on to learn how to paint a dresser.
- Remove all hardware from your dresser and drawers.
I like to keep a Tupperware bin handy for holding knobs/drawer pulls and screws as a I remove them so I don't lose them.
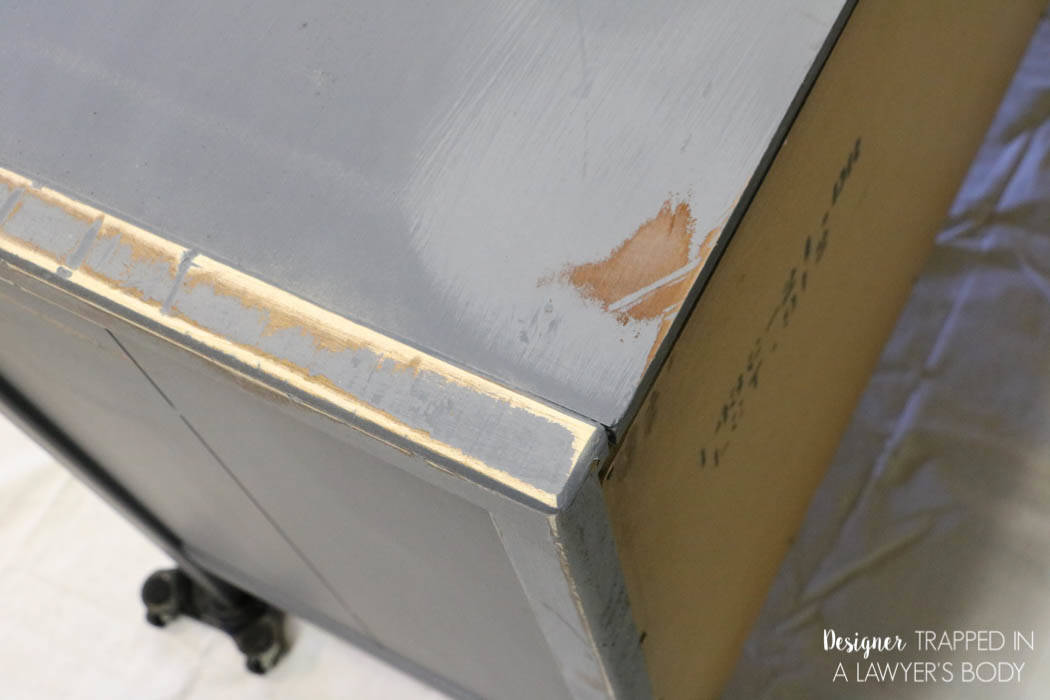
- Spot sand as needed.
As I mentioned above, you generally only need to sand any really rough spots or peeling areas on your piece with medium grit sandpaper. You do NOT need to sand your entire piece. Just knock down any really rough areas quickly. I spent about 2 minutes spot sanding. This sanding step should be QUICK and EASY.
If your dresser is really shiny and smooth, you will want to lightly scuff sand the entire piece. And if you have any deep scratches, you may want to fill them with wood filler or Bondo before sanding.
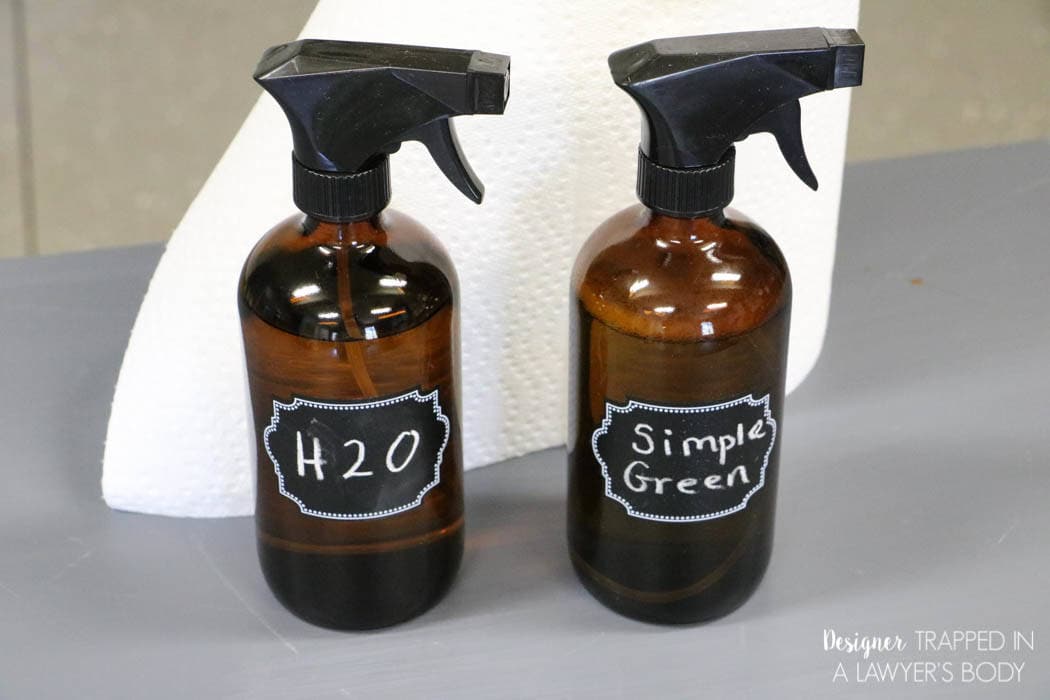
- Wipe off the dust & clean your dresser.
Clean your piece with Simple Green or Krud Kutter to get off any grime and dirt. After you have cleaned it, spray your piece down with water and dry it with paper towels to ensure there is no residue remaining on the piece, as it could interfere with paint adhesion.
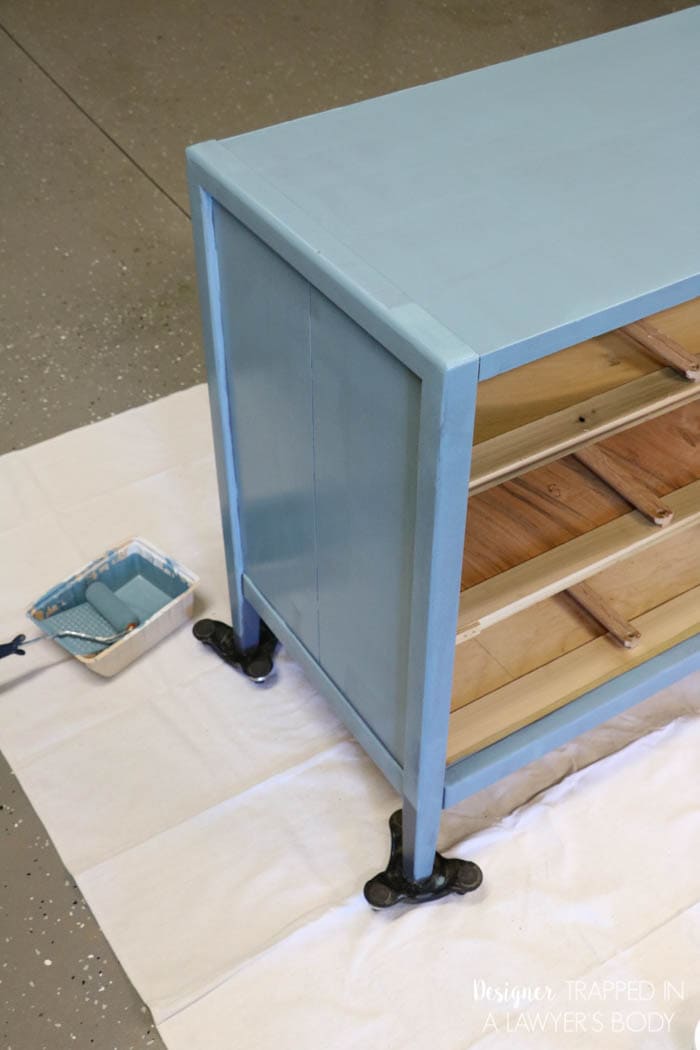
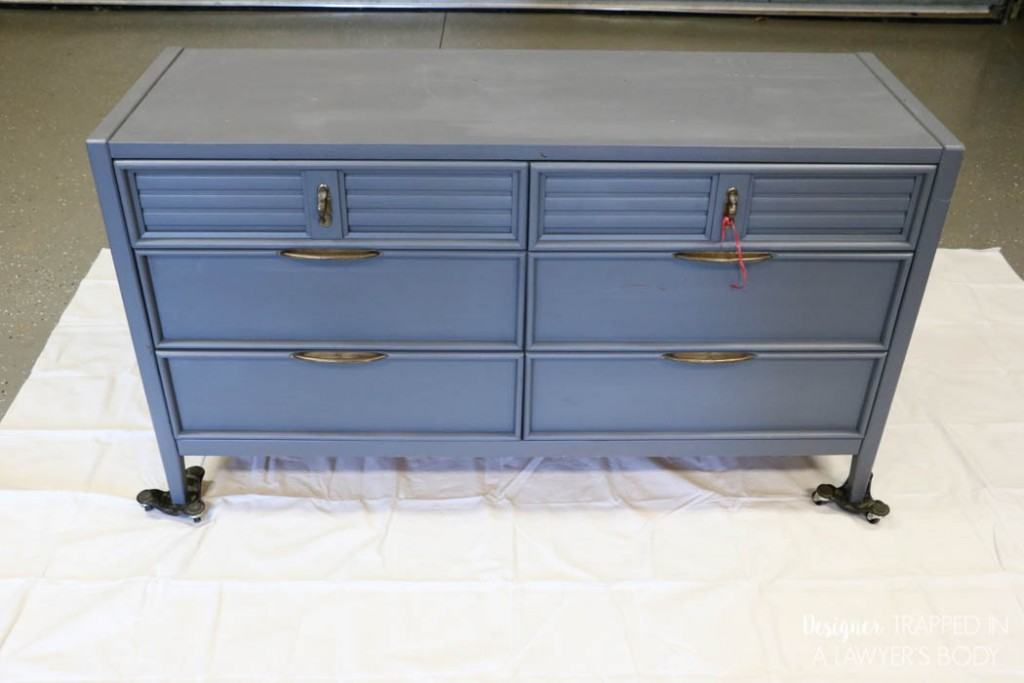
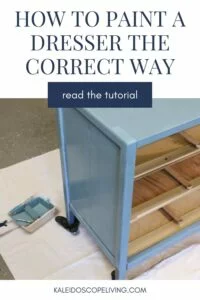
- Paint your dresser.
Believe it or not, you are now ready to paint your piece. No, you don't need to use primer if you are using a high-quality paint!
Apply your first coat of paint with a foam roller to cover the large surface areas and a paint brush for the detail work. Let it dry completely before applying a second coat of paint.
Even with applying two coats of the One Step Paint in the Vintage Affliction Color only took me one 8-ounce container of paint to paint my entire dresser. A little bit of this paint goes a long way! Note that I did not paint the back of the dresser because I knew it would be going against the wall.
You could use a paint sprayer to get an even smoother finish, but it's absolutely not necessary. I only break out my paint sprayer about 50% of the time I'm painting a piece of furniture because the cleanup and prep is kind of time-consuming.
- Clean your hardware, if needed.
If necessary, clean your hardware. I find that Bar Keepers Friend is very effective AND inexpensive.
- Apply a wax finish (optional).
Applying wax is totally optional. The paint results in a durable finish on its own, so you can skip this step! But I like the fact that it adds some protection (it acts as a seal on the paint) and a bit of depth and sheen.
Once your piece has good coverage and is dry, you are ready to apply your antiquing wax. Amy Howard Light Antique Wax will give a slight dark tint to your painted piece to help you achieve some depth and interest and a realistic antique look. Use it first.
After loading your brush with the wax, offload extra wax on a piece of scrap cardboard. Then use very light “x” motion strokes to cover your entire piece. Then you buff it with a lint-free cloth until it's not sticky anymore. Below is a video of just how simple it is to apply your waxes!
After your light antique wax has dried to the point of becoming slightly tacky (which takes only a couple of minutes–I did not film the drying time in the video so don't be confused), apply your Amy Howard Dark Antique Wax. This will darken your piece and is best used when a heavily distressed, antiqued, “grunge” look is desired. I only wanted to darken the edges and corners of my piece, so I applied very, very little. I started on the edges/corners and feathered in toward the center of the piece just a bit.

That's it! Super easy. I completed my entire dresser makeover in a few hours, including the time it took the paint to dry.
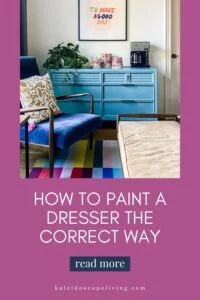
In our new house, we use this dresser it as a DIY coffee bar in this little nook off of our kitchen. The paint on the dresser still looks PERFECT more than 7 years later!
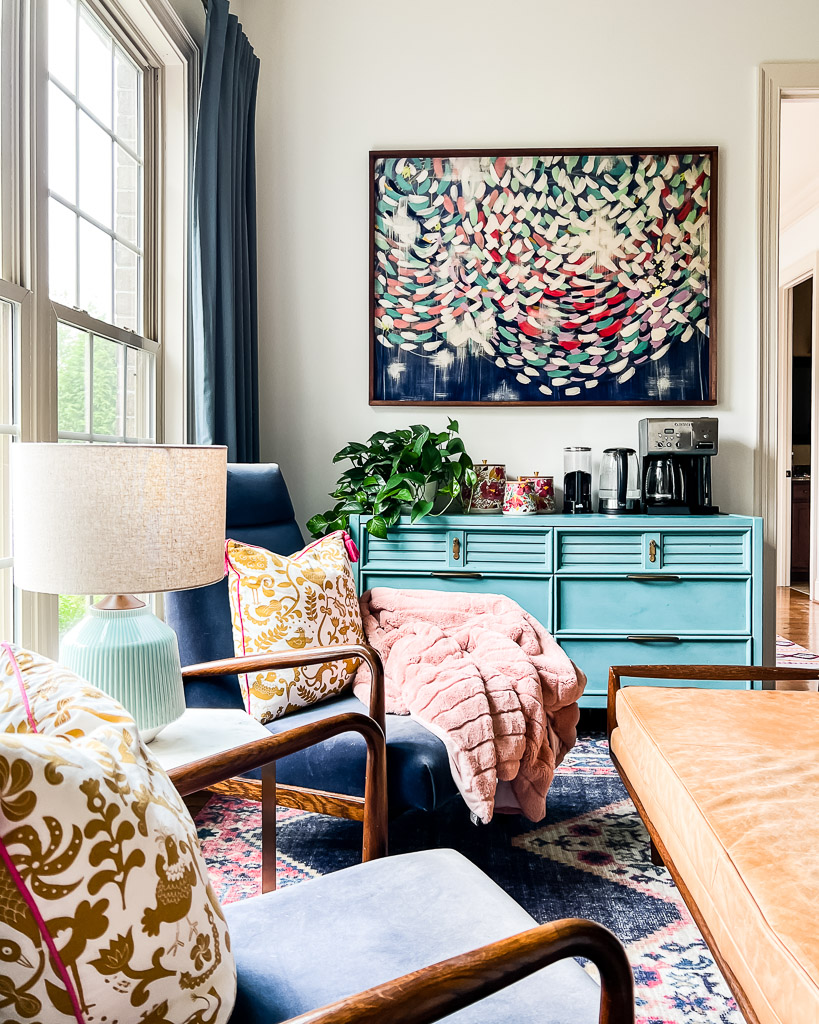
It's so good! I can't tell you how well this paint holds up year after year! It also cleans easily.
More Paint Posts


Wondering how I approach transforming rooms and spaces in our home? Check out Designer in a Binder®.

And if you want exclusive content and behind-the-scenes sneak peeks, be sure to subscribe before you head out!

Last Updated on May 8, 2025
Hi Tasha! Where did you find the black props that your dresser was sitting on top of? I have small plastic ones for setting doors on top of but can’t find anything to set something heavier on.
Thank you!
I think we found them at Home Depot. They are on wheels so it’s easy to move heavy pieces of furniture around. Hope that helps!
I’m going to do my first dresser ever using your guide. I bought the Fusion mineral paints today; it’s for my daughters room and she wants the main dresser in the metallic pearl and the drawer fronts in the metallic champagne. My question is, would you wax with the light and dark antique waxes over a metallic pearl color? I wasn’t sure if that would work- will it defeat the purpose of having the extra shine? I know nothing about any of this so hoping this isn’t a silly question! 😁 Thanks so much!
Hi Tanya! I’ve never used any of the metallic paints so I’m afraid I don’t know how that would look or work. Sorry!
This is great! Do you have any tips for paining a dresser for outdoor use? I think all the surfaces need to be painted/sealed but I don’t want to use the normal paint on the drawer boxes etc. What do you suggest?
I’ve never painted furniture that will be used outside so I’m not sure, sorry!
Hello Tasha!
I just came across your DIY site as I’m going to repaint my daughter’s dresser while she’s in college as a surprise. Thank you for all of the great information! May I ask (apologies if this question is answered here in the comments and I didn’t see it) did you use a 16 oz can of the chalk paint to complete your project or did you purchase two or more cans? Thank you so much!
Hi Elizabeth! I only needed an 8-ounce container of paint to paint my entire dresser. Note that I did not paint the back of the dresser because I knew it would be going against the wall. I hope that helps :)
Wow, this step-by-step guide makes painting a dresser seem so manageable! Your easy-to-follow instructions and the before-and-after pictures are inspiring.
Thanks for sharing!
My pleasure! So glad you found it helpful!
I love your easy simple instructions for the projects that other people want to learn how to do.
Thank you Angela!
This proved to be harder than I thought! We had kitchen cabinet refinishers do our cabinets and so I figured it would be just as easy haha. Once I started using these tips though, it made it much easier!
You can use latex on furniture as long as you prime beforehand. Beautiful color, lovely end result on your dresser.
Thanks Clair!
Hi, I came across this post on Pinterest. I’m wanting to repaint several pieces of furniture. It is a couple pieces of pressed wood bookshelves from Target. Will this paint work on pressed wood?
Another piece is a dresser I painted the wrong way and applied a poly coating. It didn’t turn out good ?. Can I paint over the poly, or does that need to be stripped/sanded off?
And finally a dresser that I have from the 50’s. It has the original staining/shiny-ness. Can I paint over that, or does it need to be stripped/sanded?
Thanks!
The pressed wood should be fine. I think the poly will work but I would do a little research on the Amy Howard website. You can paint right over the 50’s shinyness! good luck!!!
Thank you for the information, I had never heard not to use latex paint on furniture and that is probably why I was never happy with my end results. I have only used chalk paint for the last couple of years and love the ease of use but not the prices.
Glad this helped! Thanks for reading!
I worked in Auto body repair for 10 years. The first thing I learned was to sand or scuff The shine off anything to be painted. If you wanted The painted to stick and last longer than six months. The second thing I learned was a painted rep will tell you anything to sell painted. Your pieces look great though. I will always sand and use a sealer.
Great tutorial! I will have to try that brand. May I ask where you got those shelves? They are awesome!
I made them! I don’t have a tutorial for those, but here is the tutorial for similar ones I did in the playroom– https://designertrapped.com/diy-pipe-shelves-built-in-desks/
Have you had anything bleed through on a light color? I’ve had dark colored furniture bleed through other chalk paint previously. Just curious as to whether this does as well.
I have never actually done that. Sorry!
Where can I buy the Amy Howard paint? I went to ACE and they don’t carry it and I went online and it is unavailable online from ACE! I’m really bummed! Hubby and I planned to paint a dresser this weekend?
Hi Sandra! Unfortunately not all of the Ace stores stock it, but you can order it on Ace’s website and pick it up at your local store for free. Hope that helps!
I tried to order it online and ALLthe paint is unavailable! Can you suggest another brand of paint to use? I don’t know when this paint will be available and I really need to paint a dresser! Help!
What type of paint brushes and rollers did you use…wax and paint [sizes and brand]? Also you didn’t have to buff the wax? Once wax is applied it looks cloudy unless you buff, correct?
This wax is a little different and I do not buff it exactly. After I use the Dust of Ages I do some wiping. As far as brushes go, I just buy whatever is cheapest with boar’s bristles. There is a link in the post to buy them! I also used a foam roller, I get whatever is cheapest! Hope that helps!
I really love this paint too but I have a question. Have you tried the 32oz cans? I have tried both and every time I purchase a large can or it, it doesn’t cover like the small 8oz plastic containers. I am really disappointed in this and can’t get an answer from the company. I guess I will just buy it in the small containers from now on. Anybody else have this issue?
I totally agree with you and never realized it until you asked! I have only used the larger custom mixed size once in a dark navy blue and it wasn’t as great. I just assumed it was the color, but it is possible it is the size difference!
Looks great! Wondering 2 things:
1.) could/should I use a coat of poly or something on top of the paint if I choose not to use the wax?
2.) how long does it need to cure before I can put stuff on it? I need to redo my daughter’s vanity because we put stuff on it too soon…
Hi DeShannon! Sure, you could use a poly over it, but it’s not necessary. The paint is very durable all on it’s own! This paint dries VERY QUICKLY, but to be safe, I would let it cure overnight.
Love the way the piece turned out! Great job!
I have 2 dressers that I want to paint. I have a few questions. 1: Do I need to do the wax part? 2: How much does the 8 oz. jar cover? (want to figure out how much to buy) 3: Is it necessary to do the Dust of Ages?
Thanks!
Thanks so much, Michelle! No, you do not have to wax or use the Dust of Ages. The 8 ounce jar covered my entire dresser, but just barely. I hope that helps!
I always love your projects, and this dresser turned out beautifully! I’d love to try out these products on my next furniture redo. Thanks for linking up at The Handmade Hangout! I’ll be featuring you on my blog when the new linky goes live today at 6pm EST. I hope you’ll stop by and check it out!
Great looking project. Thanks for sharing with us at #Throwback Thursday. Hope to see you again this week.
woow,………..that´s a really great job :)
You are welcome to join
SATURDAY SHOW OFF ~ BlogParty
Hugs from Håkan in Sweden
I didn’t know Ace was carrying a chalk paint line, love the color I am so partial to blues! and that aging dust…. I will have to give this brand a go around, your piece came out beautifully Tasha.
Thanks so much, Brenda! You will LOVE this paint!
This is good to know- we will be painting another in the next few months (the last one was just ok but I didn’t have directions like this!)
I stopped by from Lovely Little Link Party.
Thanks so much for stopping by Jessy! You will LOVE this paint if you try it!
I love the transformation. The piece is much brighter and adds so much character to the space. Thanks for the inspiration.
Thanks so much, Crystal!
I LOVE the end finish and your bar area. So nice! Fabulous tutorial for anyone (kinda like me) who has no idea. Haha. I’m joining in as a host for The Creative Corner Linky Party and I have chose this fabulous project as my feature for the week! I do hope you come back and link up with us. I also purchased your book a few weeks back and it’s great! Just thought I would add that in. Well done :) So much great information.
Oh you did a great job of both painting and the tutorial! Great tips! Thank you for sharing! I am inspired for sure! I absolutely love the shelving in these pics too! I would love it if you would share this as well as any other makeovers you have done at my Making Broken Beautiful party this week. It runs every Thursday thru Sunday. I do hope you will come and inspire others! http://thecuratorscollection.wordpress.com
Have a great week!
Smiles!
Terry
Fabulous job, thanks for sharing on craft schooling Sunday!
thanks for the chance to play. My dog just had puppies and the puppies chewed up the wood fence in my back yard. this would come in handy
If you live in a hot humid climate can you still wax?
You sure can, Benet!
I love the color you picked to repaint the stunning dresser turned dining room buffet/sideboard! I have an old dresser that I need to do this too! You picked a perfect shade of blue! Gorgeous job!!
looks gorgeous! and i loved your video:-)Xo
Thanks so much, Aniko!
What a great product! Love the dust of ages stuff, so cool.
It really is the coolest stuff, Amy! Wait until you try it yourself–you will be addicted!
I love the colour you painted it and it looks perfect in the room, goes so well with the artwork on the wall!
Thanks so much, Gilly!
Absolutely wonderful transformation! I love the fresh color in your dining room! And the video tutorial! You have such a great way of presenting information – so clear and easy to understand! Love it, Tasha!
such a great color! it looks beautiful!!!! and look at you with a video- woohoo!