How to Touch Up Wall Paint
Even the most meticulous homeowners have to deal with minor paint touch-ups around their homes. Whether it’s a chip in the wall from a piece of furniture or a scuff from kids, sometimes your walls need a little extra love. Never fear. You don't have to break out the drop cloths and paint trays for a full-on painting session to keep your walls looking their best. I strongly believe in the power of a quick touch-up to make your walls look fresh and beautiful! Just follow these tips and use these tools for quick and perfect touch-up jobs.
DIY Paint Touch-Up Tips
There is a bit of an art when it comes to touching up paint. You can't just slap it on the wall and hope it blends right in. Follow these tips to get the best results.
Match the Paint Color AND Sheen
Matching your paint color and sheen is an essential step. If you don't have leftover paint or the info about the paint on your walls, be sure to check out my post on how to match a paint color that's already on a wall. If the color or sheen doesn't match, your touch-up job will be obvious. Paint sheens can be a bit more difficult to detect, but my paint sheen guide should help you figure it out.
Clean First
Before you paint, clean! You do not want to paint over dirt or scuffs. It will look terrible! Sometimes a scuff will literally wipe right off with a little work. Or you may have that spot you think is a paint chip that is actually just a bit of grime that will come right off. So grab a sponge and soap and use some elbow grease to get rid of the dirt before you paint! I only use a Magic Eraser if I am definitely planning to paint over the spot because it will mess up the sheen of your paint! Always test a spot so your paint finish doesn't get ruined.
Feather and Blend
I generally recommend touching-up wall paint with a bristle brush. Load your paintbrush with only as much paint as you need to touch up the area. The less paint you can use, the better.
Apply your paint with feather-light strokes, starting from the center of the touch-up area. Work your way out from the center, feathering the edges as you go. “Feathering” just means that you extend your brush strokes a bit beyond the touch-up area so that the new paint blends in nicely. Feathering is hard to do well with a foam brush–that's why I recommend using a bristle brush.
To properly feather, be sure that you do NOT add more paint to your brush. If you feather properly, your brush will have very little paint on it as you feather the edges. If you apply too much paint or don't feather the edges, your touch-up spot will be obvious.
This post contains affiliate links for your convenience. Click here for my full disclosure policy.
Must-Have Paint Touch-Up Tools
When it comes to painting, it’s important to have the right tools on hand. Being prepared to complete a small paint job any time you see a small scratch or scuff is one of my best secrets to making my house look great! These tools are how I am always ready to do a quick touch-up and are my secret weapons to keeping my walls beautiful.
You can watch a short video where I share two of my favorite paint touch-up tools below :) It will play after a short ad.
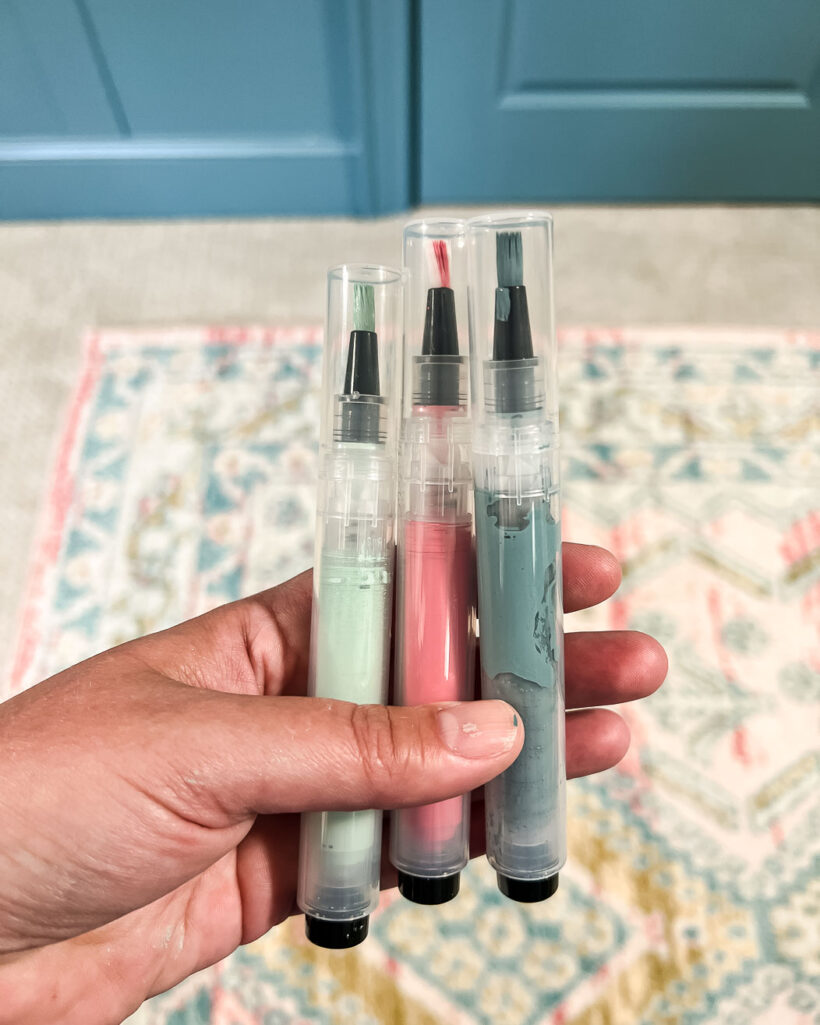
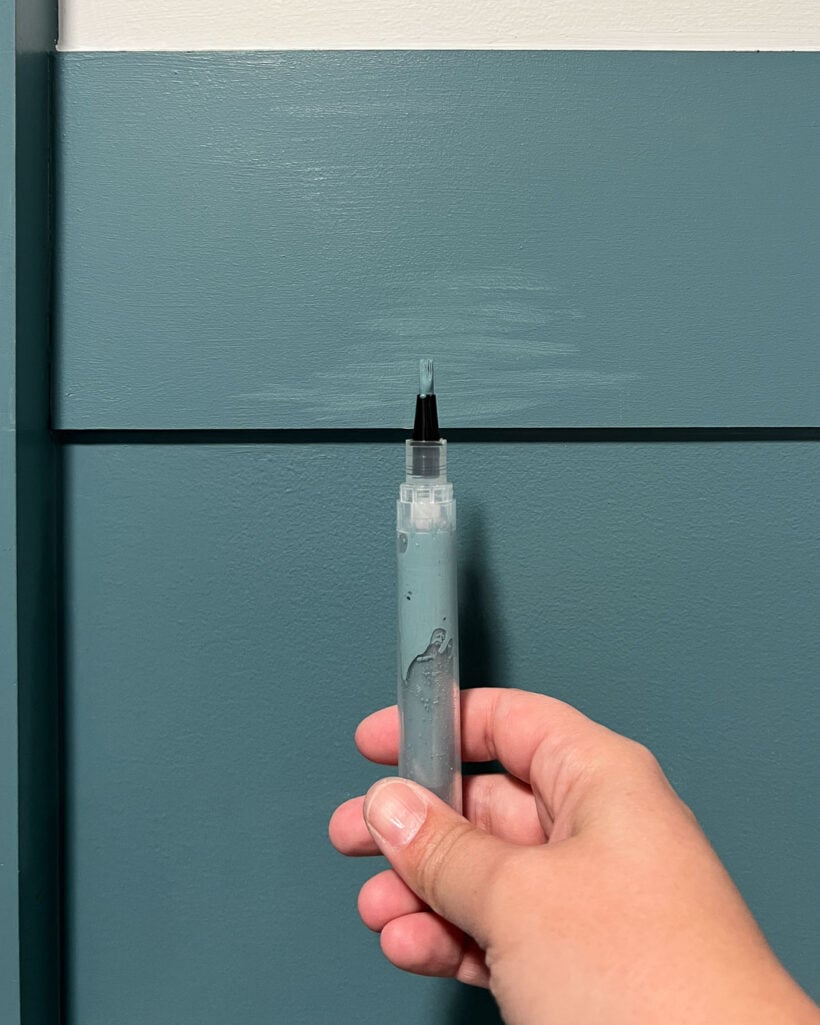
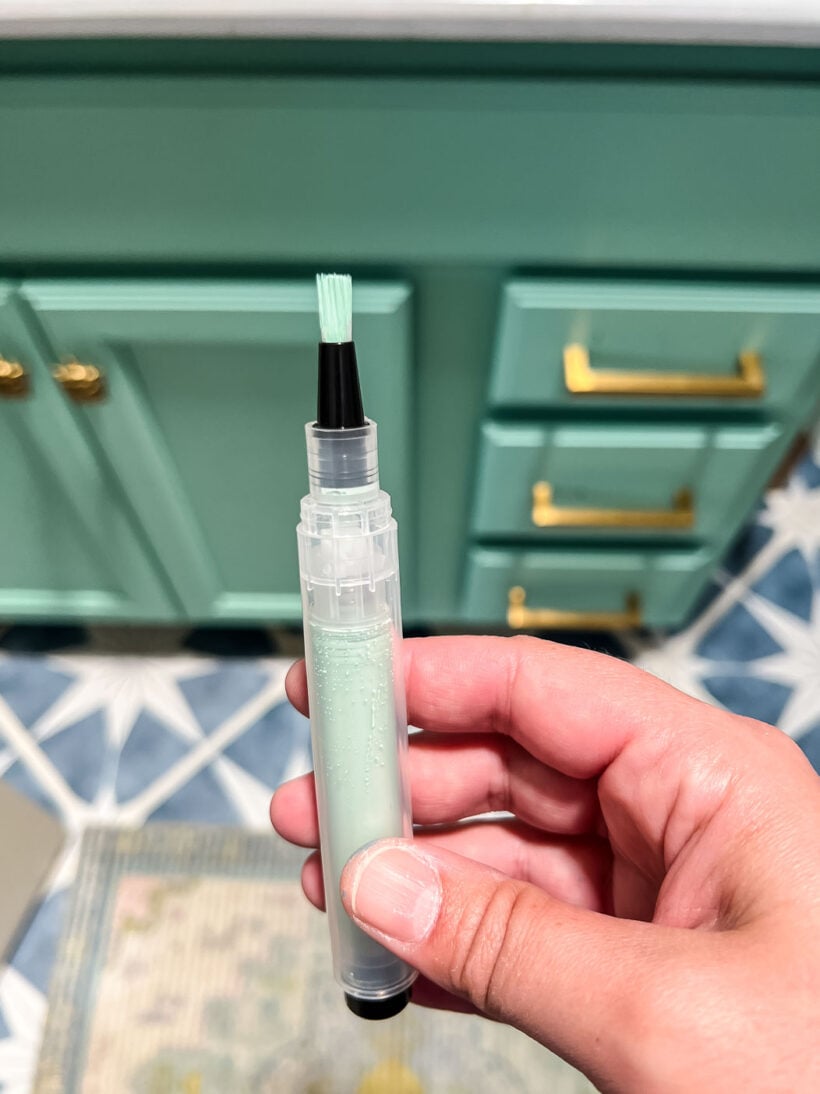
Paint Pens
Refillable Touch-Up Paint Pens are great for small chips or scratches that need to be touched up. I also love these because they are so affordable and easy to use! Simply fill the pen with your desired paint color and then use it like you would a marker or tiny paintbrush. They are also great for hard-to-reach and tight spots. So easy!
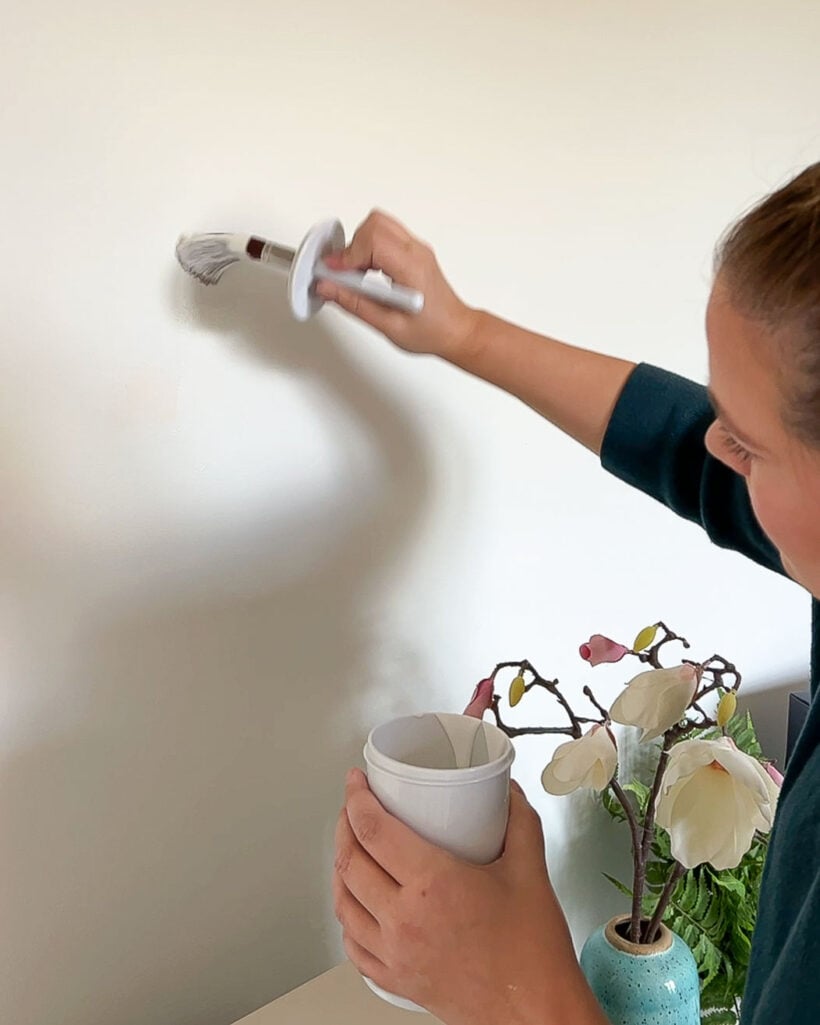
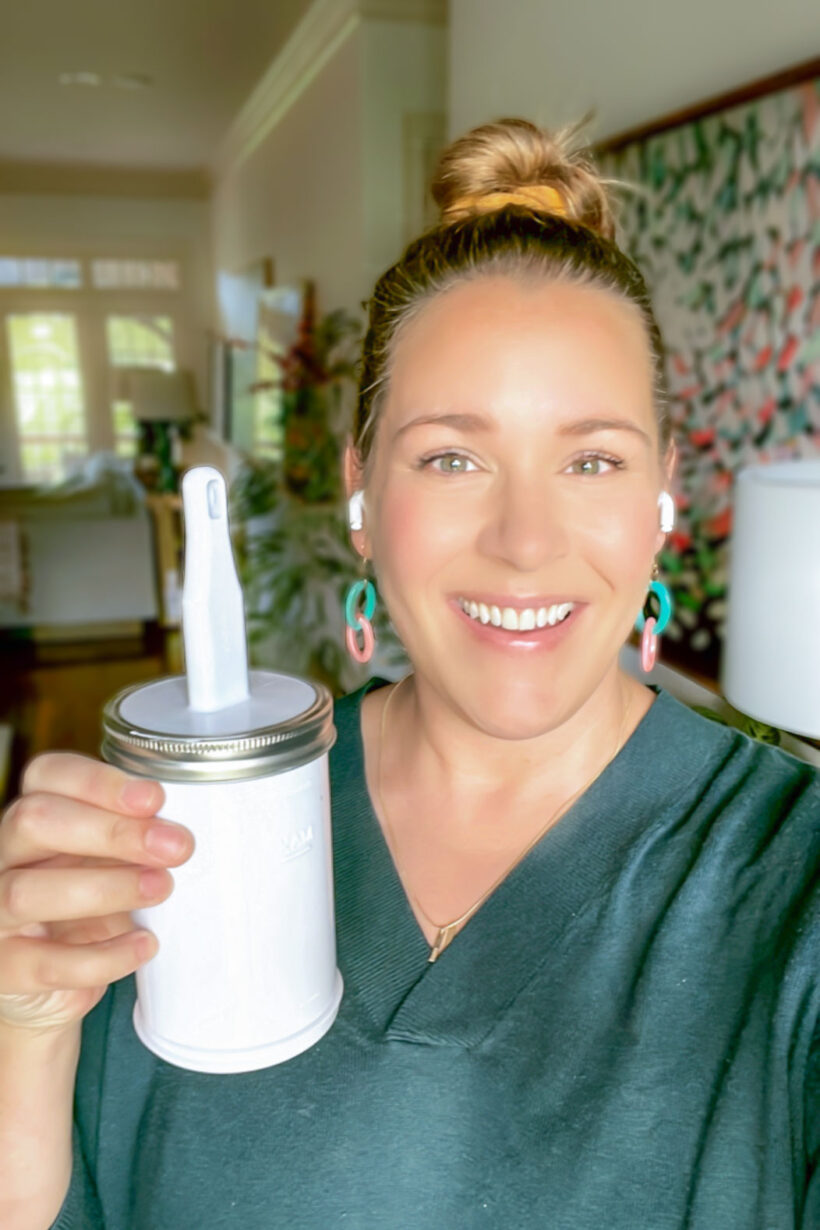
Touch-Up Paint Brushes
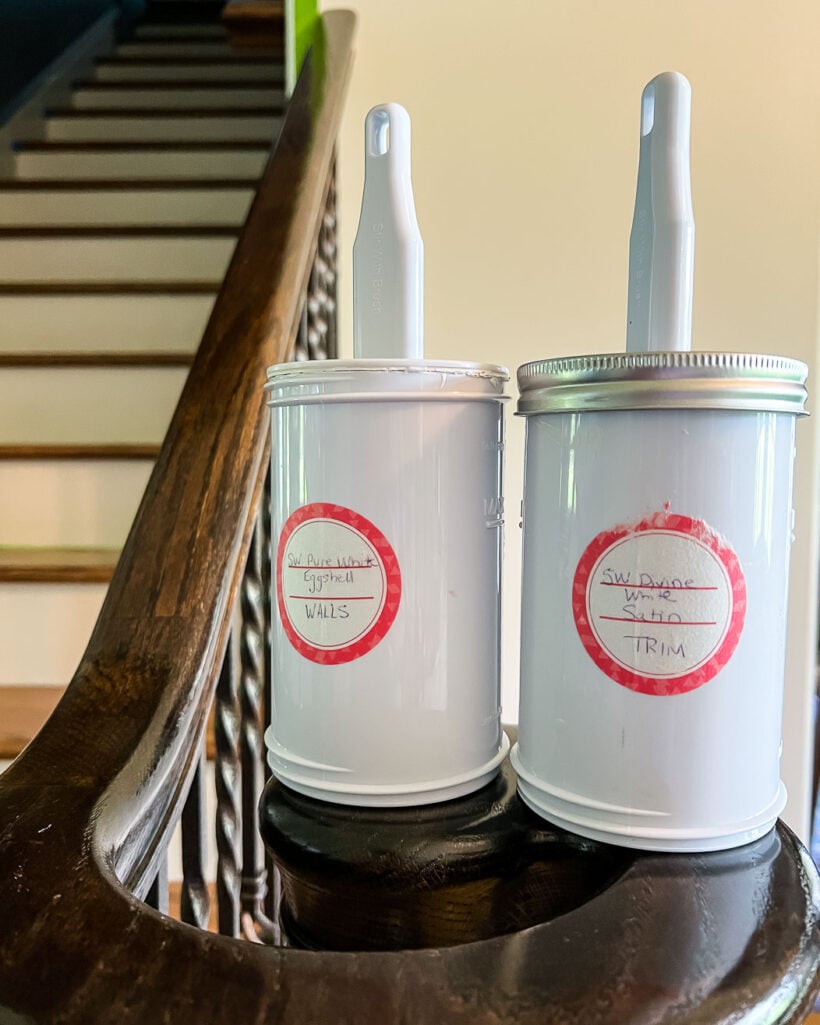
I have shared these on social media so many times before because I loooooooooove them so much. This No Mess Touch-Up Paint Storage + Brush is my number one favorite paint touch-up hack! It is designed as an all-in-one paint touch-up tool–the brush is attached to the lid that fits onto a small paint container. So you leave the paint and brush in the container. That means you don't have to clean the brush after you use it!!! I have been using them for over 3 years now. They are so easy to use and convenient.
I keep these filled and ready to use all the time for paint that I have in multiple rooms, like Sherwin-Williams Pure White wall paint, ceiling paint, and our trim color (Divine White by Sherwin-Williams).
If you need to touch up something a bit larger than just a scratch or small chips, this is the tool for you! These small brushes are perfect for targeting a touch-up area that larger rollers and brushes can’t get to. They come in various sizes so you can choose one that fits your needs best. I regularly walk around my house and hit scuffs and scratches!
Spackle
Always repair wall damage before touching up the paint. Spackle is important to fill in gaps or patch small holes in the wall before beginning your touch-up job. I have a complete post on how to repair drywall with all the tips on small DIY jobs. Fixing any problems first will save you from having to redo it when just paint doesn't cut it. Note that some spackle can cause paint to flash, so you may also need to spot-prime the areas you repair before touching up the paint with your wall color.
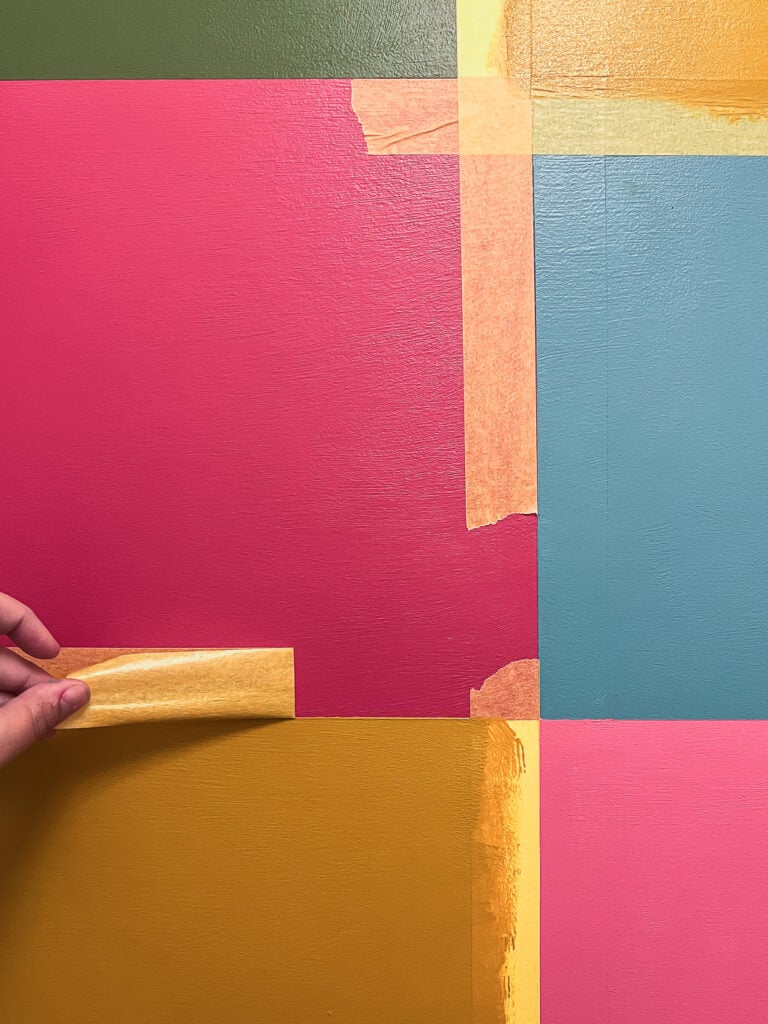
Painter’s Tape
I hate taping as much as the next person, but sometimes painter’s tape is essential for the paint job, big or small. Using painter's tape will help protect any surfaces you don't want to accidentally get paint on. surfaces. For example, if you are touching up your spindles and don't want to get any paint on your handrail, protect it with some painter's tape. Painter's tape also helps with precision when painting edges and corners of walls or trim pieces. Taking a moment to tape, especially if precision isn't your strong game, is worth it to keep things tidy and save you from having to clean up a bigger mess!
Once you have all of these items on hand, you will be ready anytime you see a blemish or imperfection on your walls! With these tips and the right tools, touching up the paint around your home doesn’t have to be an intimidating task anymore. Investing in quality supplies will guarantee that no matter what kind of touch-ups come along, you'll always be prepared! So grab those supplies and get started. You won't believe how great it looks–everyone will ask if you recently had a professional painter come in!
More Paint Posts
Wondering how I approach transforming rooms and spaces in our home? Check out Designer in a Binder®.

And if you want exclusive content and behind-the-scenes sneak peeks, be sure to subscribe before you head out!
