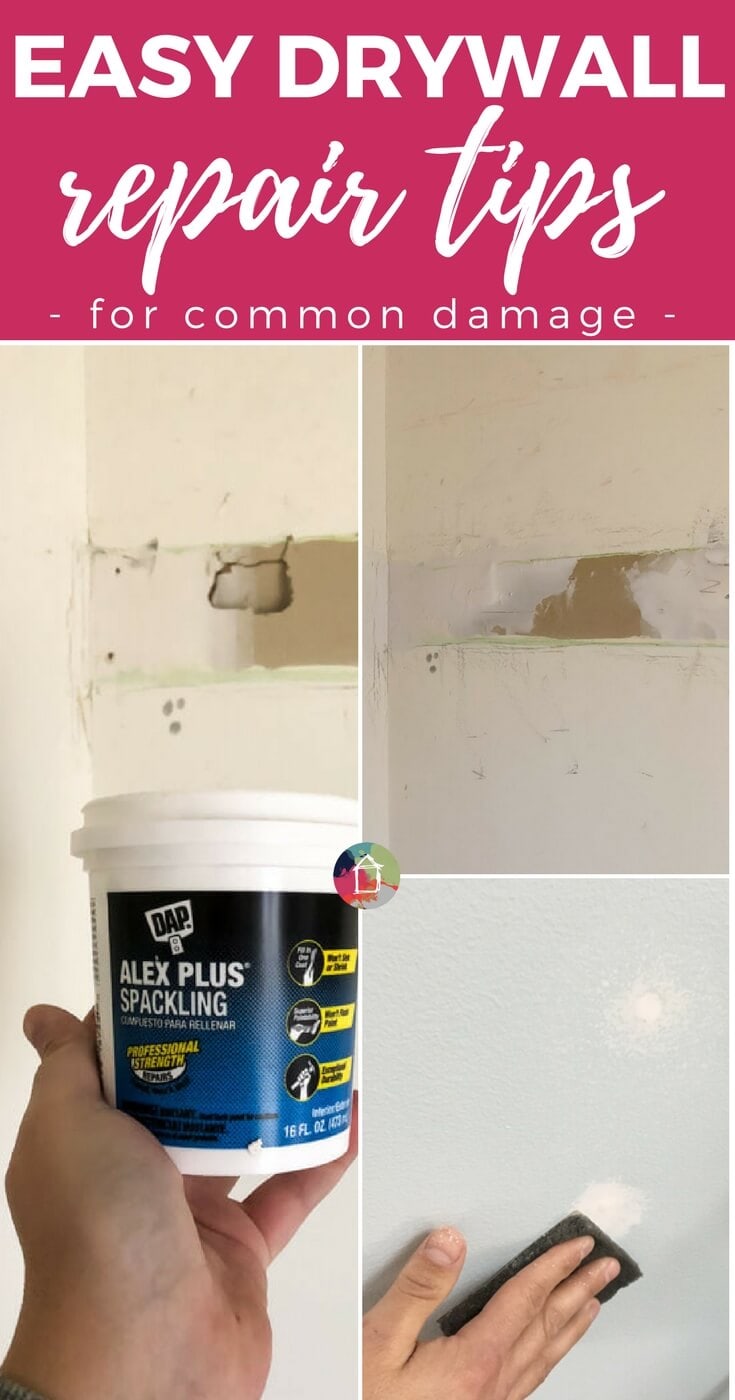
How to Repair Drywall: Tips for “Smallish” Repairs
I would hazard a guess that the most common repair homeowners need to make in their homes has to do with damaged drywall. Whether it's filling small nail holes or repairing larger holes caused accidentally during DIY jobs (been there, done that), it really is easy to do yourself. No need to hire the job out for the every day stuff. Just follow the tips below for how to repair the most common types of drywall holes and damage.
Thank you to DAP for sponsoring this post. This post contains affiliate links for your convenience. Click here for my full disclosure policy.
How to Repair Drywall
Filling nail holes
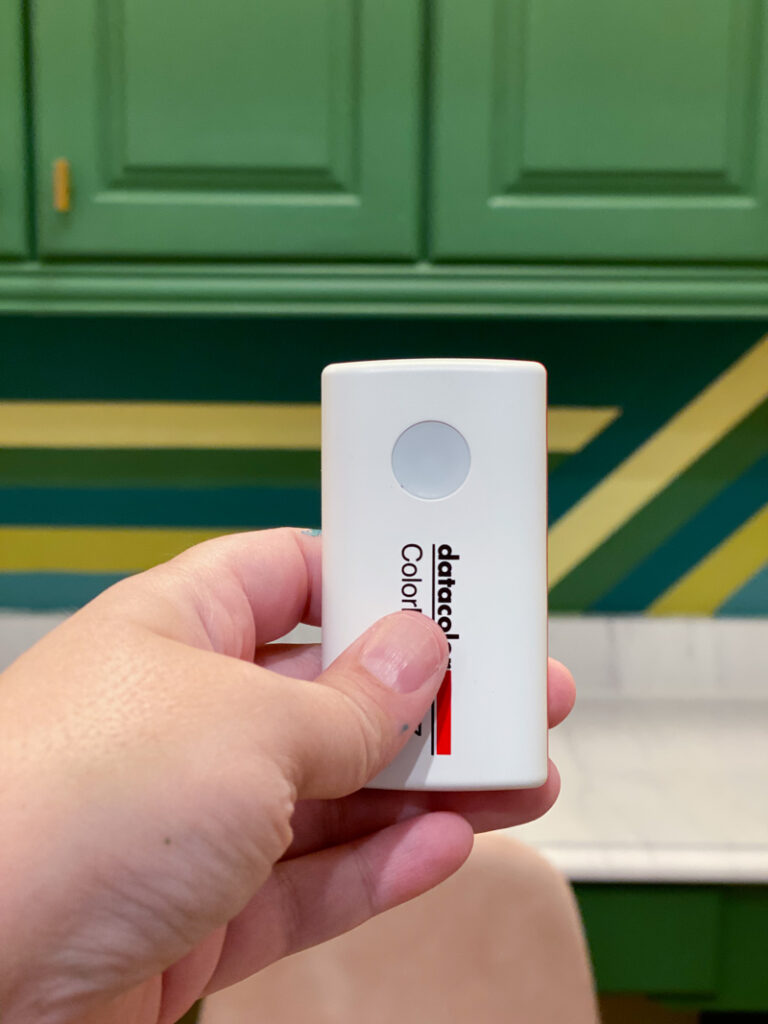
Believe it or not, you usually don't have to even use spackle or filler when dealing with small nail holes. I can almost always fill in small nail holes left behind by things that were hung on our walls by dabbing on touch-up paint with my finger (if you don't have leftover paint, you can use these tips to match a paint color that is already on your walls). This is always my preferred method when possible because it doesn't require any sanding AND you don't have the added step of painting over a repair.
Repairing small holes and damage in drywall
Sometimes we make mistakes during our DIY projects that are too big to fill with touch-up paint. This past week, for example, we were working on hanging the shelves on each side of the new fireplace we installed in our master bedroom. Well, we might have measured incorrectly for where to place the wall anchors for the first shelf and were left with two holes where we didn't need them.
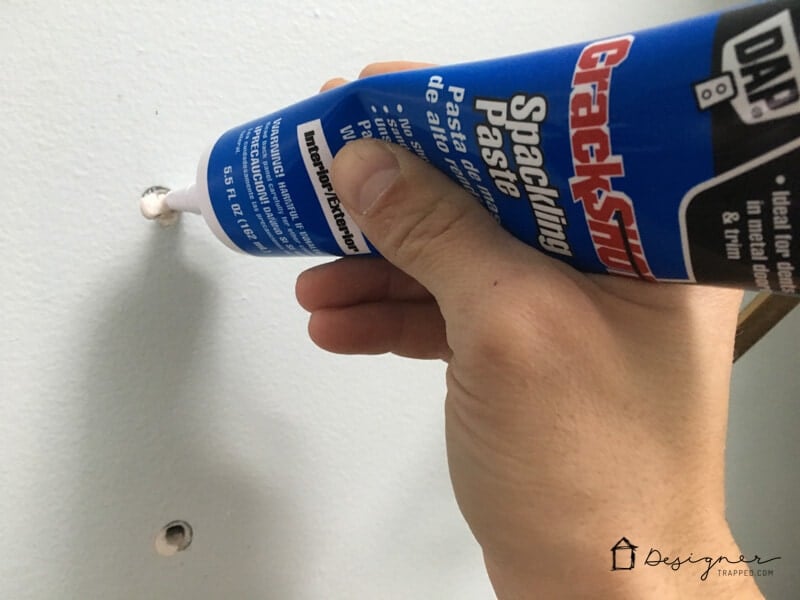
For repairs like this, I like to use DAP CrackShot Spackling Paste. We found some in this handy tube that prevent issues that we have sometimes had with spackle in small tubs drying out. Plus it just makes for a less messy repair in general. You just squeeze however much you need out of the tube directly into the hole and then smooth it out with a putty knife.
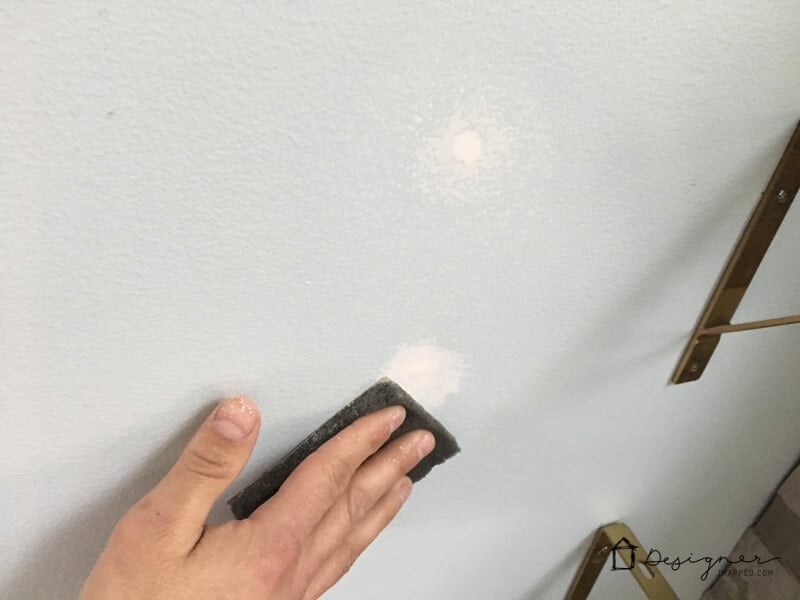
Once the CrackShot dries, we sand it smooth and paint over it. With repairs of this size, we rarely have to repeat the process like we do with larger repairs (more on that below).
Repairing larger holes and damage in drywall
Y'all, sometimes you are just going to wind up with more significant damage to your drywall. It happens to the best of us. For example, last month when we were removing our old guest closet hardware to make way for our new closet system, I might have gotten too aggressive with my crowbar, which resulted in some pretty big holes. Ooops.
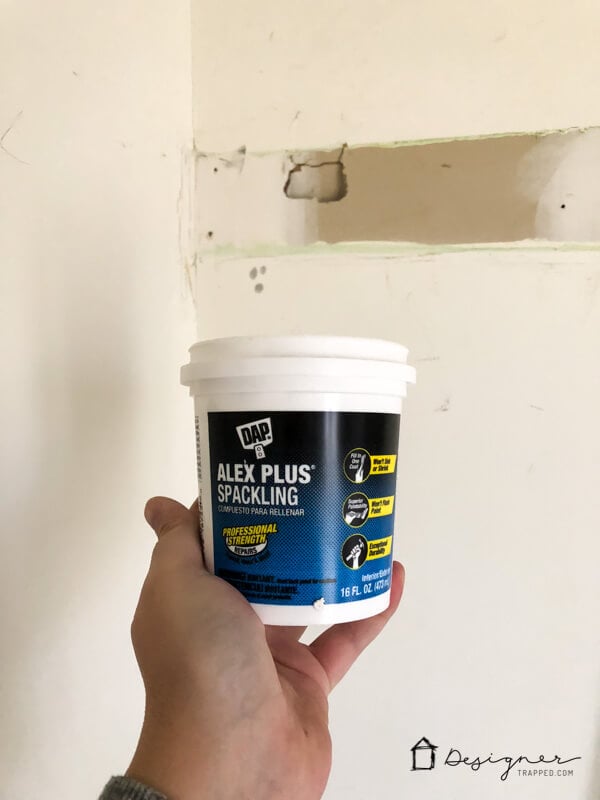
For repairs like this, the only product I'll use is DAP Alex Plus Spackling. This is a fairly new product and I strongly prefer it over more traditional spackle like DryDex. The Alex Plus Spackling compound has a consistency that is much more like caulk, so I find it easier to work with when it's wet and I find that it's easier and less dusty to sand after it dries. Some people would use a mesh patch for holes of this size, but I find those to be more trouble than they are worth.
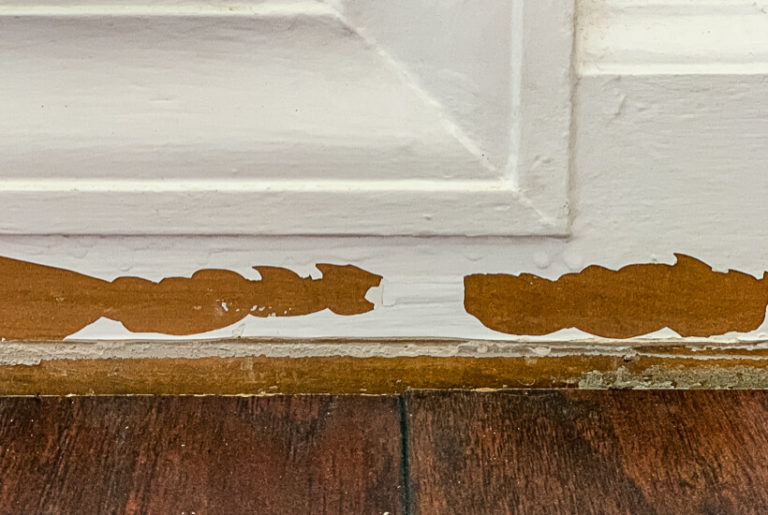
I start by scraping away any loose debris from the hole. Then I use a metal putty knife to apply it and smooth it until it's level with the drywall surface.
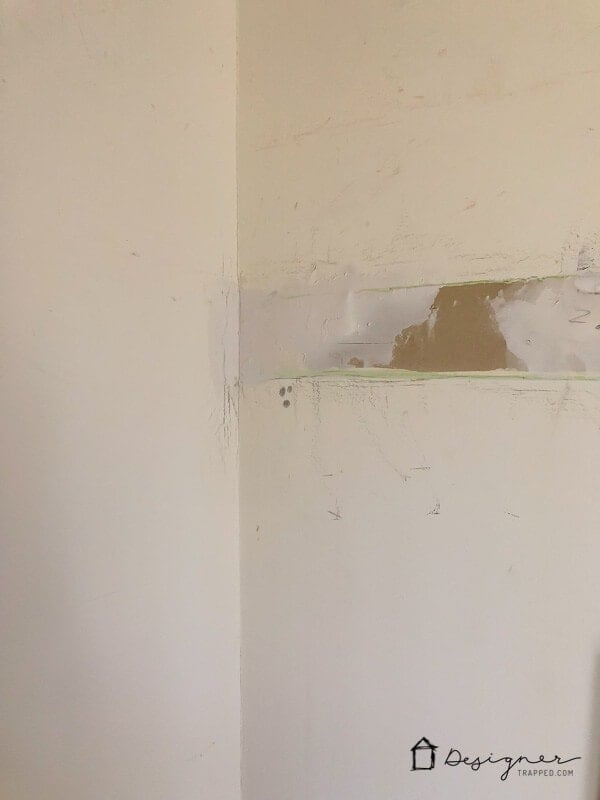
Then I let it dry for 24 hours and sand it thoroughly. Sanding well is really crucial to getting good results. Sand, sand, and then sand some more until it's totally smooth. Apply more spackle and repeat the drying and sanding process if you need to. I had to repeat the process twice for the repair in our guest room closet. What you see above was after the first coat.
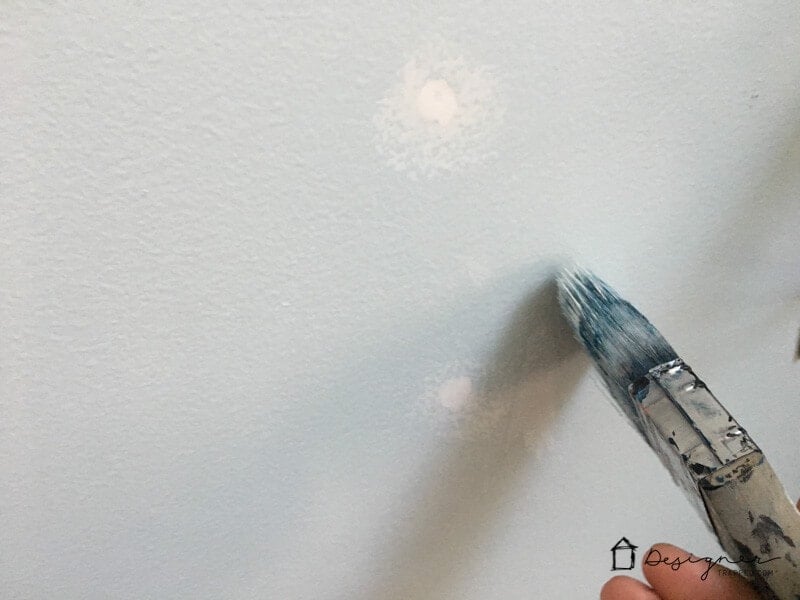
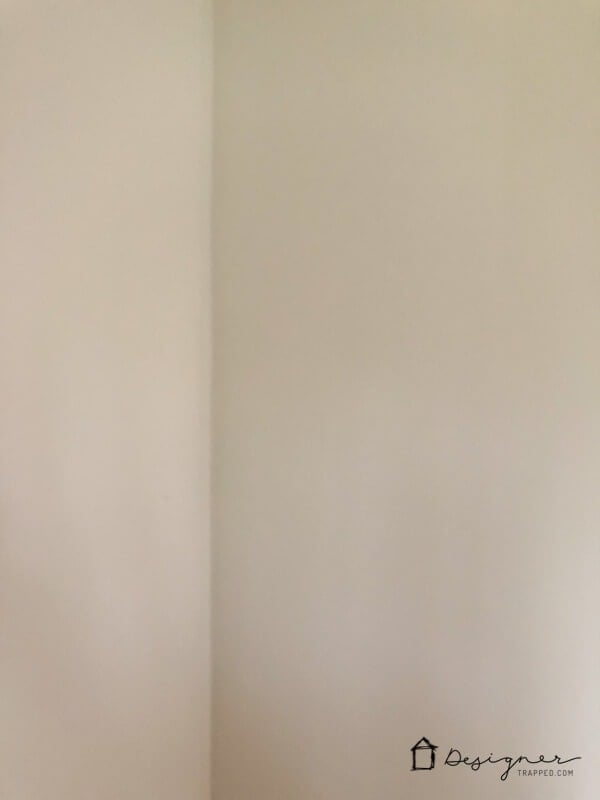
What you should wind up with after you sand and paint over the repair is a wall that looks like this–no detectable repair work.
And there you have it! Easy tips for how to repair drywall for “smallish” (that's a word, right?!) repairs.
If you have larger holes that you want to repair and you don't want to have to worry about spackling and sanding, check out my tutorial on how to fix a hole in the wall the easy way!
Wondering how I approach transforming rooms and spaces in our home? Check out Designer in a Binder®.

And if you want exclusive content and behind-the-scenes sneak peeks, be sure to subscribe before you head out!

Easy and nice tips! Very neat. Patched up all the holes. The wall looks great!
Thanks so much, Clara!