How to Repair Chipped Baseboards
Baseboards can get chipped and dinged over time. And they can take a big beating during renovations! The good news is that it is relatively easy to repair chipped baseboard paint so that it looks fresh and clean again. Just follow this step-by-step tutorial.
Have you ever looked around at the baseboards in your house and cringed? Baseboards get dirty, chipped and dinged over time. It's totally normal. But, worn baseboards can make your otherwise beautiful room look kind of worn out. No one wants that! And baseboards can really take a beating during home renovations.
Our baseboards looked TERRIBLE after all the demo for our first-floor and kitchen renovation (which is nearly done as I write this post). So if you've ever wondered how to repair baseboards to make them look fresh and pretty again, you are in the right place. You just need to right materials and technique. And that's exactly what I'm going to teach you in this post.
How Our Baseboards Were Damaged
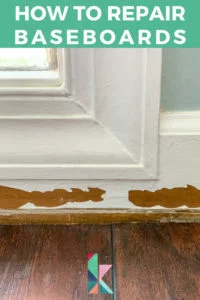
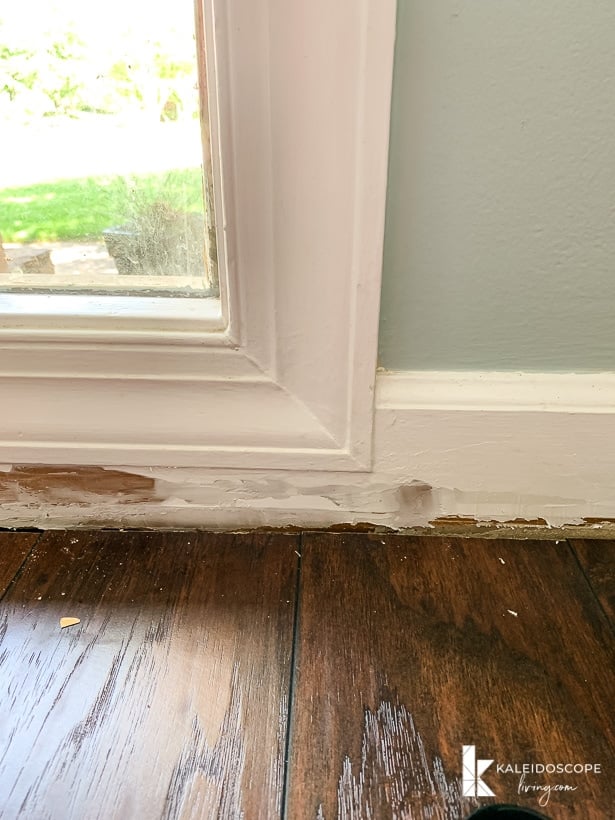
First a bit of background. We had a tile floor removed in our foyer. Typically, you remove all baseboards before demolishing an old floor. We removed all of the old baseboards EXCEPT for these baseboards under the large windows in our foyer. The reason we didn't remove them is that we were concerned that we would also damage the window trim in the process, and we didn't want to open that can of worms. So though we had some patching and repair work to do to all of the old baseboards when we reinstalled them, I chose to demonstrate this tutorial on the areas that were most badly damaged to show you that you really can do this! It's even easier when you are dealing with less damage.
A big thanks to DAP Products for sponsoring this post. This post contains some affiliate links for your convenience. Click here to read my full disclosure policy.
How to Repair Baseboards: A Step-By-Step Tutorial
Materials needed
- DAP Alex Plus Spackling or DAP Crack Shot Spackling Paste
- Putty knife
- Sandpaper
- DAP Alex Plus Caulk (if needed)
- Trim paint (we always use Behr Ultra-White in a Semi-gloss finish)
- Paintbrush

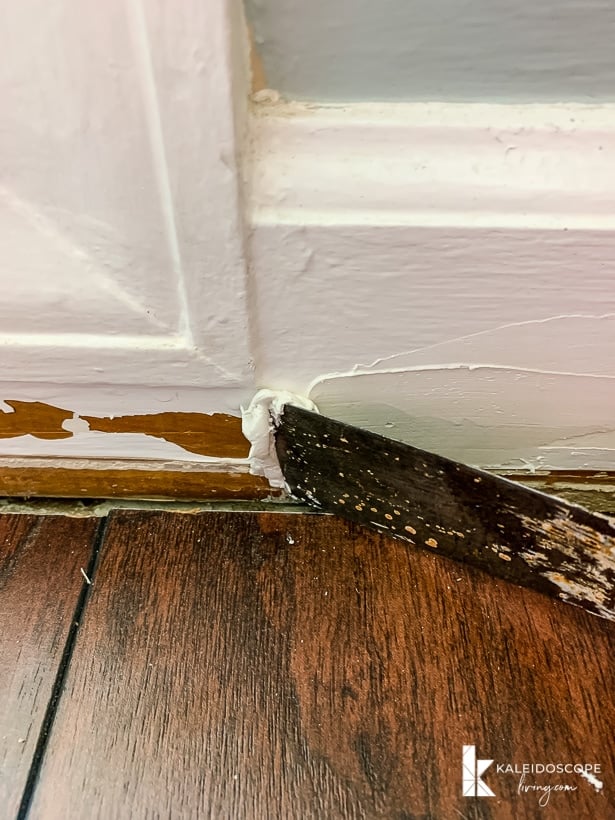
Step 1: Remove loose paint.
Use your putty knife to gently scrape away any loose paint. We also had old caulk lines to scrape away since we had removed quarter round trim as well. I can't stress enough that you want to gently remove loose paint. You don't want to create more work for yourself by being aggressive with this step. If you have paint that is still adhered to the baseboard, leave it alone. Just remove what your putty knife slides under easily.
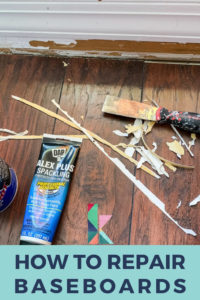
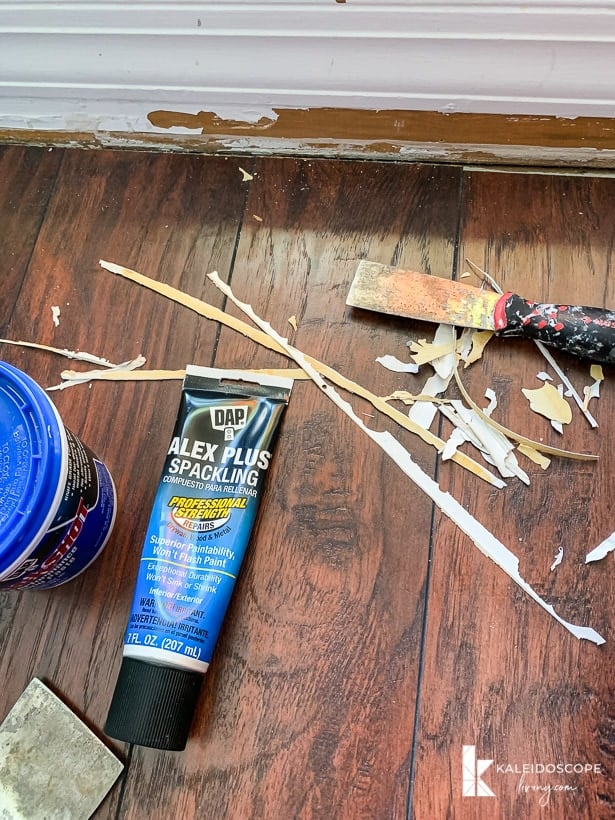
Here's a photo of what I removed from this strip of the baseboard.
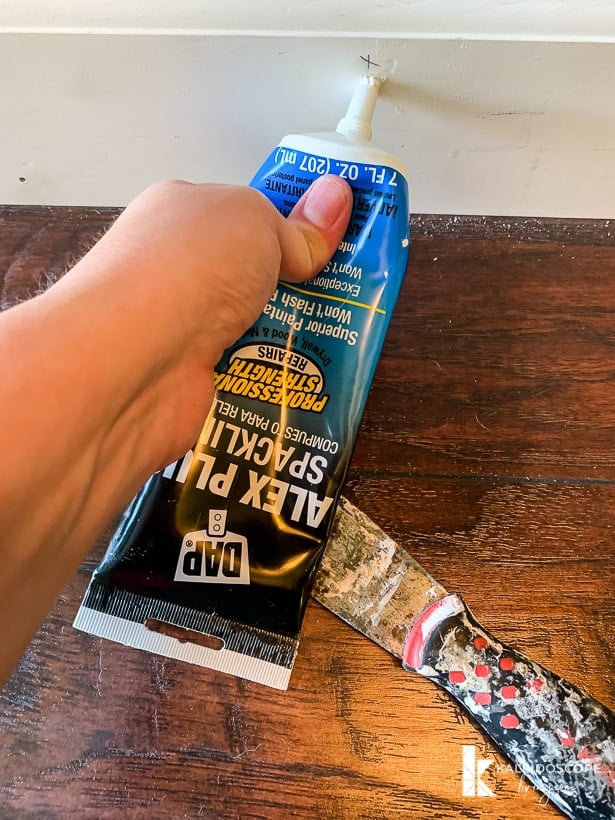
Step 2: Patch the damaged areas.
We used DAP Alex Plus Spackling to do all the repair work on our baseboards. This stuff is my FAVORITE. It's like caulk and spackle had a baby! The consistency is much smoother and easier to use than other spackles I have tried. If you can't find DAP Alex Plus Spackling, my second choice is DAP Crack Shot Spackling Paste. I only had a tube of it (because we had used up our big tub of it for other projects). But since I had so much to patch, I didn't want to have to keep squeezing the bottle. So, I squeezed out a bunch at a time on my larger putty knife so I could easily scoop up what I needed as I worked.
Here are some general spackling tips for you:
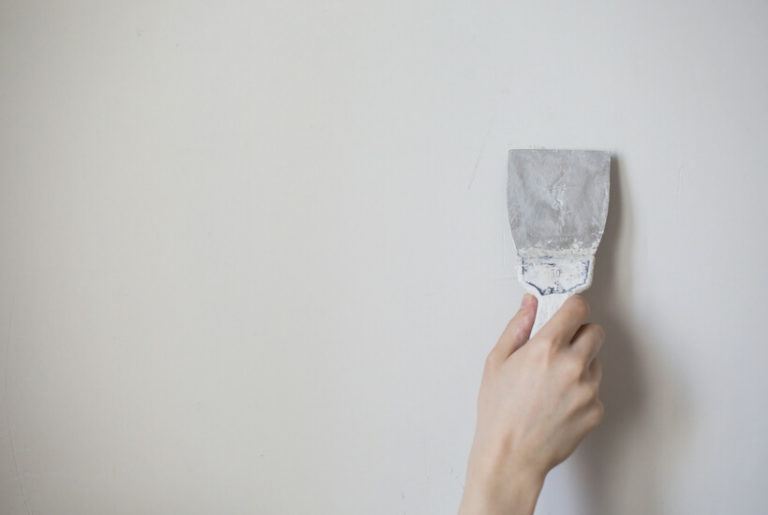
- Apply your spackle to your putty knife. Then, position the blade of your putty knife at a 45-degree angle to the wall and spread the DAP Alex Plus Spackling over the imperfection in a smooth, feathering motion until the imperfection is completely filled in.
- Gently scrape away excess spackle from the wall while holding your putty knife at a 90-degree angle to the wall. Be careful not to remove the spackle from the imperfection as you do this! Use a damp cloth to remove any excess spackle from the wall that your putty knife did not remove before the spackle dries.
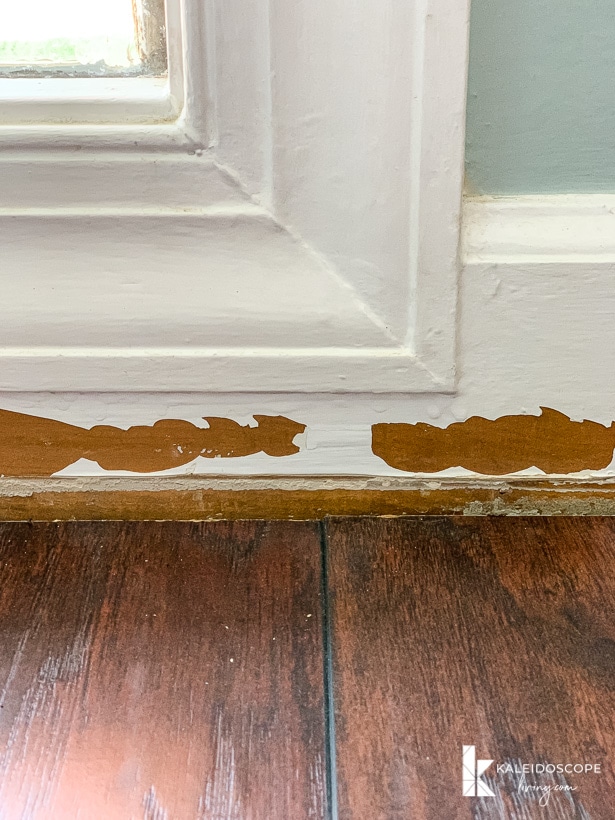
- Don't overdo it on your first coat, especially if you have significant damage. It's better to apply several thin coats if needed. This is what my first coat looked like.
- Once your spackle dries, lightly sand. Repeat additional coats as needed. I applied 2 coats to this entire damaged area and a 3rd coat to one particular problem spot.
- After your repair work is complete and the spackle has dried, lightly sand it down with fine-grit sandpaper until it is even with the wall. Wipe away any dust with a damp cloth.
To repair baseboards that have smaller damage, like nail holes, I simply squeeze a bit of DAP Alex Plus Spackling directly over the holes and then remove the excess with my putty knife.
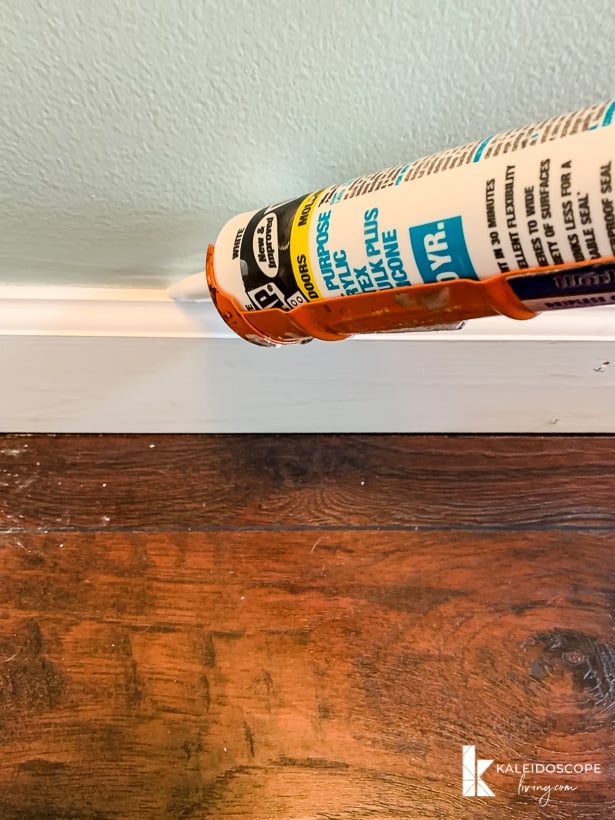
Step 3: Caulk if needed.
If you need to freshen up the caulk where your baseboard meets your wall or other trim, now is the time to do it. Since we did remove most of our baseboards and then reinstalled them, we had a lot of caulking to do. The good news is that it's much easier than spackling! We use DAP Alex Plus caulk for all of our trim caulking.
To caulk, must hold your caulk gun at a 45-degree angle and move at an even pace along the length of your baseboard. Then dip your finger in a bit of water and run it along your bead of caulk to smooth out any bumps. Easy peasy!
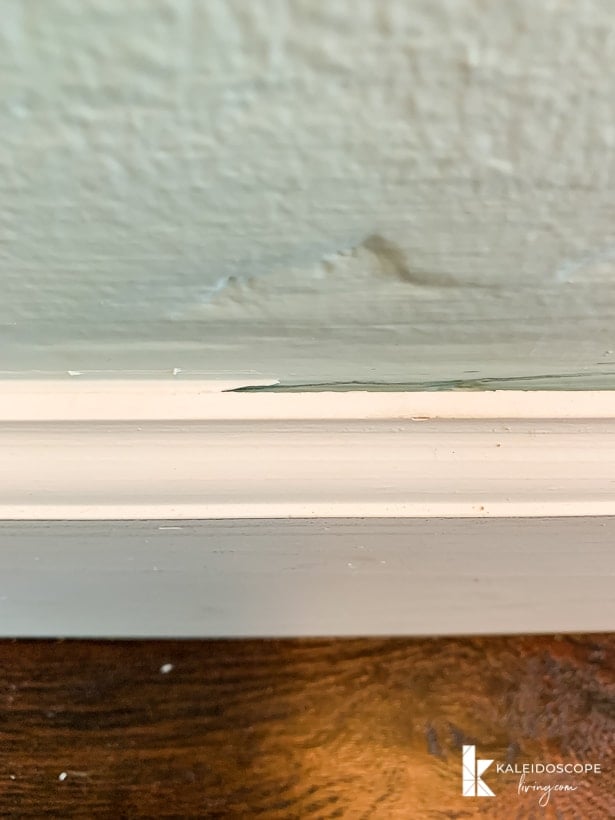
You can see what a difference caulking makes where the baseboard trim matches up with the wall in the photo below. It fills in the gap and finishes it off beautifully.
Step 4: Paint.
I trust you all know how to paint so I didn't take photos of this step :) If you are an experienced painter like me, you won't even need to tape off before painting. I just used an angled brush and knocked it out pretty quickly. But if you aren't as confident with your painting, I'd recommend using painter's tape to protect your floor and wall before you paint your baseboards.
 | 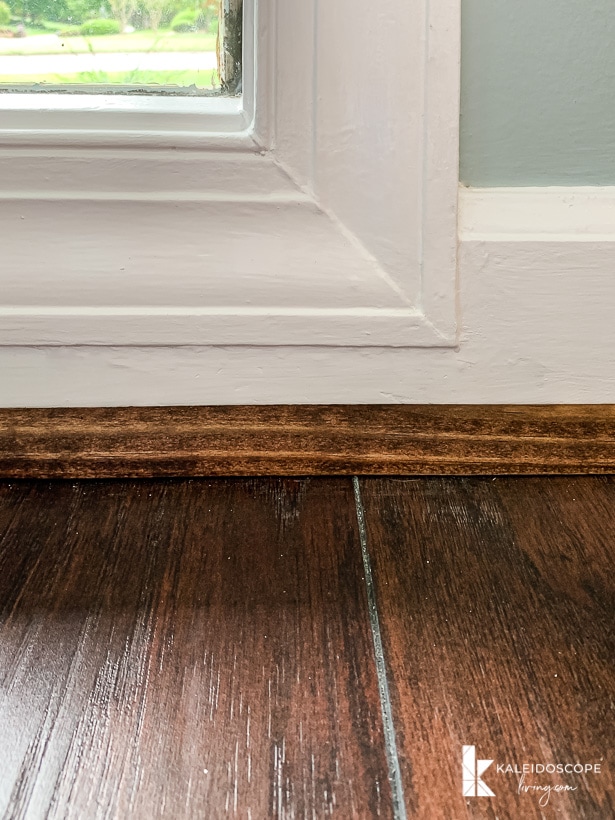 |
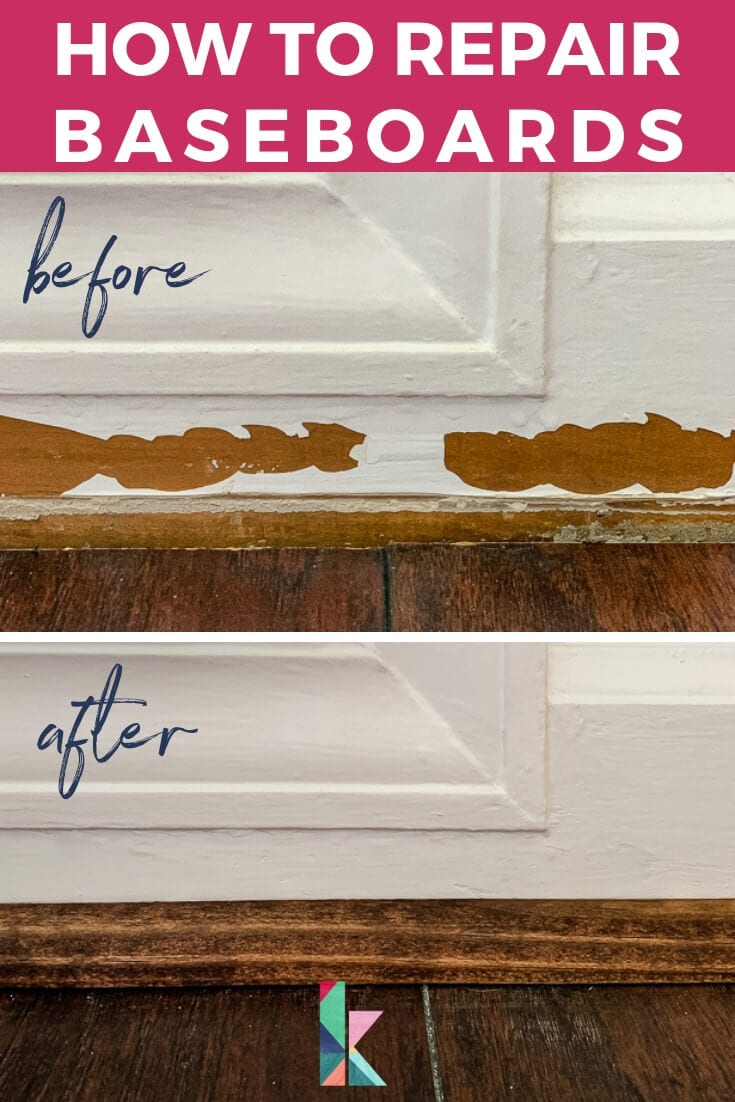
That's it! Take a look at the before and after above. Is it perfect? No. But it's a zillion, trillion times better. And it wasn't hard!
If you are wondering how we installed the quarter-round after repairing our baseboards, check out my full tutorial for how to install quarter-round molding!
Wondering how I approach transforming rooms and spaces in our home? Check out Designer in a Binder®.

And if you want exclusive content and behind-the-scenes sneak peeks, be sure to subscribe before you head out!