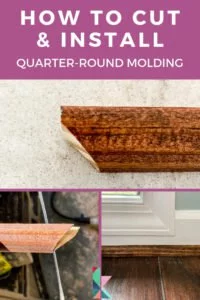
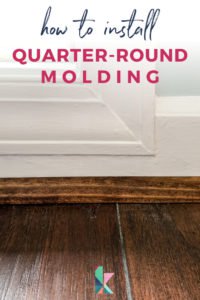
How to Install Quarter-Round Molding
Wondering how to finish off your new laminate or wood floors perfectly? In this post, I walk you through how to install quarter-round or shoe molding to cover gaps between your baseboard and flooring. Plus, I show you the secret to finishing the exposed ends and filling in nail holes!
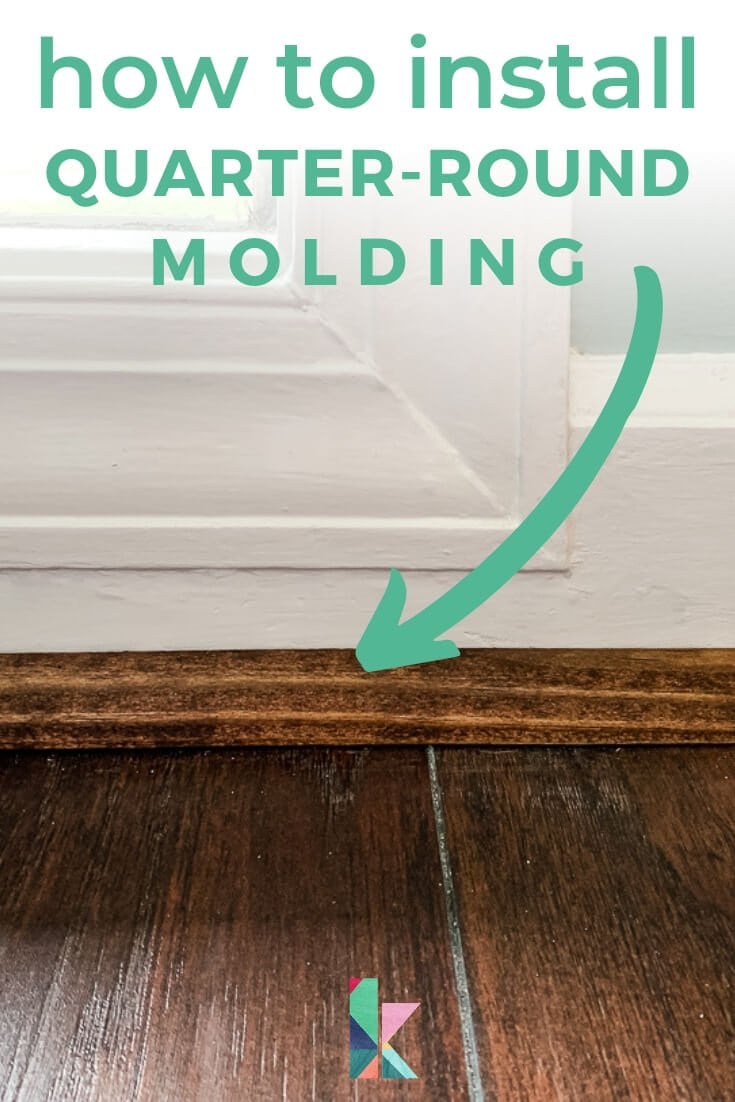
If you have ever installed new flooring in your home, you have probably asked yourself, “what is the best way to hide the gap between my baseboards and floor?” Well, my friends, the answer is quarter round molding (or shoe molding if you prefer–more on that distinction shortly). Quarter round molding is inexpensive, easy to install and gives such a clean and professional finish to your floors.
We've installed quarter round molding ourselves every time we've finished installing our favorite laminate floors in our master bedroom and hallway, and throughout the downstairs of our house. (I talk about why we chose laminate flooring in those posts, but you can also read this post about the pros and cons of different types of flooring). And while new flooring makes a HUGE impact in any home, I'm telling you it doesn't look amazing until we install the quarter round. It's a small thing that makes a BIG difference.
Since we recently finished our big kitchen renovation and installed new flooring in our dining room, hallway and foyer, we had lots of quarter round molding to install. So this time I decided to take photos so we can walk you step-by-step through how to install it yourself!
Thank you to Mohawk Consumer Products for sponsoring this post. I have proudly worked with Mohawk for years because I have fallen in love with their products!
What's the Difference Between Quarter Round and Shoe Molding?
I used to think that quarter round and shoe molding were the same thing. But they aren't! Shoe molding is 1/8″ round. In other words, it is 1/8 of a piece of a round dowel. Quarter round is 1/4″ round, so is slightly larger than shoe molding.
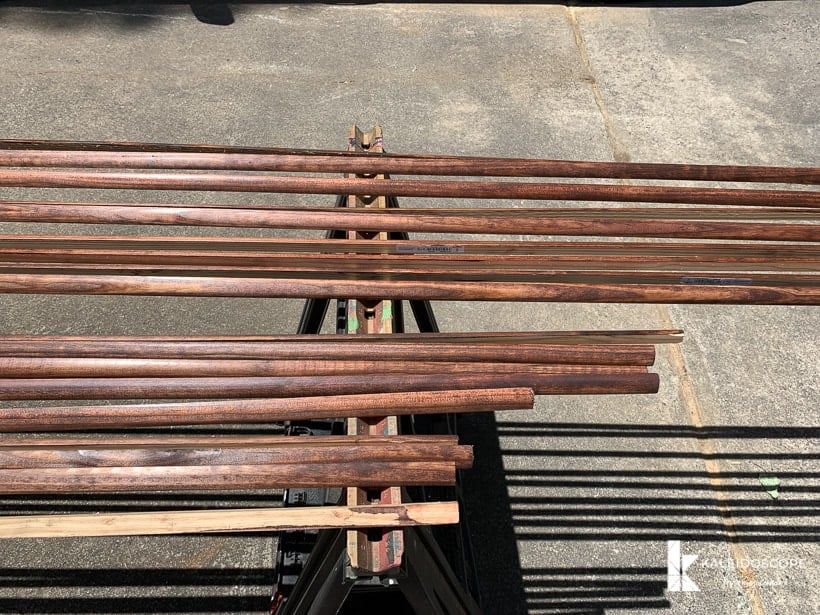
Both types of molding are stocked in very long lengths at home improvement stores in the lumber section. The long lengths are necessary so that you can use full pieces to cover most of your walls, though you can join shorter pieces if you absolutely have to. They are super flexible, so they easily conform to any slight slopes or dips in your floor (no floor is perfectly level).
We have always chosen quarter round because it is larger and can cover larger gaps. We've needed large gaps because of the vast expanses of laminate flooring we have installed (you have to leave certain-sized gaps depending on how long your flooring run is).
That said, choose whichever molding you prefer. The tutorial in this post is exactly the same for both types of molding :)
What About Corners and Returns???
The fact that corners and returns (exposed ends of the trim) are involved scares a lot of people off. But I PROMISE it's not hard! In this post, we walk you through how to handle corners by coping them. We also show you how to finish off any exposed ends so that they look pretty without the need for cutting small return pieces!
A Note About Coping…
Most people are familiar with miter joints, but not everyone knows what a coped corner is.
In a coped corner, one molding has a straight cut on the end that butts up against the wall. The molding that meets up with it in the corner has a coped cut that fits perfectly against the face of the first molding.
A coped corner fits tightly even in rooms where the walls are not perfectly square (which is pretty much every room that has ever been built). That isn't true for mitered joints! So, we prefer coping. We also think it's easier, even though it kind of looks intimidating.
This post contains some affiliate links for your convenience. Click here to read my full disclosure policy.
How to Install Quarter Round Molding: A Step-by-Step Tutorial
Materials needed:
- Quarter round or shoe molding
- Paint or stain (I highly recommend staining them to match your floors)
- Tape measure
- Pencil
- Compound miter saw or a hand saw and miter box
- Coping saw (these are super affordable)
- Patchal Putty
- Mohawk Pro-Mark Wood Touch-up Marker
- You can see how to use these same markers to touch-up wood furniture by clicking here. If you think you'll use these markers often, the twelve pack is worth a look.
- Brad Nailer (we are obsessed with this one, which is what we used for this project)
Step 1: Pre-Finish Your Molding
Before you even think about installation, you are going to want to finish your quarter round molding by painting or staining it. We have lived with both painted and stained quarter round. I 100% recommend staining the quarter round to match your floors. Why? Painted molding winds up getting chipped and dirty over time, no matter how clean and careful you are. Stained molding looks brand new year after year!
When I shared that we stained our quarter round on my Instagram stories, about 50% of people were SHOCKED and asked why we didn't paint them. But after explaining stained quarter round holds up much better over time, they were like “YES! My painted quarter round molding looks horrible!”
The one upside of painting your quarter round is that it can make your baseboard trim look taller and more substantial. But, we'd rather avoid chips and dirt, so we stain ours.
Step 2: Measure and Mark
You want to measure and mark one piece at a time. Mark the length on your quarter round molding and use your miter saw to make a straight cut. You will install the first piece so that the straight end cut butts right up into the corner. That's right… we are NOT mitering. We are coping, so the straight edge goes right into the corner.
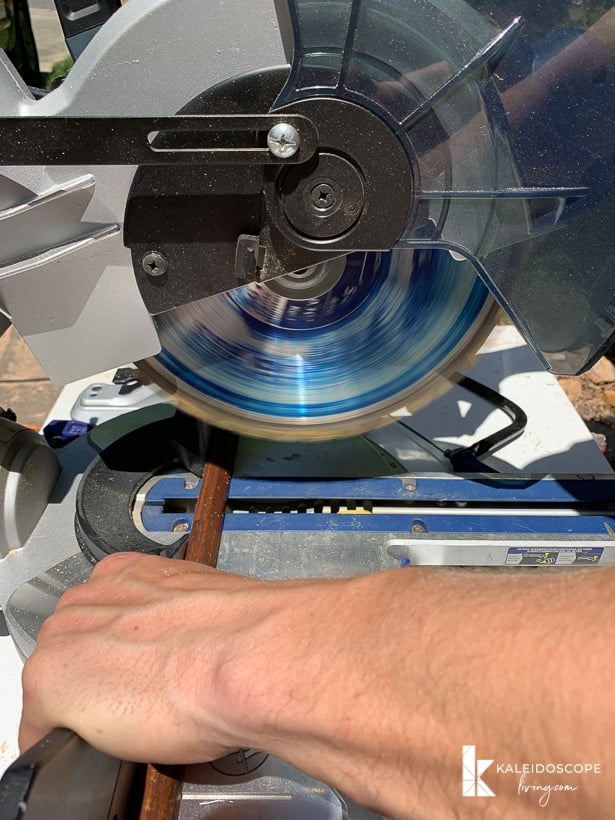
Measure and mark your next piece that will meet up with your first piece in the corner. Again, you measure the entire length of the wall. Mark the length on your quarter round molding and use your miter saw to make a straight cut.
Step 3: Cope the Inside Corner
Then, use your coping saw to cope the end of your molding where it will meet up with the first piece you installed in the corner.
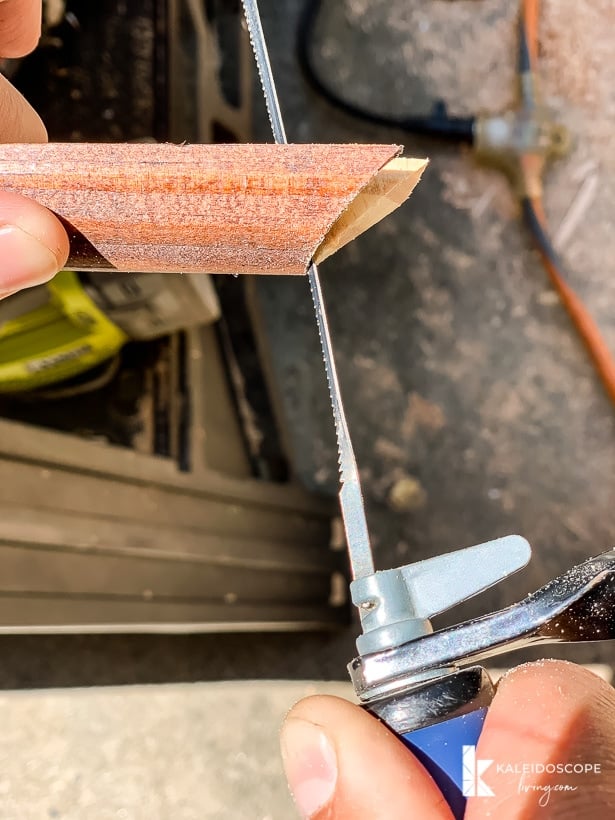
If you have never coped before, I PROMISE it's easy. I highly recommend the video below to get you started.
Step 4: Dry Fit Both Pieces
This is the time to put both pieces that meet in the corner in place to make sure the lengths are correct and you have a perfect fit.
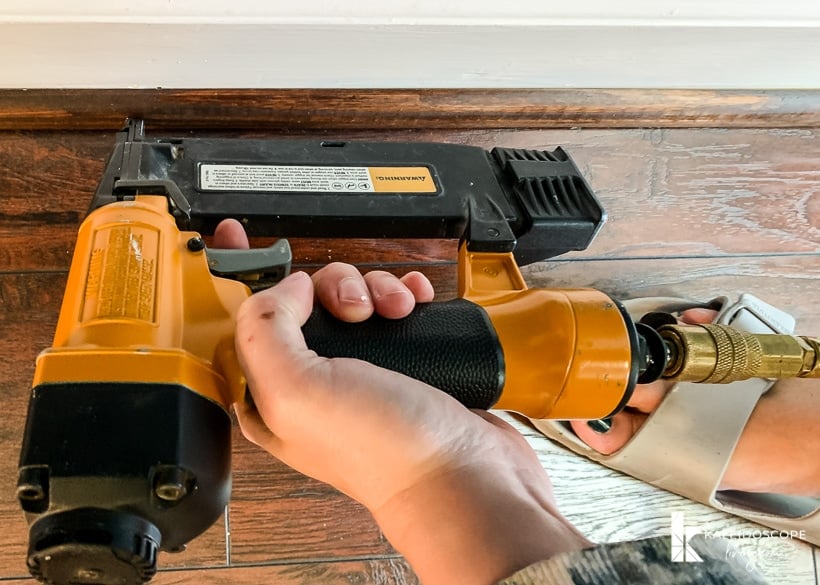
Step 5: Nail the First Two Pieces Into Place
Once your fit is perfect, use your brad nailer to nail them into place. Hold your quarter round trim tight to the floor and holder your nailer angled slightly downward as you fire it. Place your nails about every18 inches and be sure to always include nails close to each end.
Step 6: Continue Around the Room
Continue measuring, cutting, and nailing trim pieces around the room, one piece at a time. You will cope all of your inside corners. Use a miter joint for any outside corners.
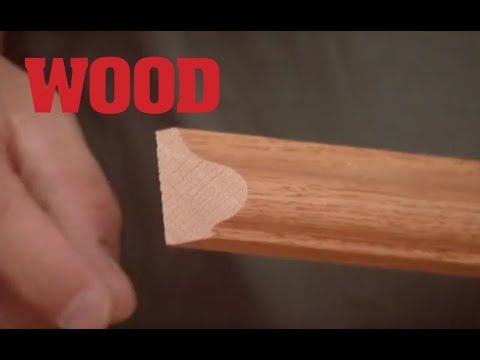
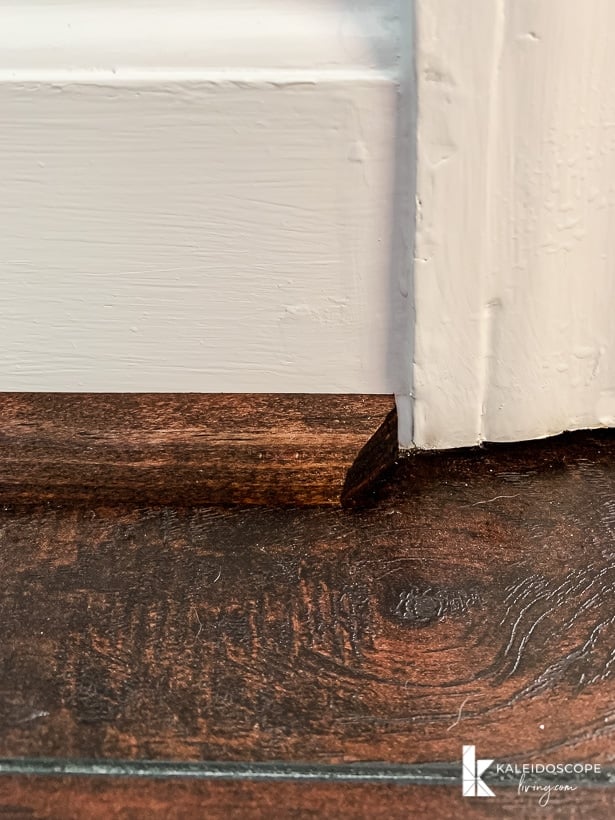
Step 7: Finish Your Exposed Ends
Many people cut “returns” to finish off their molding where it ends without turning another corner. But it can be kind of tricky because often the pieces are very small.
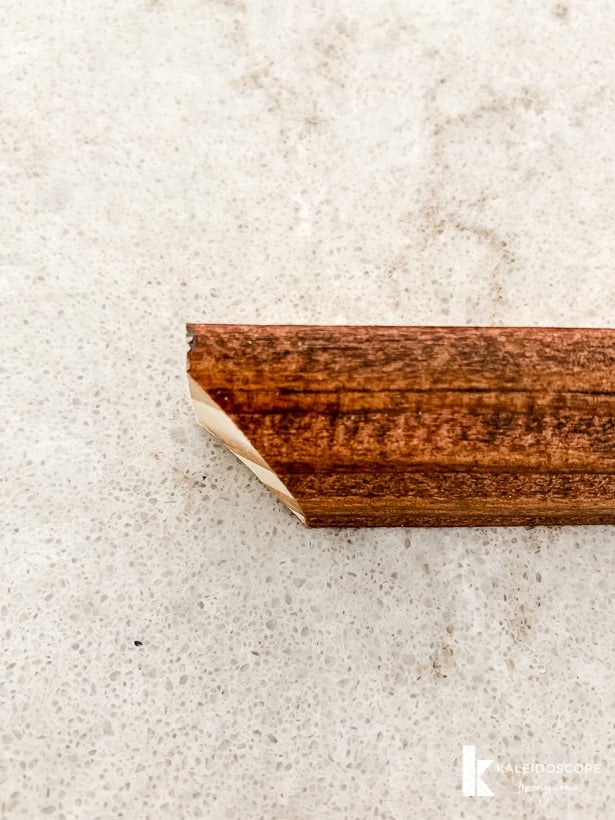
We simply choose to finish our exposed ends in a pretty way. This is a method Joe came up with years ago. We have no idea what to call it, though around here I refer to it as “the Joe special.” As in “this piece needs to be 4 inches long with the Joe special at the end.” I'm not kidding.
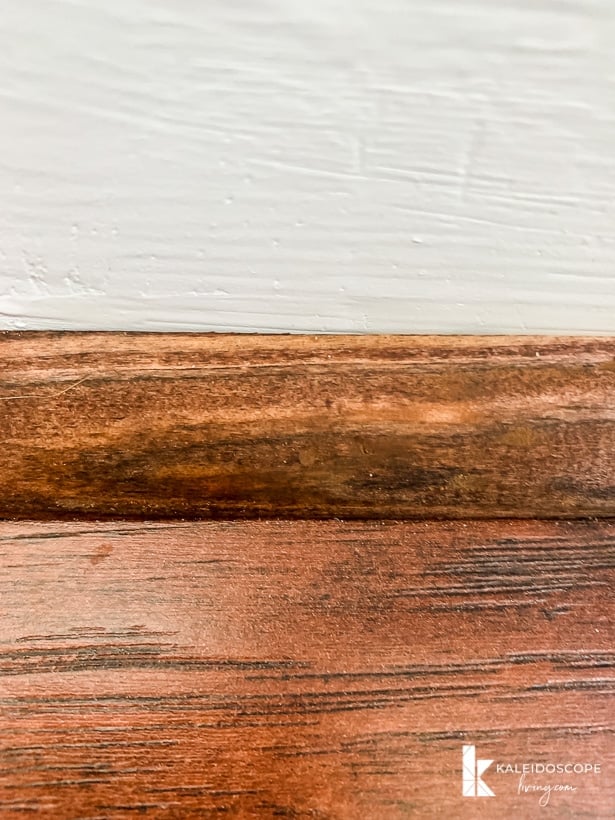
The Joe Special is created by making a straight cut at the top of the quarter round, but finishing it off with an angled cut. This is what it looks like.
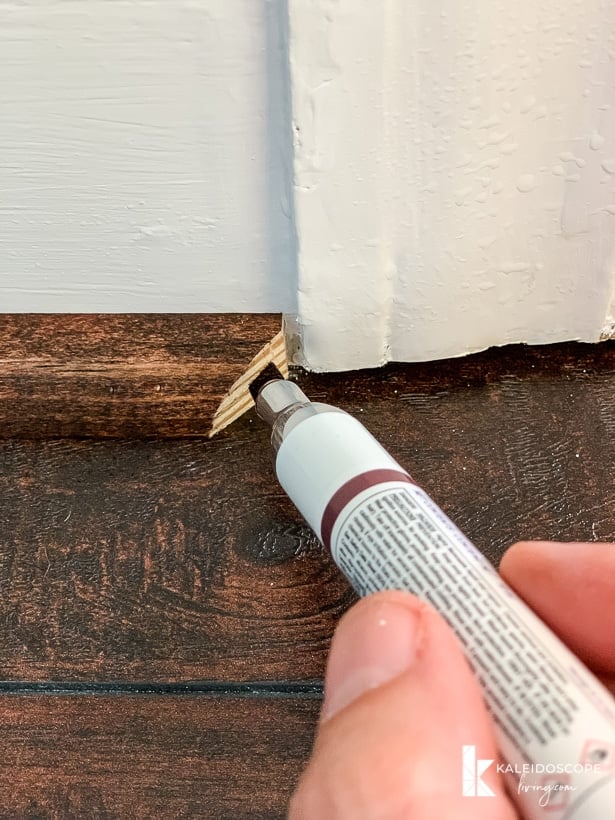
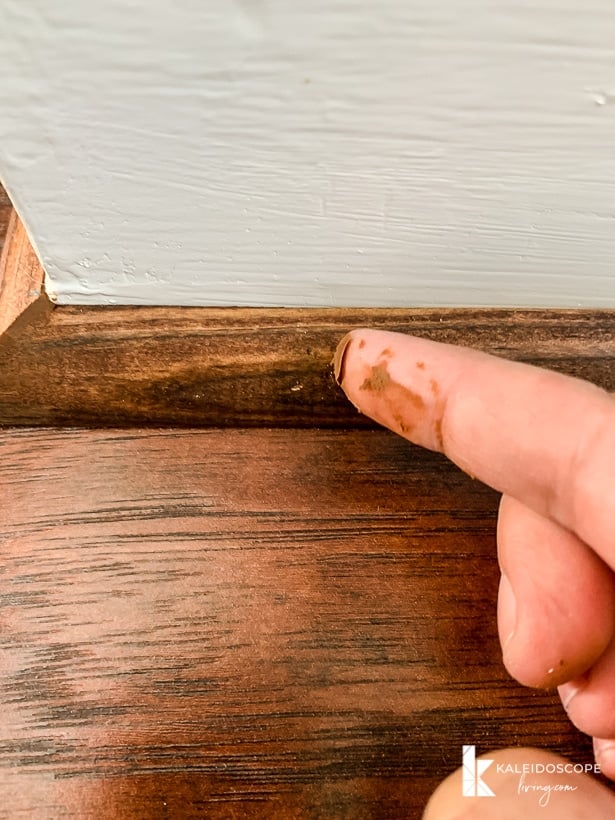
After we nail the pieces with exposed ends into place, I use my Mohawk Pro-Mark Wood Touch-up Marker to stain the exposed ends. It still gives a polished finished, but it's so much easier than cutting small return pieces.
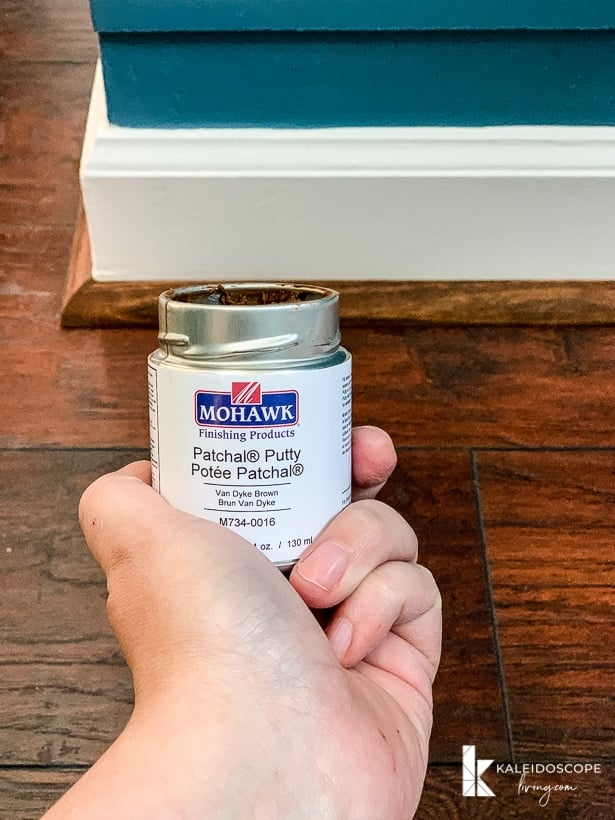
Step 8: Filling Nail Holes
The last step is to fill the nail holes (and any other imperfections) in your quarter round. Because we stain ours, we use Patchal Putty that is pre-colored to match our stain, which makes this step super fast and easy. I just use my finger to apply it.
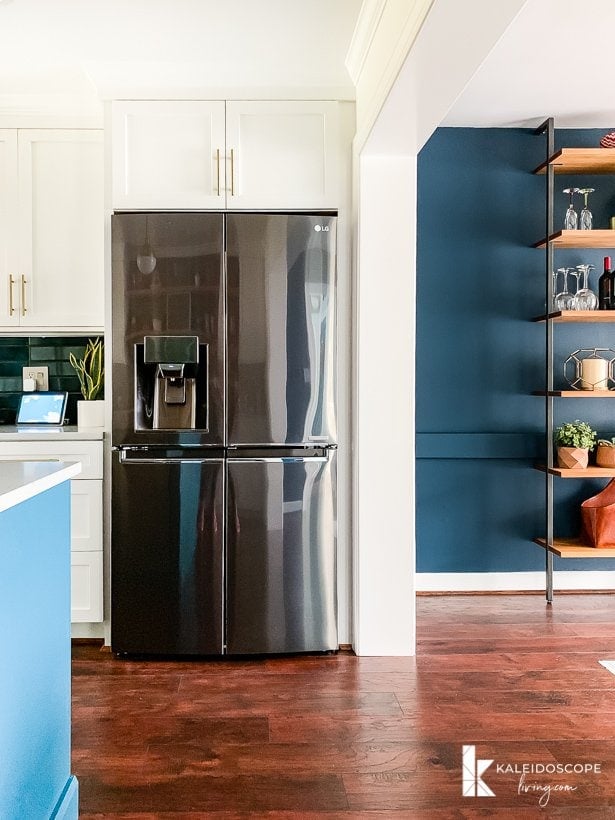
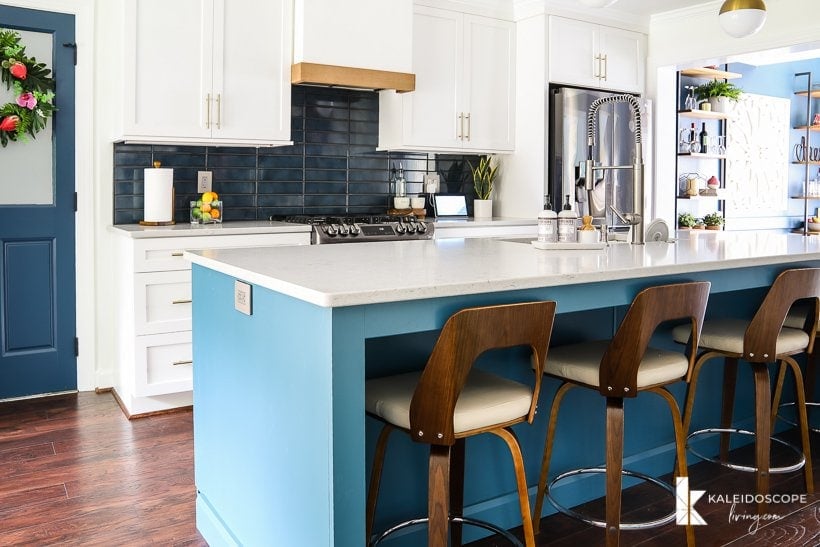
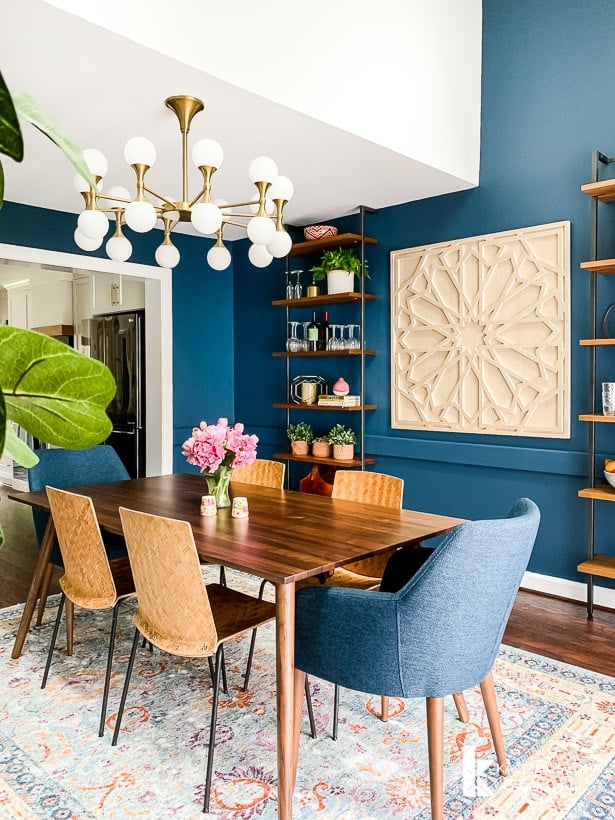
That's it, y'all! It sounds like a lot of steps, but it moves so quickly! We installed the quarter round molding throughout our kitchen, dining room, hallway AND foyer in one afternoon!
Now we FINALLY have the same type of flooring throughout the first floor of our house. And it's GLORIOUS! Here are a few shots of our kitchen and dining room after we finished installing the quarter round.
Before you head out and get started, be sure to check out my FREE design guides that will help you help you design spaces you absolutely love! Subscribe now, and you will receive a password so that you can access everything in one convenient digital library.


[mv_create title=”Most Popular Projects” key=”1″ type=”list” layout=”circles”]