How to Fix a Hole in the Wall Yourself the Easy Way!
If you're like most homeowners, you've probably encountered a hole in your drywall at some point in time. It could have been caused by a doorknob, a piece of furniture, or even just kids or pets running around and bumping into your walls. Whatever the cause, you don't need to call a handyman to come in and fix it. In this post I'm sharing the absolute easiest way to fix a hole in the wall all by yourself. You do not need any DIY skills or fancy tools to do this, I promise.

Thank you to DAP for sponsoring this post. This post contains affiliate links for your convenience. Click here for my full disclosure policy.
I would hazard a guess that the most common repair homeowners need to make in their homes has to do with damaged drywall. And I would also guess that most people put off fixing holes in their walls because it seems like it's going to be a messy hassle to deal with it–I'm guilty of putting it off in the past myself! But I have learned that it really is easy to fix a hole in the wall yourself. No need to hire the job out for the every day stuff. Just follow the tips below for how to repair and patch drywall holes.
Determine the Size of Your Drywall Hole
The first step to patching a hole in your drywall is to consider the size of the hole. A small hole, like those caused by a nail or a screw, can usually be filled and repaired with spackle or joint compound. I have tips for small drywall repairs here.
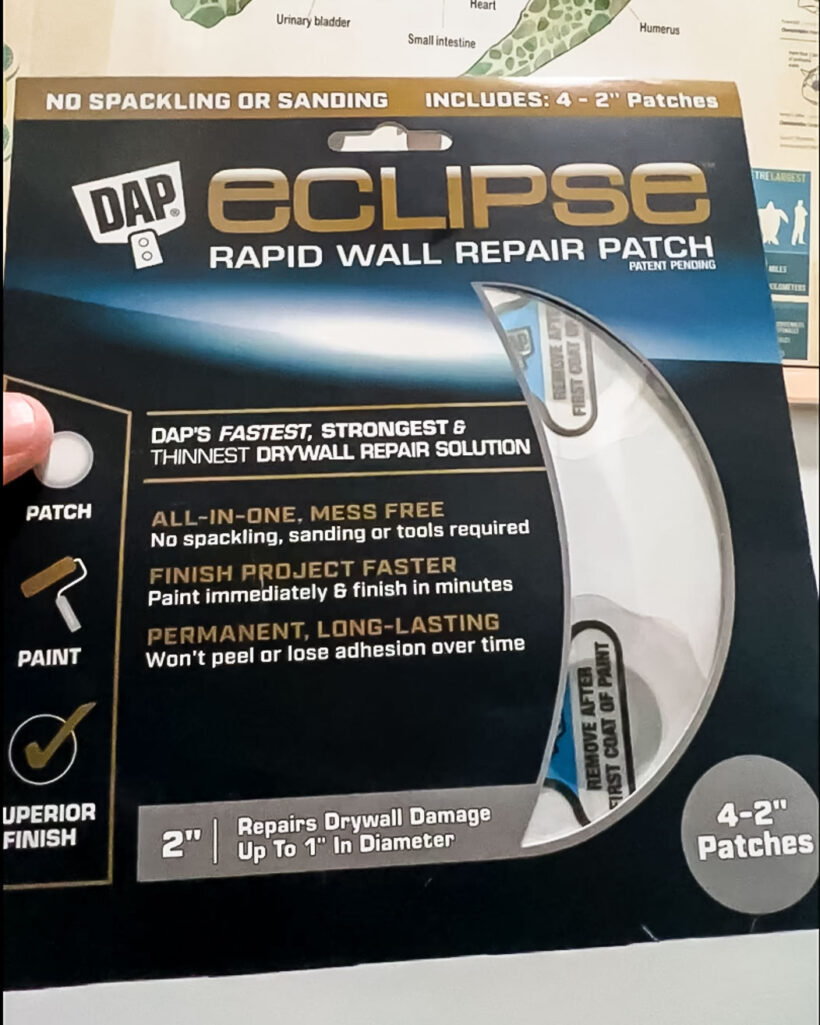
But for large holes, you'll need a to use a drywall patch. Any my absolute favorite wall patches are DAP Eclipse Rapid Wall Repair Patches because they are quick and mess-free.
Can You Fix a Hole in the Wall Without Spackling and Sanding?
Yes! There is a wall patch for repairing drywall damage without using drywall mud or spackling.
I discovered DAP Eclipse Rapid Wall Repair Patches a couple of years ago and I'll never patch drywall holes another way again. That means no more waiting for spackle to dry and no more messy sanding. That's right–you can paint over the patch immediately (in fact, you have to).
Here are some of my favorite features of DAP Eclipse patches:
- 4x stronger than drywall itself – superior impact resistance
- Mess free – no spackling or sanding
- Finish your project faster – paint immediately & finish in minutes
- Permanent and long-lasting – won't peel or lose adhesion over time
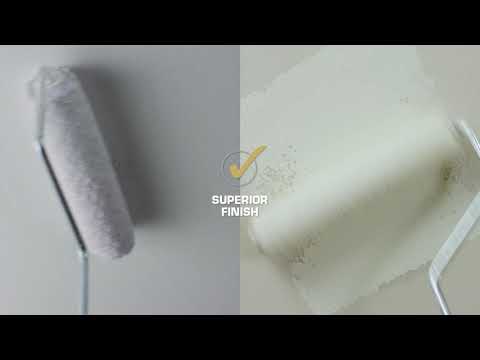
Before I used these patches for the first time, I had seen the commercial below for DAP Eclipse Wall Repair Patches and was skeptical that anything could be this easy or this perfect. But y'all… now that I have used these patches many, many times, I can tell you that IT REALLY IS THAT EASY AND PERFECT.
How to Fix a Hole in the Wall with DAP Eclipse Patches
Materials Needed
- DAP Eclipse Rapid Wall Repair Patches
- The patches are available in 2″, 4″ and 6″ sizes. Be sure to buy a patch large enough that the damage area is not larger than the the gray center circle of the patch.
- Paint roller (always use a paint roller – using a paint brush is not recommended as it can leave brush strokes and won't provide the best coverage)
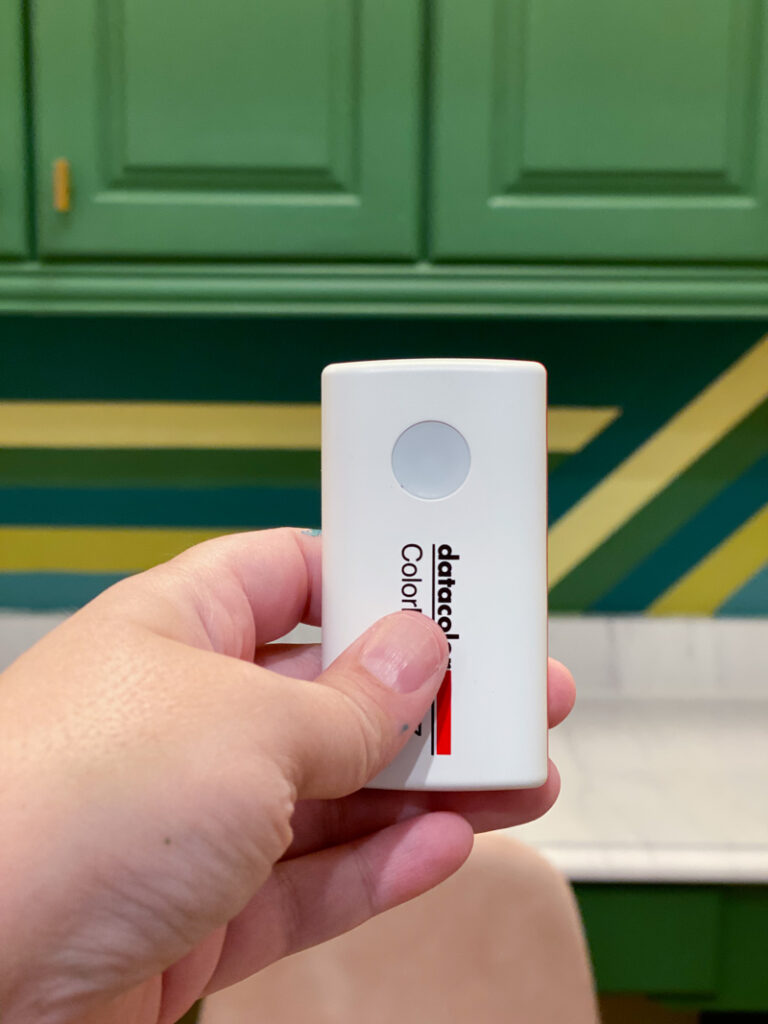
- Touch-up paint (if you don't have leftover wall paint, you can use these tips to match a paint color that is already on your walls)
- Sandpaper or sanding sponge
- Damp cloth
- Putty knife
Short Video Overview
You can watch an overview of the process in the short video below. I recommend watching it before reading the step-by-step tutorial. It will play after a brief ad.
Step-by-Step Instructions
Time needed: 30 minutes
Fixing a hole in the wall using DAP Eclipse patches is really quick and easy! Just follow the steps below. It takes less than 30 minutes of actual work (excluding the time it takes for your paint to dry).
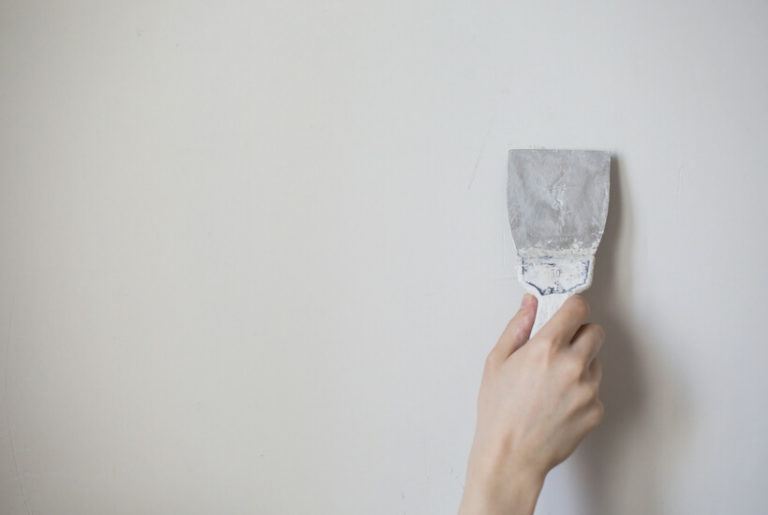
- Clean the hole.
Begin by scraping the area with a putty knife and lightly sanding the area around the hole to remove any loose paint or debris. The edges of the hole should be completely flat and not sit proud of the wall at all. Last but not least, be sure to wipe any dust, etc. off the wall with a damp cloth.
- Apply your wall patch.
Again, be sure to choose a patch large enough that the damage area is not larger than the gray center circle of the patch. Peel the backing off of your DAP Eclipse patch and then position the gray center circle of the patch over the center of the damage. Press firmly to smooth around the outer edges of the patch to ensure proper adhesion to the surrounding drywall.

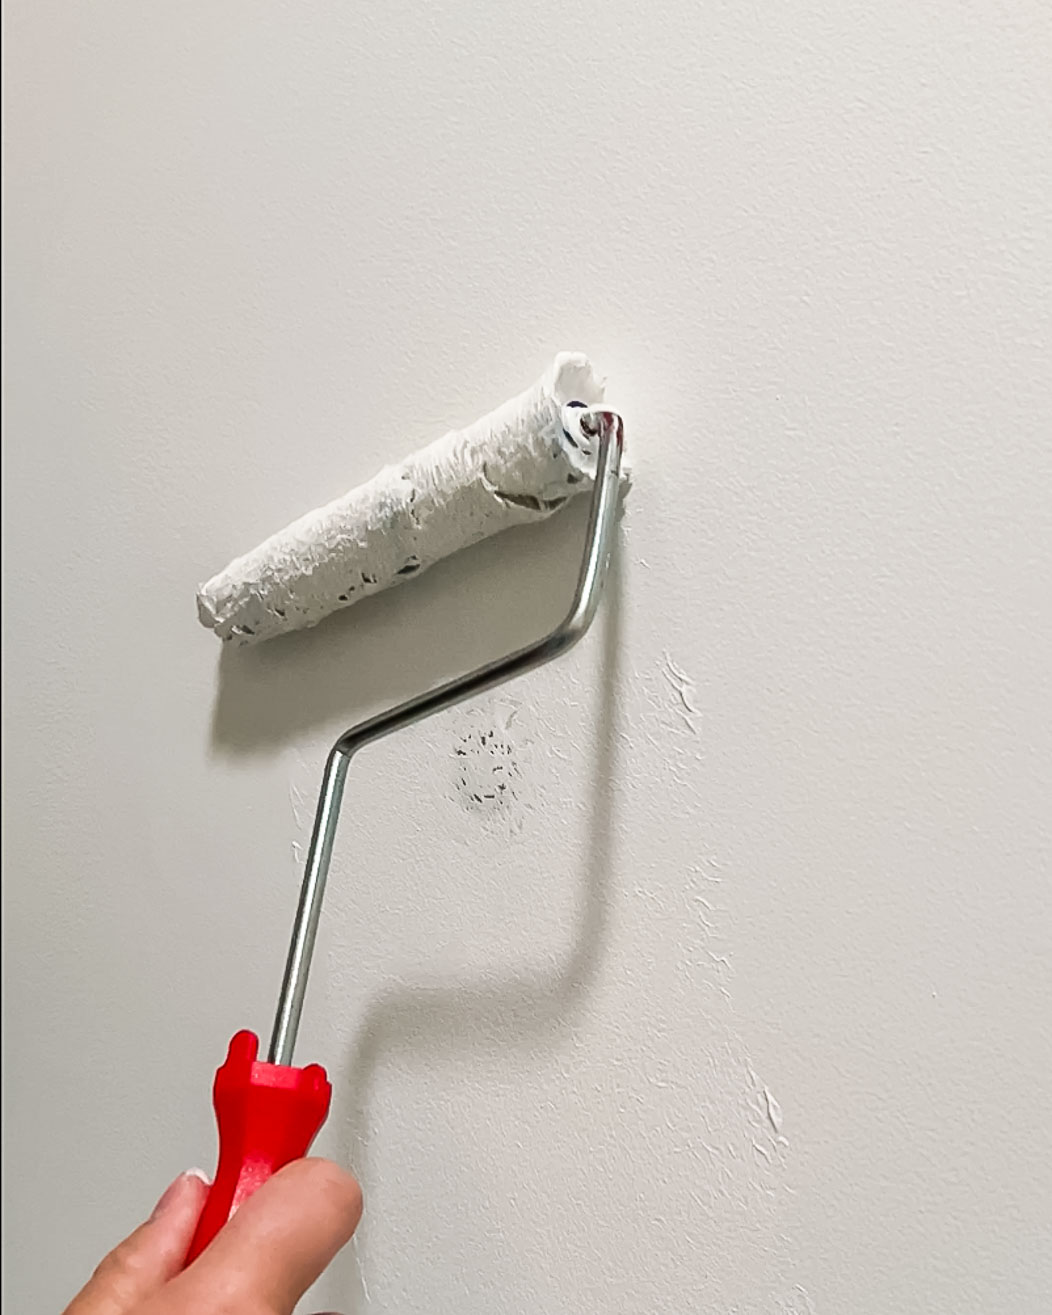
- Paint over the entire wall patch.
Use a paint roller to paint over the entire patch immediately. Apply a generous amount of paint with each coat to ensure paint coverage. Always use a paint roller. Using a paint brush is not recommended as it can leave brush strokes and won't provide the best coverage.
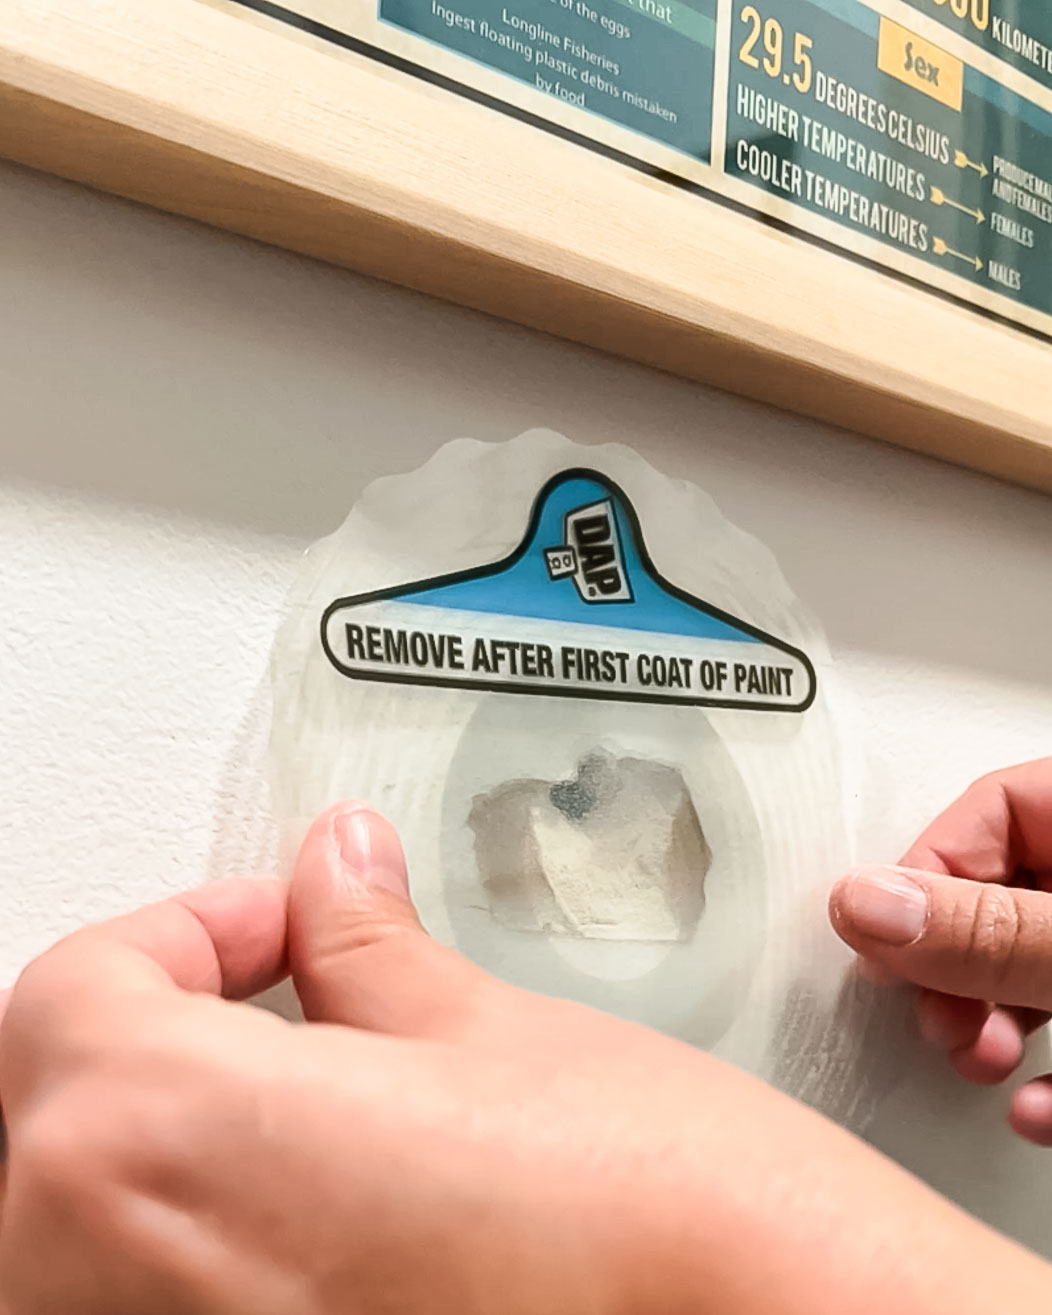
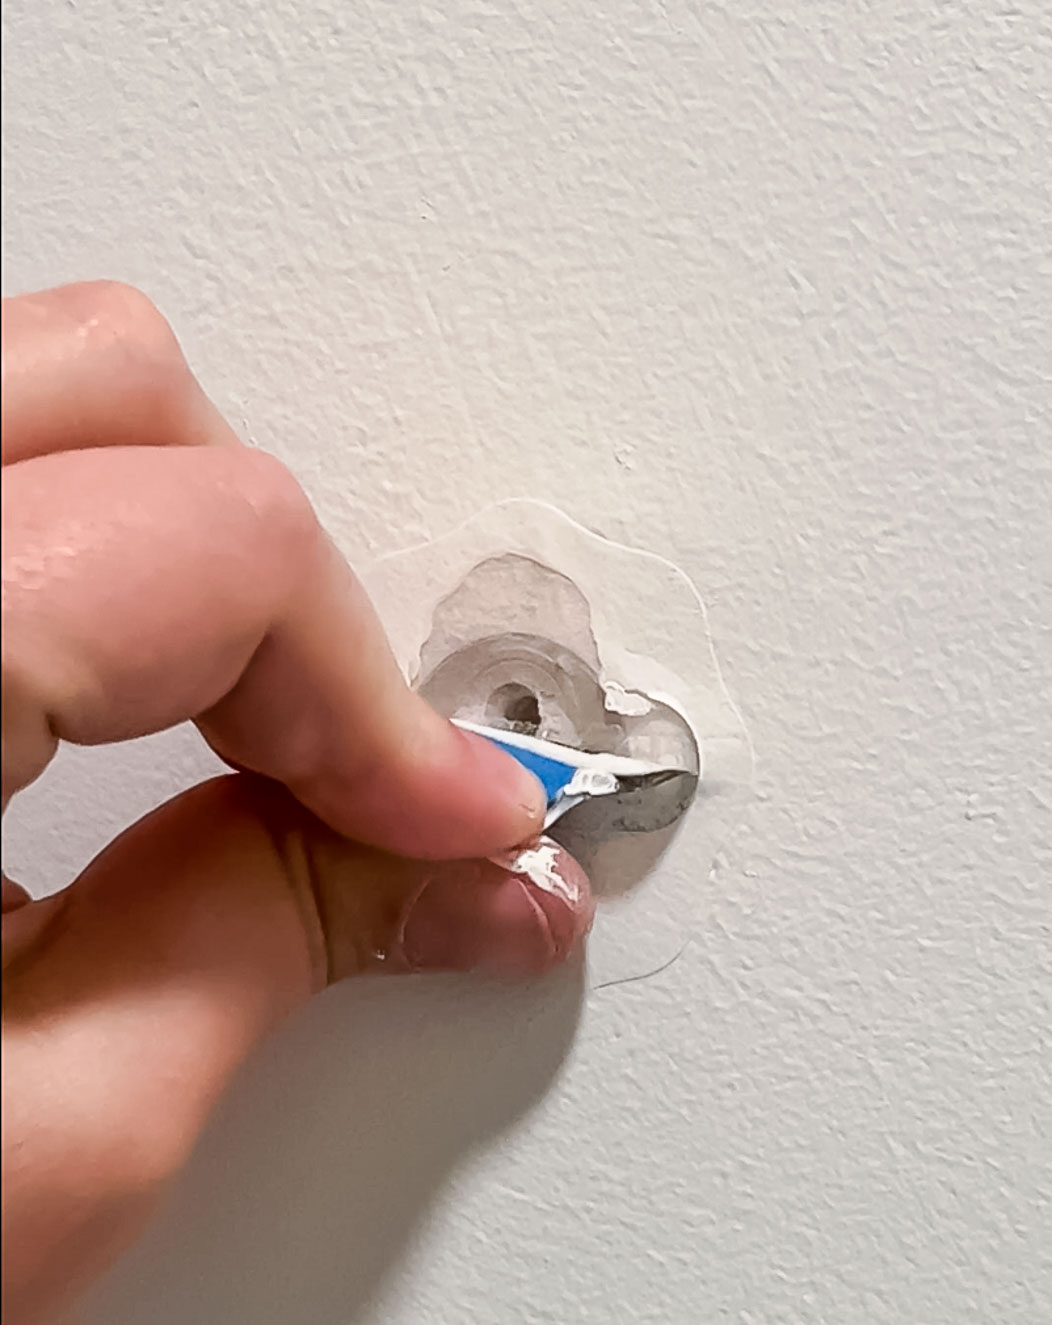
- Remove the tab.
After the paint on the drywall surrounding the patch is dry, pull the pop-up tab up and away from the drywall towards yourself in order to release the protective layer from the patch. If it does not completely come off in one piece, use your fingernail to remove the rest of the protective layer before applying the next coat of paint.

- Paint over the entire wall patch again.
Apply two additional coats of paint over the entire area of your wall patch, allowing the paint to dry in between coats. The patch may be noticeable and visible until it has completely dried. As it dries, it will continue to blend in with the surrounding drywall.
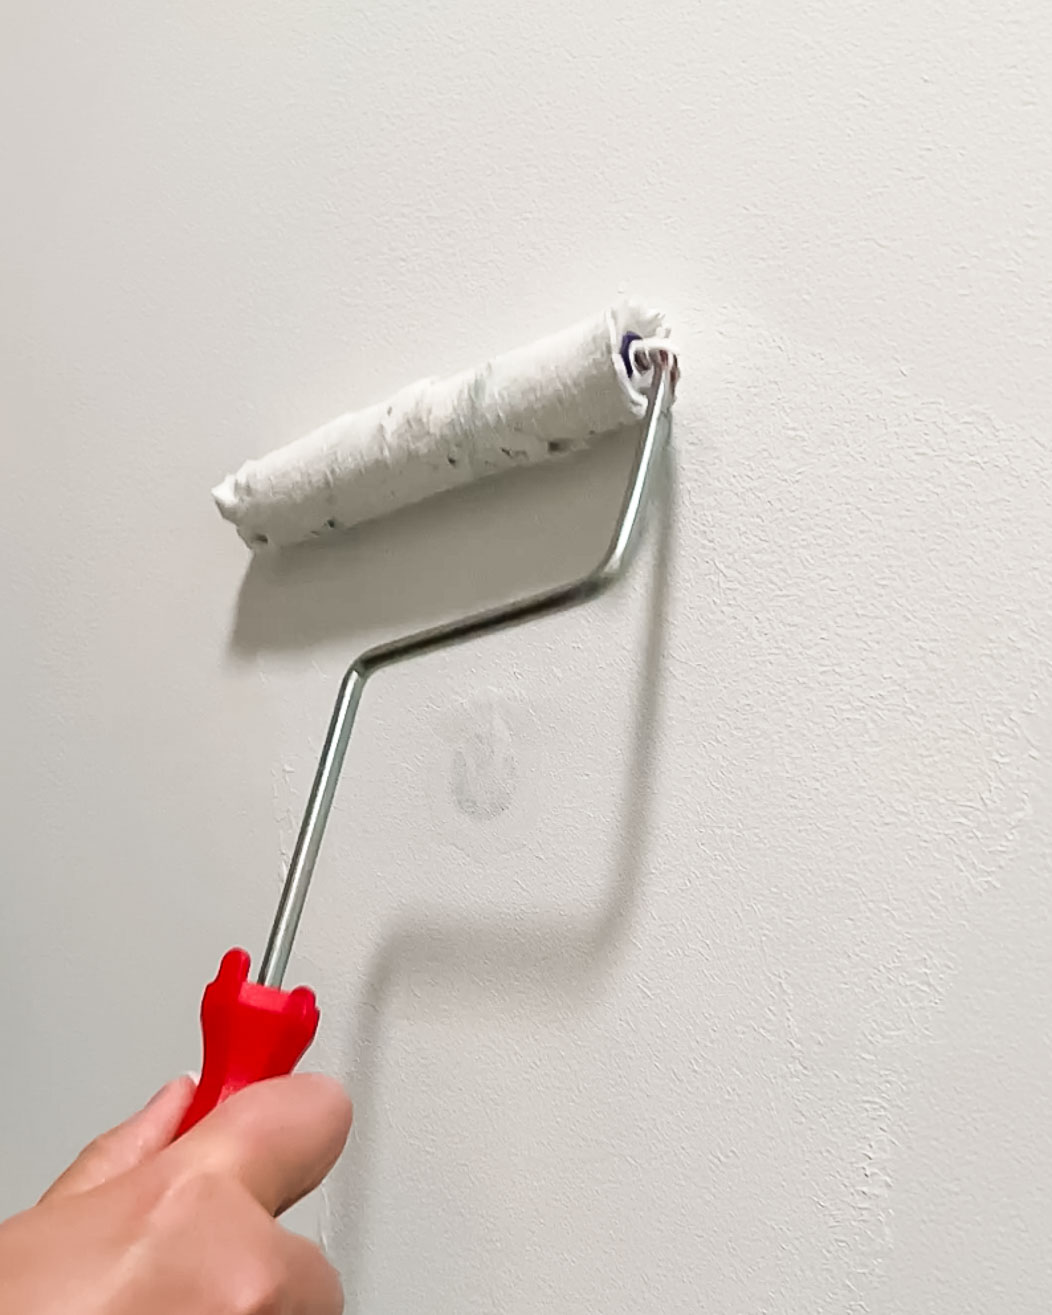
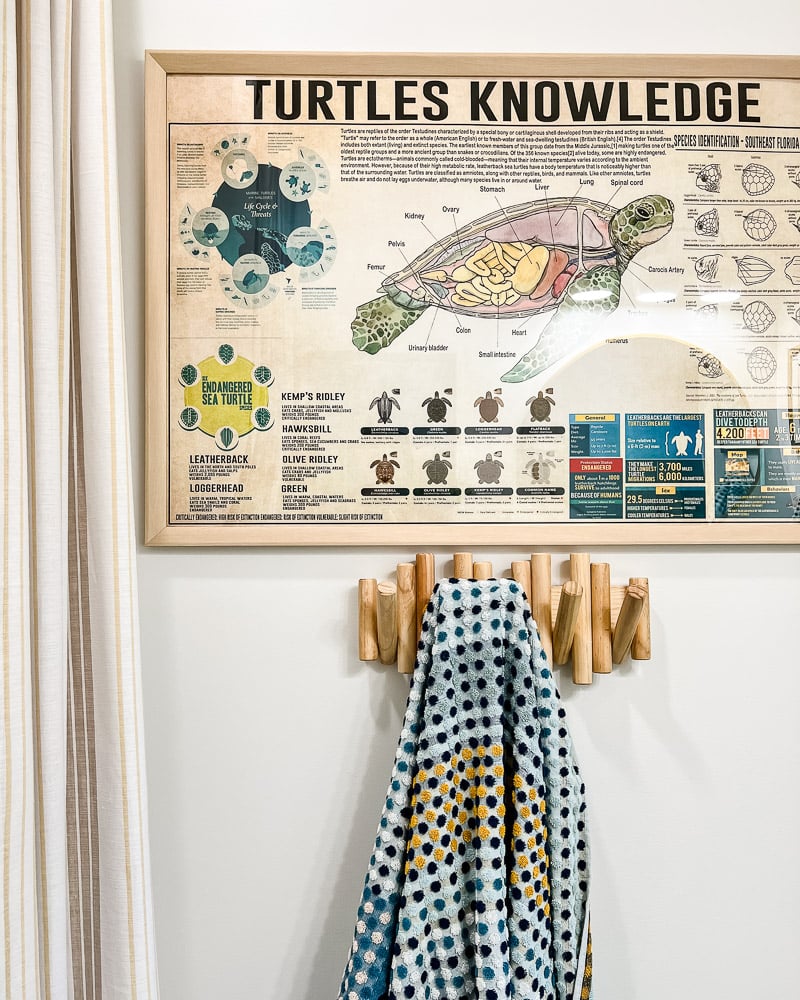
That's it. I was able to patch FOUR holes (2 were pretty small and 2 were larger) in the drywall of Avery's bathroom in less than 2 hours (and it only took that long because I had to wait for the coats of paint to dry). The repairs are undetectable.
Frequently Asked Questions
Yes, you can repair a textured wall using DAP Eclipse Rapid Wall Repair Patches! I got this question A LOT so I confirmed that the patches are compatible with aerosol spray textures and textured rollers. If you are repairing textured walls or ceilings, remove the protective layer by pulling the pop-up tab immediately after placing the patch on your drywall (no need to apply the first coat of paint). Then apply your texture and allow it to dry. Then paint again!
Well, in the past I would normally clean the area, then fill the hole with spackle. Then I had to wait for it to dry. And then I had to sand. Repeat. Then I had to spot prime the area to prevent paint flashing and wait for the primer to dry. After all of that, I would FINALLY be able to coat the repaired area with the wall paint. And my patch jobs never looked totally perfect.
These patches make fixing holes in my walls faster, easier, mess-free AND they look better than my spackle repairs ever did.
According to my research, these patches are actually stronger than the drywall itself. Here's what I found on DAP's site, “This all-in-one, mess-free solution not only provides a permanent, long-lasting repair but is also stronger than drywall itself making it perfect for areas that may see the recurring impact, such as behind a door.” How cool is that?
I have never felt the need to do this, but if you are worried about the strength of your repair, you can apply spackling to the damaged area first and then immediately apply the patch over the spackling paste while it's still wet. There's no need to wait for the compound to dry prior to applying the patch. But don't apply spackle beyond the area of the gray circle of the patch or it could interfere with the adhesion of the patch to the drywall.
DAP recommends waiting until the drywall surrounding the patch is fully dry (approximately 15-30 minutes) before removing the top protective layer. That said, you can wait hours (or even days) to remove the pop-up tab. Just be sure to wait to remove the pop-up tab right before you want to apply your final two coats of paint.
There are lots of different options depending on the size of your hole. For larger holes in drywall, you could try PRESTO PATCH™ Drywall Plug Wall Repair Patch. Presto Patches repair up to 4″ holes in standard ½” drywall. I like them because they include a pre-cut drywall circle (also called a drywall plug) with oversized taping paper attached, a foam template and step-by-step instructions.
Here's an overview of how to use a Presto Patch. You trace the circle template onto your drywall over the damaged area and use a drywall knife or utility knife to cut out the drywall so that the drywall plug will fit in it perfectly. You use DryDex Lightweight Joint Compound in conjunction with the patch, so it's not mess-free like the Eclipse patches. But it will give a strong, solid patch.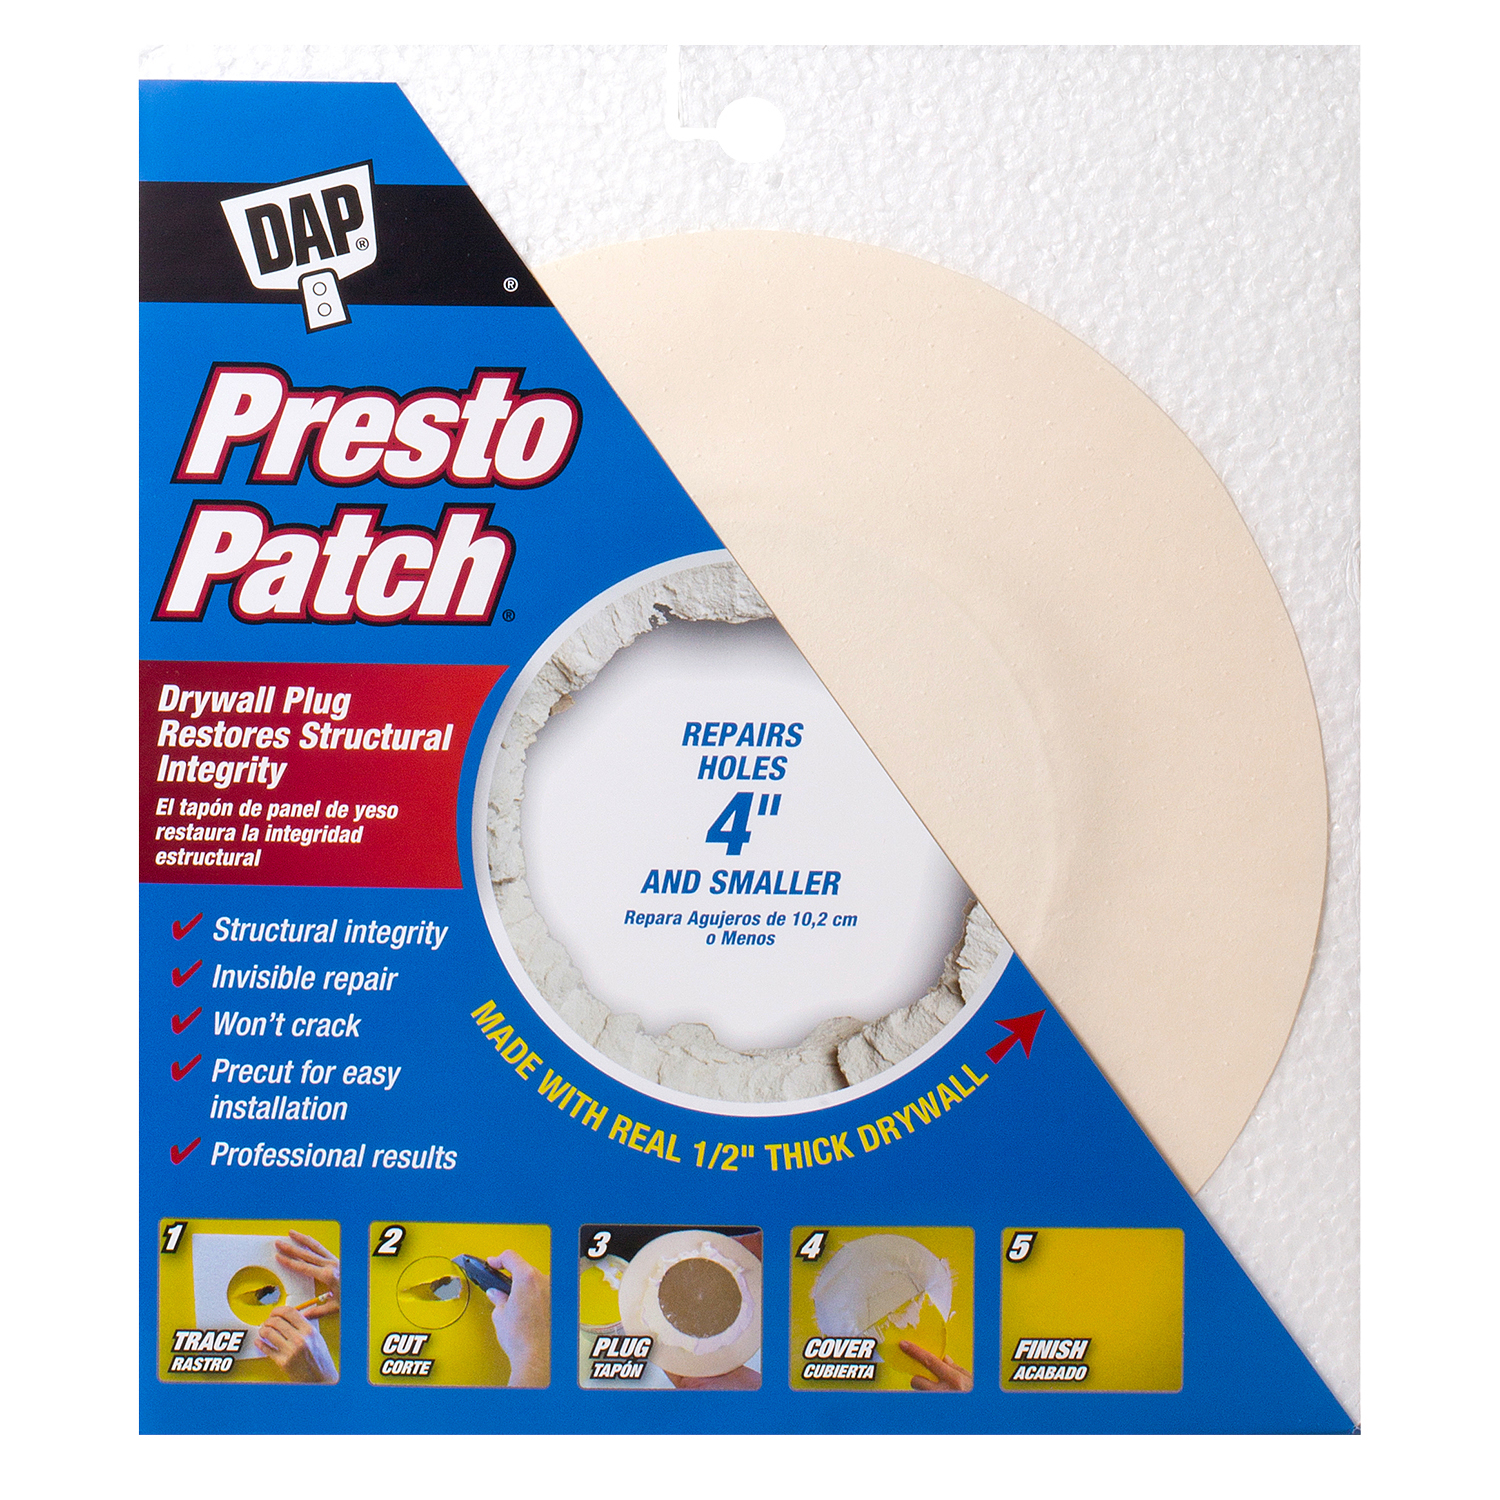
You can also use this Wall Repair Patch Kit. It can be used to repair holes up to 3 inches in diameter.
For smaller drywall repairs, you really don't need a wall patch. I have tips for small drywall repairs here.
I hope you can see that patching a hole in your drywall doesn't have to be intimidating! So go ahead, cross “call handyman” off your to-do list. You've got this!
Other posts you may enjoy:
- How to Match A Paint Color That’s Already On A Wall
- How to Install a Toilet: A Step-by-Step Guide for Beginners
- Easy DIY Door Kick Plate
- How to Inspect and Caulk Flashing
- How to Repair Chipped Baseboards
Wondering how I approach transforming rooms and spaces in our home? Check out Designer in a Binder®.

And if you want exclusive content and behind-the-scenes sneak peeks, be sure to subscribe before you head out!

What happened to the words on the patch that state ‘Remove after painting’? I mean did you paint over that or did you remove the outer circle of the patch? There is a photo that shows the patch going on the wall, and in the next photo paint over the entire patch. Plus the patch seems to have shrunk so not sure what happened in-between. Thank you.
Hi Coni! If you read the tutorial (and/or watch the video) you will see that Step 4 is to remove the protective tab on the patch that those words are printed on. The patches didn’t shrink, but as I mentioned, I patched 4 separate wholes so some of the patches were smaller than others :)