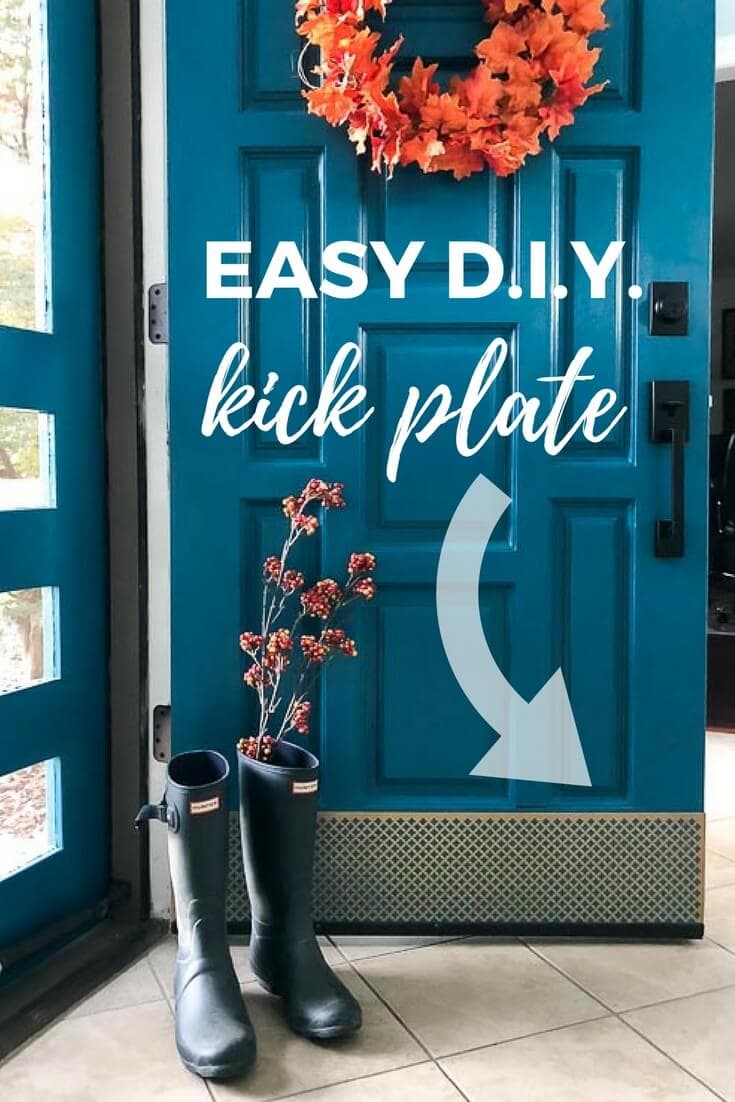
Easy DIY Door Kick Plate
Door kick plates are a sheet of material at to the bottom of your door that help protect it from damage from kicking it open with your feet when your hands are full. Door kick plates are practical and necessary, but sometimes they are a bit bland and boring. But they don't have to be! This easy, DIY kick plate for your door is functional, beautiful and incredibly affordable!
Thank you to DAP Products for sponsoring this post!
You may remember that we gave our front door a makeover a while back and we are still 100% in love with the new color and hardware. We painted it a beautiful color (Velvet Curtains by Valspar) and installed brand new hardware. But one thing was missing… We still needed a door kick plate for our door.
We actually purchased a pretty standard door kick plate from the hardware store and started to install it at the same time we installed the new door hardware, but we stopped when we realized the holes for the screws didn't line up with the old kick plate holes. If we had installed it, we would have wound up with approximately 50 screw holes in the door and we realized we didn't like seeing all those screw heads sticking out anyway. So we returned it and our front door has been sans kick plate ever since.
Instead, I had an idea for the kick plate that would give us a much cooler AND screw-free look. I think Joe thought I was a little nuts when I suggested it and frankly, I wasn't sure what would happen when I started cutting either. But it worked out perfectly! Read on to learn how to make your own DIY kick plate that is so much cooler than those you can buy in the store.
This post contains affiliate links for your convenience. Click here for my full disclosure policy.
How to Make a DIY Door Kick Plate & Attach it Without Screws
Materials Needed
- Decorative aluminum sheet that is at least as wide as your door
- I used this exact aluminum sheet, which we actually had leftover from another project
- DAP Gel Contact Cement
- Tin snips
- Foam paint brush
- Rigid brayer
Steps
If you’d like a video overview of this project, watch the short video below.
Time needed: 1 hour
Learn how to make and install your own door kick plate. It's pretty AND functional!
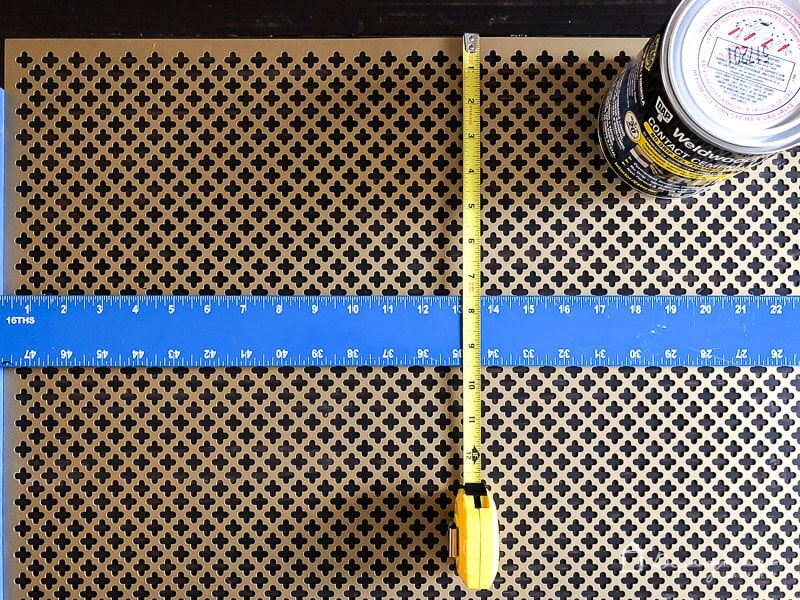
- Measure the area of your door where you want to apply your kick plate.
Clean the same area very well and let it dry completely. Typically, the recommended kickplate measurement is equal to the width of the door, or a bit more narrow than the door (1-inch smaller on each side). In other words, if your door is 36 inches wide, you would need to install a 34-inch to 36-inch wide door kick plate. For exterior doors, kick plates are generally 6 to 8 inches tall.
Since our door is 36″ wide, we were able to preserve the banding around the top and side edges. BE SURE TO DRY FIT IT after you cut it and make sure your size is spot on before moving on to the next step. We cut ours to 7.5 inches tall.
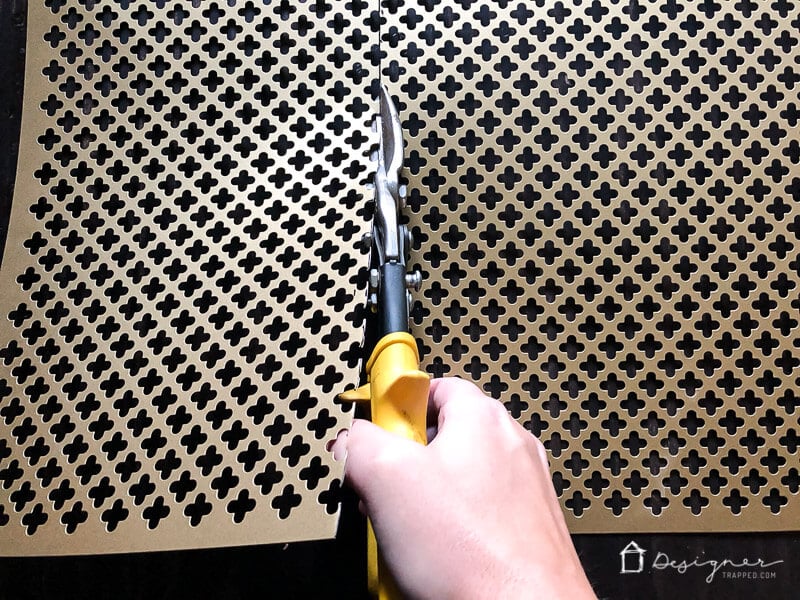
- Mark and cut your aluminum sheet to size.
Use tin snips/metals snips to cut your aluminium sheet. This is much easier than it looks.
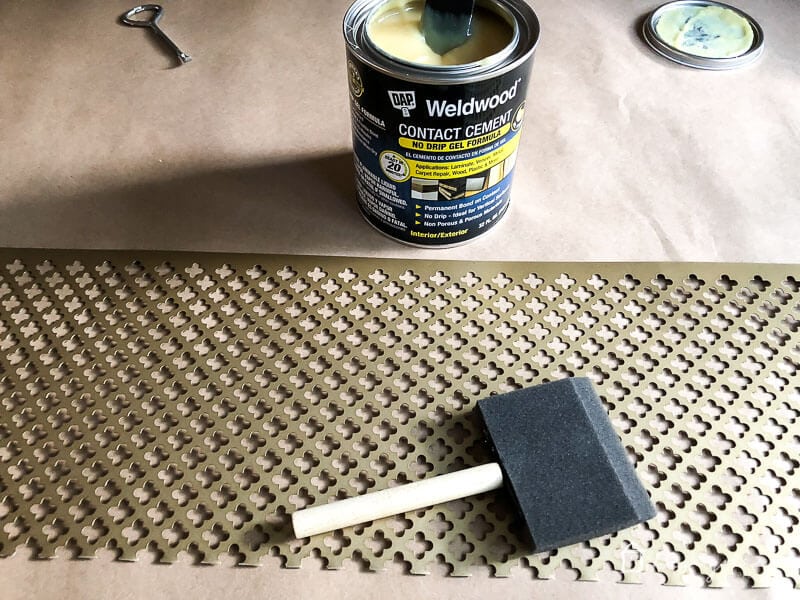
- Apply your contact cement.
Use a foam paint brush to apply your DAP Gel Contact Cement to the back of your aluminum sheet AND to the corresponding area on your door. Follow the instructions on the contact cement can and let it dry for the appropriate length of time. Be sure to also pay attention to the temperature requirements.
- Attach your door kick plate to your door.
Once it has dried the correct amount of time, carefully line up your aluminum sheet to the bottom of your door. I recommend holding the aluminum piece perpendicular to the door while you align the bottom of the kick plate on both corners. Once you are sure it is level, pivot it up so that the entire sheet makes contact with your door. I don't have photos of this step because we used both sets of hands to make sure it was perfect. Once contact is made, it bonds right away, so you kind of have to get it right the first time.
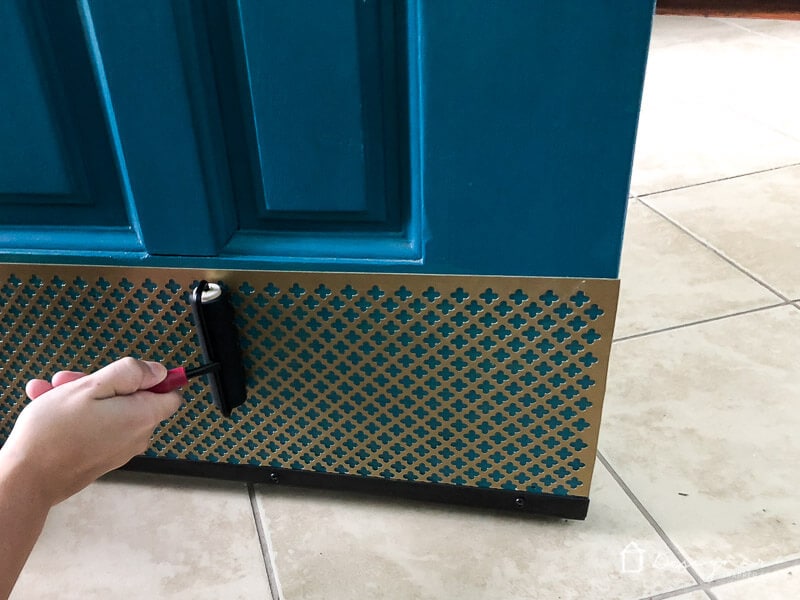
- Firmly press your door kick plate into place.
Use a rigid brayer to apply force to the entire surface of your kick plate. I had Joe stand behind the door to hold it in place so I could really press hard. You want to make sure you have really good contact over the surface of your entire kick plate.

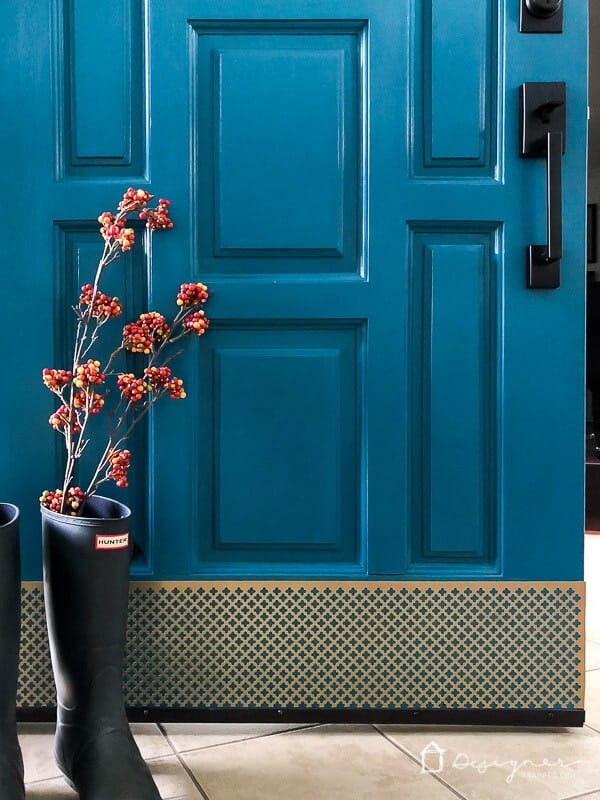
That's it! I'm so thrilled with how it turned out and I love the pop of gold on our front door. It looks so pretty with the blue!

Other posts you may enjoy:
- How to Fill Holes in Doors When You Replace Door Hardware
- DIY Door Repair That’s Easy and Fast
- An Easy (but Dramatic) Front Door Update
- How to Fix a Door That Won't Close
Wondering how I approach transforming rooms and spaces in our home? Check out Designer in a Binder®.

And if you want exclusive content and behind-the-scenes sneak peeks, be sure to subscribe before you head out!

I have been putting off installing the kick plate
I have because the entrance door is metal. I didn’t want to rivet or use drills. Would this method be an alternative to use contact cement?
Thanks for the tip.
Hi Deborah. You would have to check to see if the contact cement would work on a metal door. I’m not sure.
This is amazing and just the visual I needed for my same idea. Thank you for posting!
My pleasure, Mia! Good luck with your project!