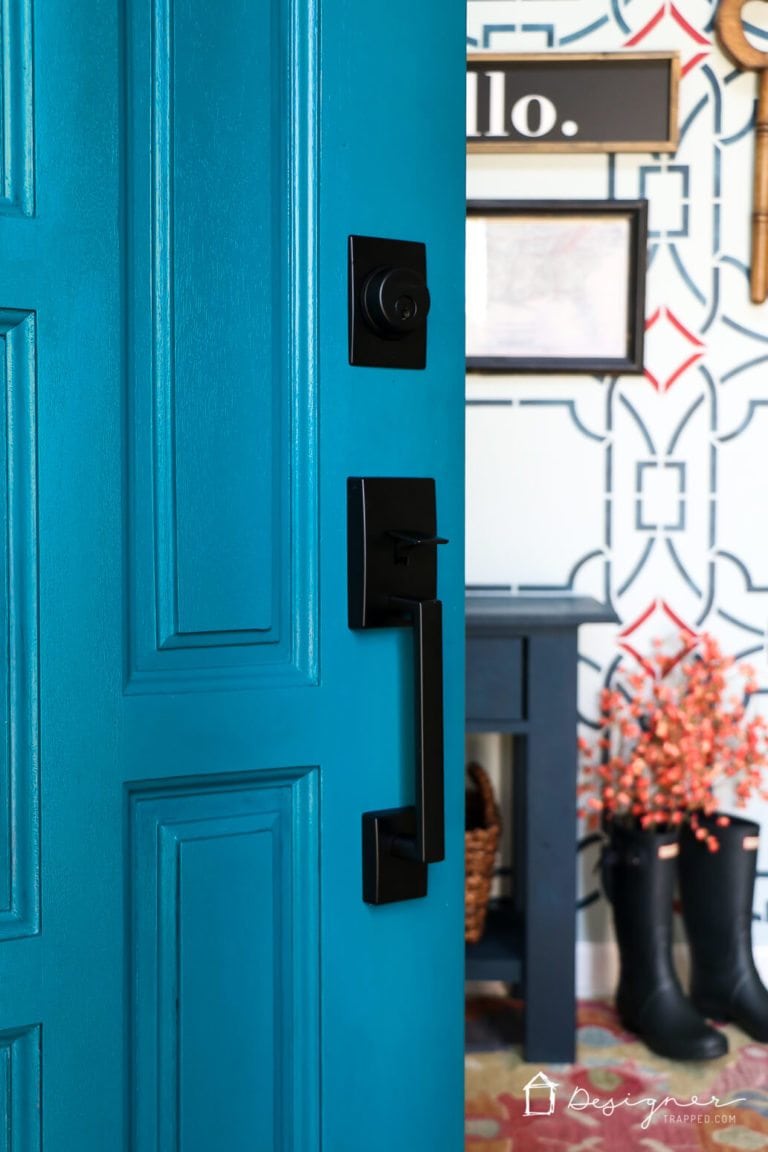
How to Fix a Door That Won’t Close
Have you ever updated your door hardware, only to find that your door won't latch after you install the new strike plate? Or have you ever had doors that refuse to close and latch for any reason? These situations can be frustrating, especially if you don't know how to fix them. But fear not, today I'm going to teach you how to fix a door that won't close, and it's EASY!
Identify The Problem
Check Your Door Latch Alignment
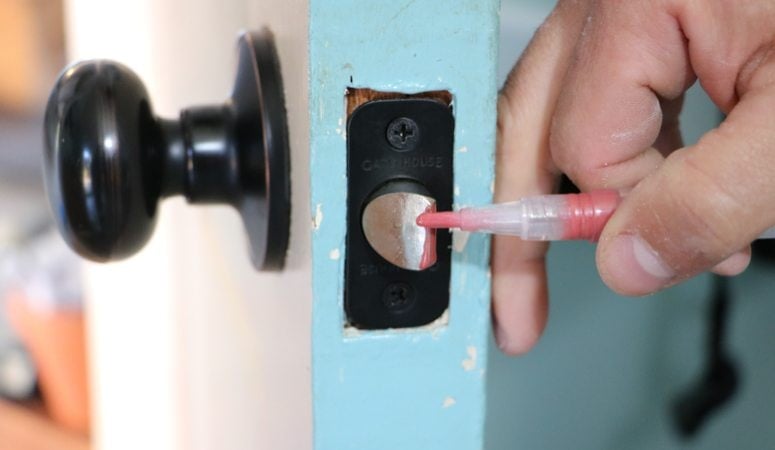
When a door latch won’t catch, it is usually because the door latch doesn’t align with the hole in the strike plate. If you aren't sure whether or not that is the problem, use a tube of lipstick to mark the tip of the door latch. Then close the door and take a look at where the lipstick transfers onto the strike plate. It the lipstick doesn't quite reach the hole in the strike plate, you know you have an alignment issue.
Check Your Hinges
If the latch is too high or too low, try tightening your door's hinges. If your door still won't close after that, remove one of the screws on the jamb side of the hinge and drive in a 3-in. screw–it will help pull in the whole doorjamb. To raise the latch, use the long screw at the top hinge; to lower the latch, use the long screw at the bottom hinge.
The Issue With Repositioning a Strike Plate or Hinges
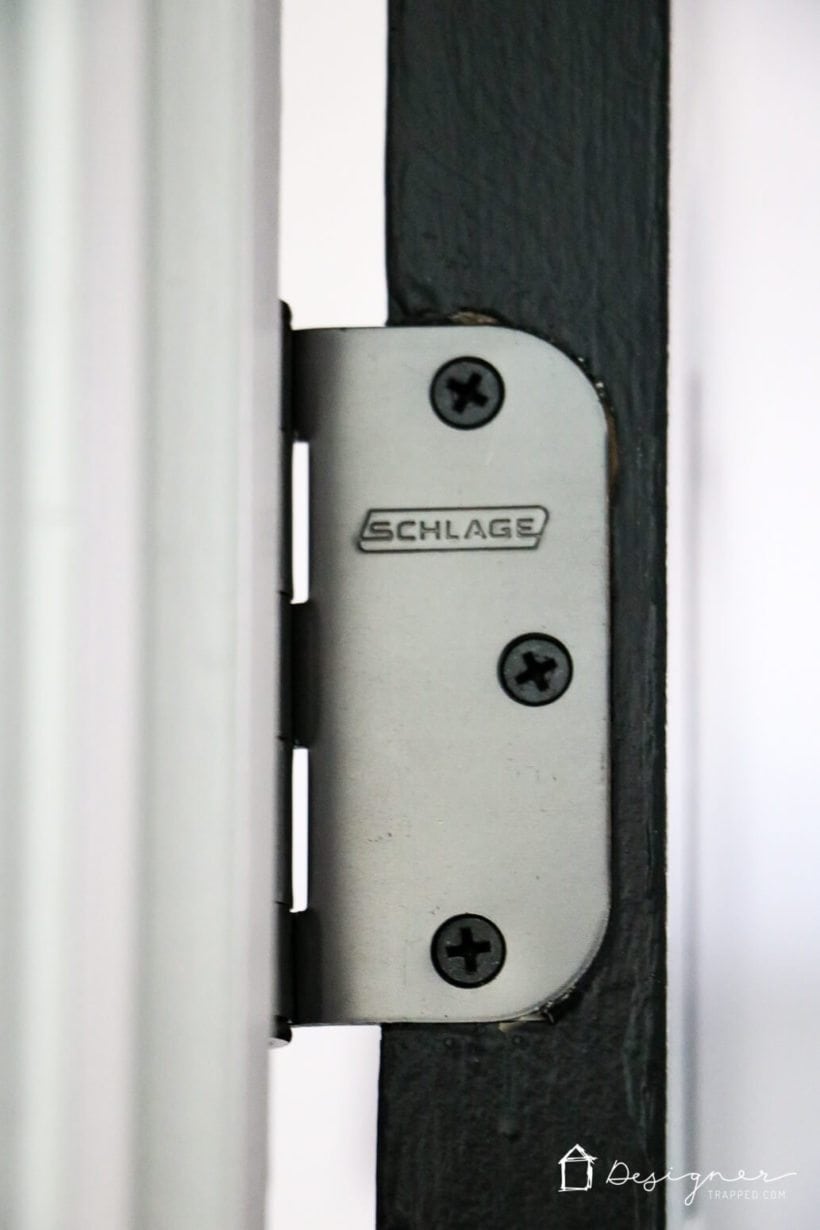
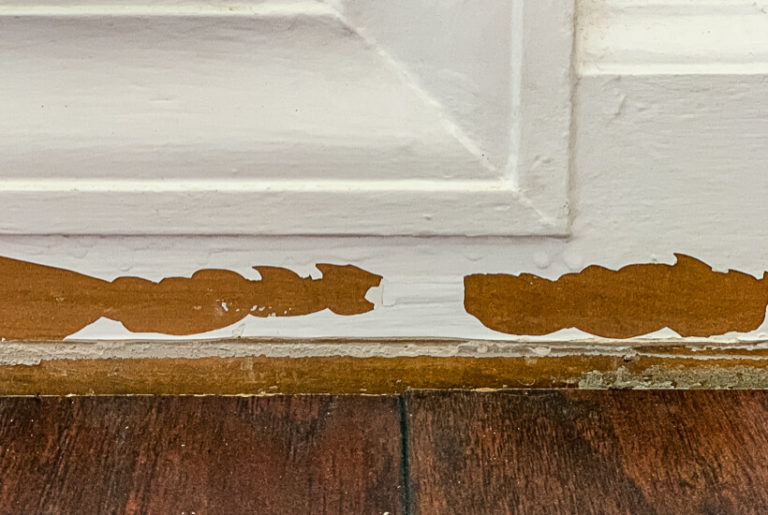
When we installed new door hardware, our issue wasn't that the latch was too high or too low, so the hinges had nothing to do with it. Our issue was that the new strike plate sat just a smidge too far forward. But we ran into a problem since we only needed to move it a tiny bit. To drive new screws so close to the old screw holes was just going to create one giant hole that the screw would not be able to grab hold of. So, we had to find a way to fill the old screw holes before we could screw the strike plate into the correct position.
After doing some research, I learned that a quality epoxy putty allows you to restore, rebuild, and repair wood for a durable and permanent fix. It's perfect for filling old screw holes (it also works for filling large holes and broken corners). The Mohawk Epoxy Putty Stick we have used dries harder than wood itself and doesn't shrink, so it's perfect for a job like this.
This post contains affiliate links for your convenience. Click here for my full disclosure policy.
How to Reposition a Strike Plate (or Hinges) and Drill Fresh Holes That Work
Materials Needed
- Mohawk Epoxy Putty Stick (I used white, but it comes in a variety of colors–choose a color that is as close to your trim color as possible)
- A leveler card or old credit card
- A small dish of soapy water
- A sharp knife
- Lip gloss or lipstick
Step-by-Step Tutorial
We used this process to fill screw holes and reposition a strike plate, but you could follow the same process to reposition hinges that may need to be adjusted!
I recommend watching the video tutorial and then reading the steps below. The video will show you the entire process from start to finish. It will play after a brief ad :)
Time needed: 45 minutes
- Prepare your supplies.
Gather all of your supplies. Mix a small amount of liquid soap into about 2 ounces of water.

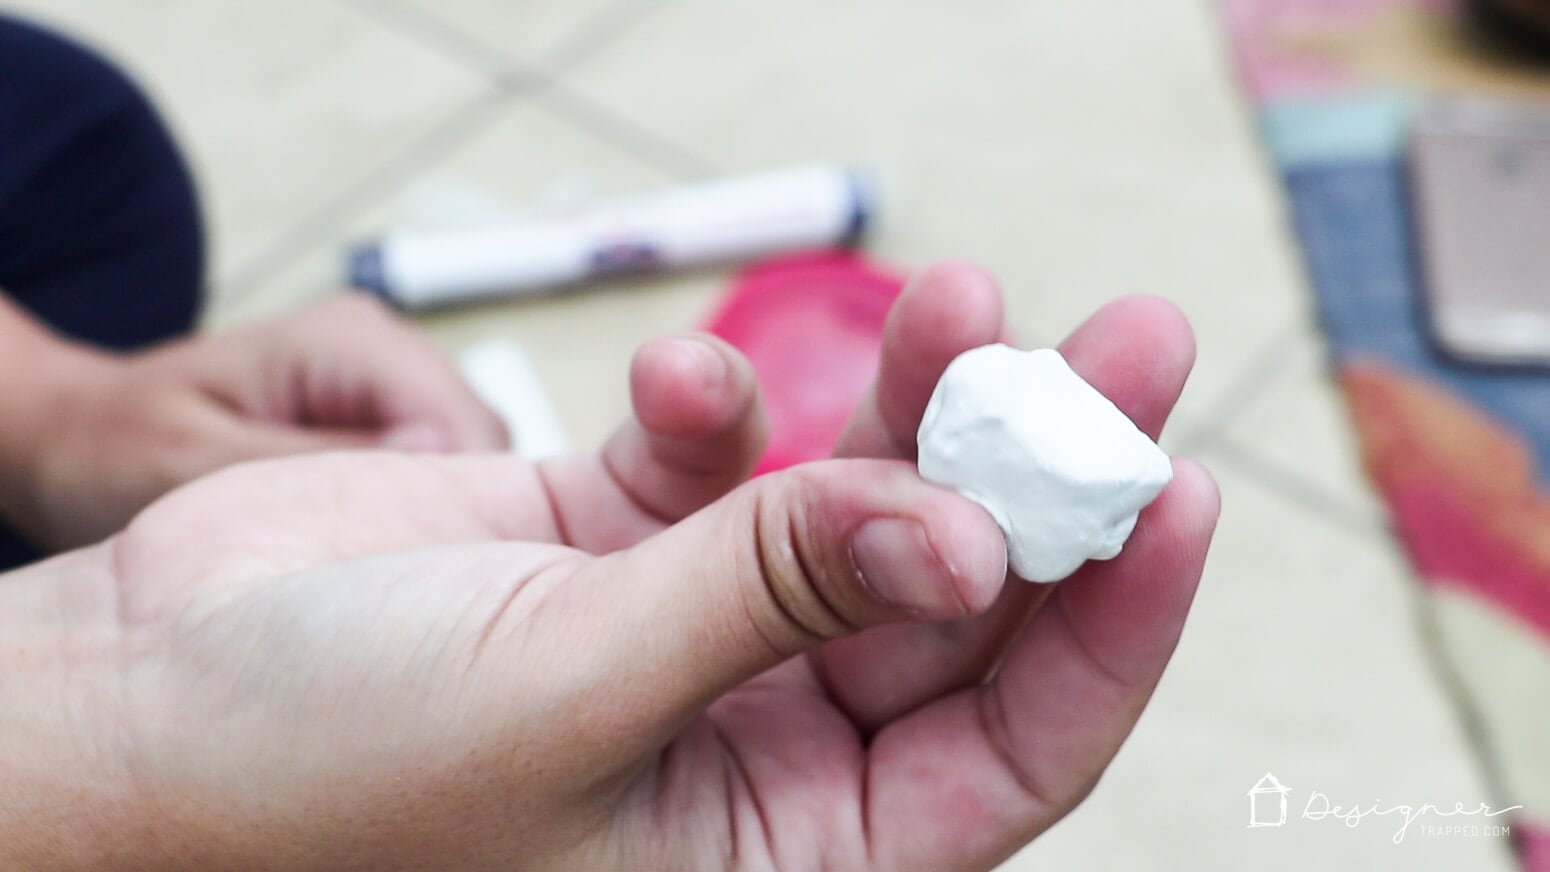
- Cut a piece of epoxy putty and knead it.
Cut a small piece of your Epoxy Putty Stick off and knead it with your fingers until the color is totally uniform. You will feel it getting warm in your fingers. If it starts sticking to your fingers, dip your fingers in the soapy water and continue to knead. Know that the working life of the epoxy is short–it's only about 6 minutes after mixing.
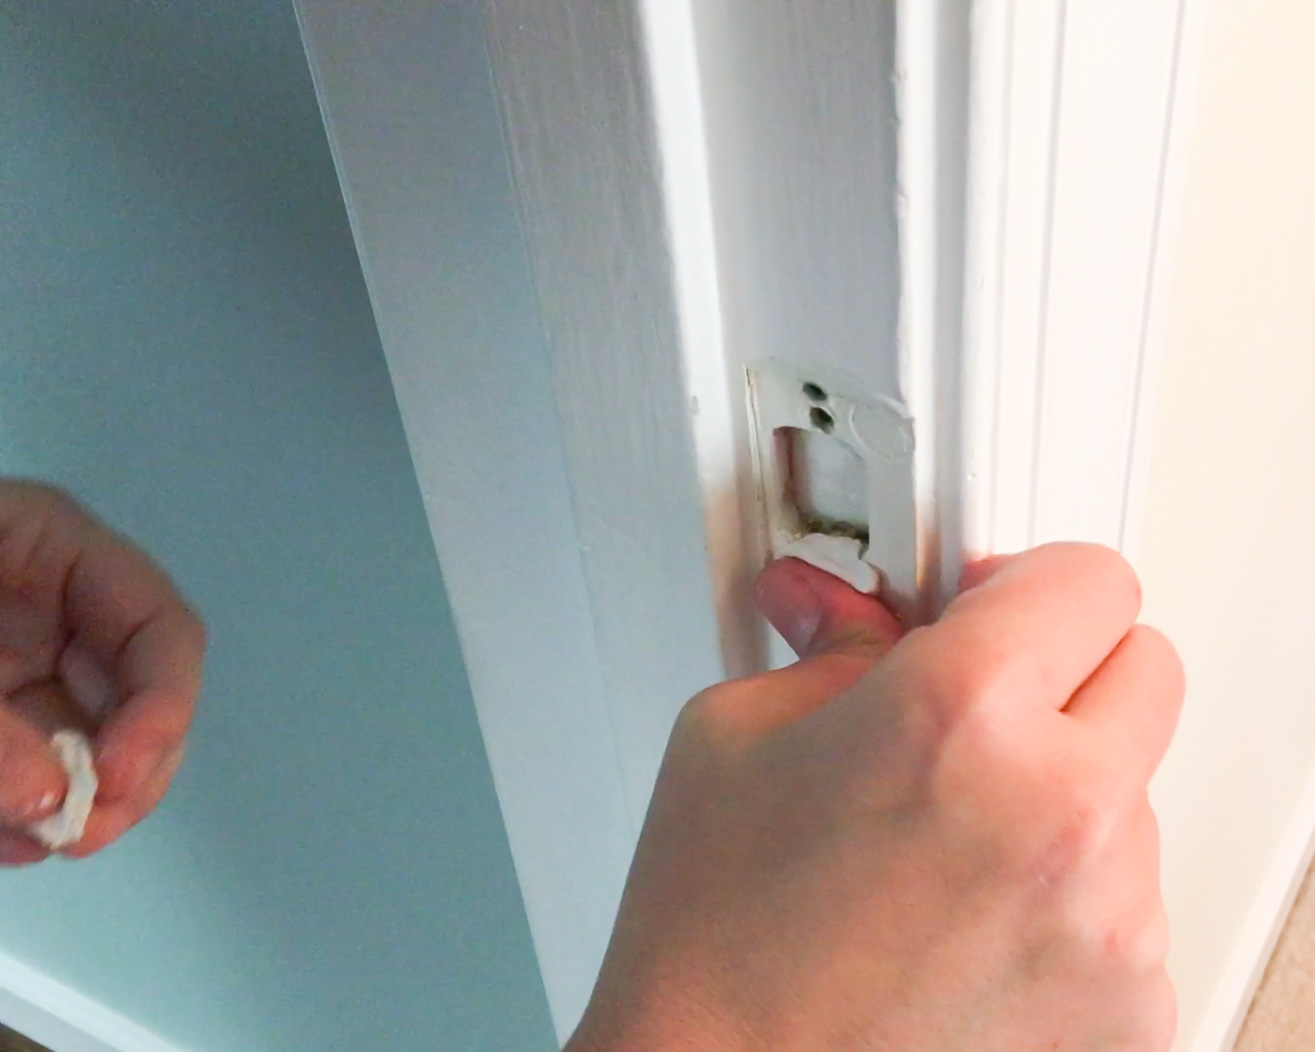
- Push the epoxy putty into your old screw holes.
Once the color is totally uniform, push the epoxy putty into the old screw holes with your fingers. If needed, use a leveler card or old credit card to remove any part of the epoxy putty that protrudes higher than the surface of the wood. If the epoxy begins sticking to the card or your fingers, just rub the epoxy lightly with the soapy water mixture.

- Allow the epoxy putty to cure.
Allow the filled area to cure for at least 20 minutes. Here's the cool part–the epoxy putty is made from a RESIN and HARDENER and it can be sanded, drilled, stained or painted. And the epoxy putty surface is even harder than wood! So you drive new screws into it after you make the repair and the surface is even stronger than the original wood was.
- Reposition the strike plate.
After the epoxy putty cures, go ahead and position the strike plate and screw it in. We like to put lipstick or lipgloss on the edge of the door catch and then close the door so that it makes a mark to let you know exactly where to place the strike plate.

That's it! Fixing a door that won't close can be easy if you know what to look for and how to fix it. Whether it's an alignment issue or a problem with the latch or hinge, you can usually fix it yourself. And if not, don't hesitate to call for professional help. With a little bit of effort, you can have your doors working like new again!
Wondering how I approach transforming rooms and spaces in our home? Check out Designer in a Binder®.

And if you want exclusive content and behind-the-scenes sneak peeks, be sure to subscribe before you head out!
