How to Install a Toilet: A Step-by-Step Guide for Beginners
Are you nervous about removing an old toilet and installing a new one? I get it. I felt that way before we did it for the first time (especially since we only had ONE toilet in that house–we really couldn't mess it up, lol)! But I pinky promise you that as long as you have the strength to lift a toilet (and they aren't as heavy as you might expect) you can totally install a toilet yourself. Learn how to install a toilet with this step-by-step guide. No DIY skills or prior experience are required!
Thank you to DAP for sponsoring this post. This post contains some affiliate links for your convenience. Click here to read my full disclosure policy.
Tools & Supplies Needed to Install a Toilet
- Hack saw
- Wax ring (extra thick if you have thick tile)
- Toilet flange repair ring (if needed–there are metal versions and plastic versions, just be sure what you select works with your existing flange)
- Adjustable pliers and/or wrenches
- Drill driver/hand-held screwdrivers
- Putty knife
- DAP Kwik Seal Caulk
- Toilet shims (if needed)
- An old rag
- Towels/sponges
- Toilet plunger
- Gloves
How to Install a Toilet: A Step-by-Step Guide
Note: We are not providing a detailed tutorial on how to remove an old toilet, but since some of you will need to do so, we are including quick and dirty instructions for how to do that below.
Time needed: 2 hours
Learn exactly how to install a new toilet following the steps below.
- Remove the old toilet
You have to get rid of your old toilet first! To remove your old toilet, start by turning off the water using the shutoff valve–it's usually located on the wall or floor very near the toilet. Flush the toilet to drain the water that's in the bowl. Then use a plunger to force out any remaining water (it took us years to figure this little trick out, lol)!
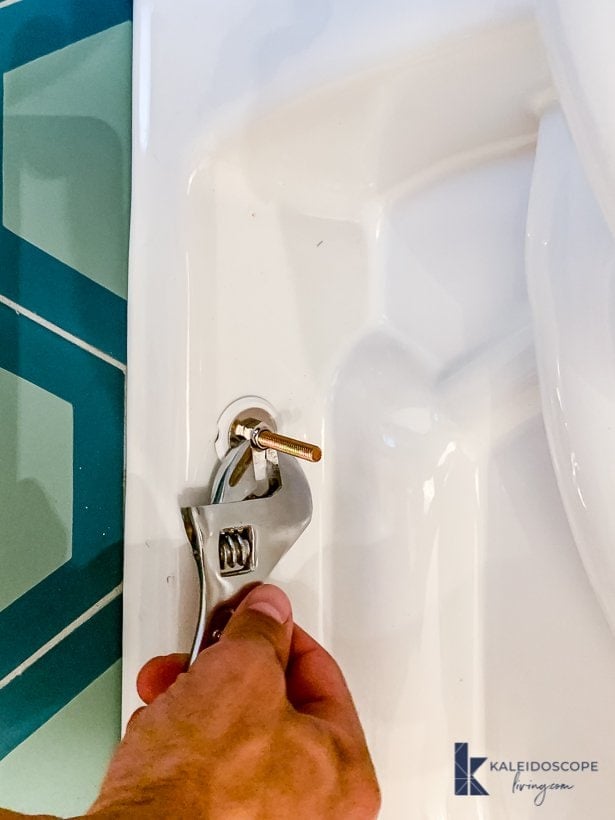
Now you are ready to disconnect the supply line with an adjustable wrench.
If your toilet tank is a separate piece from the bowl, separate the tank from the bowl by removing the tank bolts from the bottom of the tank with an adjustable wrench. Then remove the tank by lifting it off the bowl.
Finally, lift your toilet bolt caps located on the base and use a pair of pliers or an adjustable wrench to remove the bolts that are holding the base of the toilet in place.
Now you are ready to remove the base of your toilet by pulling it straight up. Try to keep it completely upright to avoid any residual water spilling out of it as you move it. And have sponges or towels nearby just in case :) - Plug the hole
Stuff a rag into the hole in the floor to prevent sewer gases from coming into your home. Don't forget to remove it right before you install the new toilet!
- Remove the old wax ring
Remove the old wax ring using a putty knife. It's pretty gross, so I recommend wearing gloves.
- Inspect your flange
Then take a good look at your flange (the piece that allows the toilet to connect to the floor). If it looks good and isn't cracked, you are good to go. BUT, you will want to replace the old bolts with the new bolts that should come with your new toilet.
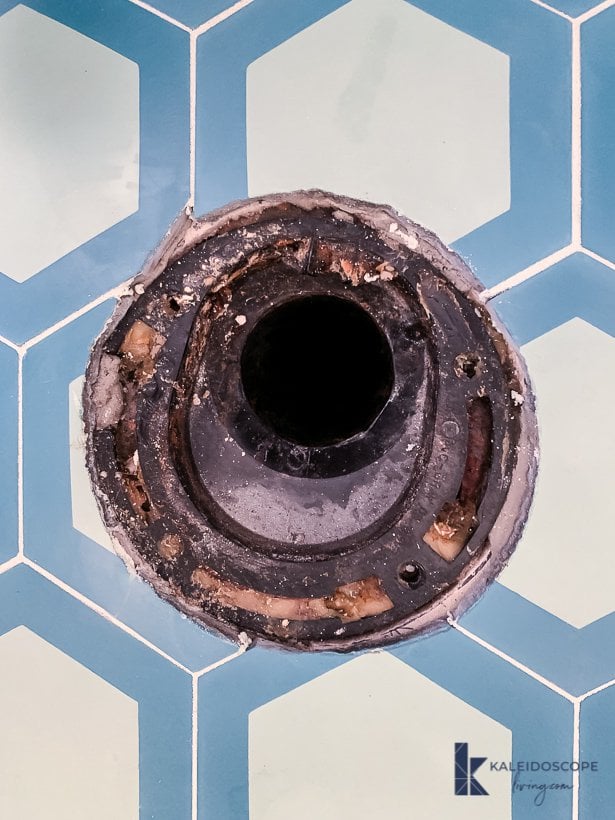
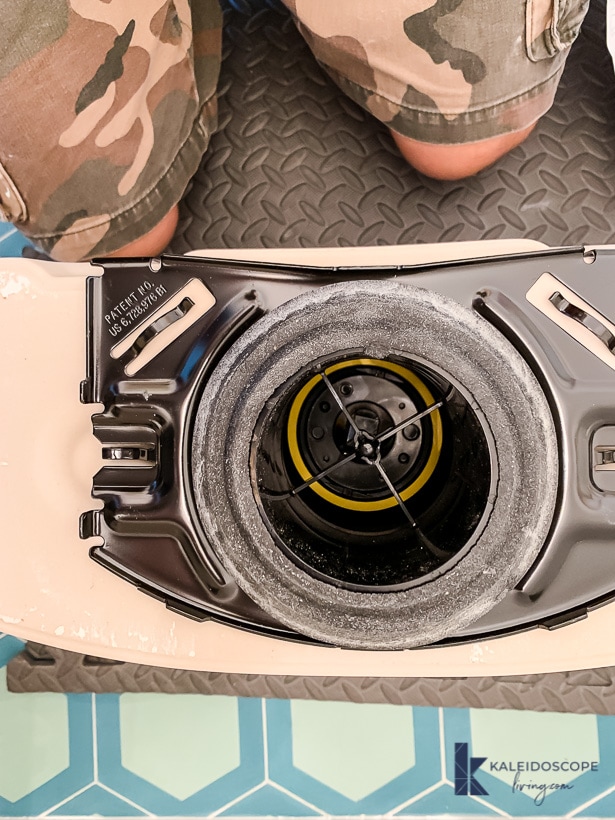
Our flange was cracked. If yours is, too, no need to panic. You can use a flange repair ring. Just make sure you get one that is compatible with your existing floor flange. The easiest way to do that is snap a photo of your floor flange before heading out to buy supplies. If you can't find what you need, show your photo to someone in the plumbing department and they should be able to help you.
This is what our floor flange looked like once the wax ring was removed.
- Repair or replace your flange (if necessary)
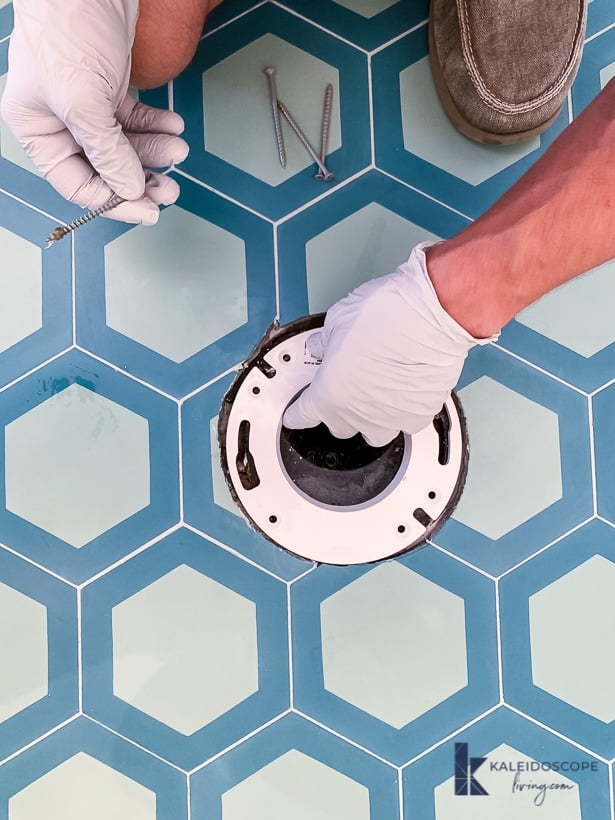
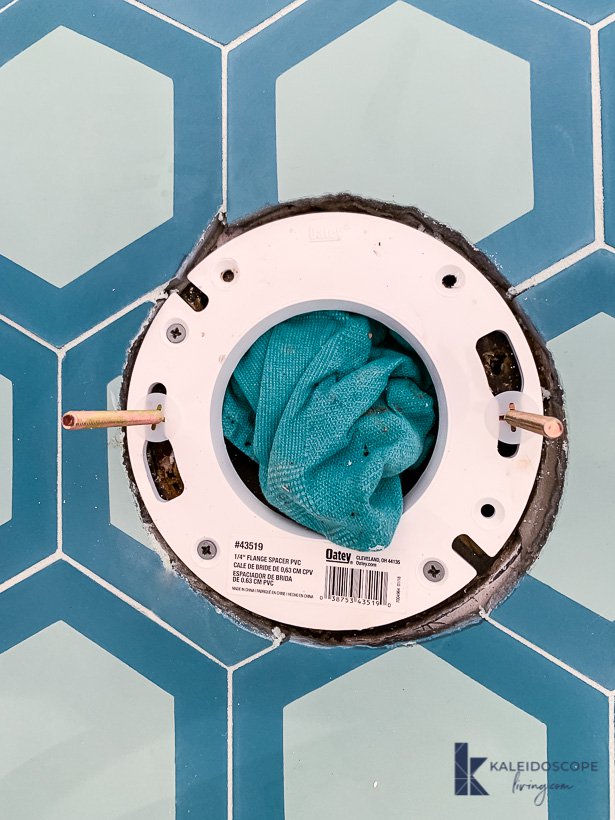
In our case, we placed the flange repair ring (the white ring shown in the photo below) into the existing flange and secured it in place.
Before you move on, be sure to position the new bolts that will hold your toilet in place. Below you can see our bolts positioned in our flange repair ring. - Install a new wax ring
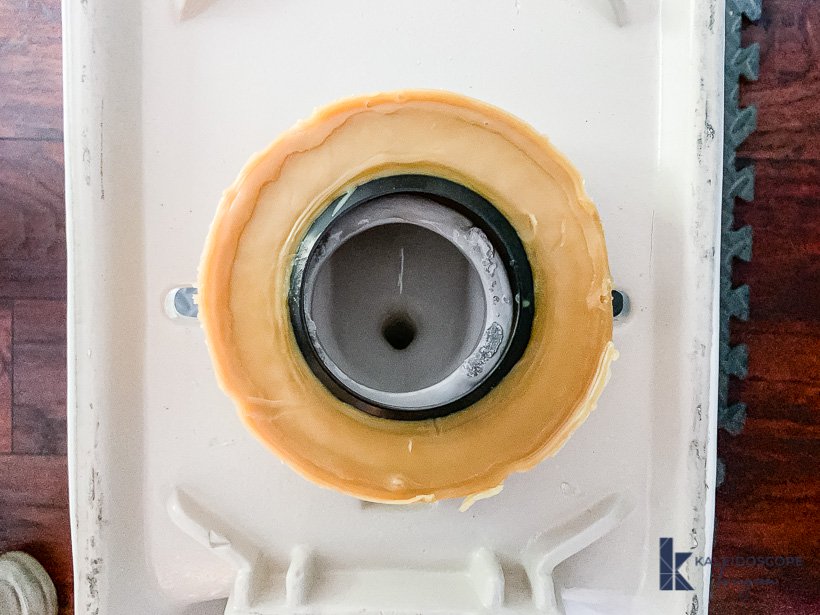
Now it's time to install your new wax ring. Since our cement tile is quite thick, we used an extra thick wax ring. We rested the toilet bowl upside down on some soft foam mats and attached the wax ring to the bottom of the bowl. We prefer this (as opposed to positioning the wax ring on the floor before lowering the bowl onto it) because you can be sure the ring is in the perfect position before putting the toilet into place.

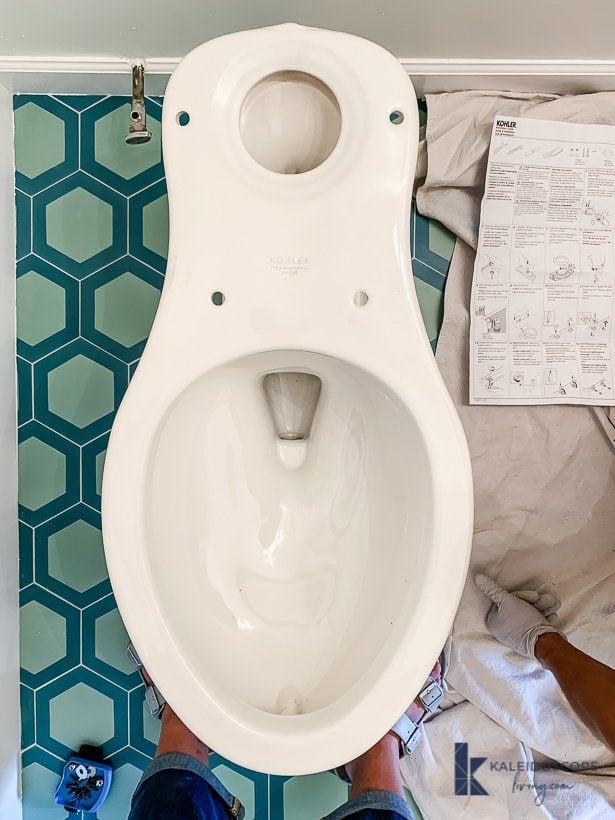
- Place the toilet bowl on the flange
The moment has arrived! You can now place your toilet bowl onto the flange. Be sure to align the bolt holes with the bolts in the flange. Once it's in place, press down to set the seal. Just be careful not to move or tilt the toilet because you could break the wax seal, which would mean leaks.
- Fasten the toilet bowl
Place a washer and nut on each toilet bowl bolt and tighten them. Don't over-tighten–you could crack the porcelain.
Then use a hacksaw to trim off the excess bolt. You want to cut them short enough that the plastic bolt caps can snap into place. - Attach the tank
If your toilet isn't all one piece (most aren't), you are ready to attach your tank to the toilet bowl. Every toilet is a little bit different, but you will probably need to install the “tank to bowl” gasket and insert the tank bolts and washers from inside the tank.
Align your tank bolts with the holes in on the toilet bowl and lower your tank into position. Then secure it by tightening the bolts. - Connect the water supply line & test for leaks
You are ready to reattach your water supply line. After you do that, be sure to test the toilet for leaks by slowly turning on the water valve and filling the tank. Then flush your toilet and check where your tank and bowl meet, as well as where the toilet meets the floor, to see if any water leaks out.
- Shim and caulk the base of the toilet
Your final step is to shim your toilet if it rocks at all and caulk it. If your toilet is firm and steady and doesn't move at all, you are in GREAT shape. If it rocks a bit, use plastic toilet shims in the low spots until the rocking motion is resolved. Then use a utility knife to trim the shims flush with your toilet base.
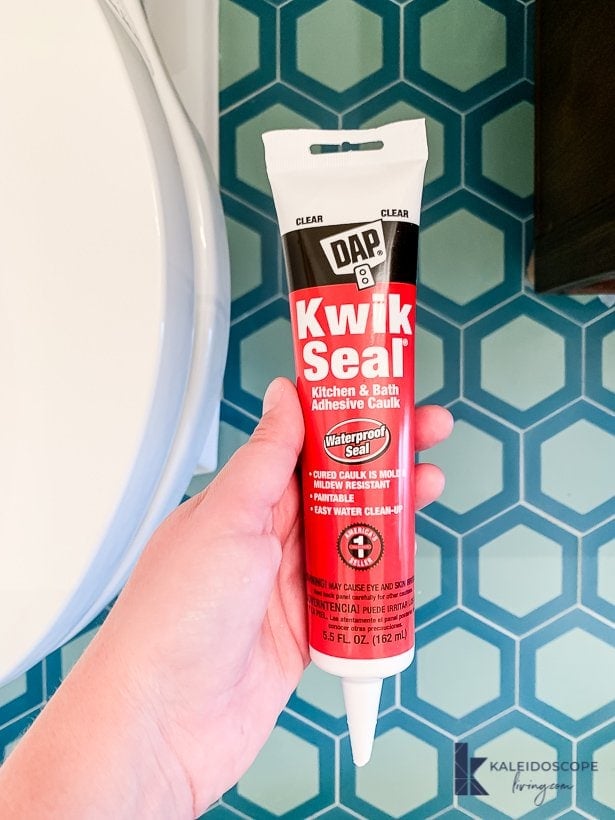
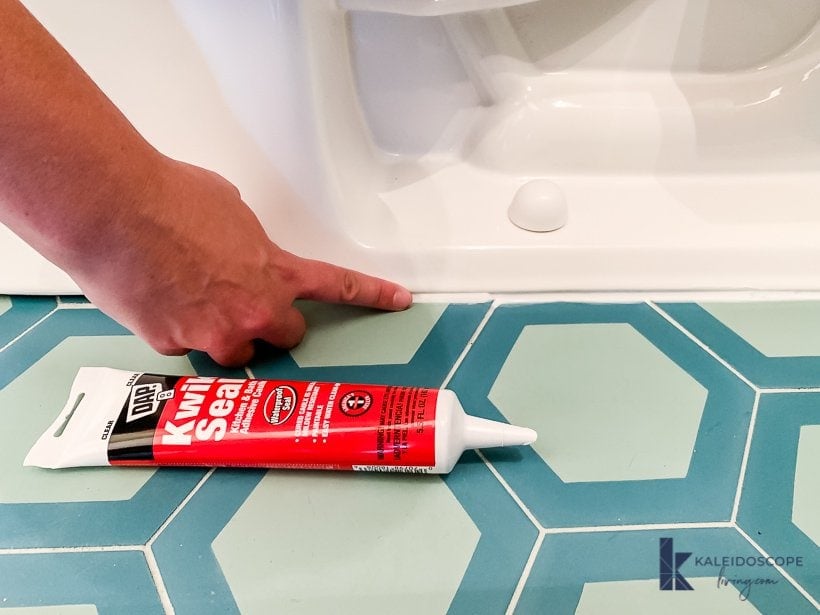
Now let's talk caulk! We always use DAP Kwik Seal Kitchen and Bath Adhesive Caulk in Clear.
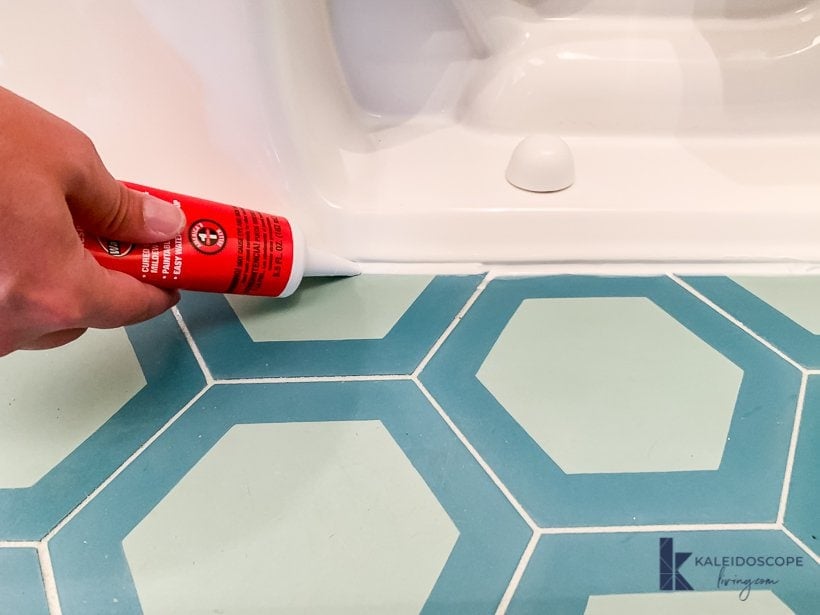
Just apply an even bead of caulk where your toilet meets the floor to create a waterproof seal.
Then use your finger to smooth out the bead of caulk. It's so easy! It goes on white, but it dries to clear within a few days.

That's it! Your fabulous new toilet is installed and ready to use. That wasn't so bad, was it?! Be sure to check out the full bathroom renovation that this toilet installation was part of!
Other posts you may enjoy:
Wondering how I approach transforming rooms and spaces in our home? Check out Designer in a Binder®.

And if you want exclusive content and behind-the-scenes sneak peeks, be sure to subscribe before you head out!