Affordable Master Bathroom Remodel REVEAL
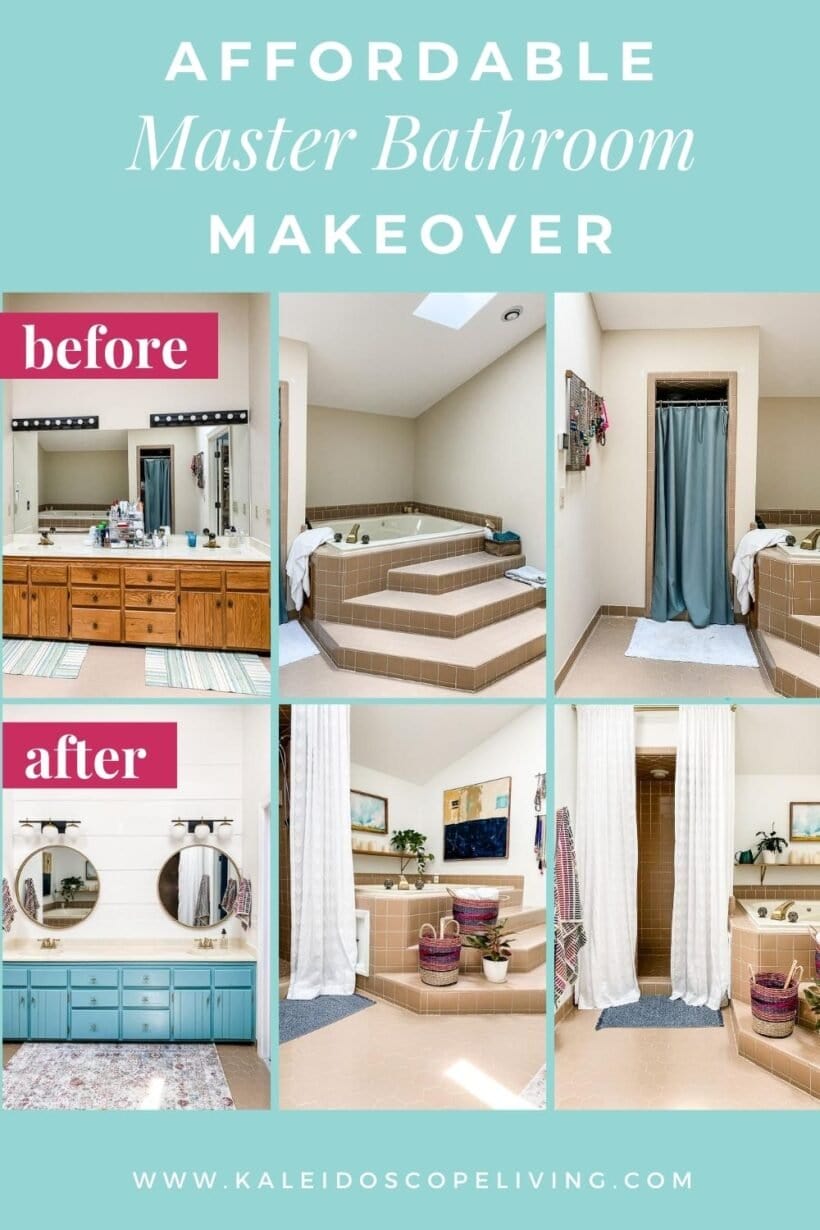
Think you can't completely transform a master bathroom on a budget? Think again! This affordable master bathroom remodel completely transformed the space without changing any of the major elements in the space!
If you follow me over on Instagram you know that we have been giving our seriously outdated master bathroom a makeover. It's the only room in our home that we hadn't done anything to since we moved in almost 8 years ago. We had planned on completely gutting and remodeling it eventually. But since we have decided to move, that option no longer made sense. But we wanted to do SOMETHING to spruce it up to make it more appealing to buyers and to make it prettier for whoever chooses to buy our home until they choose to tackle a more complete renovation.
The Master Bathroom Remodel Plan
I made a controversial decision with this master bathroom makeover. I gave myself the design challenge of working WITH the brown tile, almond-colored tub and cultured marble countertop. (If I knew what I know now about painting countertops to look like marble, I definitely would have done it in this bathroom)!. Could I have painted everything? Yep! After all, we have painted both laundry room floors AND kitchen floors before. And we've had a lot of success painting tile backsplashes. But, I really, really wanted to show y'all that you can create beautiful spaces even when there is an element in your room that you really dislike (whether it's tile, flooring, or something else).
It's all about making smart design decisions that make the element you dislike: 1) look like an intentional choice and 2) blend in seamlessly with your design. The worst thing you can do is try to ignore the element you dislike and decorate around it. You have to decorate with it.
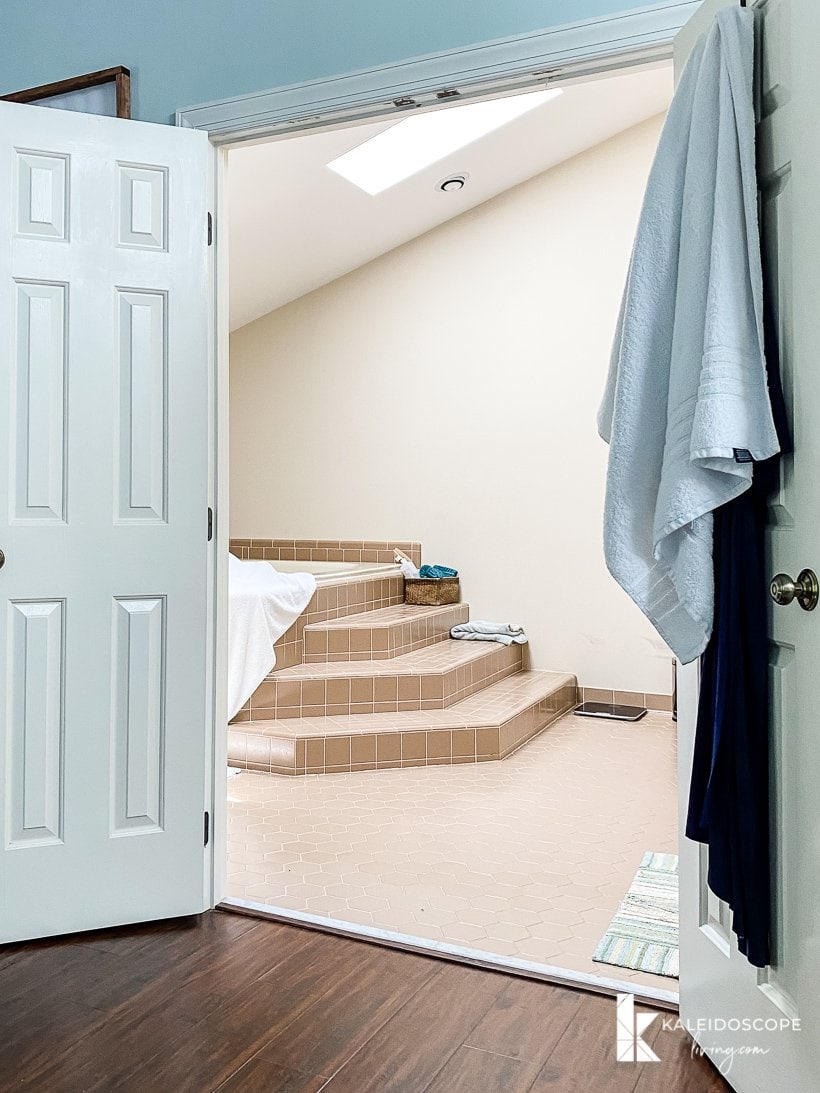
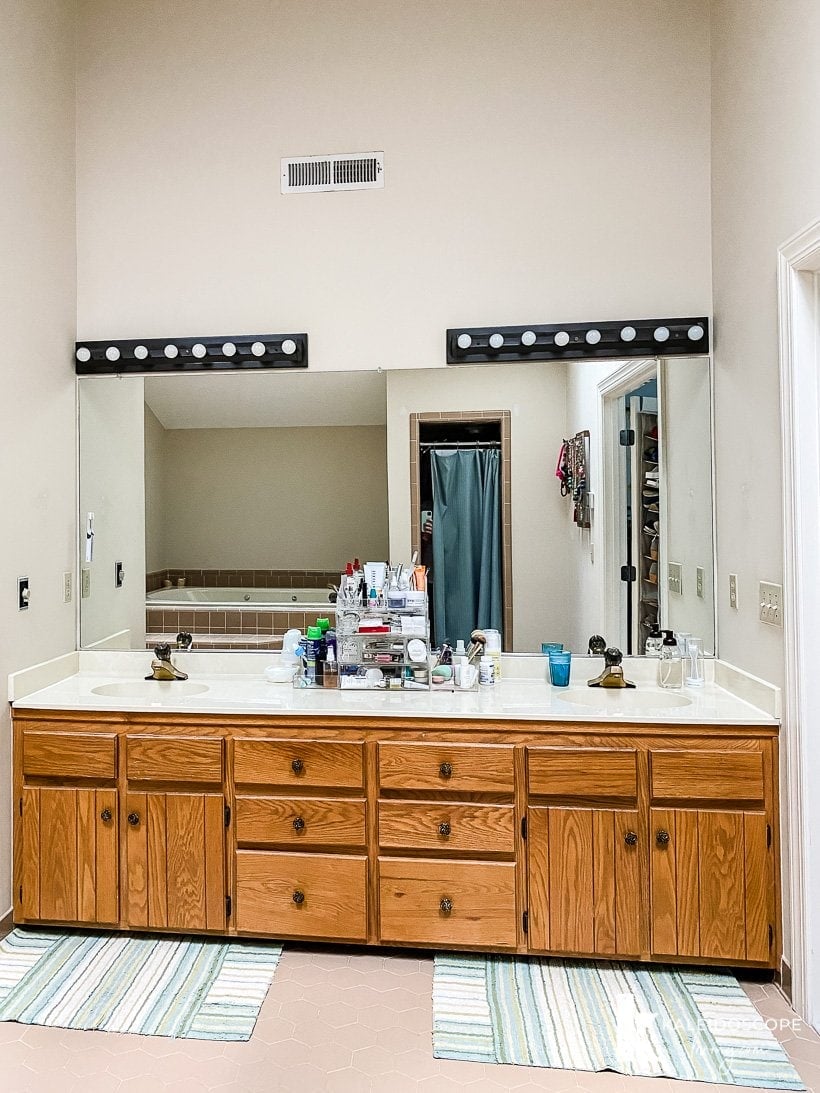
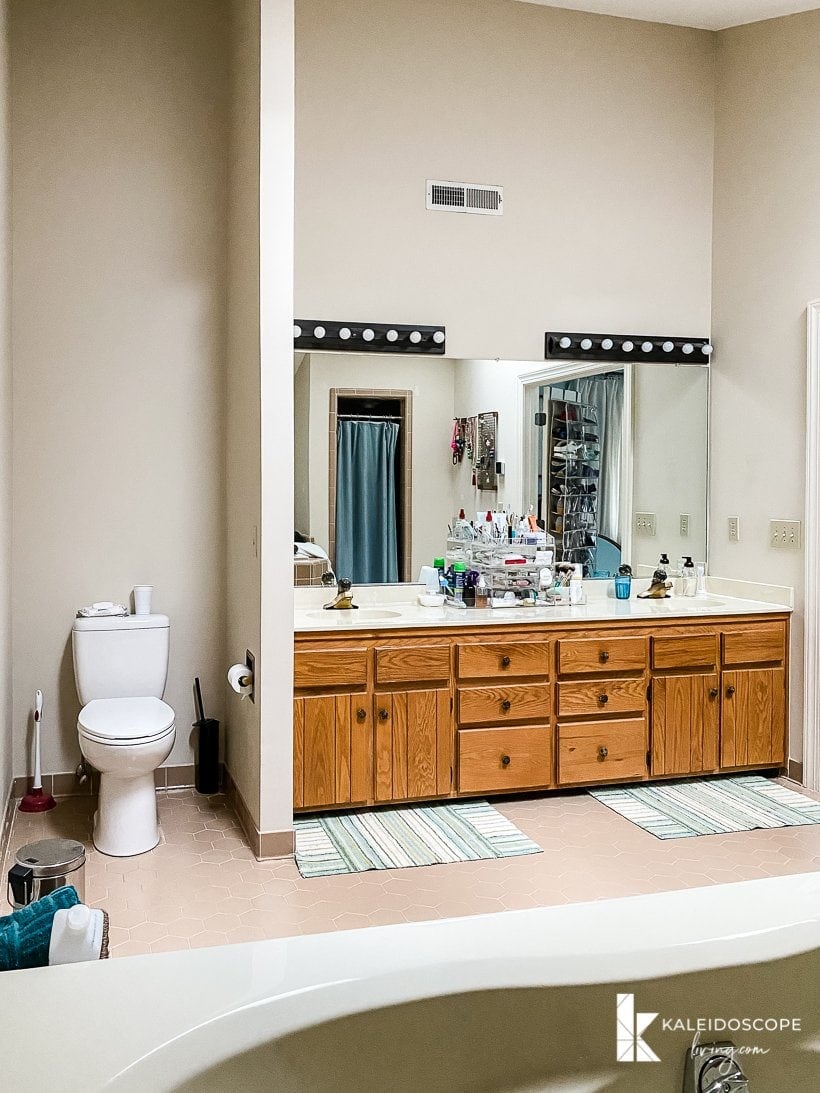
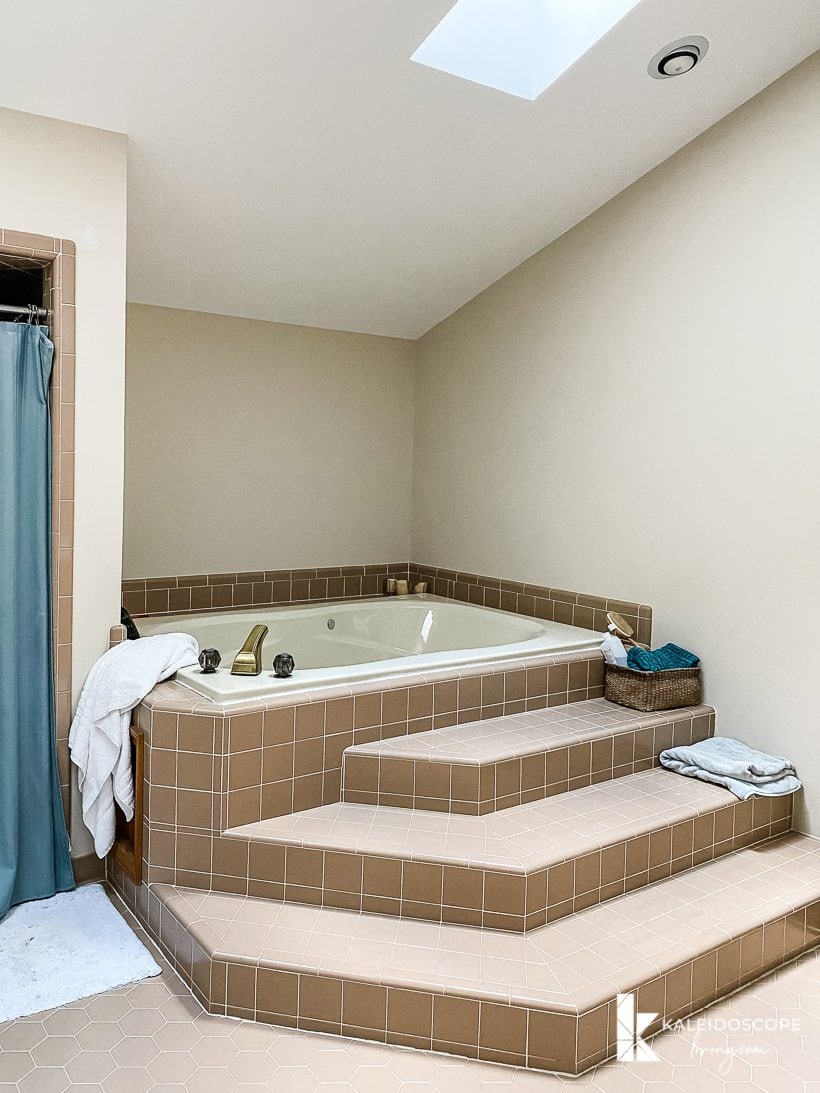
The Before
Here are some photos of how our master bathroom has looked for the past 7+ years. We never even painted these very brown walls.

This post contains affiliate links for your convenience. Click here for my full disclosure policy.
The Design Plan
This is the design plan I came up with for the space.
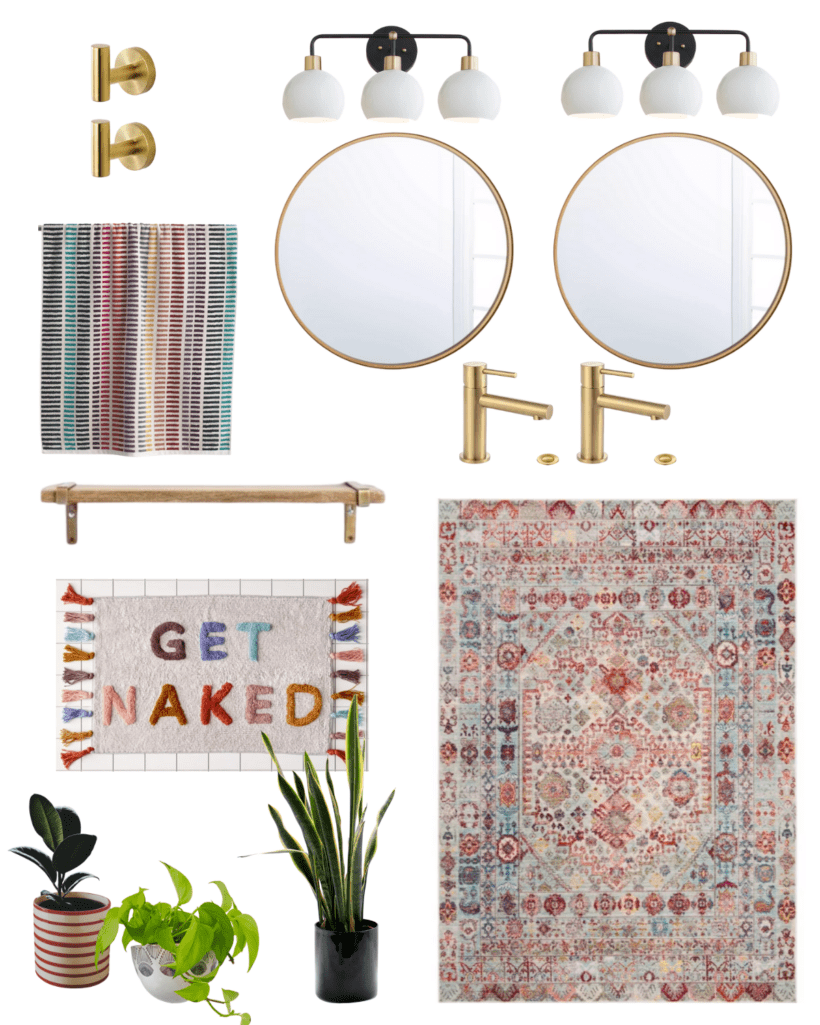
Click on any of the items below to shop the sources:

I decided on the rug first. That is my “crucial element” for the room (a very important concept that I focus on in Designer in a Binder–it makes EVERY other decision you make sooooooo easy). I knew it would be the perfect way to break up the huge amount of tile in our bathroom. And it has some brown tones in it that work with the tile color, instead of against it.
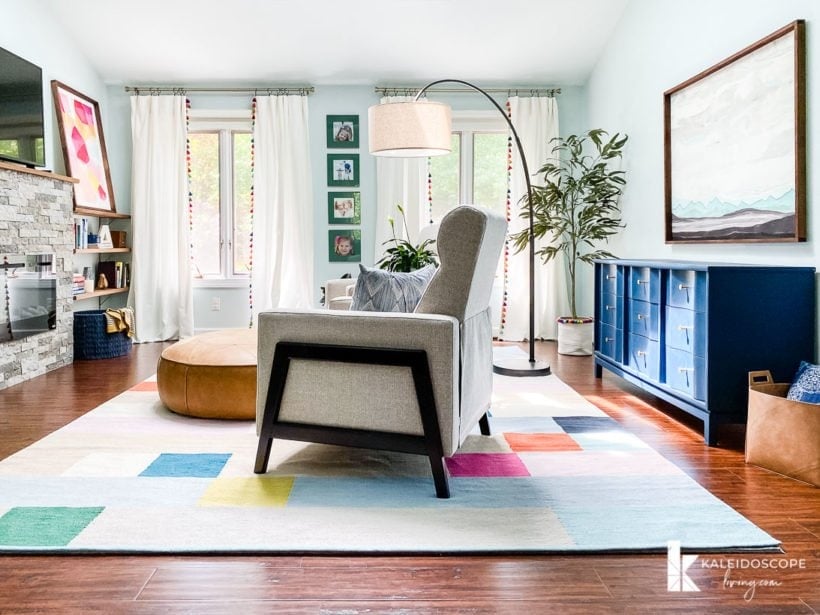
The towels were another important decision. They have a beige background AND include brown in the color palette. Plus, I love that they mimic the rug in the seating area of our master bedroom (see below).
The D.I.Y. Projects
We did every part of this master bathroom remodel ourselves. Here is a list of everything we did:
- Painted the walls (Falling Snow by Behr)
- Painted the doors (Midnight in the Tropics by Behr)
- Painted the cabinets (a mixture of equal parts Heirloom and Renfrew Blue)–here's a link to the tutorial of exactly how we painted these cabinets
- Installed new cabinet hardware
- Installed a modern plank wall treatment on the vanity wall–click here for that tutorial
- Installed new vanity lights
- Installed new sink faucets
- Installed a shelf above the tub & 2 shelves above the toilet
- Installed a new double curtain rod over the shower (the shower curtain hangs on the inner-most rod–we only close it when we are showering)
- Added lots of pretty plants and decor from around our house
- Hung a large DIY art canvas
We completed all the work in 5 days and we are TIRED, lol! But it was so worth it. Check out the results.
The Reveal
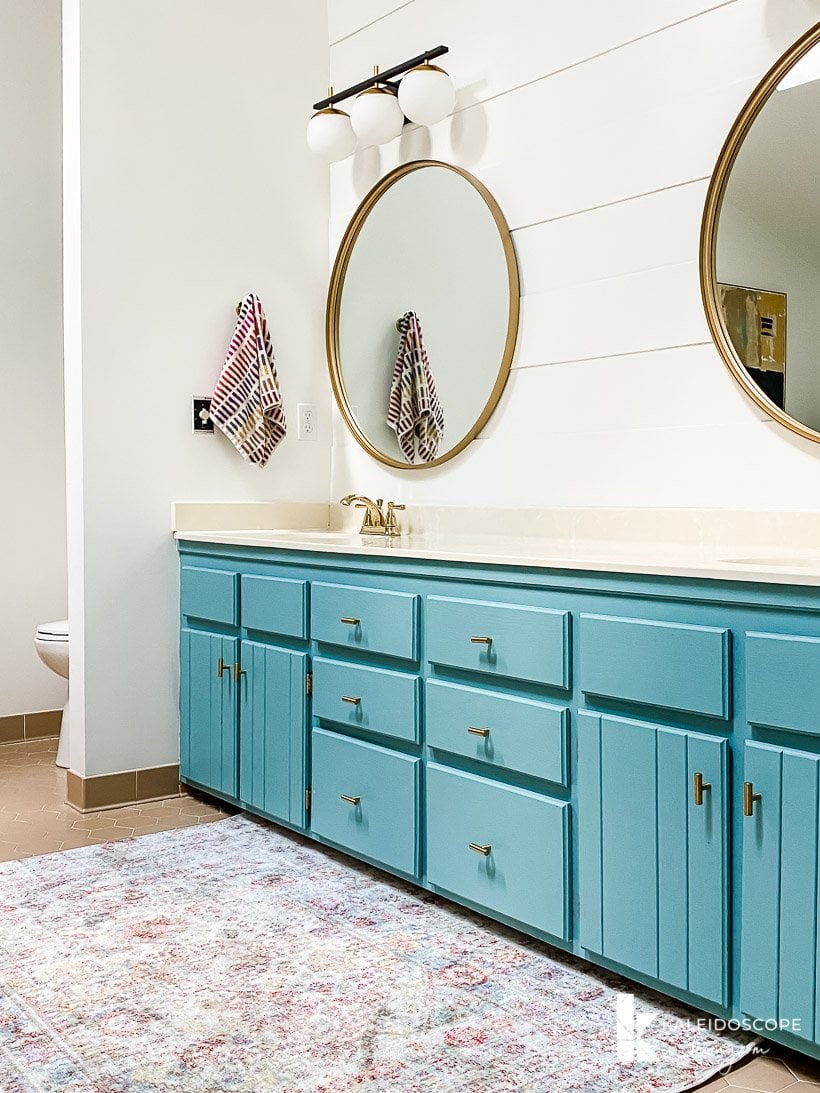
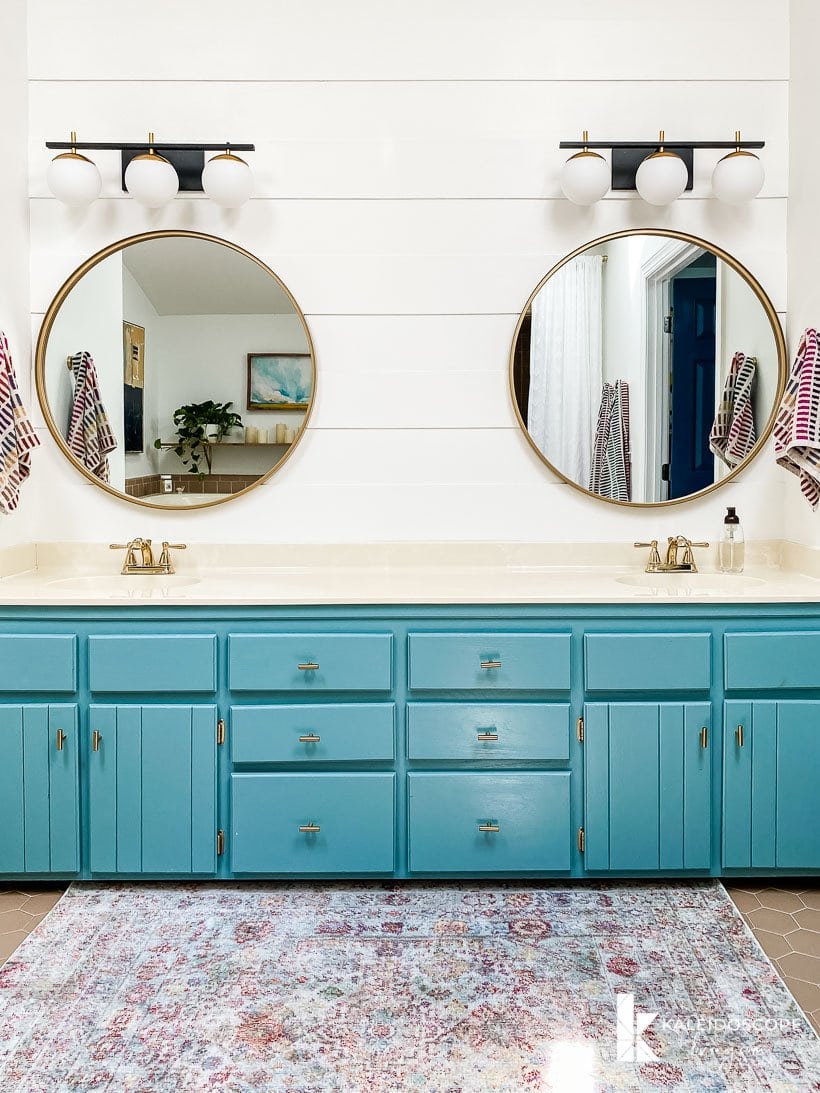
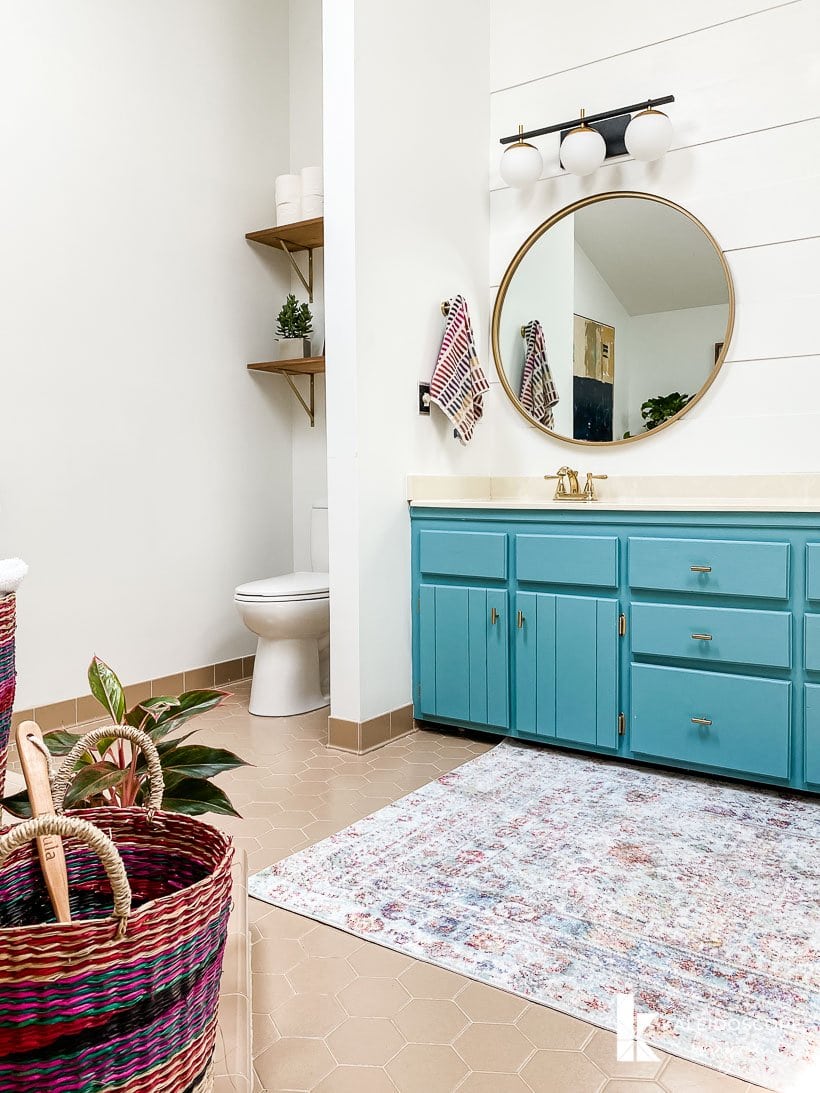
The highest impact changes were made on the vanity wall. Removing the giant outdated mirror and replacing the light fixtures and sink faucets instantly updated the space. And painting the cabinets and replacing the hardware was a total game-changer. The modern DIY plank wall we installed adds so much interest to this huge wall (thanks to a 14-foot vaulted ceiling).
On the opposite wall, adding curtains around the shower with a double-rod (that allows us to slide out the shower curtain only when needed–so you can't see it in this photo) REALLY updated the look! You can see the white shower curtain barely peeking out from behind the front left curtain in the photo below.
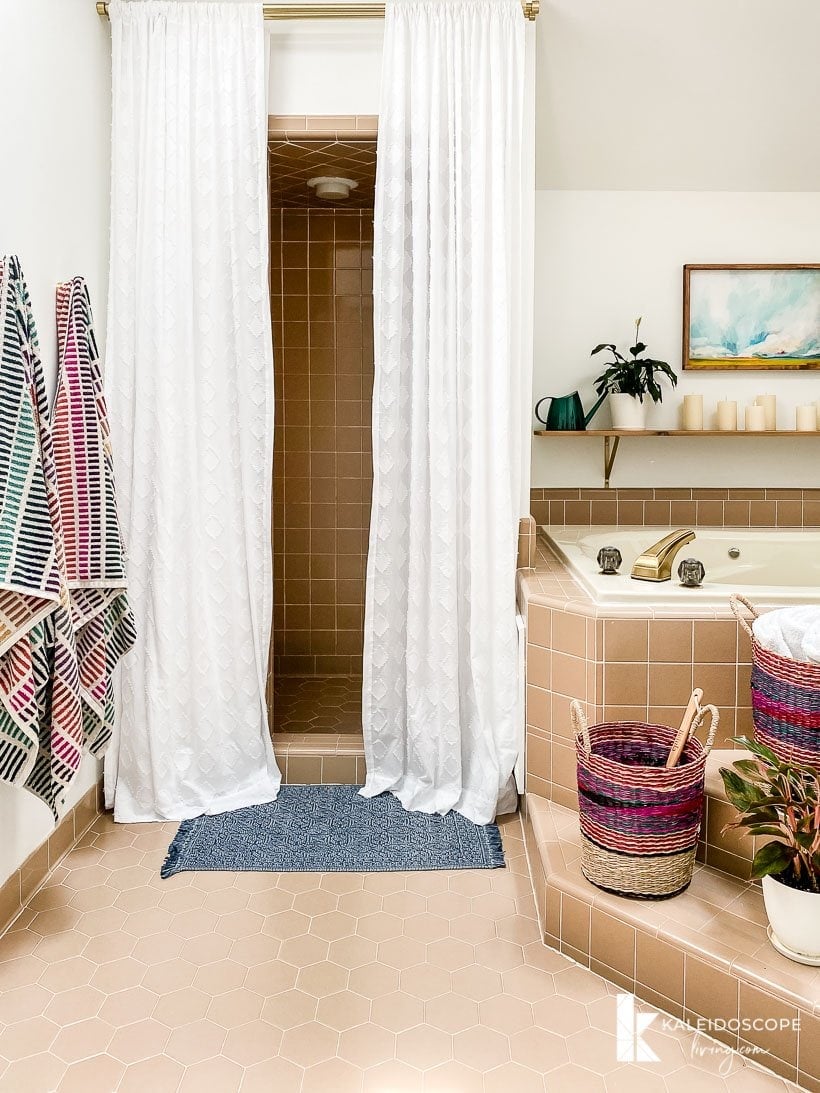
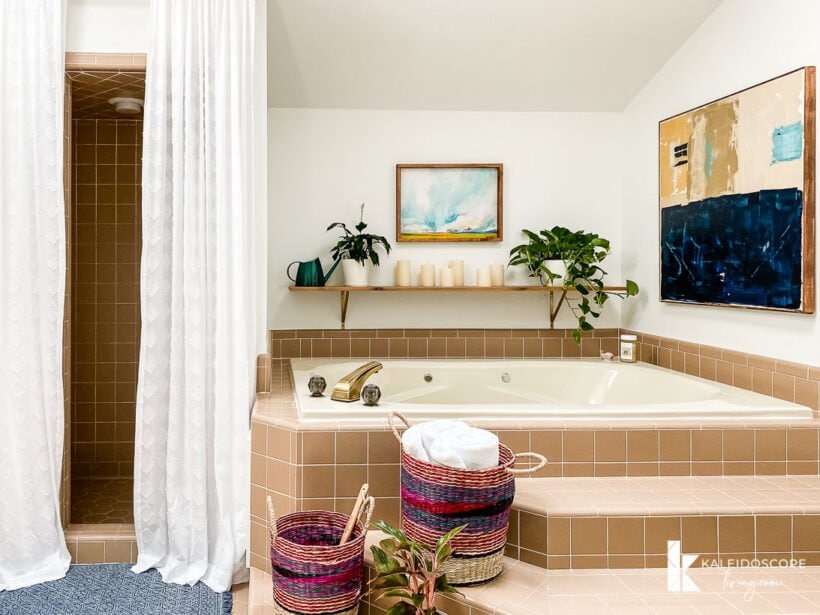
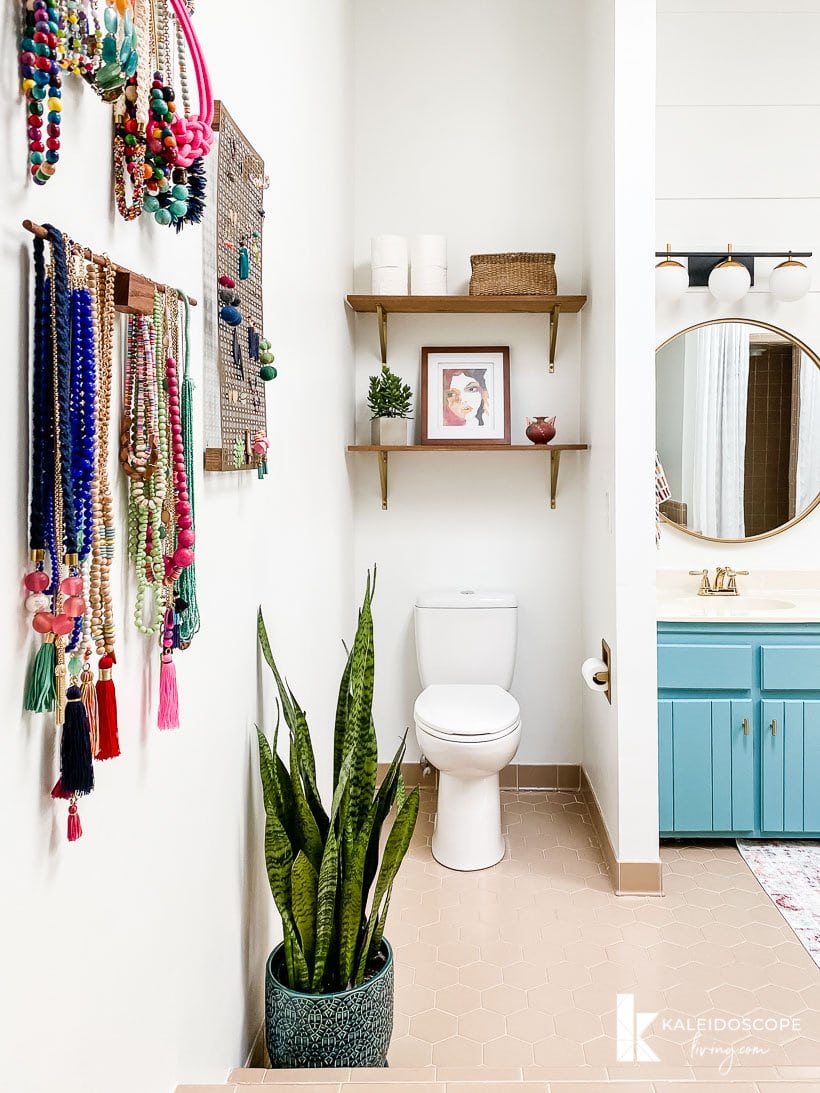
The giant stairs leading up to the tub are never going to be ideal, but I did my best to make them less of an eyesore by adding some pretty baskets for storage and some plants. And the addition of a shelf and some artwork and candles above the tub makes this corner of the room look so much more updated and inviting! I painted the large canvas myself and am really happy with how it turned out.
I also hung my DIY jewelry organization on the wall to the right of the tub. It's practical and I love that it adds color and texture to this wall.

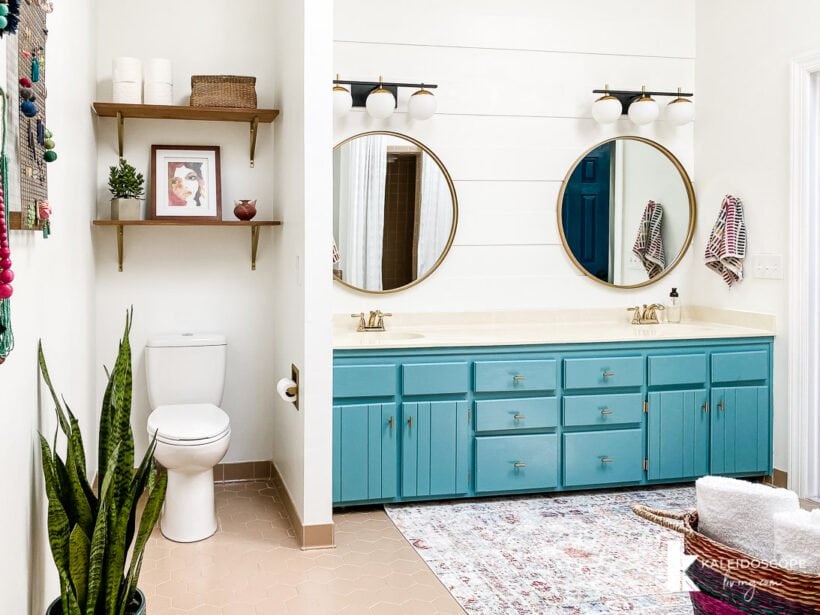
Last but not least, we hung some simple shelves above the toilet. They offer functional storage and I was able to add some pretty decor to them that I grabbed from around our house.
What do you think? A bit better, huh?! I'm just bummed we didn't do this 7+ years ago so we could have enjoyed it all this time!
Source List
You can find all the paint colors and sources for our master bathroom remodel below. Just click on any of the links or product images for full details :)
- Wall color: Falling Snow by Behr
- Door color: Midnight in the Tropics by Behr
- Cabinet color: A mixture of equal parts Renfrew Blue and Heirloom
Wondering how I approach transforming rooms and spaces in our home? Check out Designer in a Binder®.

And if you want exclusive content and behind-the-scenes sneak peeks, be sure to subscribe before you head out!

Last Updated on May 8, 2025
Thank you. I have the dreaded almond tub, vanity and toilet. I also have the oak vanity. With covid, no one is coming into the house to change nay of that. Plus it feels wasteful to trash stuff.
Lots of interesting ideas here. Looking forward to seeing what might work for me.
So refreshing and lovely! Thanks for sharing your thought process as well as your amazing transformation.
Wow, you hit it out of the park working with that tile and tub! But I missed that you are moving????
Hey Tasha,
Good job disguising those stairs!! It looks beautiful!
This is so well done! It is refreshing to see a dated space transformed without being gutted.
I love how your bath turned out. Thank you for taking the frugal course and showing how nicely things can turn out.
What a beautiful update to a challenging room! As satisfying as it is to see someone gut a room and design up from there, I love seeing such a realistic update to a less-than-ideal space. You guys should be proud of the results!
Also omg, that bathroom is HUGE! Such great bones for the next owner(s) someday.
Did you use the “Get Naked” rug anywhere? Or was that a inspiration piece only?
It’s back-ordered, but should be here sometime next month!
It is amazing how your tub area went from looking dated to a high class spa! Good for you!!!
This is so incredible. You did such a great job. I’m just sorry you didn’t do this for yourself years ago!
I love those baskets!
Wow looks great! The beige/brown tile looks like it was actually on purpose. The wall color really brightened up the whole room!
When you took that gigantic mirror off, did it break…was yours glued on the back? Did it require repairing the wall afterwards?
We were lucky. Our mirror wasn’t glued to the wall at all. It sat in tracks that we were able to easily remove. So no wall repair was needed!
Very nice design except I would have put a runner across the entire vanity cabinet so whoever is standing at the sink has both feet on the rug- the one here doesn’t quite go all the way across. We have this exact same set up in our master bath- with the vanity going wall to wall- 6 abd 1/2 feet and I got a 6 foot runner which works great is comfortable to stand on. Otherwise, looks great!
LOVE THIS SO FREAKING MUCH! You make brown tile look GOOOOOD!! Can you tell me where you found the smaller painting above the tub? It speaks to me…
Yes! I found that print on Minted. I love it!