DIY Lampshade – Ombre Style!
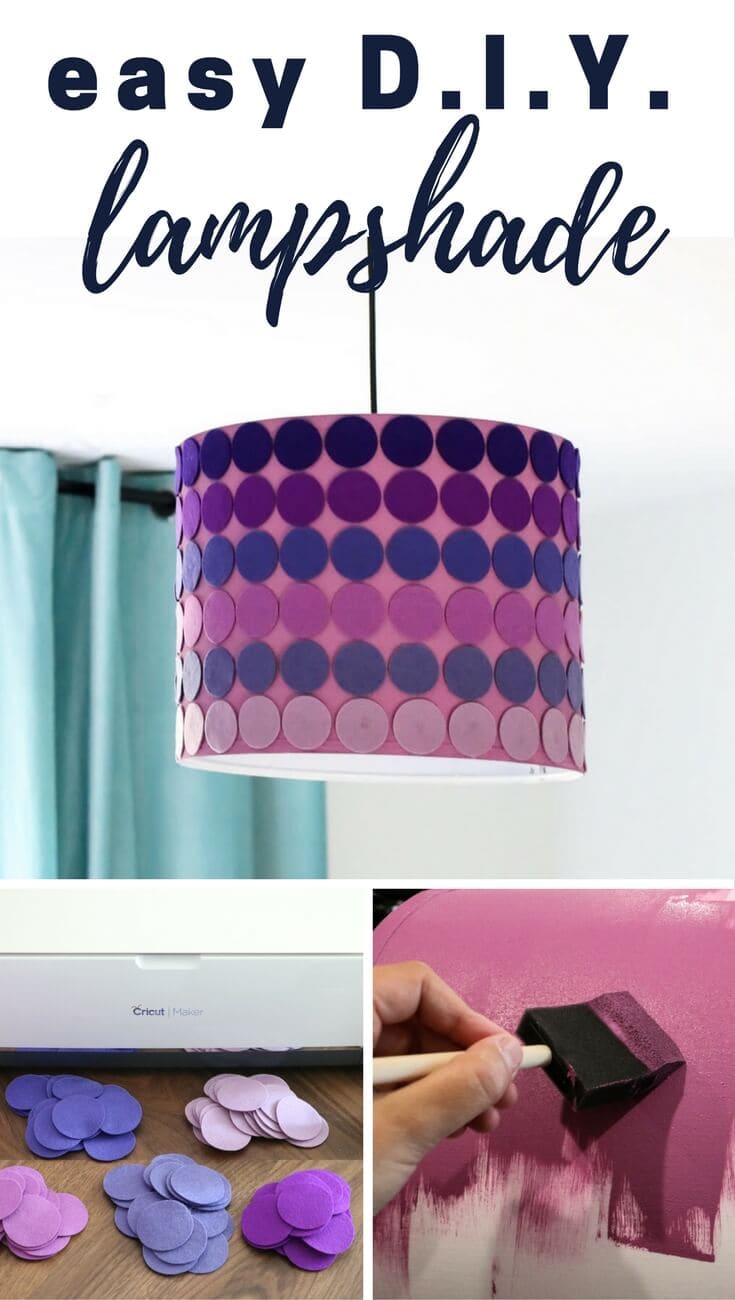
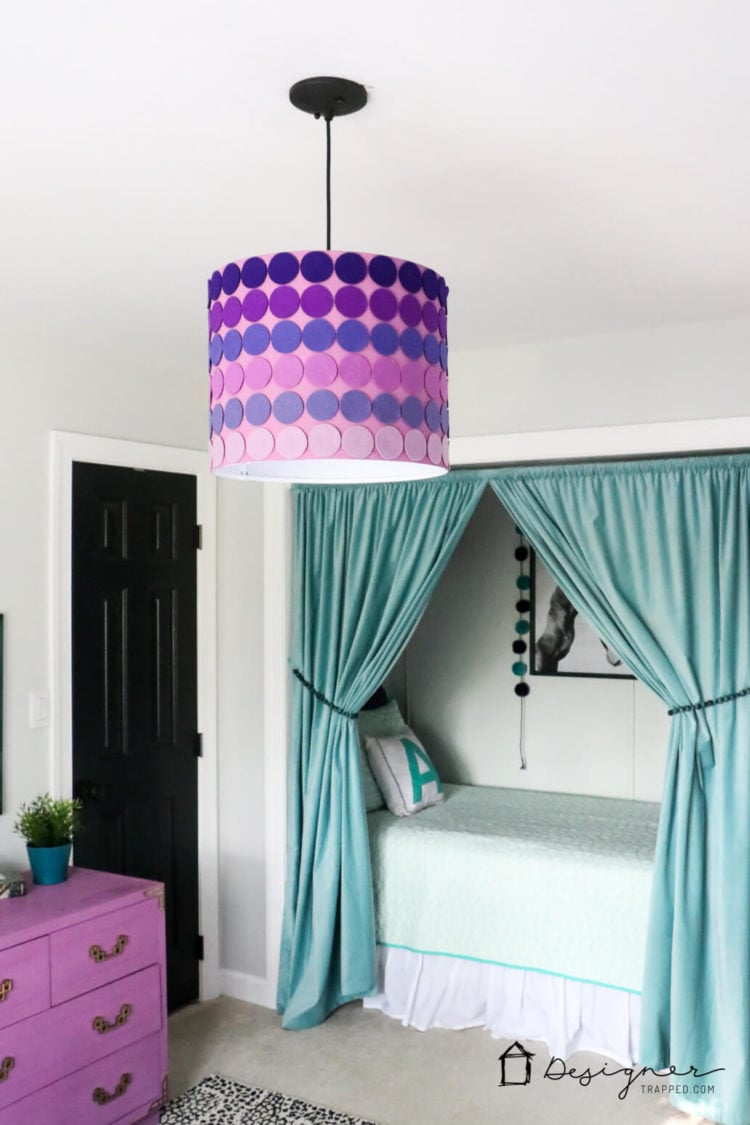
This DIY lampshade is so easy to make and is a gorgeous statement piece in any room!
This post is sponsored by Cricut. All opinions are 100% my own, as always.
Hey friends! If you have been around for a while, you know that we separated our twin girls' rooms a few months ago. That meant creating 2 new bedrooms for 2 very different girls. My sweet Avery loves, loves, loves purple and aqua, so we created her room around that color palette. You can see her amazing bed nook (that I am totally jealous of) here and her high-impact but super inexpensive large scale art here. But the light fixture that was in my old office, which became her new bedroom, did NOT go with her new color scheme. I needed a new pendant lamp shade. I really wanted a purple ombre lampshade and couldn't find anything remotely like I wanted. So, I decided to make my own DIY lampshade exactly the way I wanted it! Read on to learn how to make your very own ombre lampshade (of course, it doesn't have to be ombre)!
This post contains some affiliate links for your convenience (which means if you make a purchase after clicking a link I will earn a small commission which helps keep my blog up and running but it won't cost you a penny more)! Click here to read my full disclosure policy.
DIY Lampshade Tutorial
Materials needed:
- Plain pendant lampshade (I used an Ikea Nymo lampshade in 23 inch diameter)
- Paint (I used Amy Howard At Home's One-Step Paint in Orchid–her paint works fabulously on fabrics)
- Wool felt sheets (I ordered six 8 x 12 sheets from this Etsy store)
- CraftBond Glue
- Masking tape or washi tape
- Cricut Maker cutting machine (or scissors and a circle template)–you can read my full review of the Cricut Maker and how friggin' amazing it is in this post. And YES, it really can cut felt (plus a whole LOT of other things, like wood and thick leather).
Steps:
1) Start by measuring your lampshade and determining the size that your circles need to be to fill the entire lampshade. If you want yours to look just like mine, are using the same lampshade and have a Cricut Maker cutting machine, you are in luck! You can download the SVG cut file to upload into the Cricut Design Space to make the exact same cuts that I did! You can grab it here.
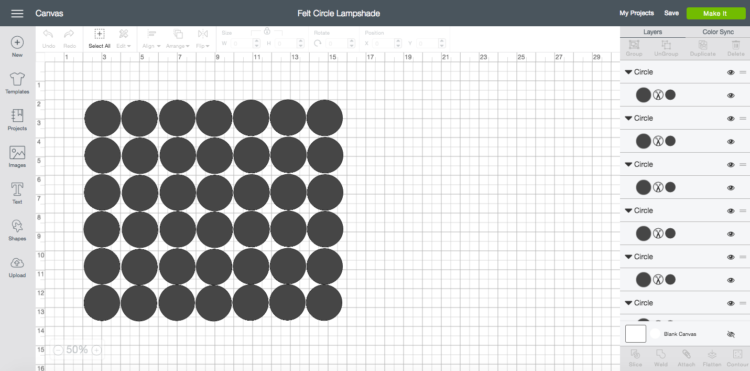
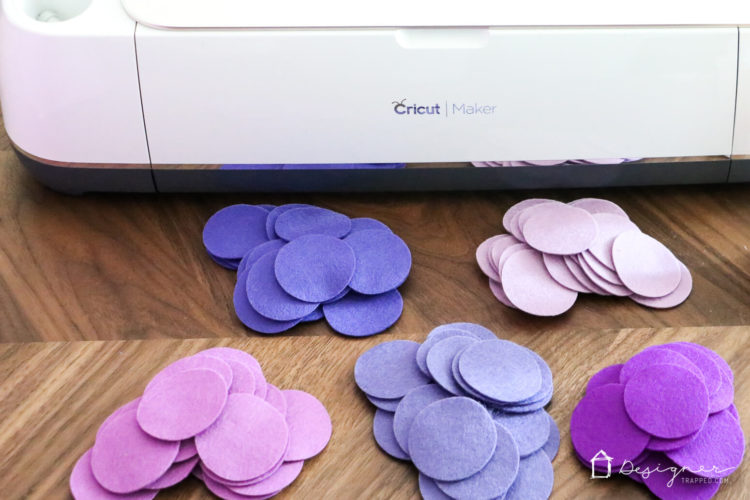
2) Cut out your felt circles. I cut out 24 of each color for a total of 6 rows. I used exactly 1 felt sheet of each color to cover the whole lampshade, without ANY felt to spare. To cut only 24 circles at a time, you will need to hide the rest of the circles before you click “Make It.” I used my Cricut fabric cutting mat and the amazing rotary blade (that makes cutting felt and other fabrics possible).
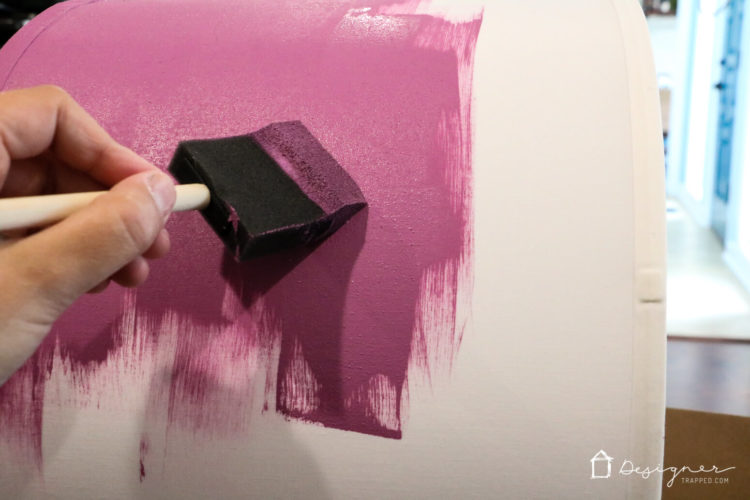
3) While your felt circles are cutting, paint your lampshade. I recommend 2 coats to make sure you get really good coverage–you don't want to see brushstrokes when then light is turned on and shines through it.
4) After the paint is dry, you are ready to attach the felt circles to your lampshade. I used washi tape to layout the first row on the lampshade because I wanted to make sure I had the spacing correct before I started gluing the felt circles into place. Then I glued on the entire first row using Elmer's CraftBond Glue to glue them on. It goes on white, but dries clear, so don't panic when you can see it at first. It will disappear once it dries. Then tape on one circle from the remaining rows to determine the correct vertical spacing. Once you have it the way you want it, glue the rest of your felt circles onto your DIY lampshade.
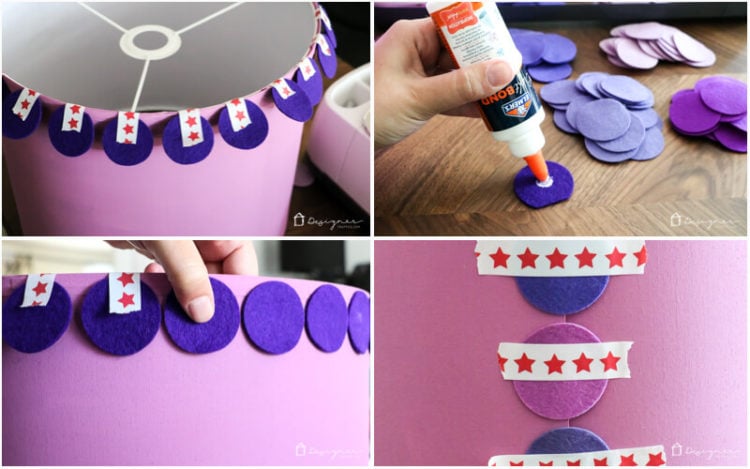
5) Attach your lampshade to your pendant light and you are DONE!
Isn't it pretty?! Avery absolutely loves it and I'm so glad I was able to create a DIY lampshade that so perfectly fits into her new room. It was a fast and easy project! Cutting out all the felt circles with my Cricut Maker cutting machine took about 8 minutes–if you cut them by hand, obviously it would take longer, but it's still a totally doable project!
Here's a few more photos of the finished project!
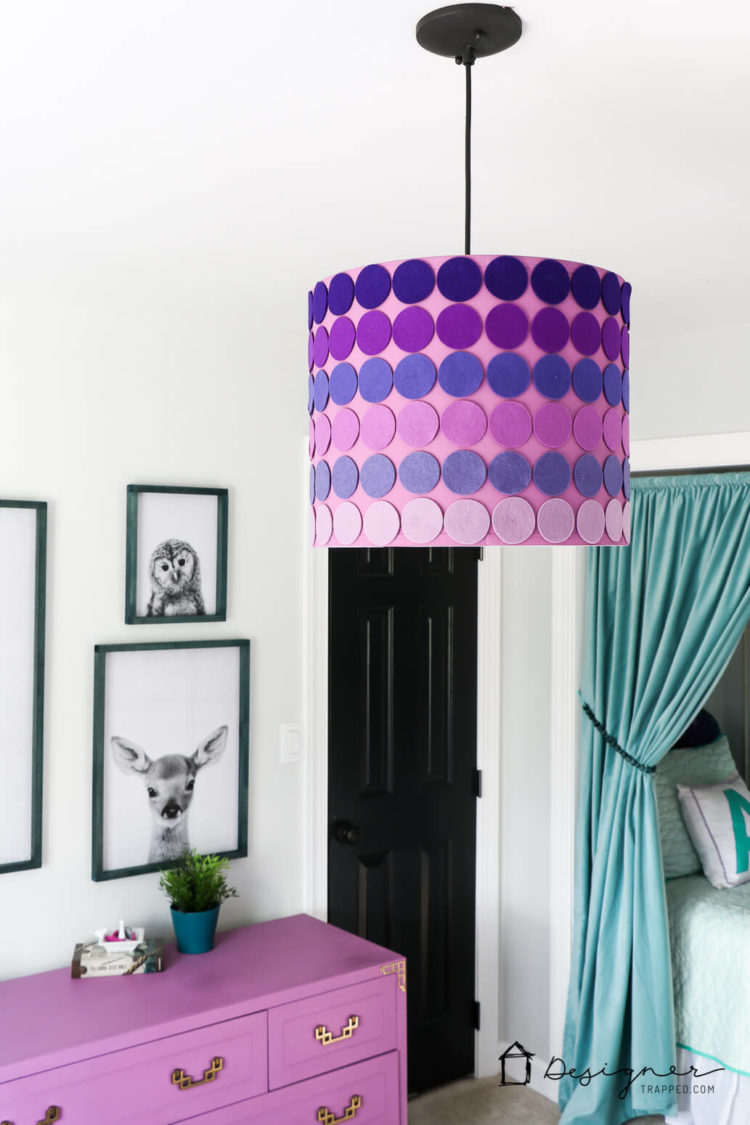
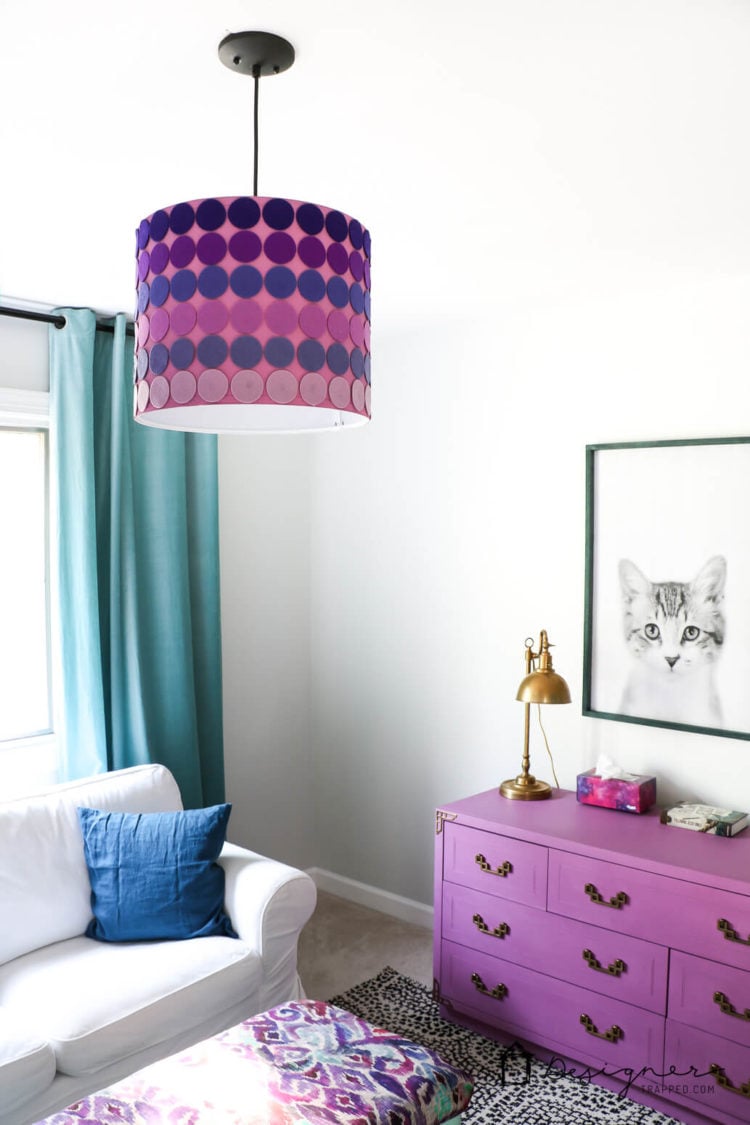
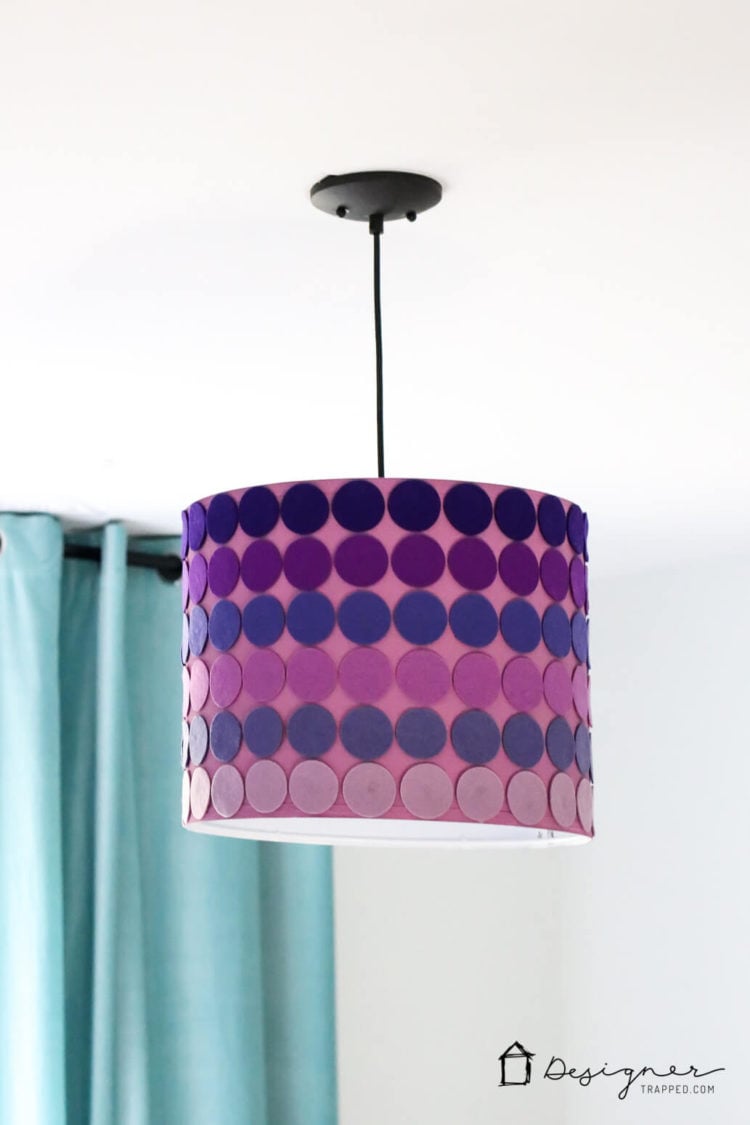
If you love this idea, be sure to save it to Pinterest or share it on Facebook so you can find it again later!
This is a sponsored conversation written by me on behalf of Cricut. The opinions and text are all mine.
[mv_create 1 11 200 2016 key=”1″ type=”list” title=”Most Popular Projects” thumbnail=”<a href=” https designertrapped com wp content uploads diy home decor projects blog jpg a]

Last Updated on March 3, 2022