DIY Picture Mats on a Tiny Budget
Picture mats can be expensive and custom shapes and sizes are impossible to find on store shelves. Now you can make your own DIY picture mats with this easy tutorial!
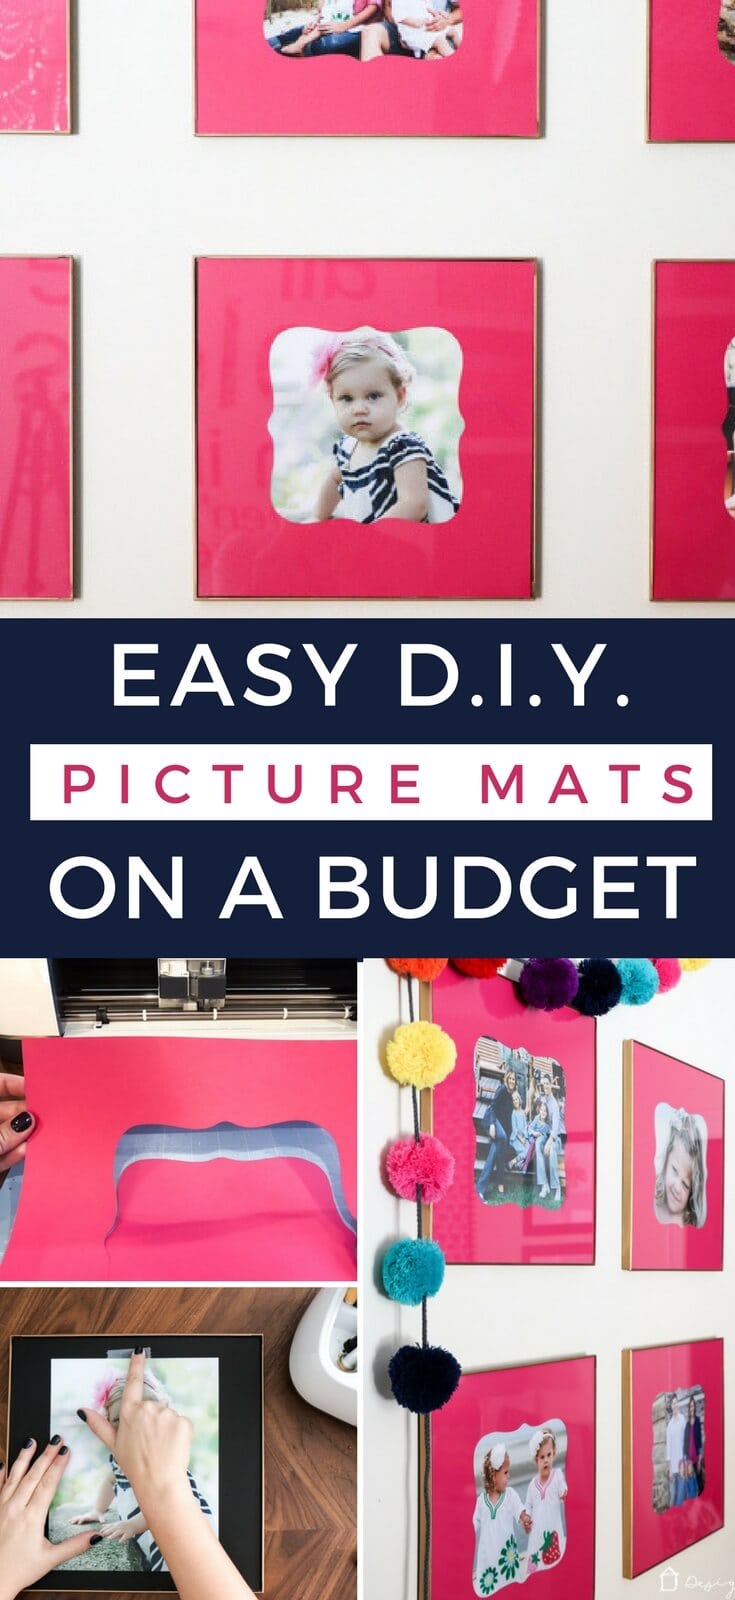
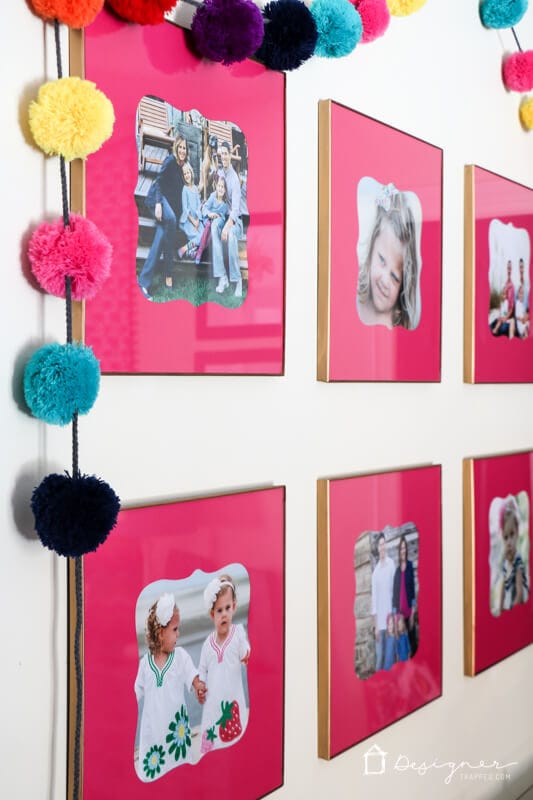
Hey, hey friends! We have been “snowed in” (as in school has been closed for a very minor snowfall in NC), so while I haven't been super productive in some ways with work, I DID finally tackle a project I've been wanting to do for a while. You may remember that we separated our twin girls' bedrooms a while back. Well, Attley's room has remained about 75% finished since then. I just couldn't decide what to do one one wall in her room, so it's been a weird mixture of RANDOM things that was driving me crazy. On top of that, one day she asked me why she didn't have any family photos in her room like Avery does (I made some DIY photo canvases for her sister's room months ago). Ouch. So, I knew I wanted to create a sweet photo gallery for her and I finally did it!
I also knew that I wanted to use square frames and use photo mats that had some “little girl flare” to them (that's a thing, right?!). I hunted around for some picture mats that would work, to no avail. And having them custom cut wasn't an option because I didn't want to spend a fortune on this project. So, as per usual, I figured out a way to make DIY picture mats and spent a whopping total of $4.00 to make them. HUGE WIN! Read on to learn how to make your own DIY picture mats. (I should add that I tried to talk Attley into a color other than pink, but she wouldn't budge. Her heart wants what it wants. She's a pink girl).
Thank you to Cricut for sponsoring this post. This post contains some affiliate links for your convenience (which means if you make a purchase after clicking a link I will earn a small commission but it won't cost you a penny more)! Click here to read my full disclosure policy.
How to Make DIY Picture Mats
Materials needed:
- 12 x 12 inch cardstock (I grabbed mine at Joann's during a sale, so each sheet was only $.47)
- Cutting machine
- If you don't have a cutting machine, you can still make these DIY picture mats by cutting a template out of cardboard and using a craft knife to make the cuts on your card stock)
- I used my Cricut Maker for this project, but you could ABSOLUTELY use one of the Explore machines since it doesn't require the rotary blade. You can read my full review of the Cricut Maker and how friggin' amazing it is in this post. And YES, it really can cut crepe paper (plus a whole LOT of other things, like fabric, wood and thick leather).
- If you are curious about cutting machines in general, you can read my comparison of Silhouette vs. Cricut in this post.
- You can check out the LOADS of stuff I use my cutting machine to make HERE
- 12 x 12 inch square photo frames (more details on the exact frames I bought and how I fancied them up a bit soon)
- 8 x 10 inch photo prints (I printed this printer that I've had for about a year–it's AWESOME)
Steps:
If you’d like a video overview of this project, click below.
QUICK TIP: 12 x 12 inch card stock that is sold in stores is usually a bit larger because the bar code is printed on it. So you may need to trim it down to size before you use it.
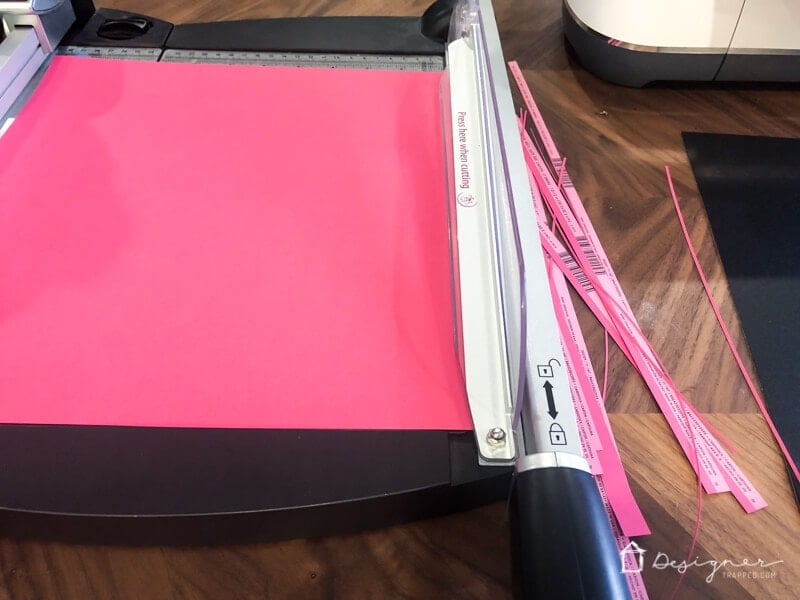
1) If you are using a cutting machine, design your cut file in whatever software you use. I used Cricut Design Space and you can access my cut file by clicking here.
2) Make sure your design is centered on the preview of your cutting mat BEFORE you cut out the file.
3) Place one sheet of card stock on your cutting mat and select the material type you are cutting. I used the “heavy card stock” setting because the card stock I purchased was on the thick side and that setting worked like a charm.
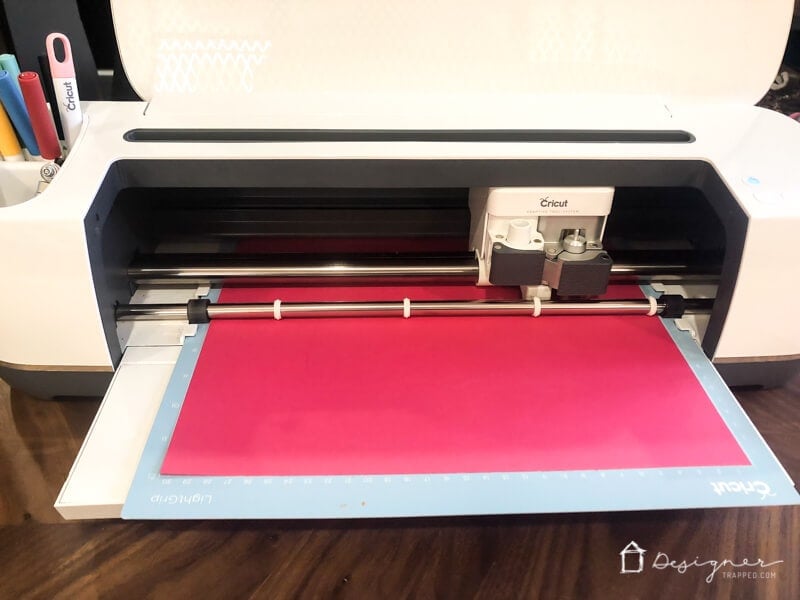
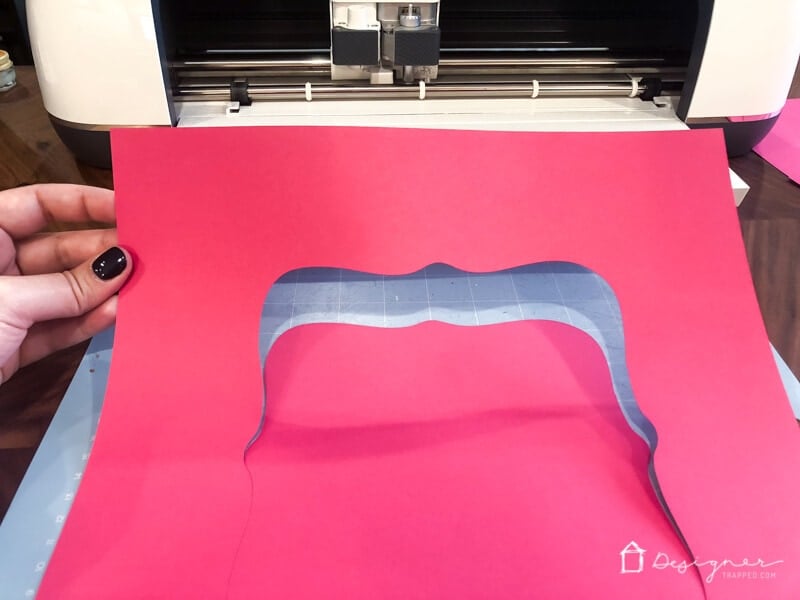
4) Cut your design out and repeat steps 1 through 3 for as many DIY photo mats as you need to make. I made 8.
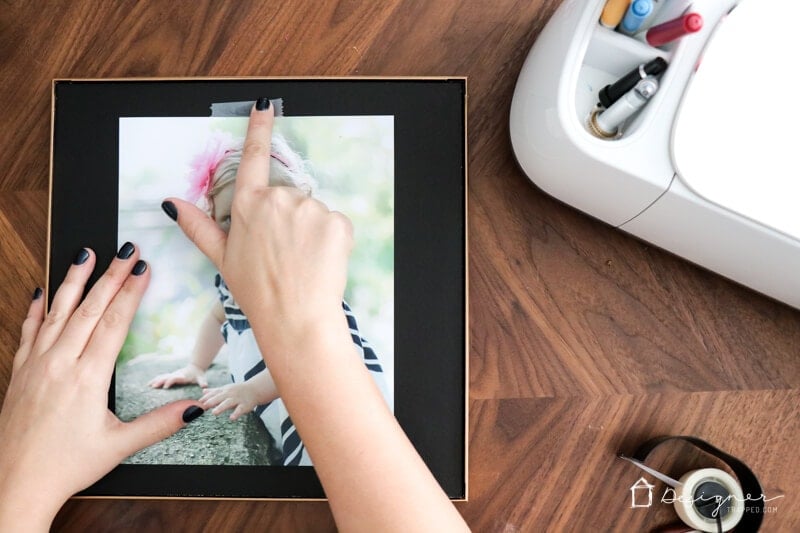
5) Tape your 8 x 10 photo into place and pop it into your frame.
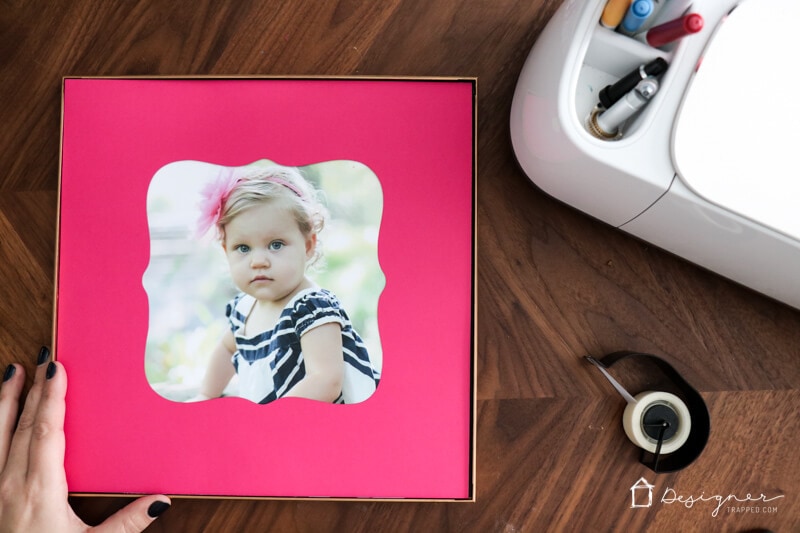
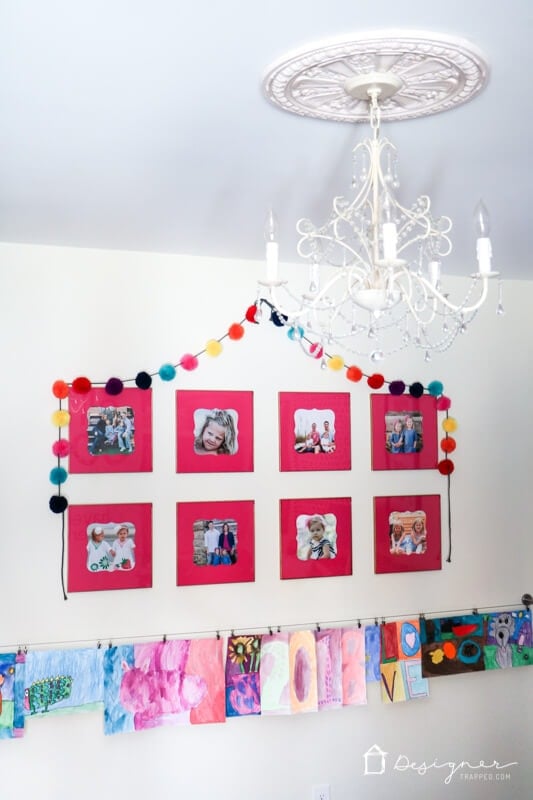
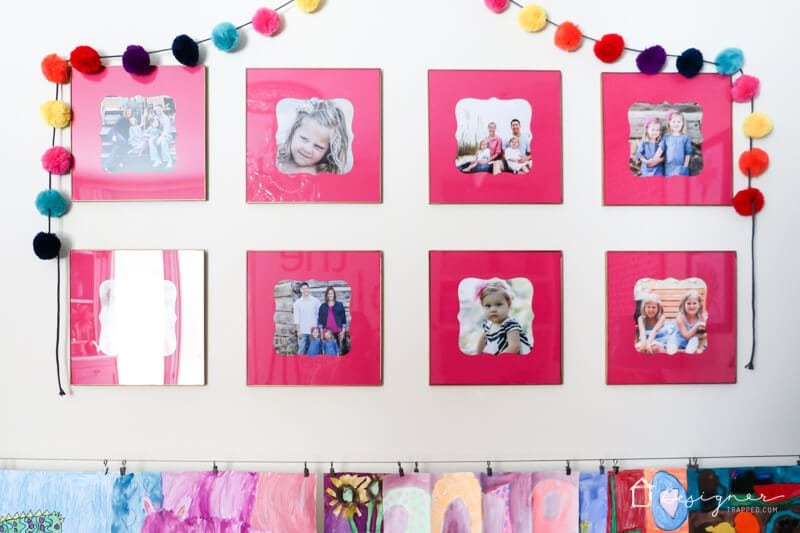
VOILA! Check out that photo gallery wall that wound up being SUPER affordable. Between the crazy inexpensive frame solution I came up with and these DIY photo mats, the entire project cost right at $65.00. Huge impact, low price. Gotta love it. Now my sweet Attley has EVEN MORE pink in her room and plenty of family photos :)
This is a sponsored conversation written by me on behalf of Cricut. The opinions and text are all mine.
[mv_create 1 11 200 2016 key=”1″ type=”list” title=”Most Popular Projects” thumbnail=”</span><a href=” https designertrapped com wp content uploads diy home decor projects blog jpg target=”_blank” a span]

Last Updated on March 3, 2022