DIY Stocking Holder Stand: No Mantel? No Problem!
This post is sponsored by The Home Depot.
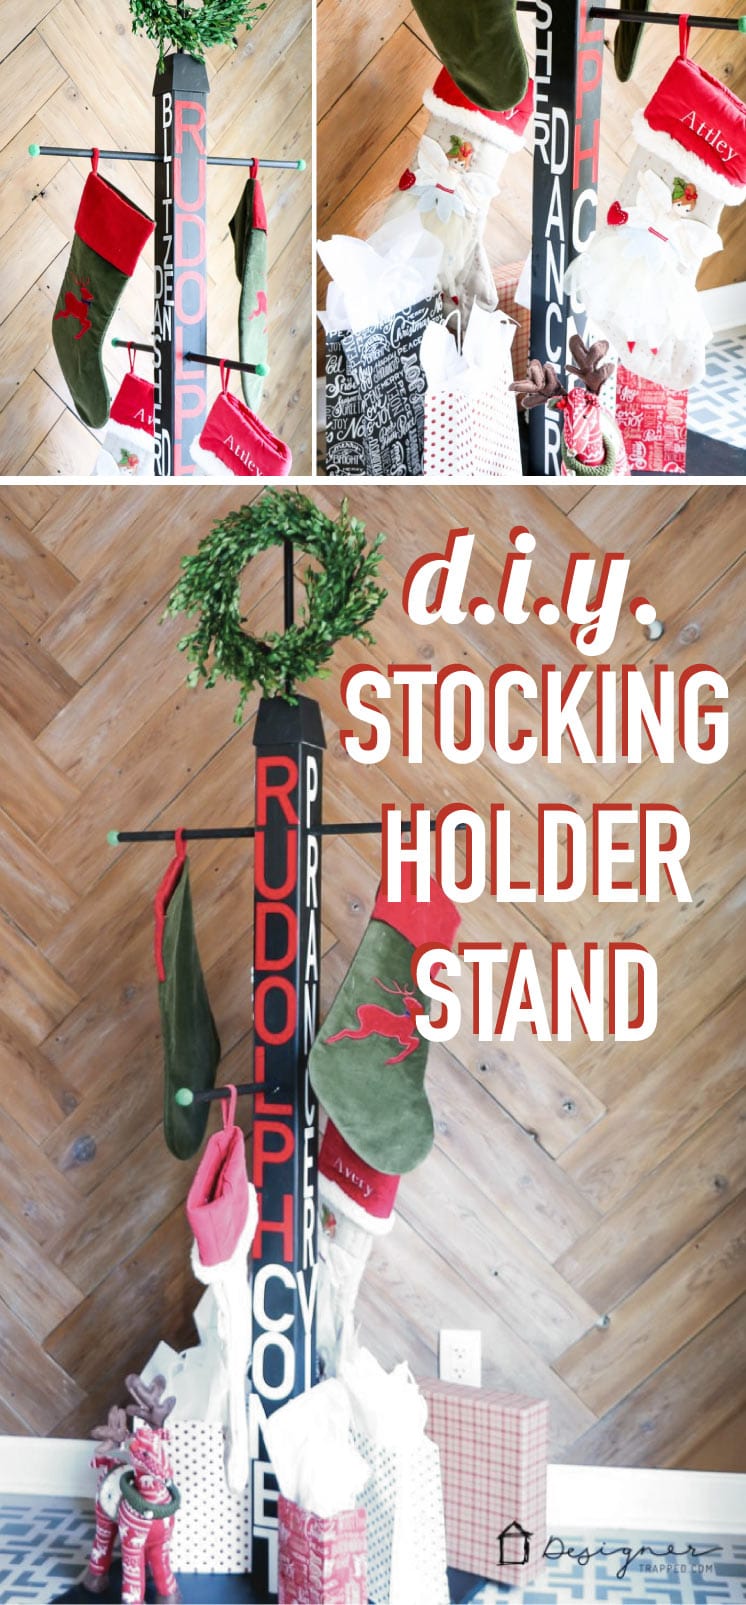
Hey friends! It's time for the #DIYworkshop virtual party. Not only am I going to show you how I made this awesome DIY stocking holder stand, but you are also going to get to check out how 20+ other bloggers made them as well (you'll find links to their projects at the end of this post). And, you can register to take advantage of the DIY workshops offered at your local Home Depot store. This Holiday Stocking Post workshop is being offered on November 19th. Click here or click the image below to register now.
The Home Depot has three types of workshops: Do-It-Yourself (DIY), Do-It-Herself (DIH), and even one exclusively for kids!!! The kids' workshops are definitely something we'll be taking advantage of over the years. Our twin girls are natural-born DIYers :) Now, read on to learn how to make my version of this DIY stocking holder stand.
DIY Stocking Holder Stand Tutorial
I purchased everything I needed for this project at The Home Depot. If you want to give it a try, you’ll need:
- 1 – 4″ x 4″ x 4 1⁄2′ Pressure-Treated Pine Wood Premium Eased Edge Deck Post
- 1 – 22 ⁄32″ x 2 ‘x 2 ‘ Sanded Plywood (we had to purchase a 2′ x 4' piece and cut it to size)
- 1 – 4″ x 4″ Wood bun foot
- 1- 2′ x 5/8″ wooden dowel
- Phillips Flat-Head Wood Screws
- Drill and appropriate drill bits
- Hack saw
- Circular saw
- Boxwood wreath on stand
- Optional: 4 luminaries or lanterns (I used 2 of these white, battery-operated lanterns and 2 of these white, battery-operated lanterns)
- Measuring tape
- Chalk line
Steps to make a stocking holder stand:
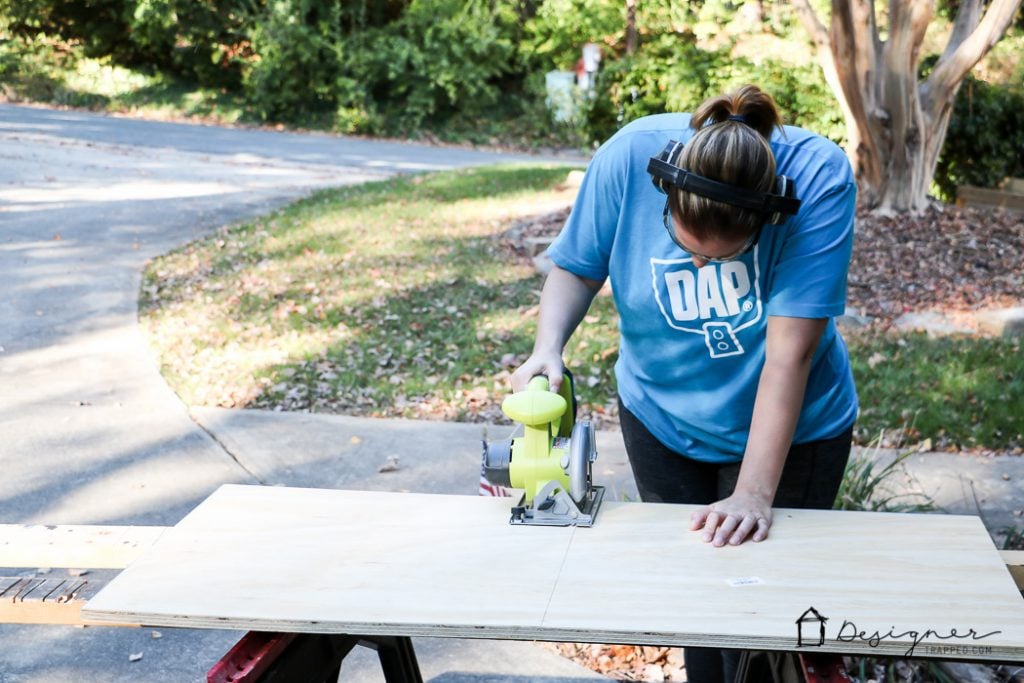
1) We started by cutting our plywood down to 2′ x 2′. My sweet daughter Avery captured this LOVELY photo of me measuring for my cut. She loves taking photos :)

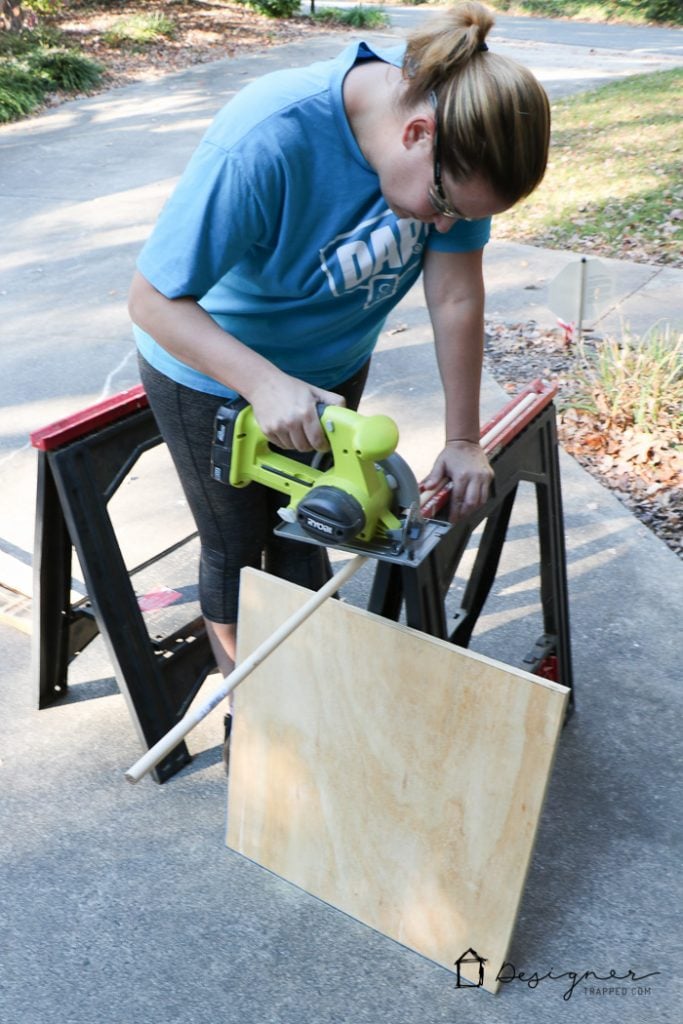
2) Next, I cut my 2″ dowel in half.
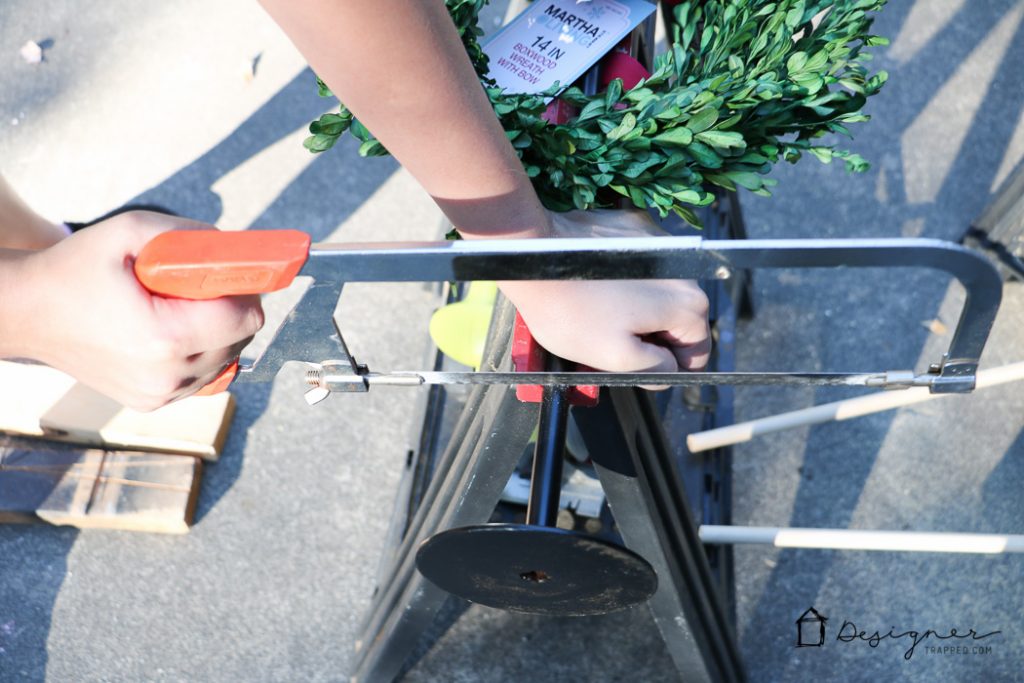
3) I loved the boxwood wreath on a stand that I picked up at The Home Depot, but it was a bit too tall for what I had in mind for my stocking holder stand, so I cut down the length of the stand using my hack saw.
4) Next, I marked the center of my plywood base with a chalk line and drilled a hole in the center so I could easily attach the post of my stocking holder stand after everything was painted. Then, I painted my plywood, post, bun foot and wooden dowels with black paint.
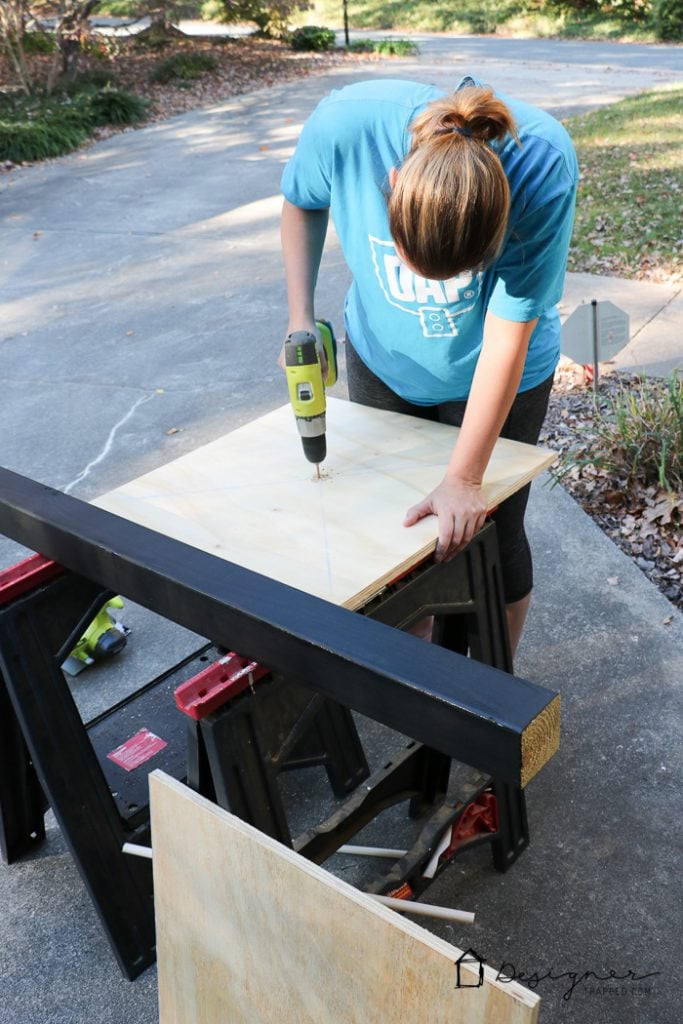
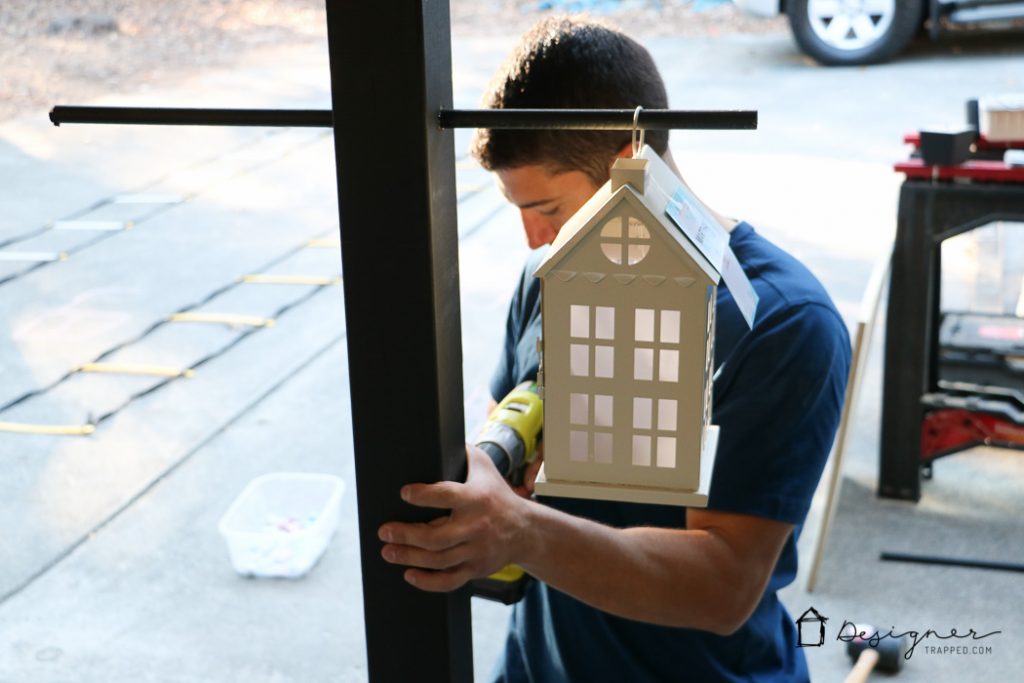
5) Once everything was painted, we attached the post to the plywood base using wood screws and attached the bun foot to the top of the post to give it a more finished look. Then, we drilled holes for the wooden dowels to go all the way through the post using a 5/8″ paddle bit. We installed the top dowel rod first and then hung the tallest lantern and longest stocking on it to measure where we should hang the lower dowel rod. As you can see, we hung the rods on opposite planes of the post.
6) Finally, we drilled a hole on the top of the bun foot to accommodate the pole of the boxwood wreath. Then we inserted the wreath and we were in business!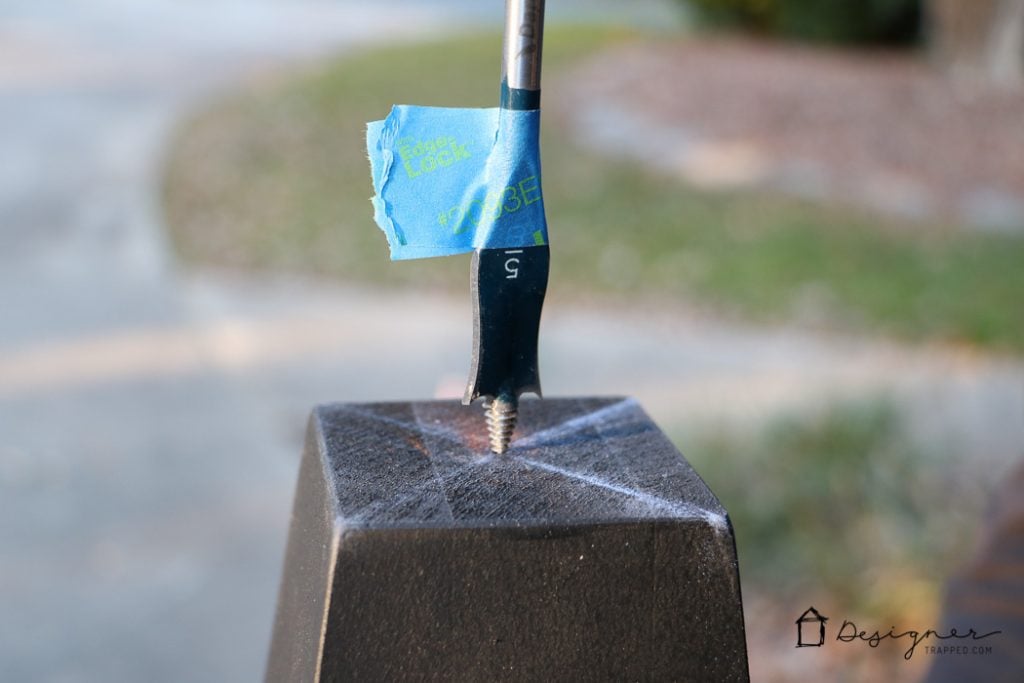
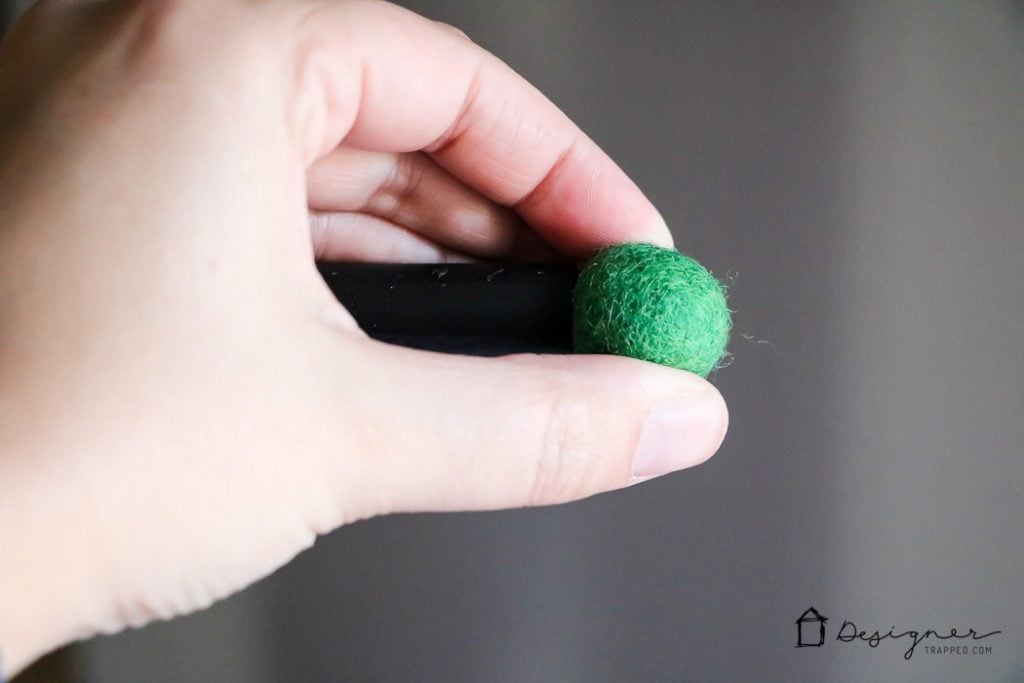
7) To make the stocking holder stand a bit more decorative, I cut all of Santa's reindeer names out of vinyl and attached them to the post. I also used hot glue to attach green felt balls to the end of each dowel rod.
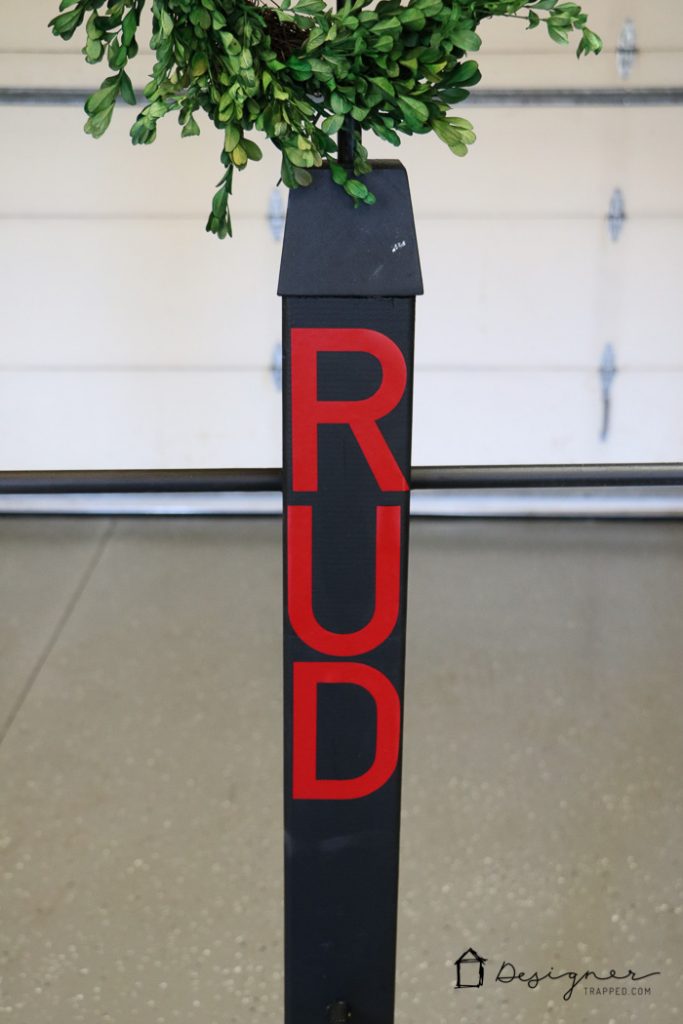
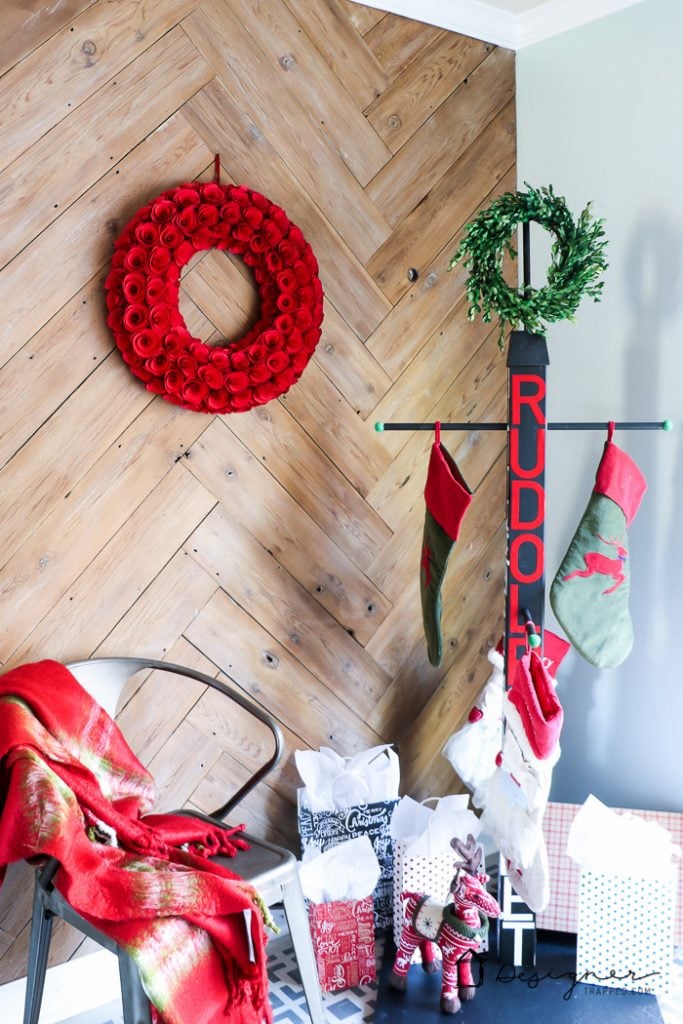
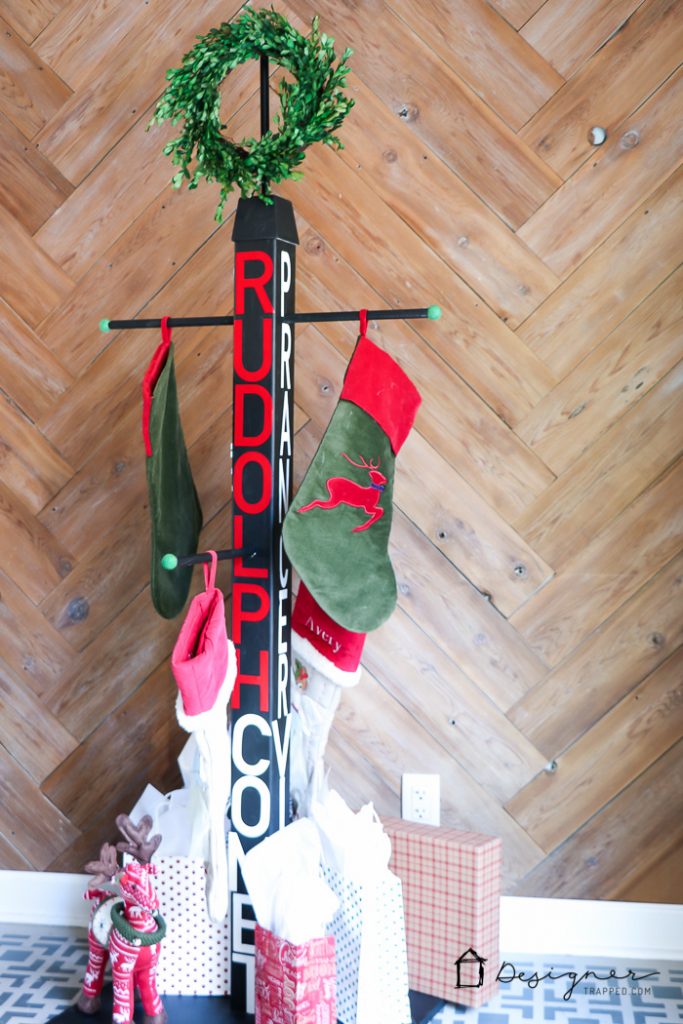
Here's the finished stocking holder stand! Isn't it fun?! It's perfect for hanging stockings INSIDE if you don't have a mantel where you like to hang them, but it's also perfect for hanging lanterns OUTSIDE! First, let's take a look at how it looks as a stocking holder stand.


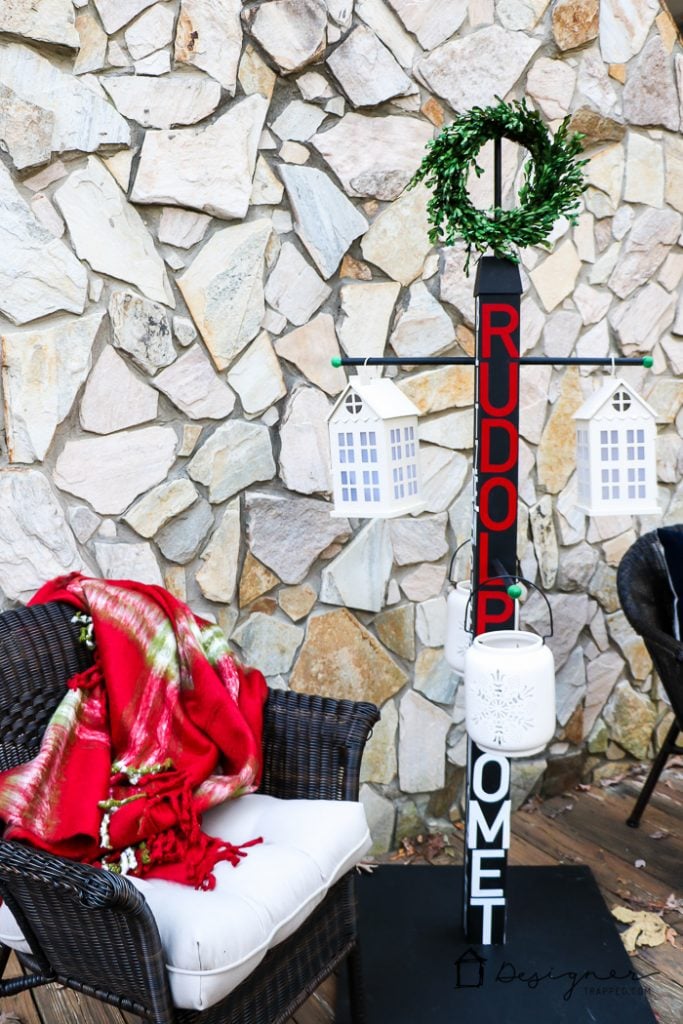
And now, let's check out how it looks as an outdoor lantern holder. I love it both ways!
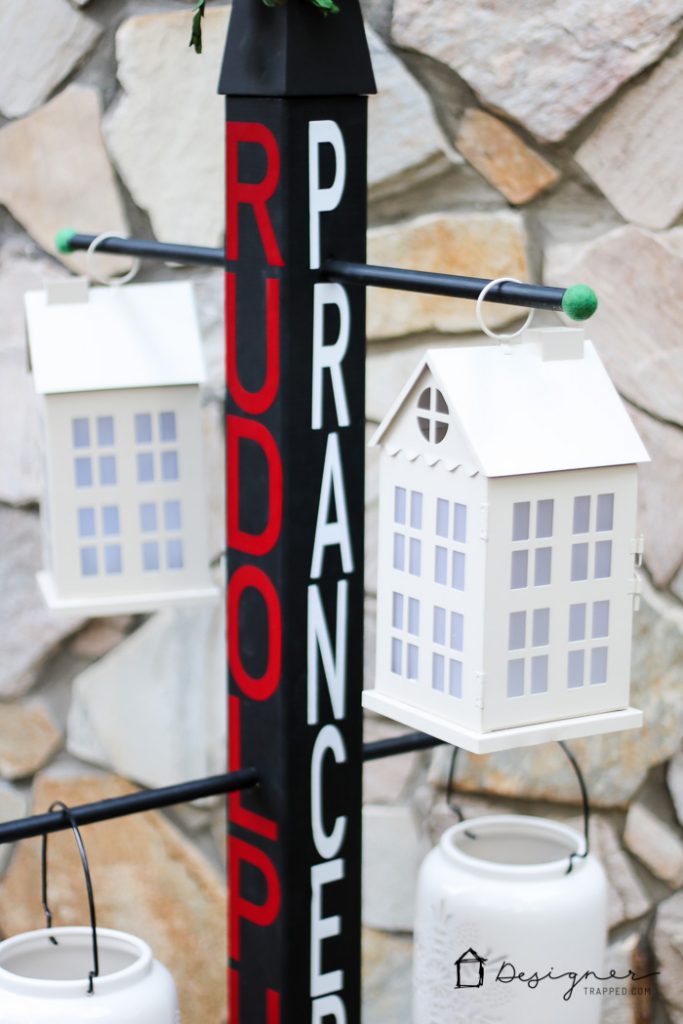
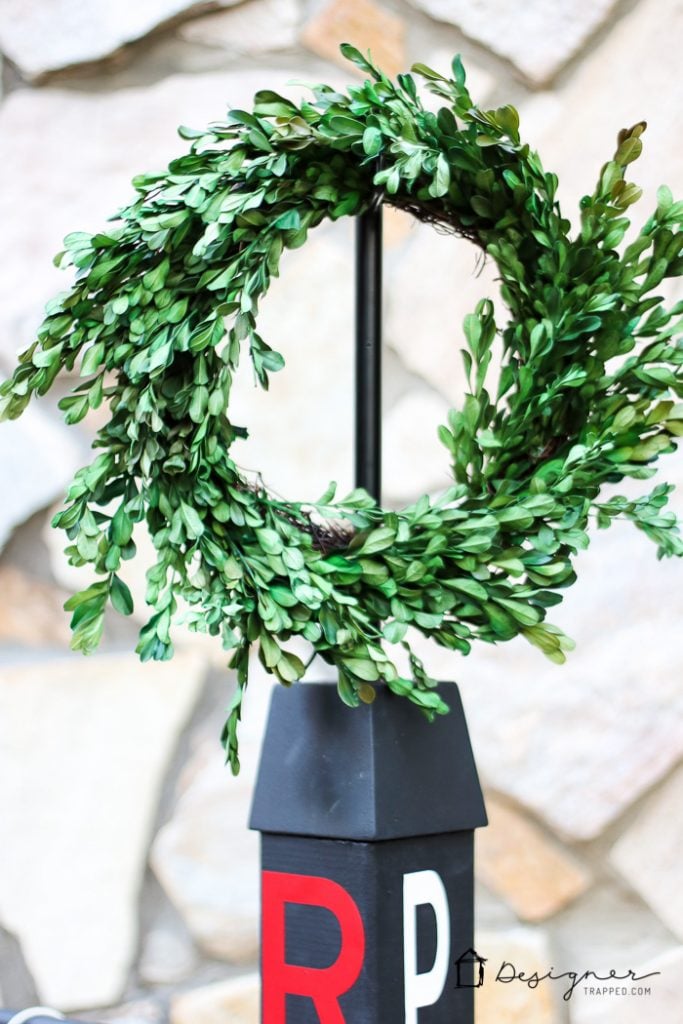
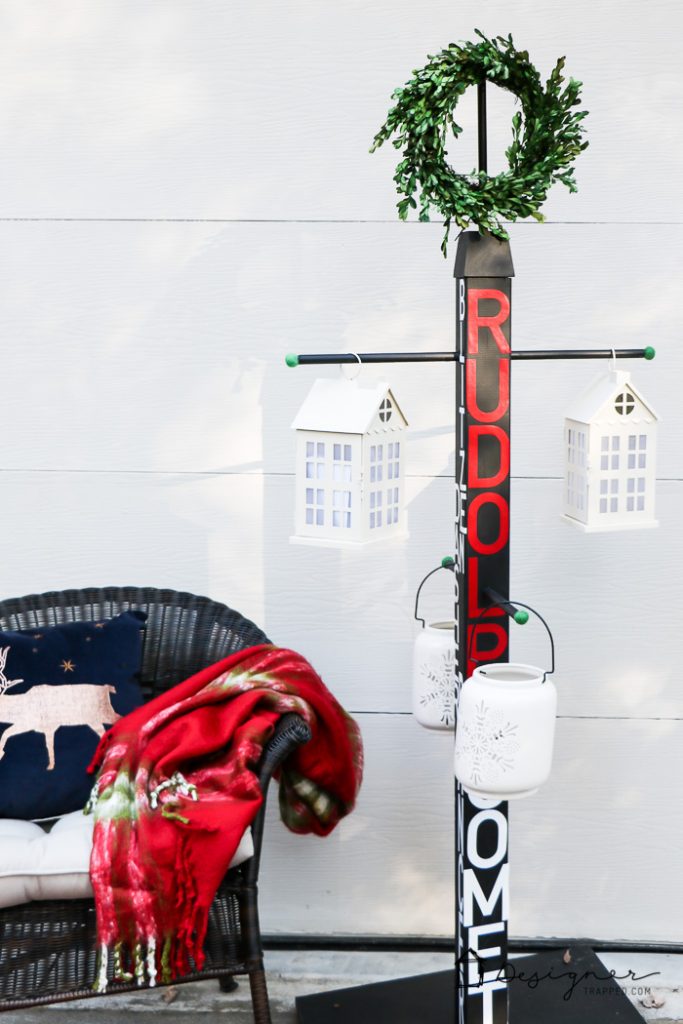 What do you think? I love such a versatile project! And it's TOTALLY doable even if you are new to DIY projects. If you want in-person, hands-on help from the best with this project, don't forget to click here to sign up for the in-store Holiday Stocking Post workshop that is being held on November 19th.
For even more inspiration for how to put your own spin on this project, click on any of the links below to check out what 20+ other super talented bloggers have created!
My Altered State

[go_portfolio id=”christmas”]
Last Updated on March 3, 2022

How awesome to have your own professional photographer! :) She takes gorgeous pics!
Now, I love the dual purpose of the post, I think I’m gonna get me some more lanterns!
It turned out so cute. I love the wreath on top! Now my afternoon is shot because I want to see everyone else’s stand. ;)
LOL thanks Heather! It was a fun and easy DIY.