DIY Upholstered Headboard
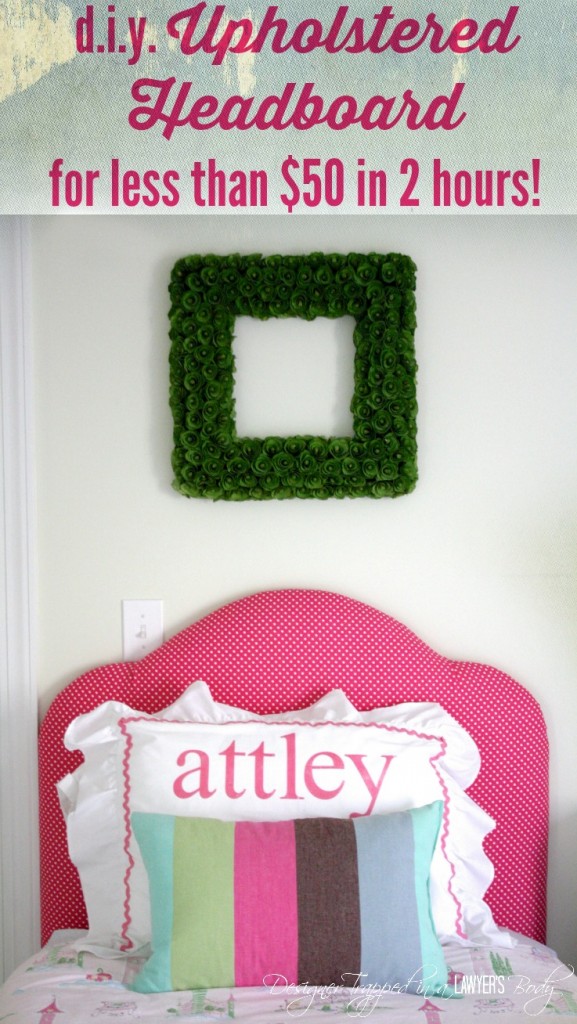
Hello lovely readers! Have you looked at the price of beds lately? They are SUPER expensive! Upholstered headboards can be particularly expensive, but I do love them. Well, I am here today to show you how to make an upholstered headboard for less than $50 in one afternoon. It's totally doable and the end result is gorgeous.
We made beautiful upholstered headboards for our twin girls' room a little over a year ago. If you have not seen it already, can check out their “big girl” room reveal here. The beds are the focal point of the room and they were so affordable! Now, read on to learn how to make an upholstered headboard of your own! This post contains some affiliate links. Click here to read my full disclosure policy.
How to Make an Upholstered Headboard:
Materials needed:
- 1/2 inch thick, 4x 8 foot piece of OSB {you can also use MDF or plywood if you already have some–we had to purchase it so to save $, we went with OSB}. NOTE THAT THIS WAS ENOUGH TO MAKE TWO HEADBOARDS, SO YOU MAY BE ABLE TO HAVE THE BOARD CUT IN HALF TO SAVE $ IF YOU ARE ONLY MAKING 1 HEADBOARD.
- Fabric of your choice {the amount you need will depend upon the dimensions of your headboard AND the width of the fabric–I used Premier Prints Dottie Candy Pink/White fabric from Online Fabric Store. It is 54 inches wide, so I used 1 1/4 yards per headboard}
- 1 twin egg crate {I found mine for $14.99 at Target, which is the best price I have seen}
- Batting
- Scissors
- A sharpie or other marker
- A Staple Gun
and staples
- Circular Saw
- Jig Saw
Steps:
1) Determine the size and shape of your headboard– There are SO many shapes to choose from, as you can see from this handy visual aide that I found on one of my favorite blogs, Thrifty Decor Chick:
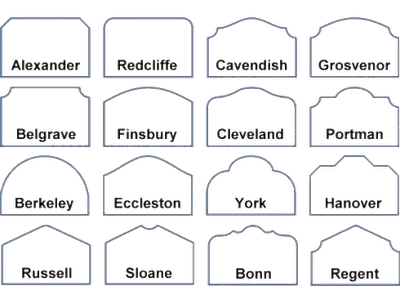
After much deliberation, my husband and I chose the York shape. We like the simplicity of it and felt that it was “soft” and “sweet” enough for our twin girls.
2) Decide on the size of your headboard– After choosing the shape, we took some very crude measurements and opted to make our headboards 39 inches wide {the width of a twin mattress} and 44 inches tall {at the tallest point}. The height of your headboard can vary. We knew we wanted to mount our headboards on the wall and that we wanted the bottom portion hidden behind the mattress, so those are the factors we considered when deciding the height of our girls' headboards.
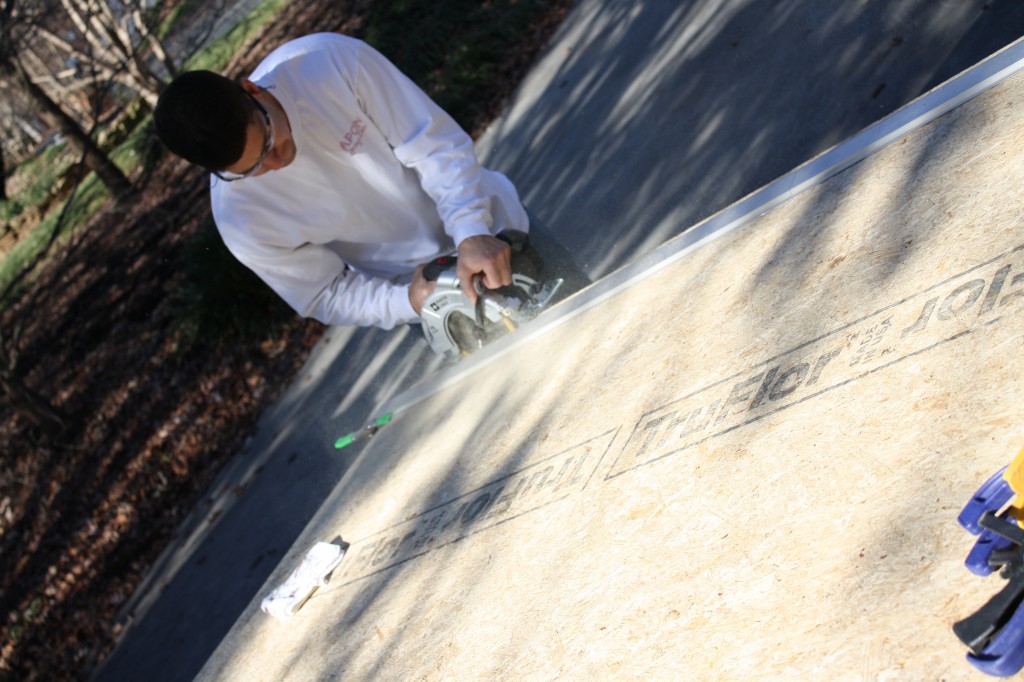
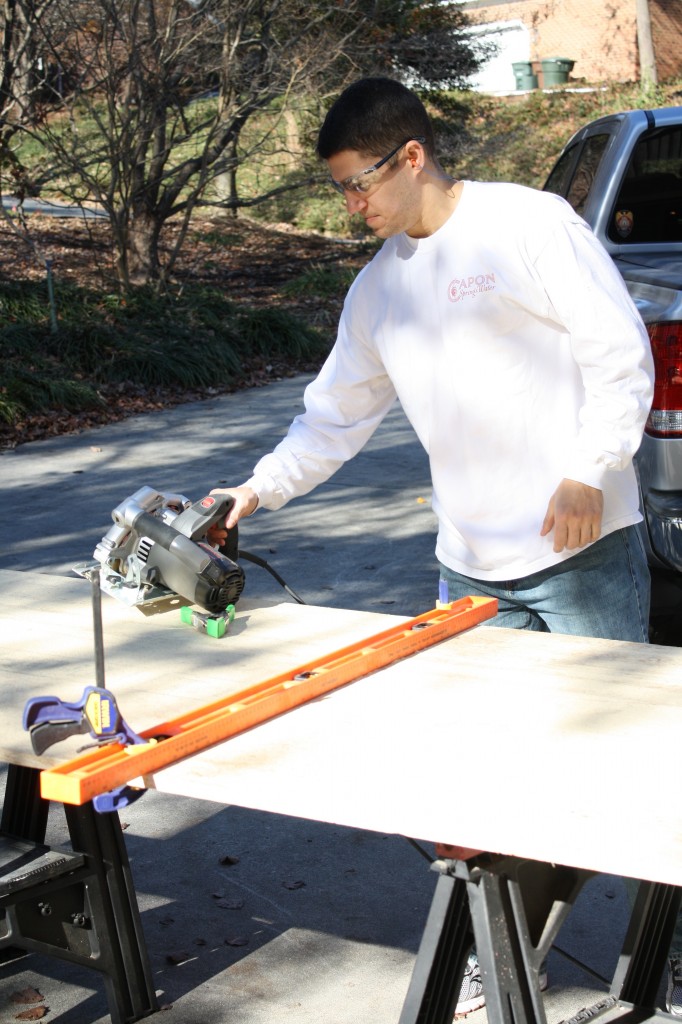
3) Cut your wood to size– We started by cutting the OSB to size. This meant cutting it to 39 x 44 {our selected width and height}. We used a circular saw and straight edge for this step. If you do not have the ability to cut your headboard to size, the friendly folks at Lowe's or Home Depot will do it for you {sometimes they charge a small fee}.
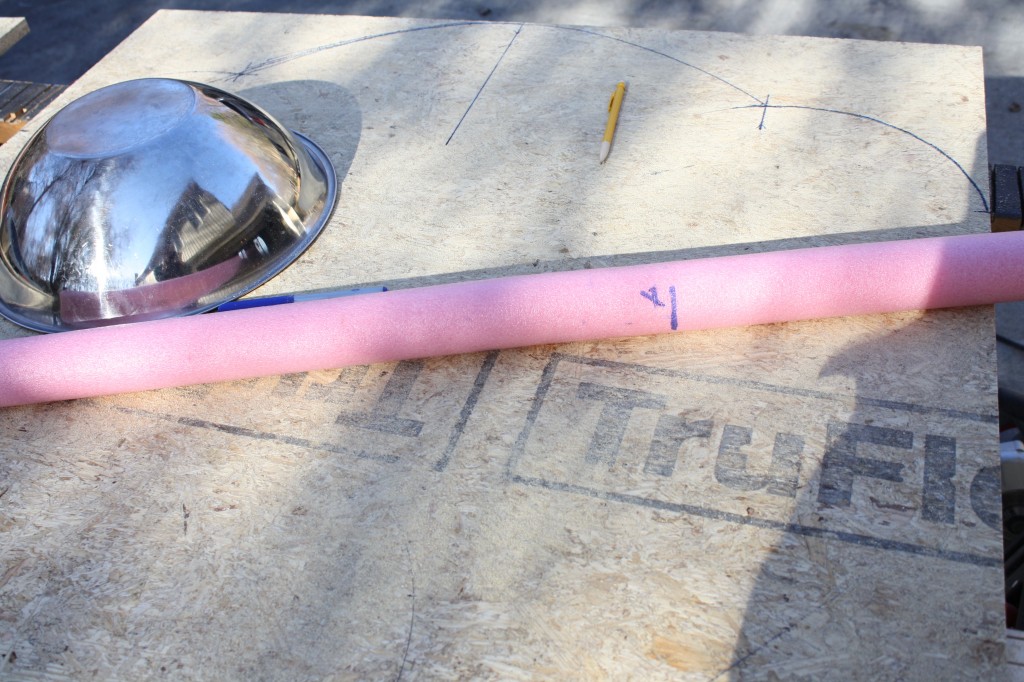
4) Sketch Out Your Shape– This was the hardest step for us, believe it or not. After trial and error, we realized that using a large mixing bowl and pool noodles {ummm, yep, you read that correctly} was the best way for us to get the soft curves we wanted. We marked the top center of the wood and two points on each side to ensure that our curves were symmetrical. Then we traced the shape of the curves with a sharpie.
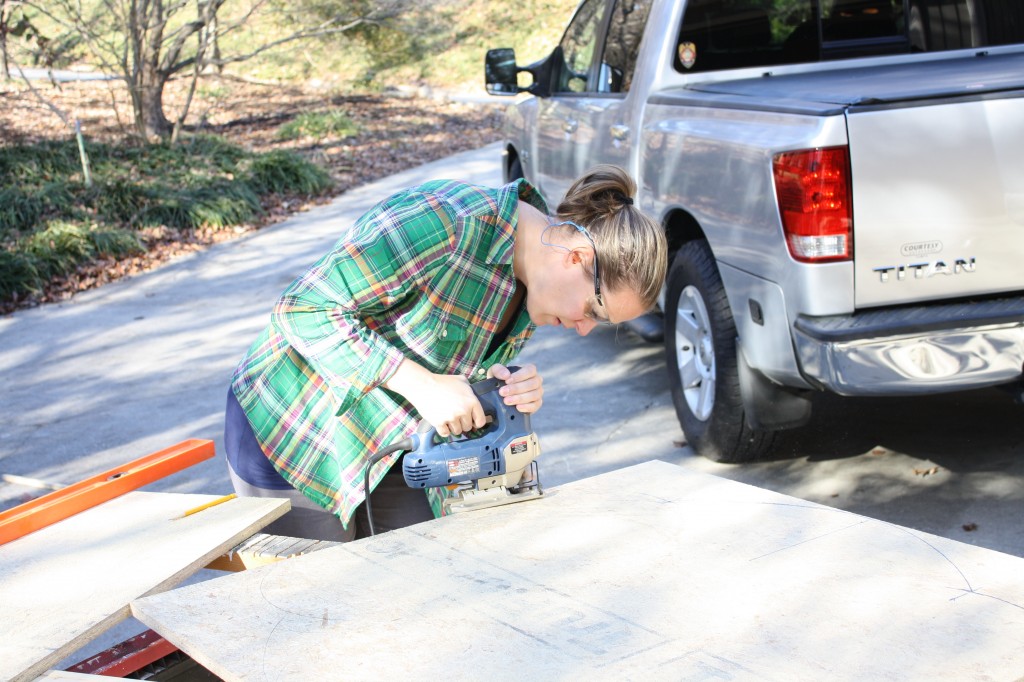
5) Cut out your shape with a jigsaw– This is kind of fun, if you like power tools. I just followed the lines we had drawn with our marker and VOILA, we had the base of our headboard ready to go! {If you are making two headboards, like we were, lay the first headboard on top of your second piece of wood and trace the shape onto the second headboard–so much faster than figuring out the curves all over again}.
6) Cover your headboard with the egg crate– First, we cut the egg crate in half length-wise so that we could double up the thickness to make our headboard nice and plush. Then, we laid both pieces of egg crate on top of each other, with the “egg” sides facing in toward each other. Finally, we placed both pieces of egg crate on top of the cut out headboard and stapled it in place. You CAN use foam from the foam and fabric store, but it is WAY more expensive than purchasing egg crates. Using egg crates is another brilliant idea that came from Sarah at Thrifty Decor Chick {love her!}. I found mine at Target for $14.99 each.
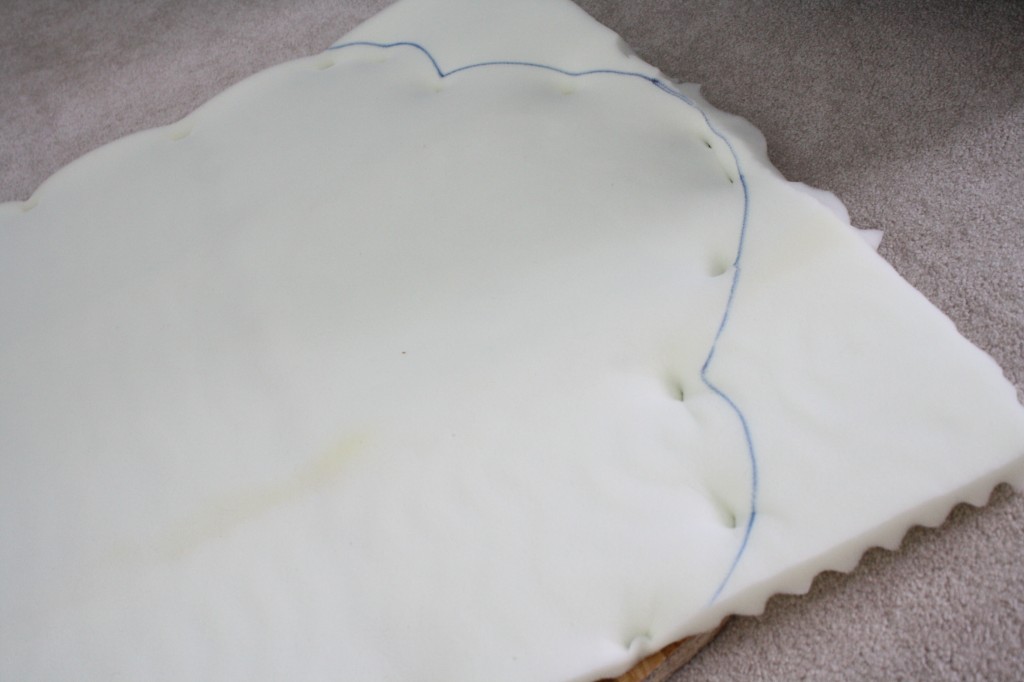
7) Trim off the excess foam– Next, using scissors, we trimmed the excess foam off, using a line we had traced onto the foam with a marker as our guide.
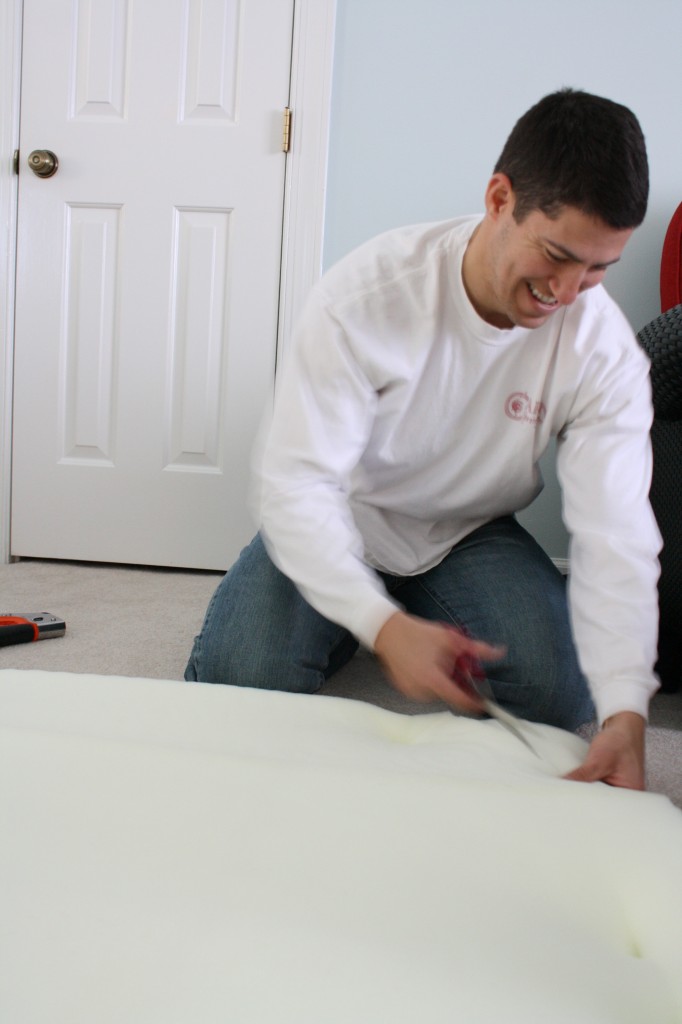
{I wish I would remember what Joe was laughing at in this picture. Probably something hilarious that I said because…well, I'm hilarious}.
8) Cover the headboard with batting– After trimming the excess foam away, we covered the entire headboard with batting, wrapping it around the back of the headboard and stapling it in place. I used 2 yards of batting for each headboard. The batting was 48 inches wide, which gave us plenty to wrap around the back.
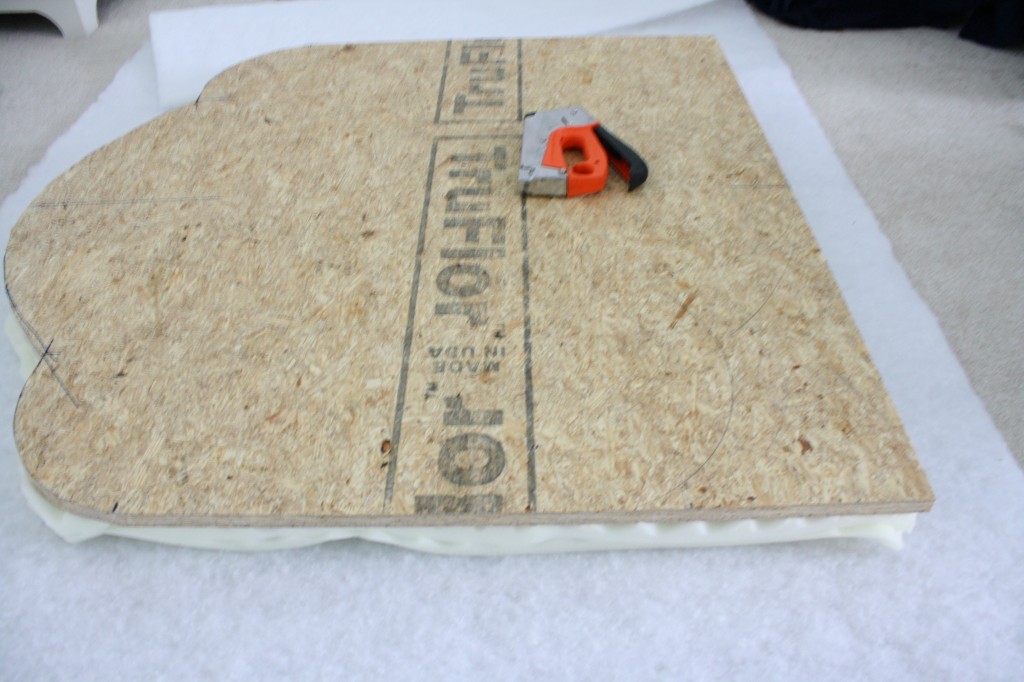
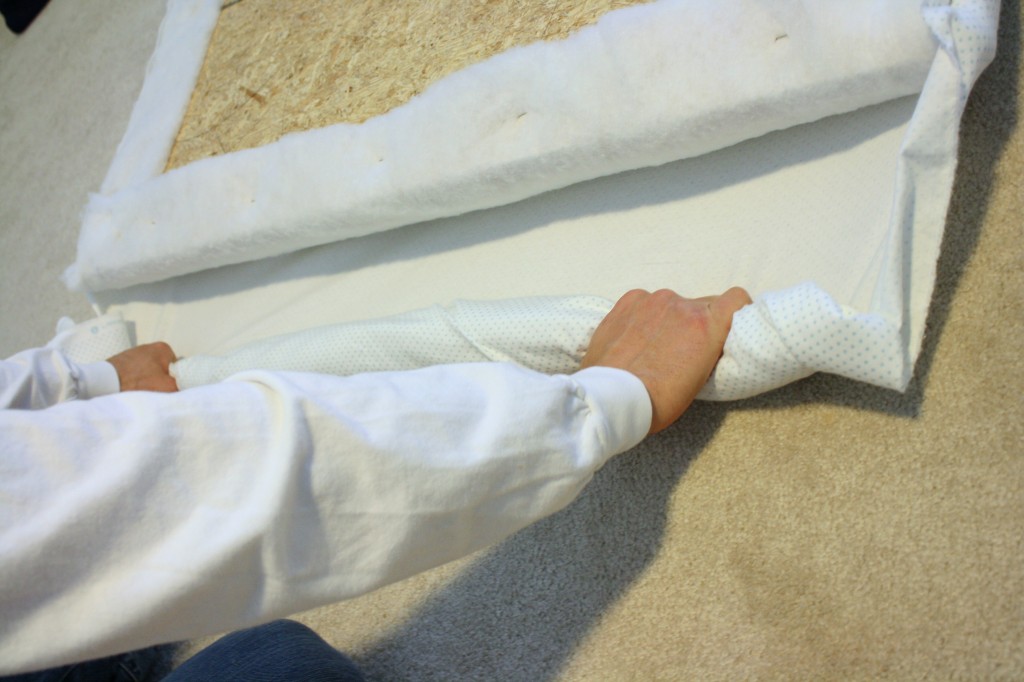
9) Cover the headboard with fabric– Ahhhh, this was the moment we had been waiting for. Truthfully, up to this point, our headboard looked like a hot mess. I was starting to worry it was going to be an epic fail. But, we pressed on and covered the entire headboard with our FIRST lovely fabric {it was white flannel with teeny tiny blue polka dots–read on for details about why we changed it}. The fabric I chose was only 41 inches wide, which was just barely wide enough to cover the headboard, but it did work. I used 2 yards of fabric for each headboard, which was more than enough, given that the headboard at it's tallest point is only 44 inches. Just like with the batting, we wrapped it around the back of the headboard and stapled it in place.
A couple of tips for this step: The more hands available, the better. Why? Because you want to pull the fabric TIGHT. To accomplish this around the curves, you really need someone to hold the fabric tightly with two hands while the other person staples.
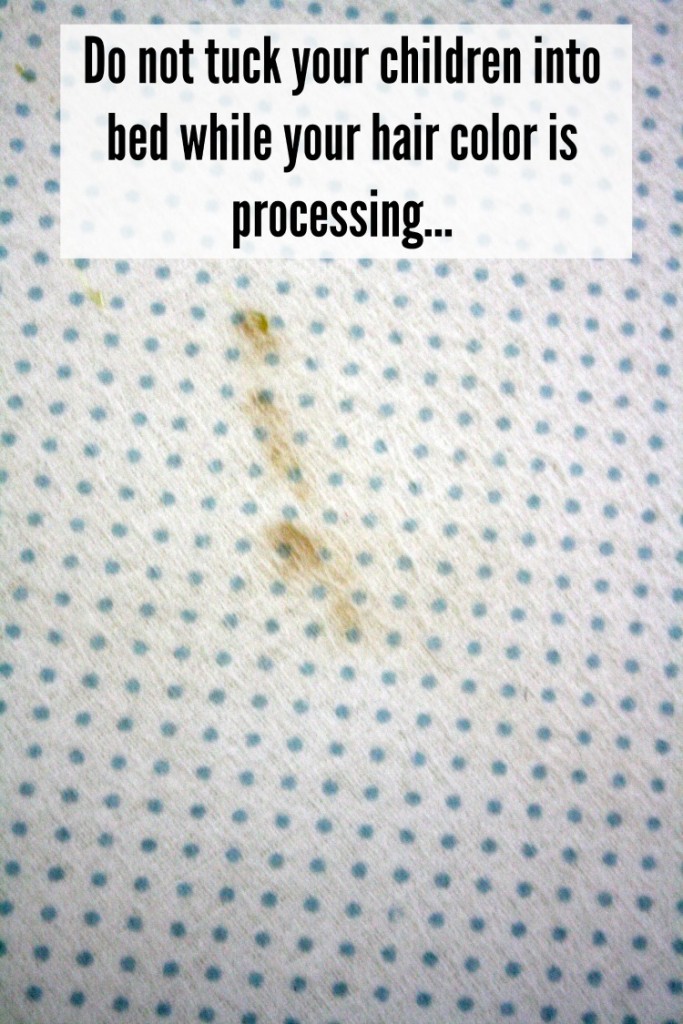
About 6 months after we finished the girls' headboards, I got hair dye on Attley's headboard. Why, you ask?! Well, I am a multi-tasker to a fault, so WHY NOT TUCK MY GIRLS INTO BED WHILE MY HAIR COLORS IS PROCESSING?! Doesn't everyone do that? Well, here's a hot tip. DON'T DO IT! This is what happened. I got a big stain on Attley's headboard. She was pretty distressed about it. She likes things very clean.
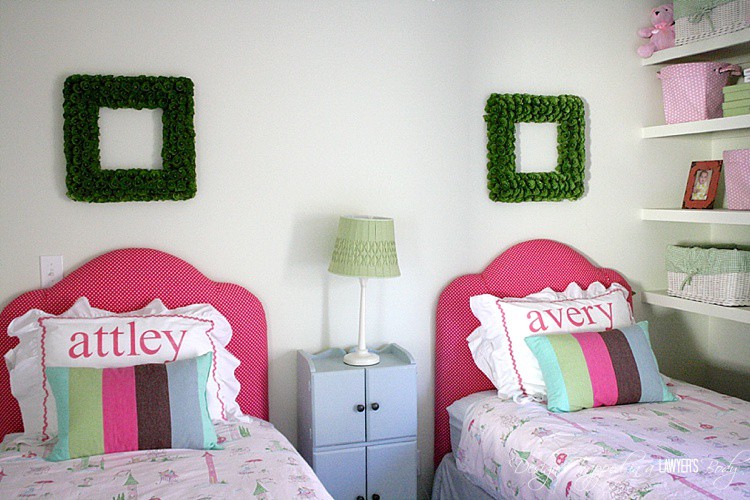
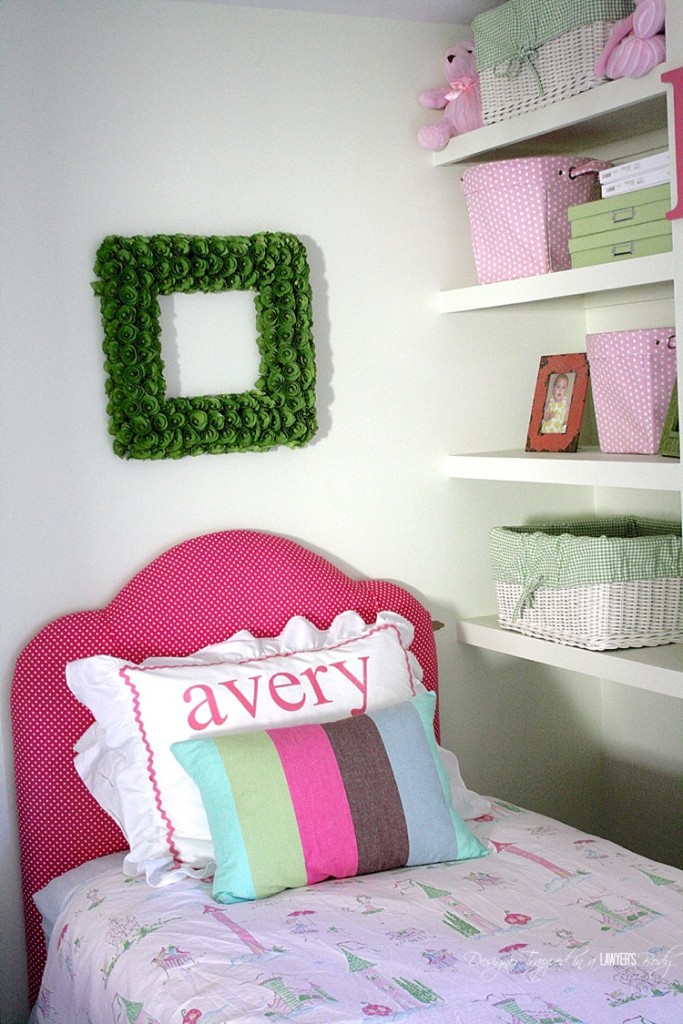
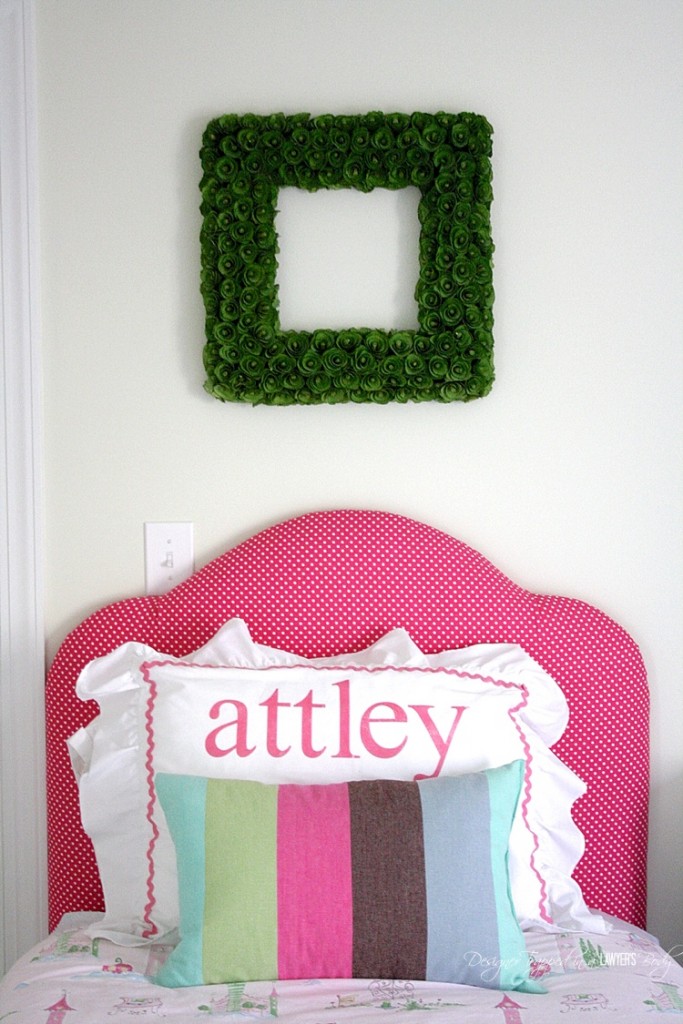
So she was VERY excited when I finally got around to re-upholstering it with new PINK {both my girls love pink} fabric.
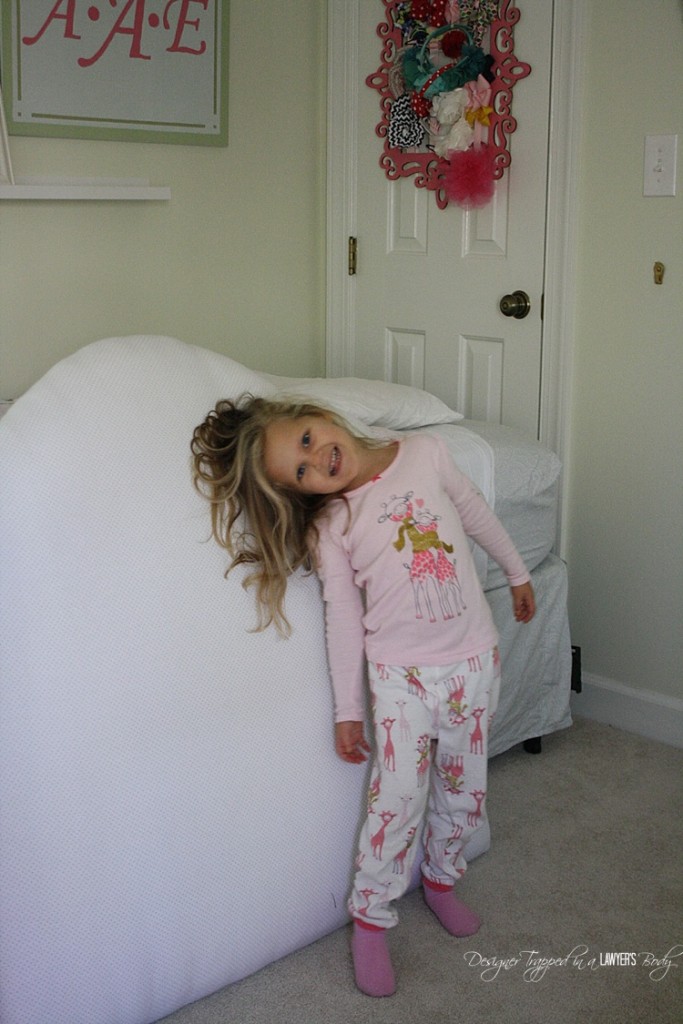
It was super easy to do–I just wrapped it over the existing fabric. It took about 5 minutes per headboard.
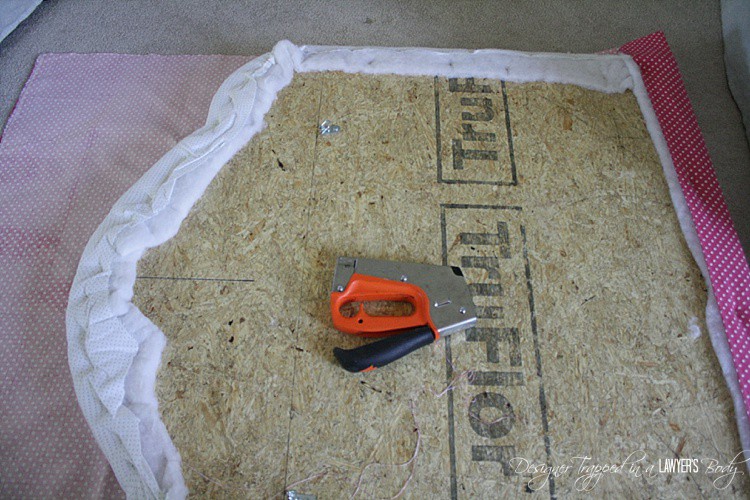
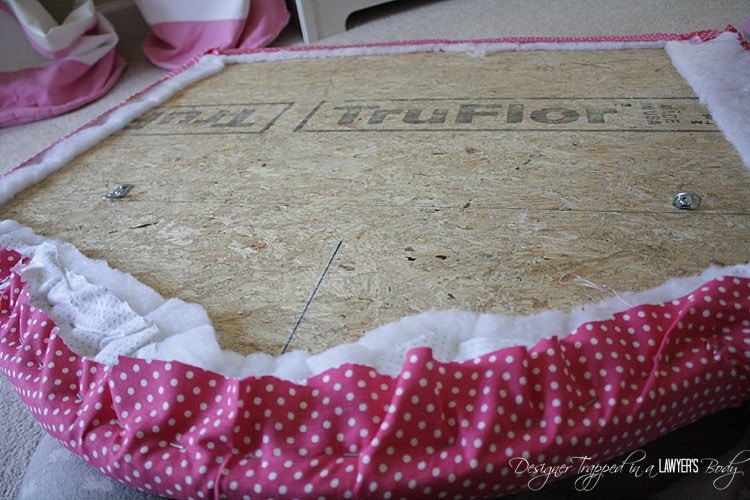
10) Hang your headboard– Once your upholstering is done, you can hang your headboard. We used D rings to hang our headboards on the wall. We were also careful to use appropriate, heavy duty drywall anchors since we did have studs where we needed to hang the headboards.
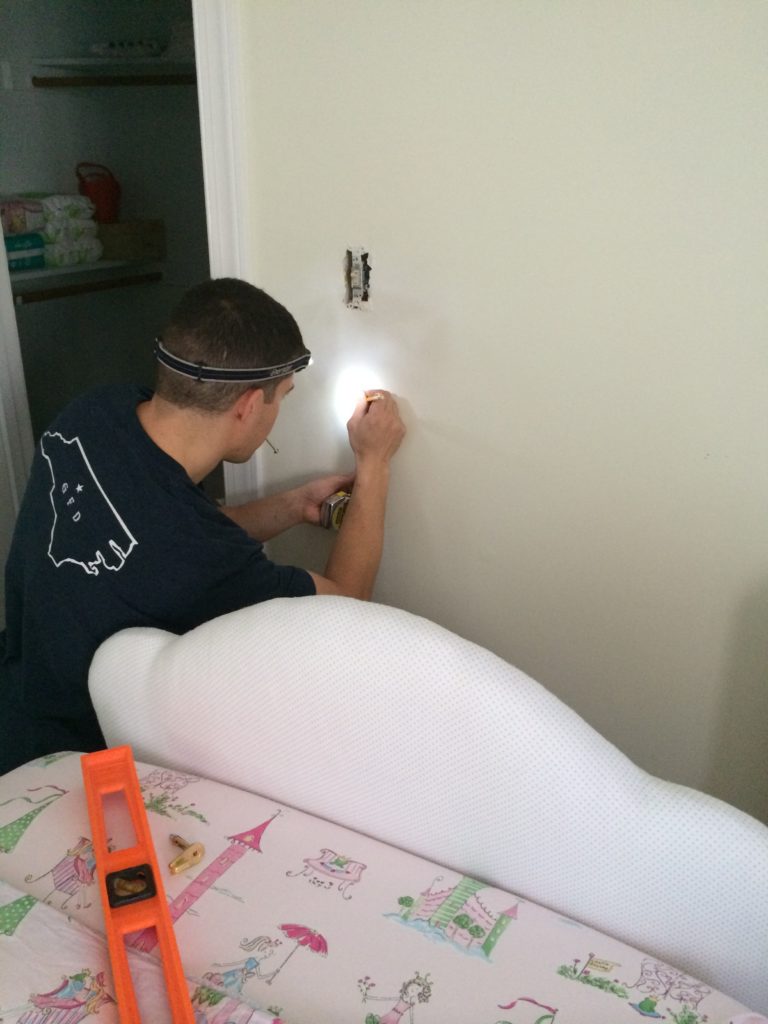
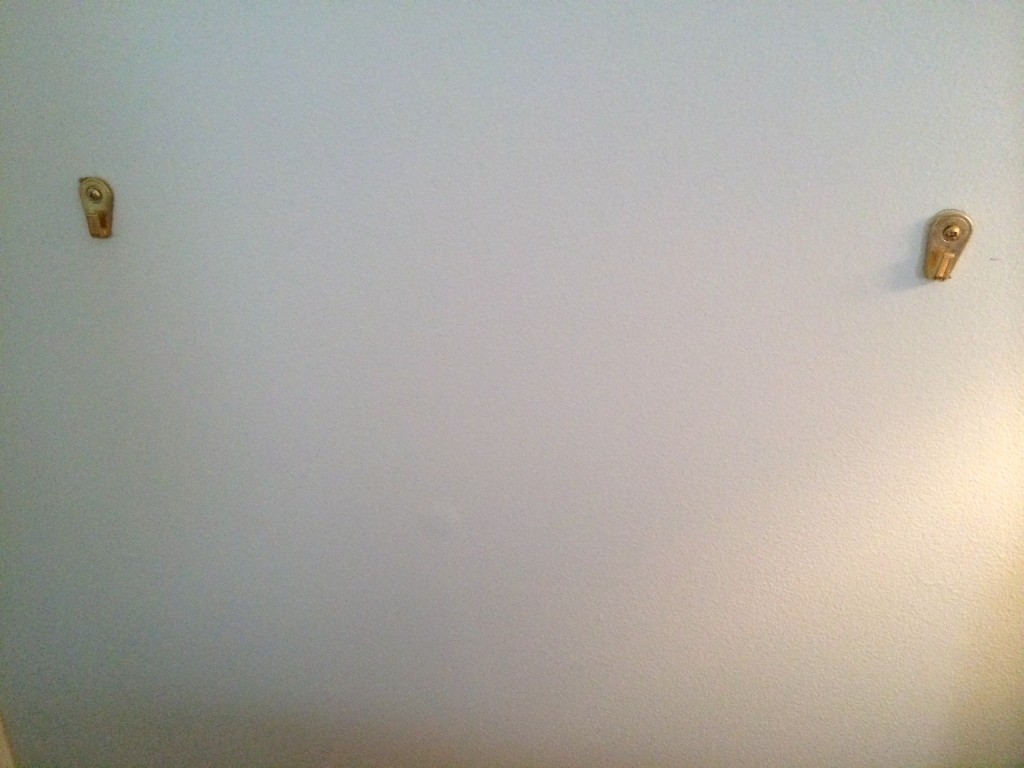
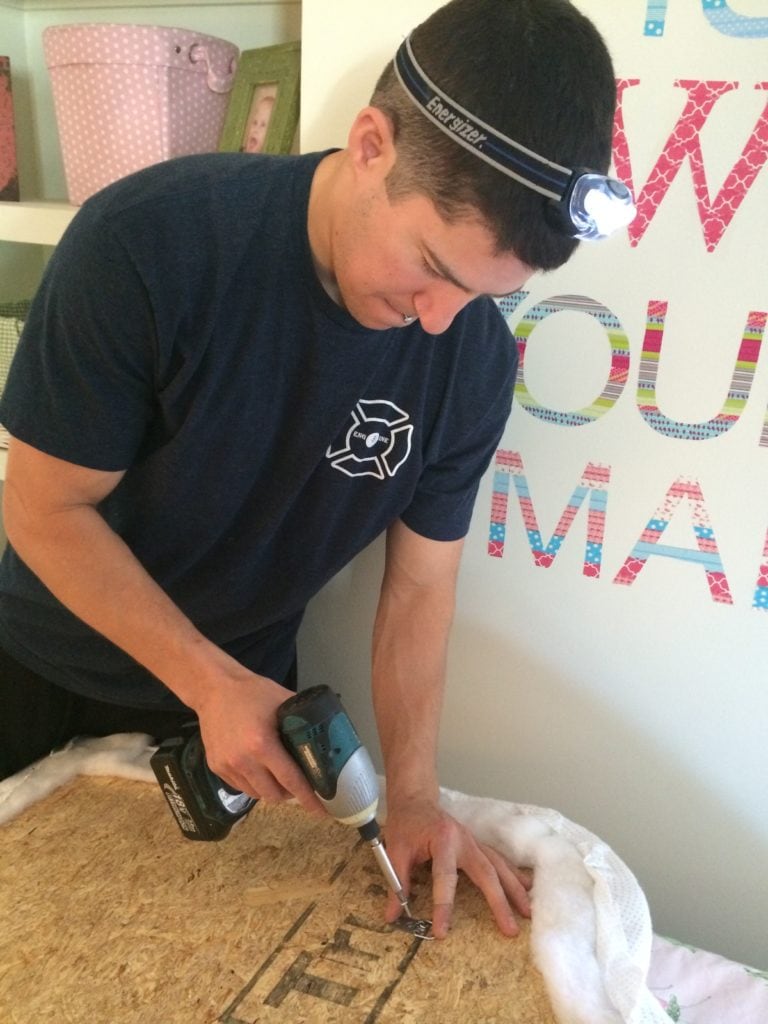
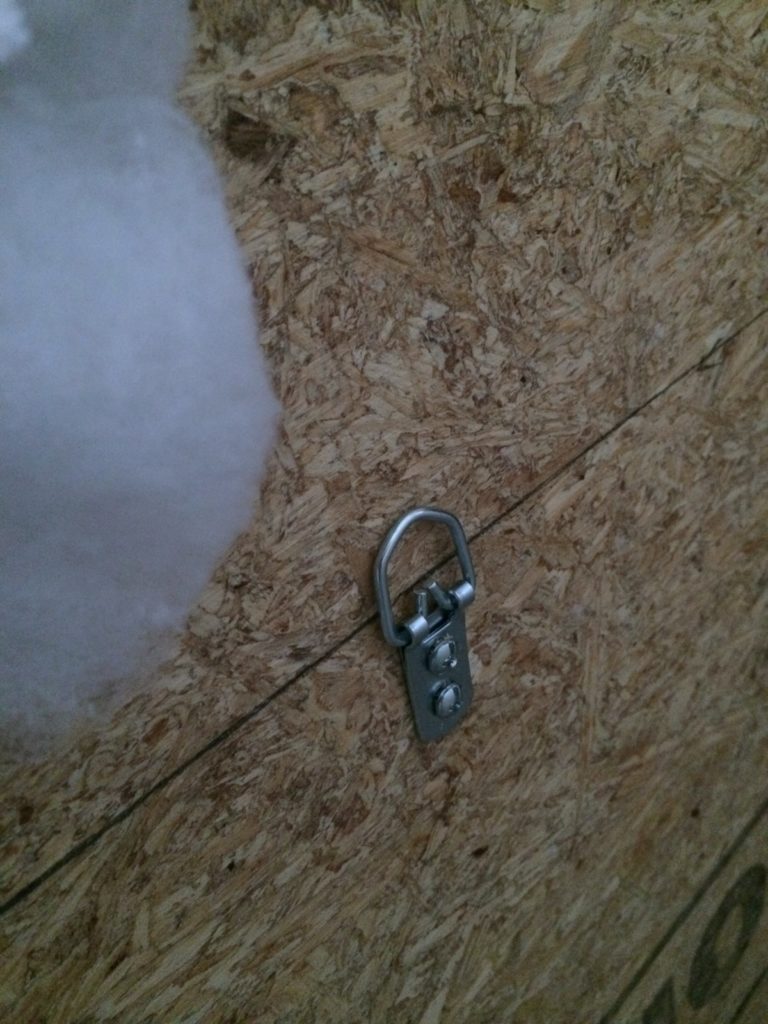
11) Stand back and admire your beautiful DIY upholstered headboard– I LOVE our girls' headboards! I also love that it was super easy to change the fabric after I ruined one with my hair dye {don't worry, I won't let it happen again}. That means that if our girls get tired of pink as they get older{fingers crossed} we can easily change the fabric out again!
Check out the finished result!
Cost for 1 headboard:
- OSB: $10 {$20 for the entire 4 x 8 board, but again, we were able to make two headboards out of that}
- Egg crate: $15
- Fabric: $6.98 (2 yards at $3.49/yard–on sale}
- Batting: $4.98 {2 yards at $2.49/yard–on sale}
- Hardware for hanging the headboards: $6.00
TOTAL: $42.96
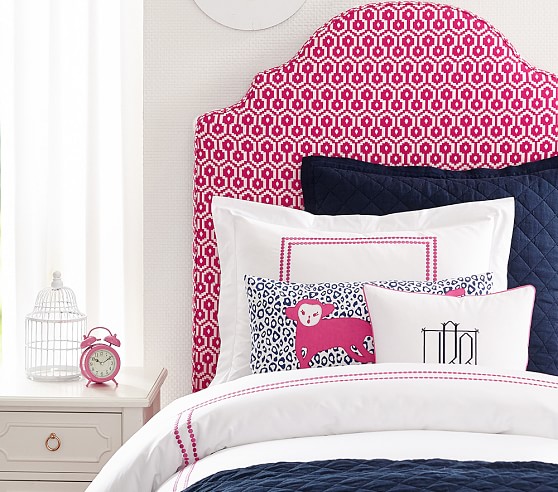
Not bad for a totally custom headboard! You can find upholstered headboards for sale all over the place, but they are EXPENSIVE, like this one from Pottery Barn Kids that sells for $424.00 {JUST for the headboard}! That's almost 10 times more than what mine cost!
Source: Pottery Barn Kids
Make this yourself and save tons and tons of money!
Timing:
Bearing in mind that we had purchased all of our materials and had selected our shape and size ahead of time, we put our girls down for a nap one day and hopped to it. We completed Steps 3 through 9 for two headboards DURING ONE AFTERNOON NAP {about 3 hours}. That means we completed a single headboard in less than 2 hours! Like I said, you can do this!
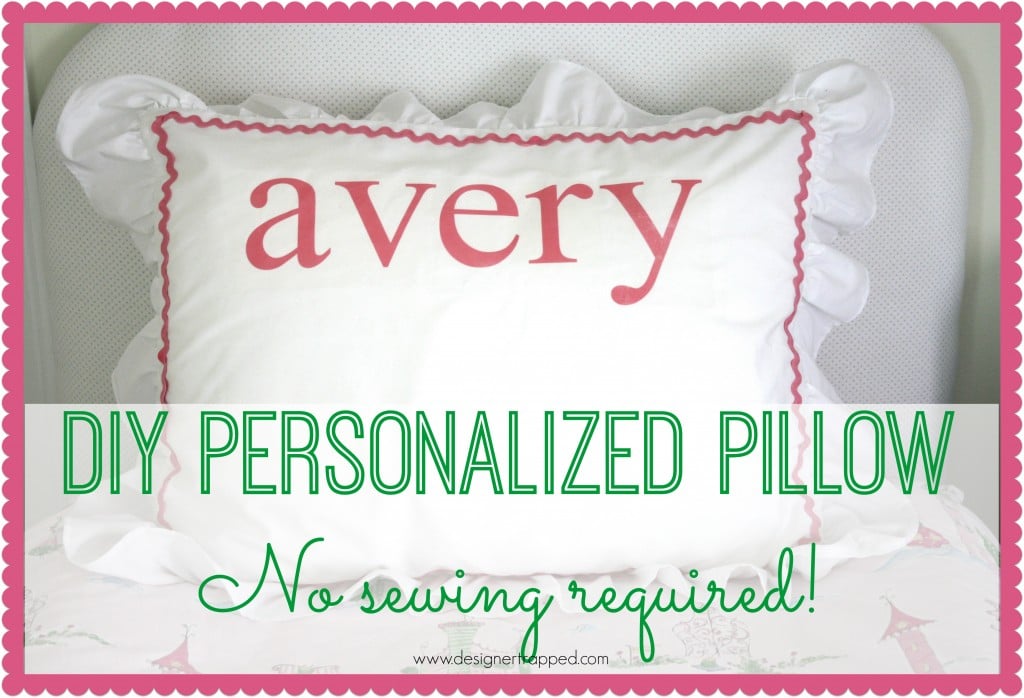
If you enjoyed this post, you will also want to check out how I made the NO-SEW name pillows:
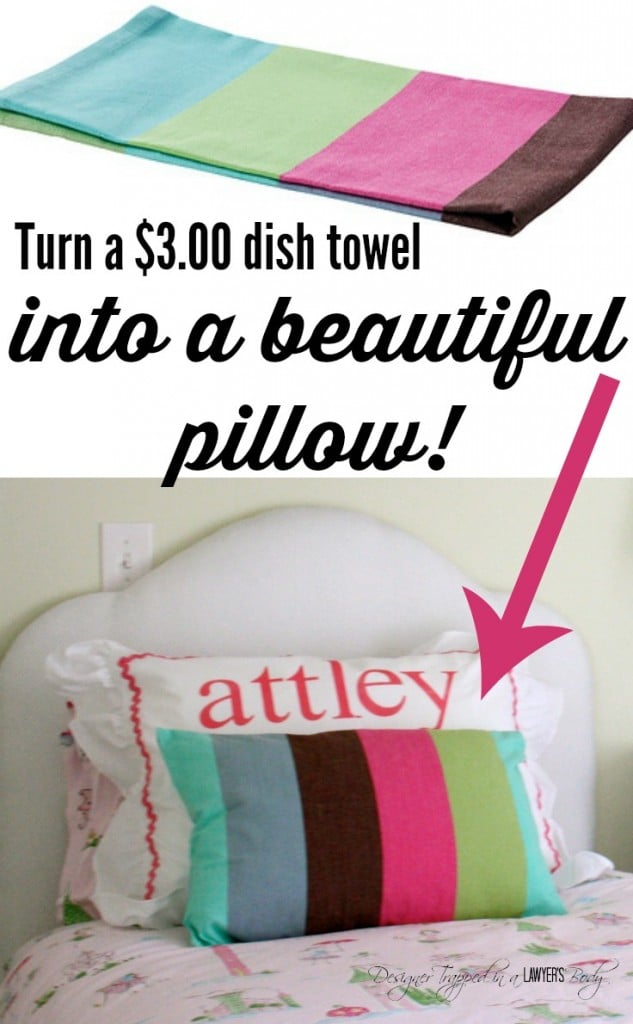
And how I made the striped pillows out of inexpensive Ikea dish towels:
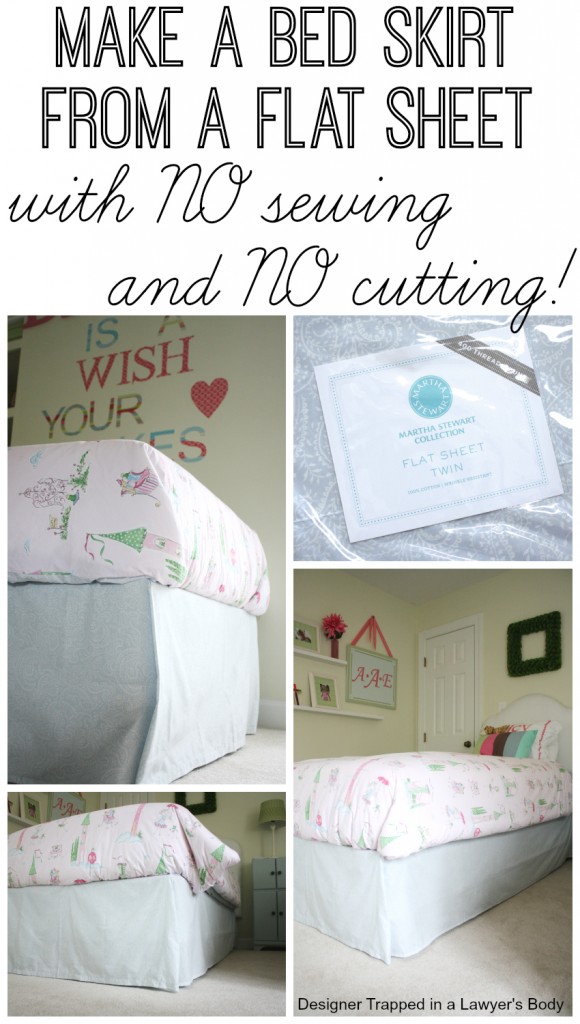
And you DO NOT want to miss how I made their bed skirts from sheets with no sewing or cutting!
What do you think? Is this a project you might tackle yourself? Have you already tackled a DIY upholstered headboard? If so, that was your experience like? Which headboard shape is your favorite?
[mv_create 1 11 200 2016 key=”1″ type=”list” title=”Most Popular Projects” thumbnail=”<a href=” https designertrapped com wp content uploads diy home decor projects blog jpg a]
Last Updated on August 10, 2021
The headboards look wonderful! I also like the striped pillows!
Navy Wifey Peters @ The Submarine Sunday Link Party
Thank you!
Tasha: The headboards are really beautiful. What a great new cover for them.
Aww, so cute! I love how the pink pops!
Cute cute cute!!! I love the pink fabric you picked after your mishap (it happens lol). We need to add a headboard to our bed and I’ve been considering making our own but then I talk myself out of it because it looks a tad bit intimidating. Your tutorial helped :) Let’s see if I’m brave enough!
What a clever idea and great tutorial! So very cute!
Like the pink the best!!!
I made a headboard for my daughter 15-20 years ago. I did the Cleveland shape and just winged it – drew it on the wood, but no measurements or templates, just eye-balled it! I only used batting (a few layers), upholstery fabric and lots of staples. I didn’t attach it to the wall, just made it long enough that it went to the floor and she could change her room around easily (she was a teen). Thanks for the tip about the egg crates – I need to add to the foam in a guitar case for my granddaughter and was dreading paying the cost of foam at JoAnn’s – egg crate covered with fabric will work just great! Any hints on the best fabric glue – I really don’t want to have to sew it!!?
So cute!!