How to Make Curtains The No-Sew, Lazy Way
You can make custom window treatments for any room in your house using this step by step tutorial on how to make curtains. This is the no-sew, lazy way to get the look of custom curtains!
 This post contains some affiliate links for your convenience (which means if you make a purchase after clicking a link I will earn a small commission but it won't cost you a penny more)! Click here to read my full disclosure policy If you have followed my blog for any length of time, you have probably read at least once that I avoid sewing whenever possible. Sure, I do sew simple things like these super simple curtain panels, this DIY bed canopy or these duvet covers, but when I can avoid sewing, I generally do.
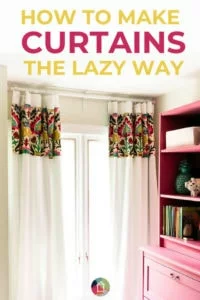
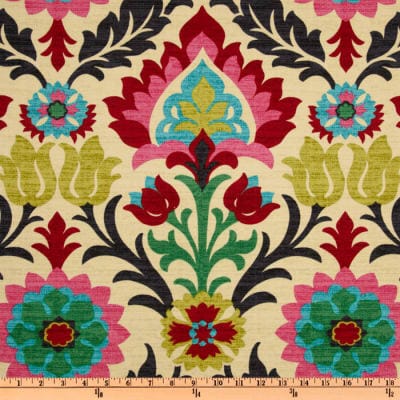
So, when I fell in love with this gorgeous fabric that was perfect for Attley's room, I was certain of 2 things: 1) I didn't want to buy enough fabric to make full curtain panels because that would be too expensive and, 2) I really didn't want to sew entire panels anyway.
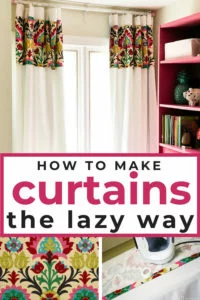
 So, I figured out how to make these DIY curtains the lazy way and without sewing a thing! Read on to learn how to make curtains for yourself using my super lazy method.
How to Make Curtains the No-Sew, Lazy Way
If you would like FREE printable instructions for this project, just click the image below!:)
Materials Needed:
- Fabric of your choice to use as your strip of accent fabric (again, this is the fabric that I used)
- The amount you will need will vary depending on the size of your curtain panels, how thick you want the accent strip to be and how wide the fabric you order is.
- I purchased 1 yard of fabric for this project.
- Premade curtain panels (these are the panels that I used)
- Iron-on hem tape
- Iron
- Ironing board
- Scissors
Steps:
1) Iron your pre-made curtain panels. My curtain panels were 57″ wide and 108″ long (you can hem them with the hem tape if needed). 2) Decide on how thick you want your strip of accent fabric to be. Mine is about 12 inches thick. You need to cut two strips of fabric 2 inches thicker than you want your finished strip to be. Iron both strips so that they are smooth. 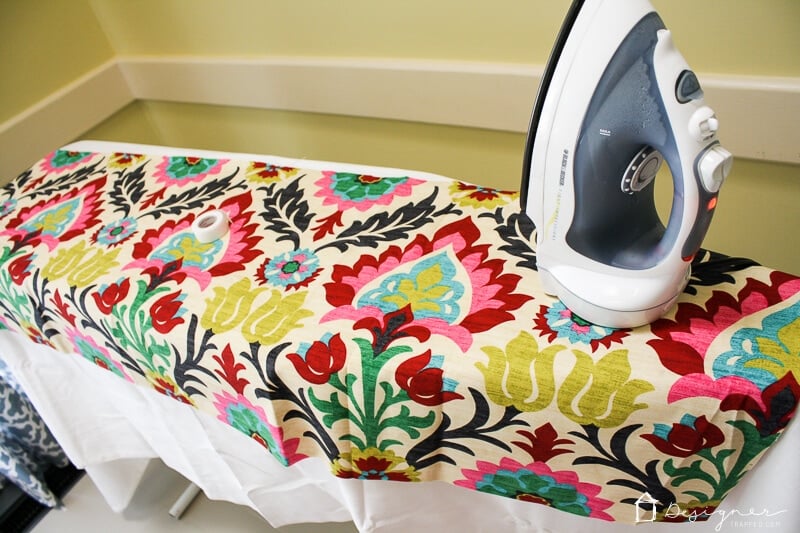 3) Next, fold the top and bottom of each fabric strip over about 1 inch and iron the fold into place.
 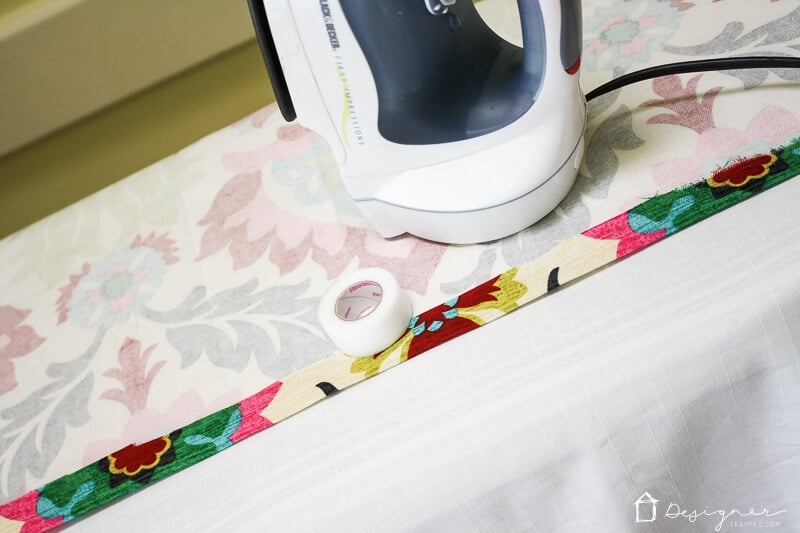 4) Then, position a strip of hem tape under each fold and iron it into place according to the instructions on your packaging (it differs depending on the brand you use).
 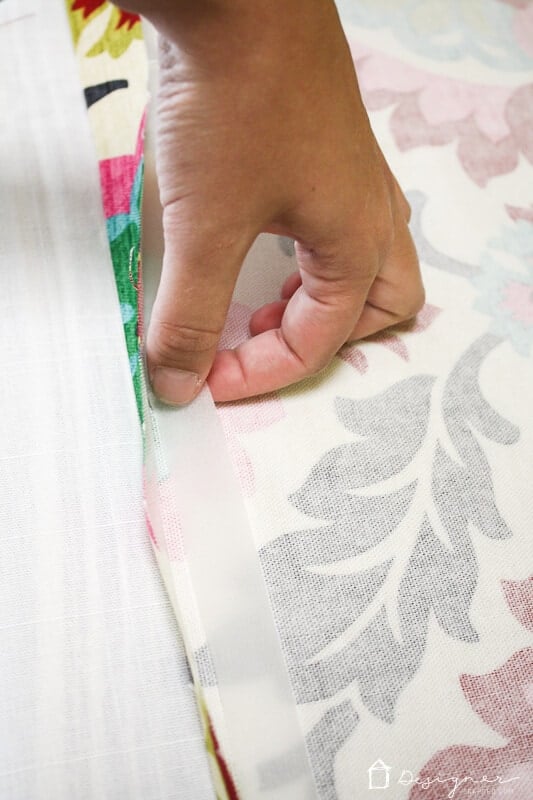 Then repeat for the short edges of your fabric strip so that it looks like this at the corners when you are finished.
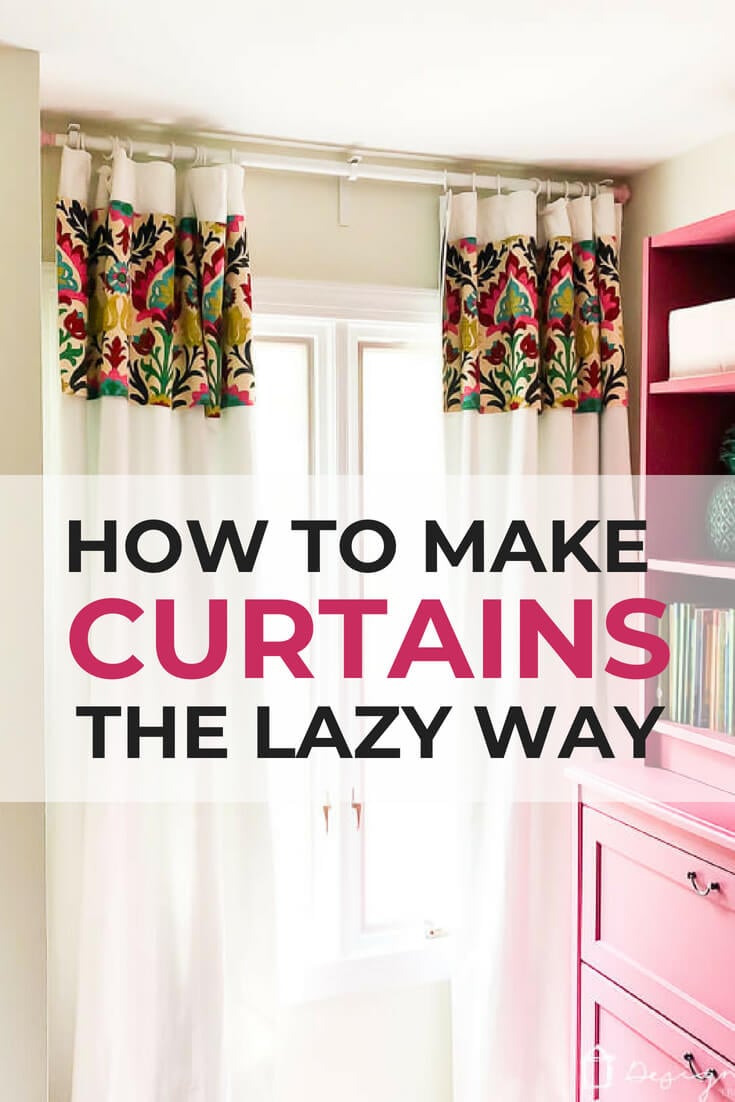
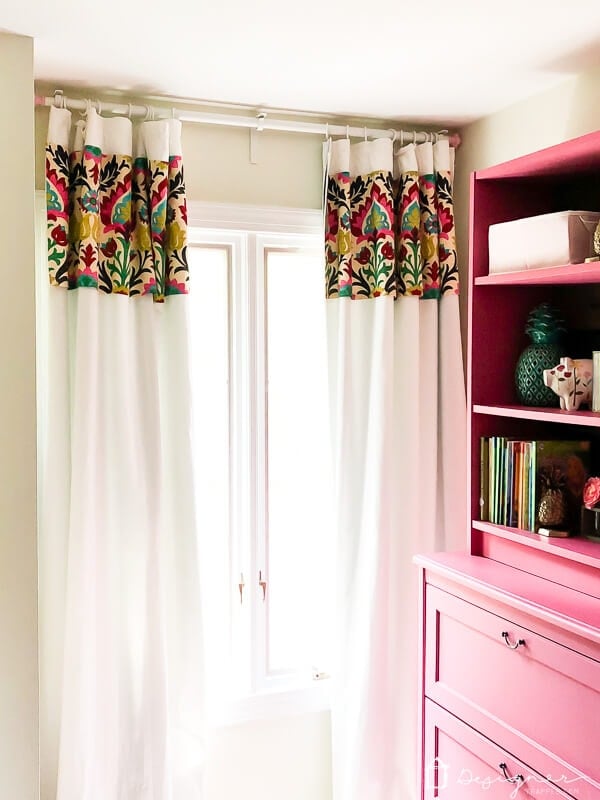
 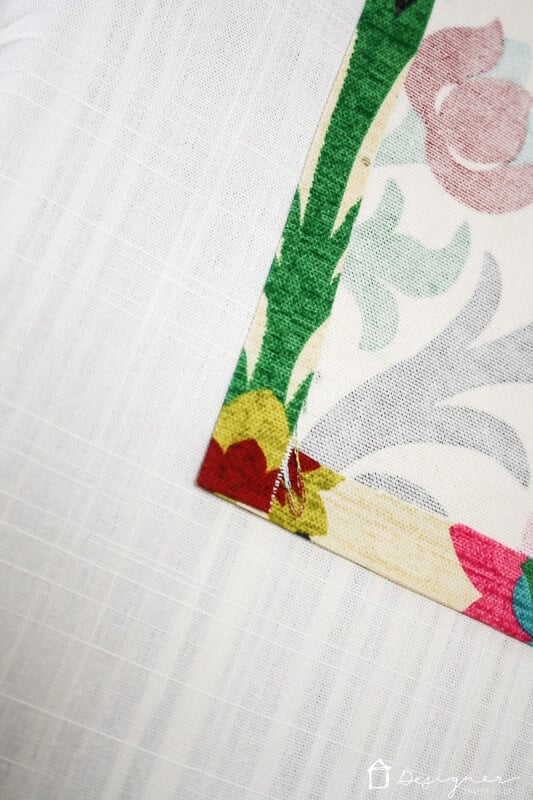 5) Decide on where you want to position your accent strip of fabric. I positioned mine right below the curtain rod pocket at the top of each panel. Place your fabric strip right side up on your curtain panel where you plan to adhere it. Then place hem tape under the 4 edges of your fabric strip and iron it into place according to the instructions on your packaging. Now, my fabric strip wasn't quite as wide as my curtain panels (my fabric was 54″ wide and my curtain panels were 57″ wide), so I centered the accent strip on each curtain panel. That means the fabric strip doesn't run completely from edge to edge of the curtain panel, but that doesn't bother me. In fact, I really didn't notice once I hung the curtains. That's it! Told you this was the how to make curtains the no-sew, lazy way! I wasn't kidding ;) And it was a super cost-effective project, too! Custom curtain panels would have cost me hundreds of dollars, but this project came in at right around $50. Attley loves them. I love them. Joe is happy they didn't cost a fortune. Everyone is happy. Check out how they turned out.
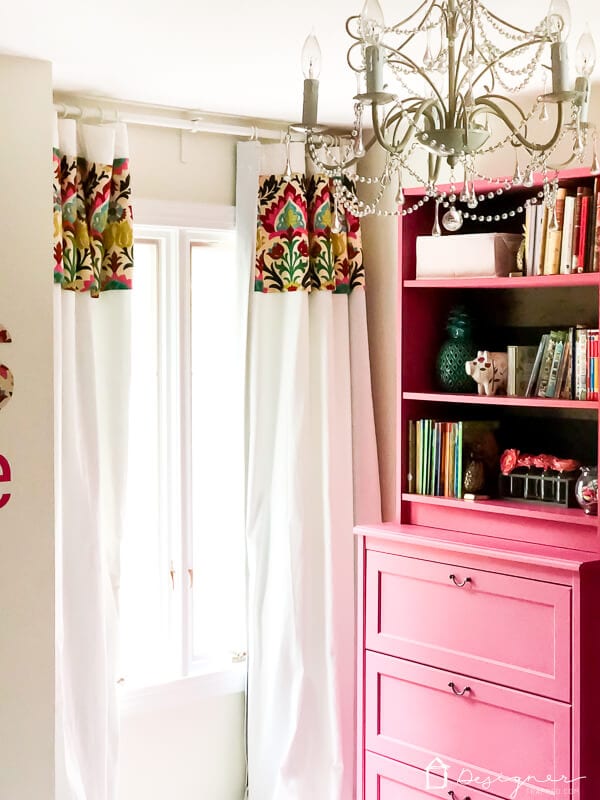

 If you love this idea, be sure to save it to Pinterest. And before you head out be sure to grab one of my free design guides and check out my other popular DIY posts.
[mv_create 1 11 200 2016 key=”1″ type=”list” title=”Most Popular Projects” thumbnail=”<a href=” https designertrapped com wp content uploads diy home decor projects blog jpg a]
Last Updated on March 3, 2022