DIY Bed Canopy from Flat Sheets
Last Updated on March 3, 2022
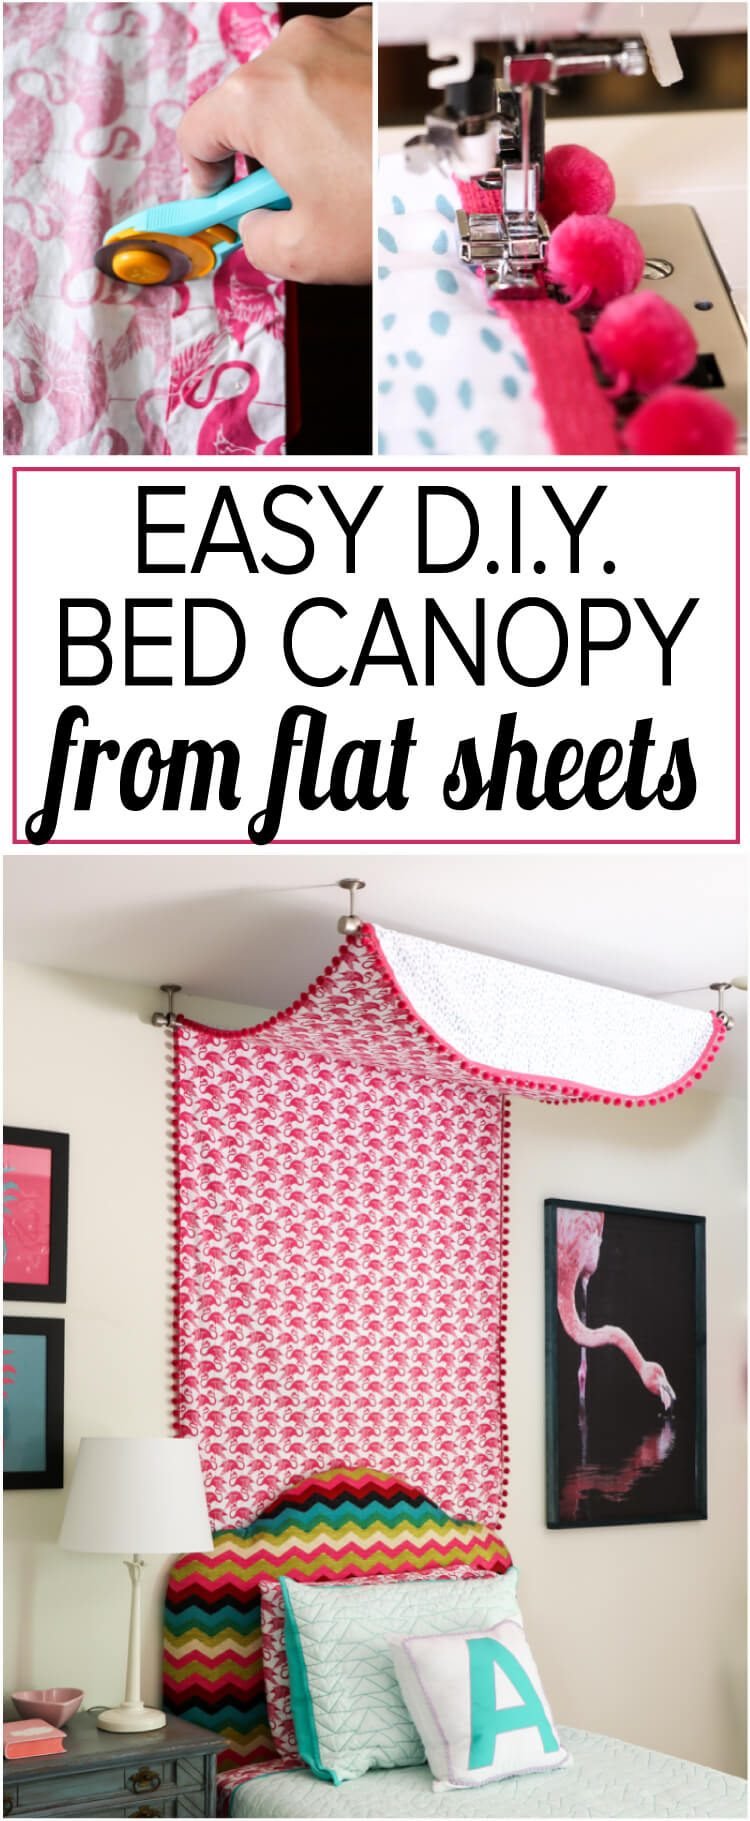
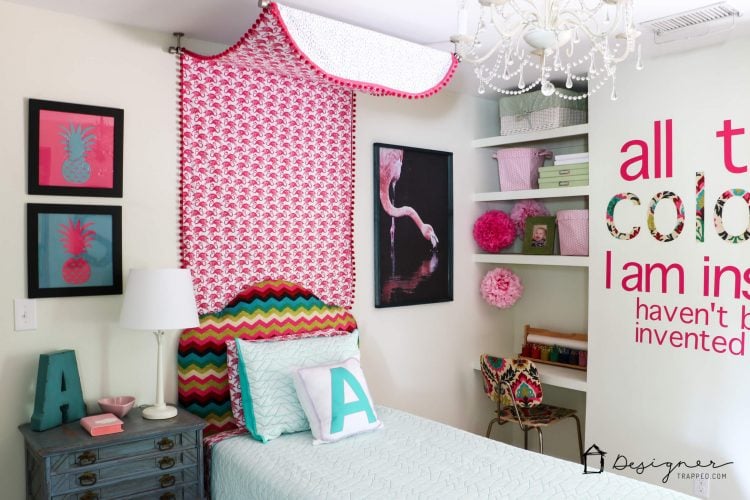
OMG, I have been getting so many questions about how I made the DIY bed canopy for Attley's room from those of you who have caught glimpses of it in some photos. Y'all LOVE those flamingos as much as I do, lol! Well, I finally had a chance to sit down and write the tutorial for how I made this DIY bed canopy, but before we dive in, a few things I have to mention.
First, I had been hoping to find a jumping off point for this project somewhere, but I just flat out couldn't find a girl's bed canopy that I loved, so I had to start from scratch. Second, I didn't want to spend a fortune on fabric, so I made this DIY canopy with the flat sheets from our girls' sheet sets that we weren't using to save money (we don't use the flat sheets under their quilts because they get tangled and it's harder for the girls to make their own beds if we use them).
As luck would have it, using twin flat sheets for this project was PERFECT and made it simple and affordable. Alright, alright. I know you want to get on with the tutorial, so let's do it!
This post contains some affiliate links for your convenience (which means if you make a purchase after clicking a link I will earn a small commission which helps keep my blog up and running but it won't cost you a penny more)! Click here to read my full disclosure policy.
DIY Bed Canopy Tutorial
Materials needed for DIY bed canopy:
- Sewing machine (this is the current version of the machine I have and I LOVE it. I used to hate sewing, but now that I have a good machine, my attitude is totally different)
- Rotary cutter
- Straight pins
- Pom pom trim (I used trim with 1/2″ balls)
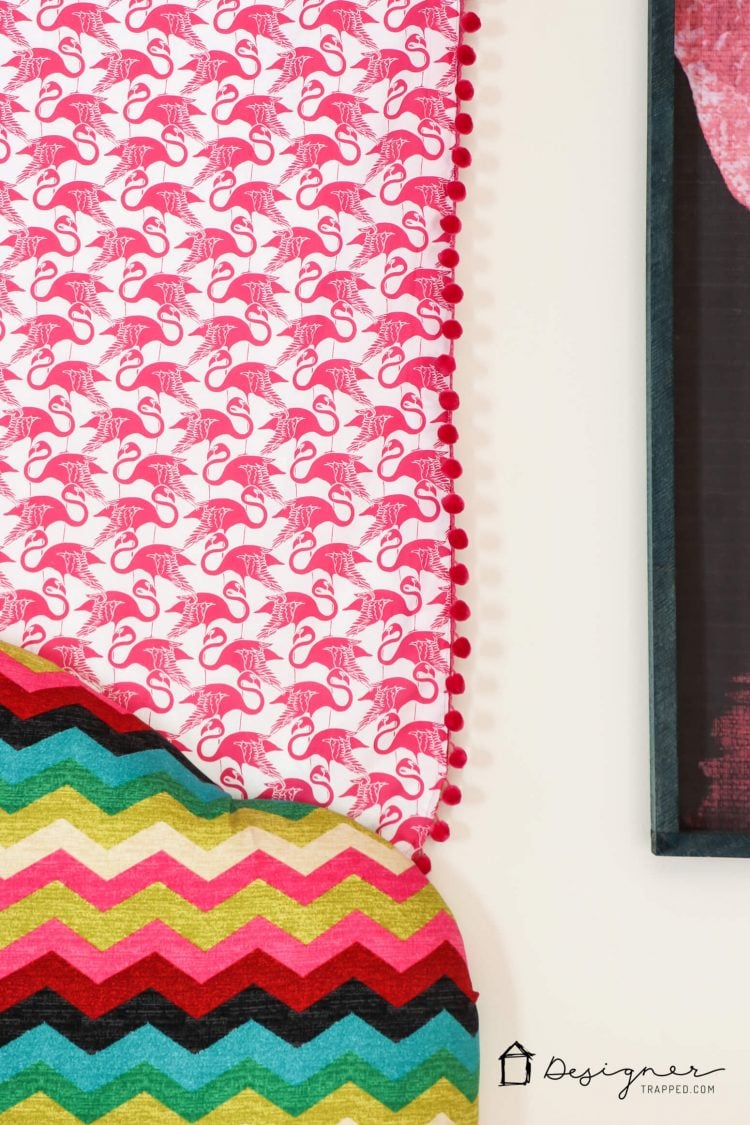
- 2 flat sheets (I used the twin flat sheets from this flamingo sheet set and this dash sheet set)
- Two ceiling mounted curtain rods (these are the exact curtain rods and ceiling mounting brackets I used)
Steps to make a DIY bed canopy:
1) The first step is to lay your sheets on top of each other with the finished sides facing each other. In other words, they will look like they are inside out. Make sure that if you have patterns that have a vertical pattern like mine that you take into account which way the pattern needs to be facing as you do this.
2) Next, you need to cut your sheets down to the proper size. To do that, you need to measure the width of your mattress. Since I was making this bed canopy for a twin bed that measured 38″ wide, I measured and marked 38.5″ inches on my sheets (I added 1/2″ for the seam allowance).
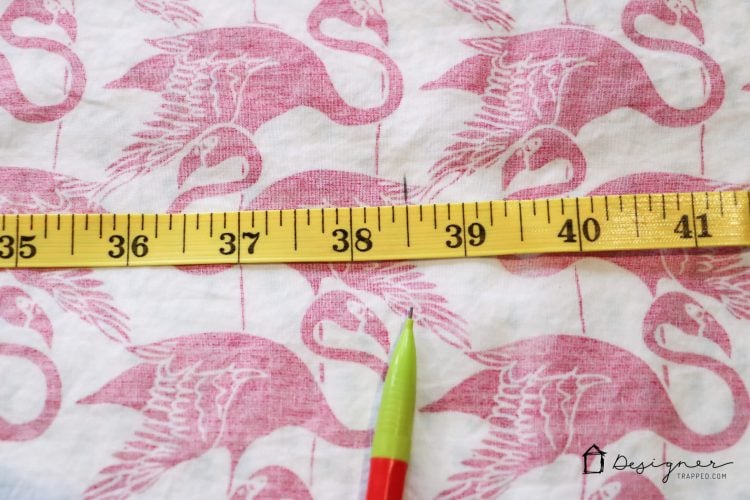
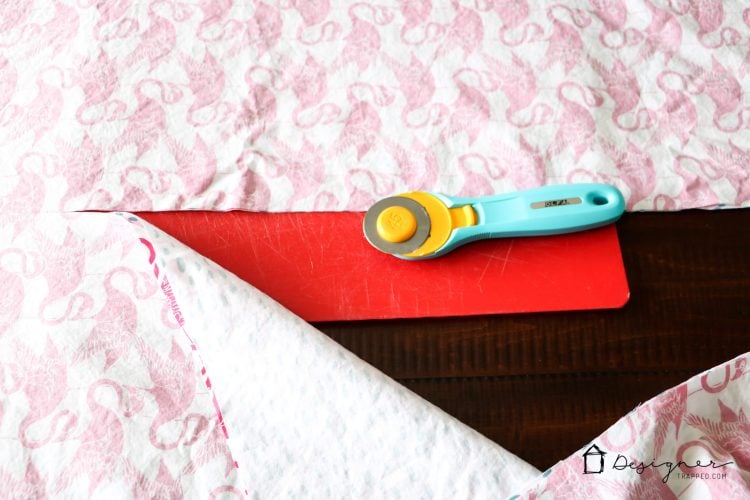
I then used my rotary cutter to cut straight through both sheets at the same time.
3) I did not cut any length off of my twin sheets, but I did want to round the corners of the top of the canopy. To do this, I grabbed a mixing bowl and traced the curve directly onto the sheet. Again, if your sheets have a vertical pattern with a clear “right side up” like mine, make sure you think through which end the “top” of your canopy will be. If I hadn't, I would have wound up with a whole bunch of flamingos standing on their heads :)
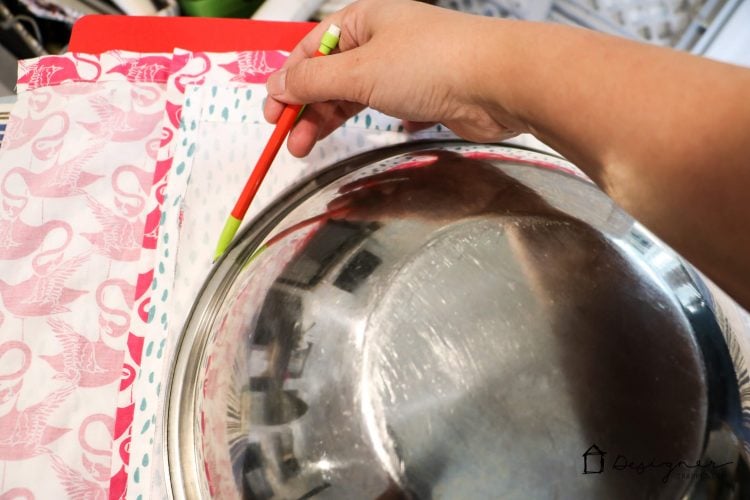
Then I used my rotary cutter to cut through both sheets at the same time again.
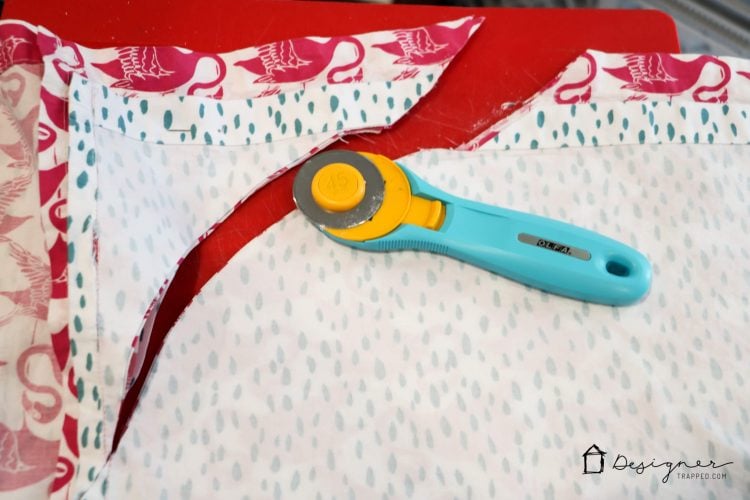
4) Next, pin the edges of your sheets together to prepare for sewing. Again, be sure the finished sides of the sheets are facing each other!
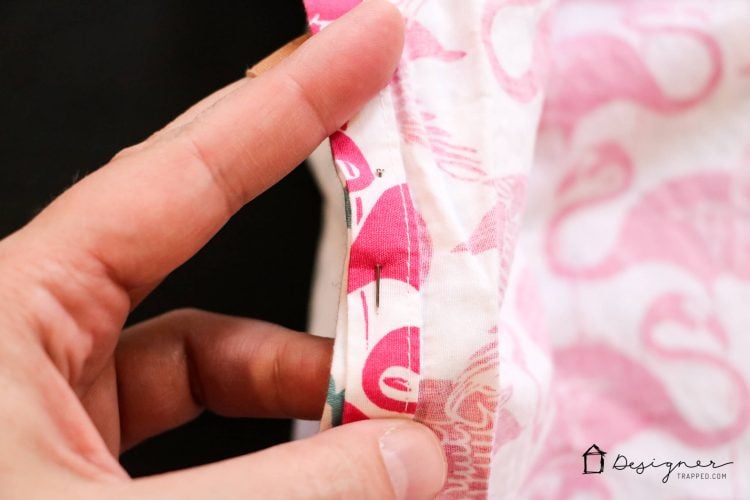
5) Now you are ready to sew! Stitch the edges of your sheets together all the way around, leaving only a 12″ opening at the bottom of the canopy. Then, reach through that opening and turn the canopy right side out. Iron your canopy if necessary. Then sew the 12″ opening closed.
6) Next, you need to sew on the pom pom fringe. You could spend the time to pin the fringe on first, but I never do. I find it easy enough to hold in place as I sew. You WILL want to make sure to use a zipper foot to sew the pom poms on :) You will want to sew the pom poms on the back side of your canopy so that only the pom poms are visible on the front side. Be sure to align the trim accordingly–you don't want the webbing to hang over the edge of the sheets.
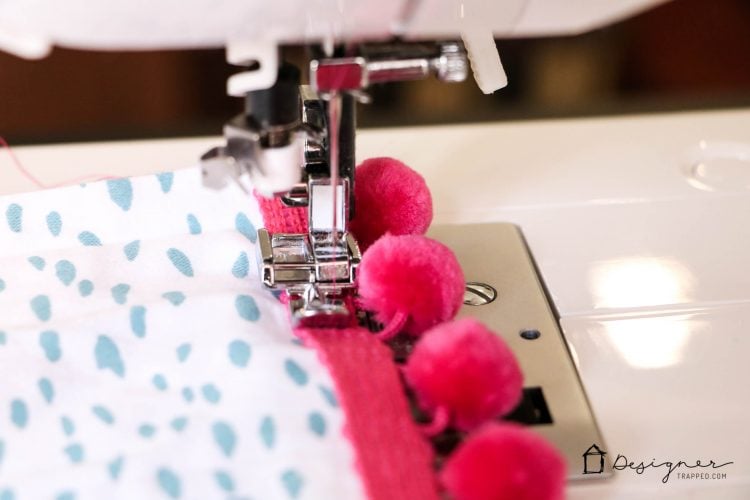
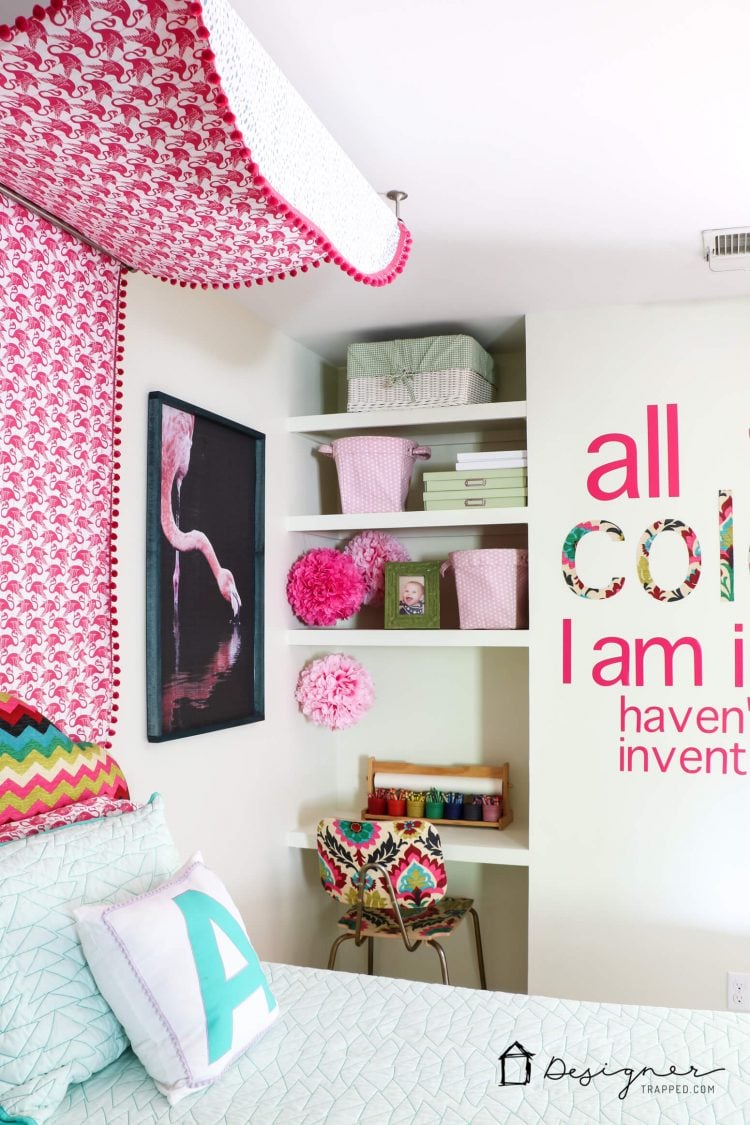
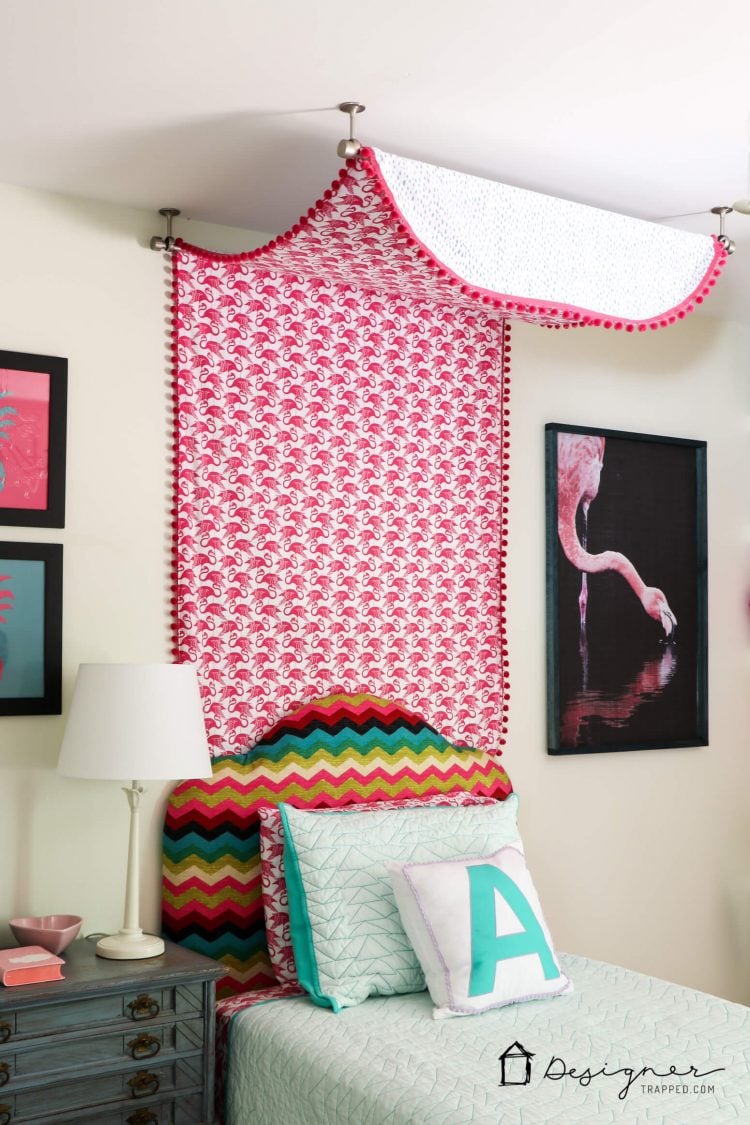
7) Now you need to attach your ceiling mounted curtain rods. Attach the first rod on the ceiling as close to the wall as you can get it. Your placement of the second rod totally depends how you want your DIY bed canopy to hang, how tall your headboard is, etc. I suggest having someone hold the second rod in place and draping your canopy through it to decide on the ideal placement. That's what we did :) I just eyeballed it until the drape and overhang were just the way I wanted them to be. We added a bit of double-sided tape to the top of the second curtain rod to help prevent the canopy from slipping–it has worked like a charm!
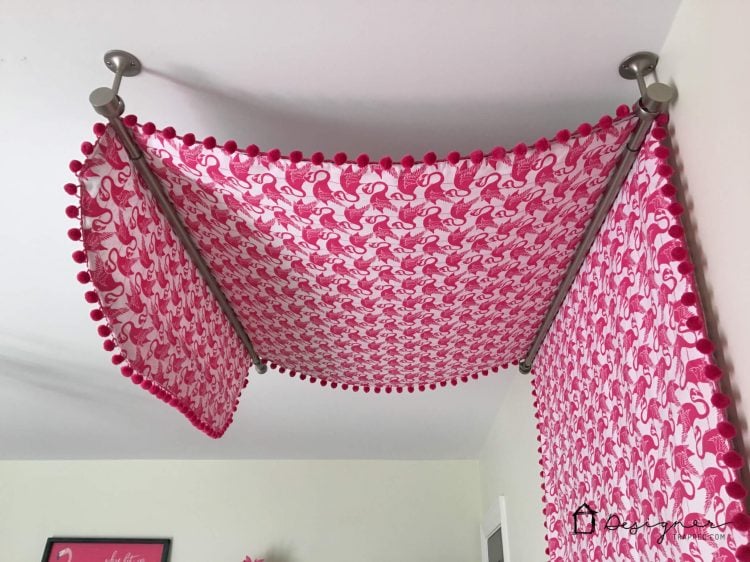
8) Tuck the bottom of the DIY canopy behind your headboard.
That's it! How stinkin' cute is this girl's bed canopy?! I can tell you Attley ADORES it. She feels very, very “fancy” with her bed canopy, lol! And seriously y'all, I am NOT an expert sewer by any stretch of the imagination. I promise this DIY bed canopy is very simple and easy to make. You can do it! (PS- You can find the tutorial for that pineapple art here and for the DIY wall quote here).
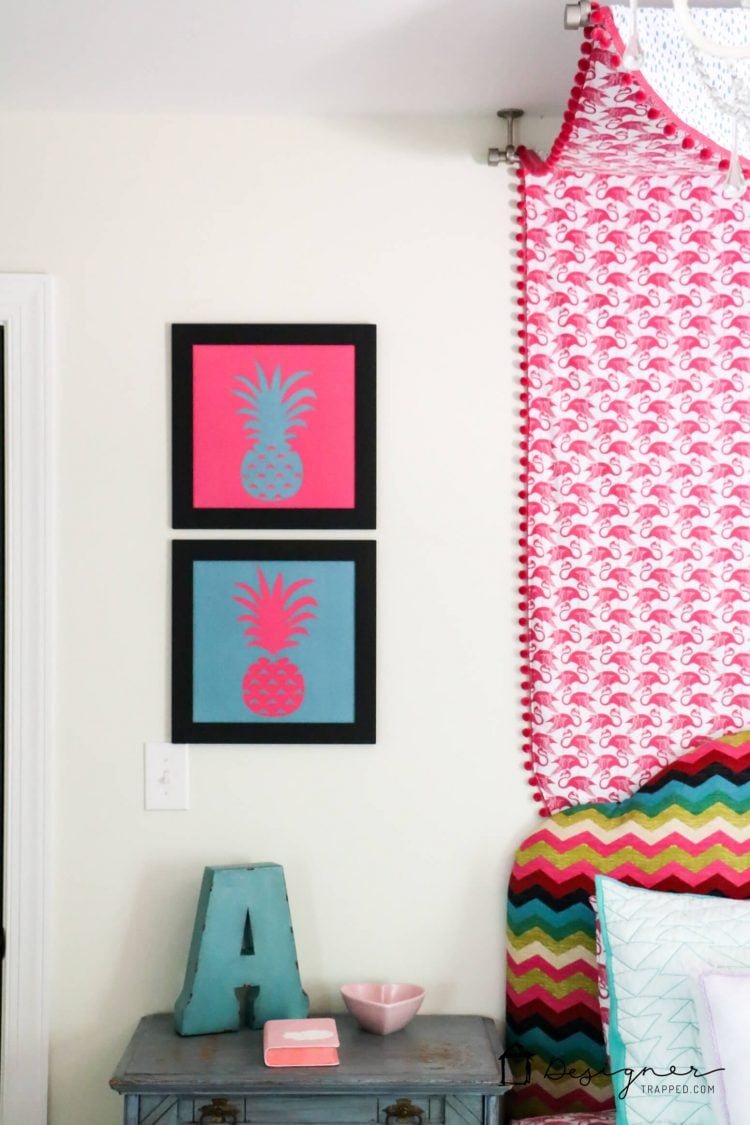
What do you think of this DIY bed canopy? Know any little girls who want one? If so, be sure to share it on Facebook or pin it on Pinterest so you can find it again later :)
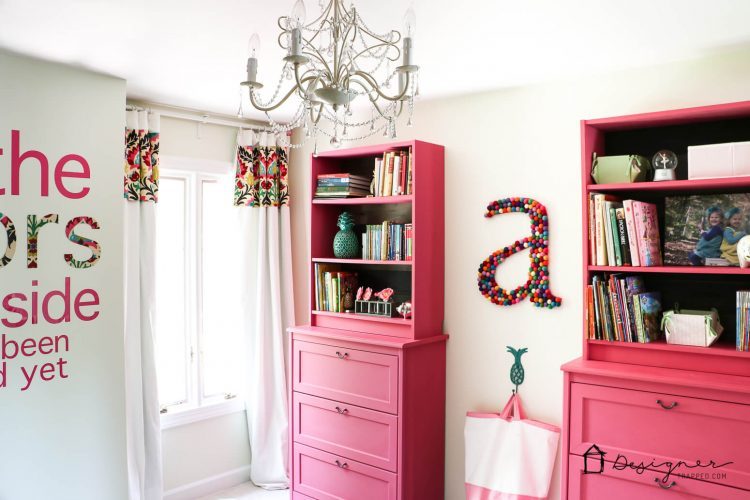
Oh, and be sure to check out this super cool Ikea hack on the other side of Attley's room :)
[mv_create 1 11 200 2016 key=”1″ type=”list” title=”Most Popular Projects” thumbnail=”<a href=” https designertrapped com wp content uploads diy home decor projects blog jpg a]
