DIY Custom Wall Decals That Will Make You Swoon!
This is a sponsored conversation written by me on behalf of Cricut and DAP Products. The opinions and text are all mine.
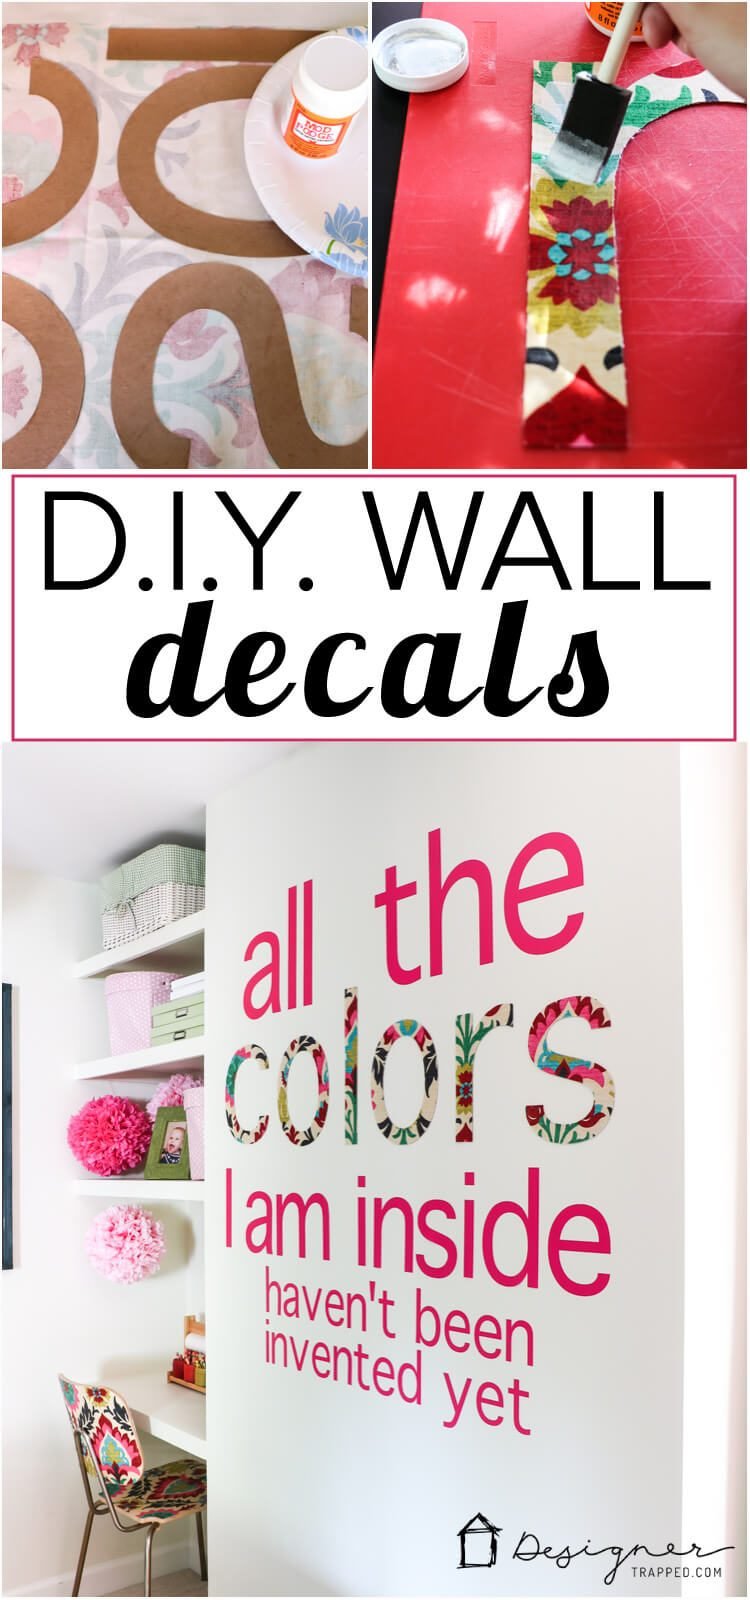
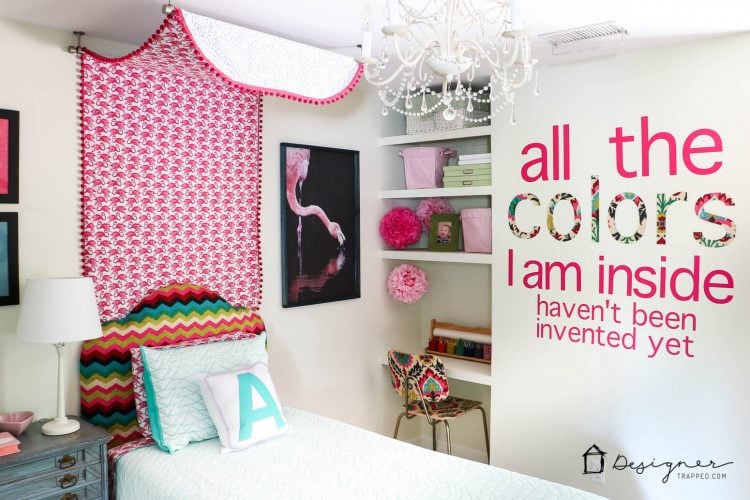
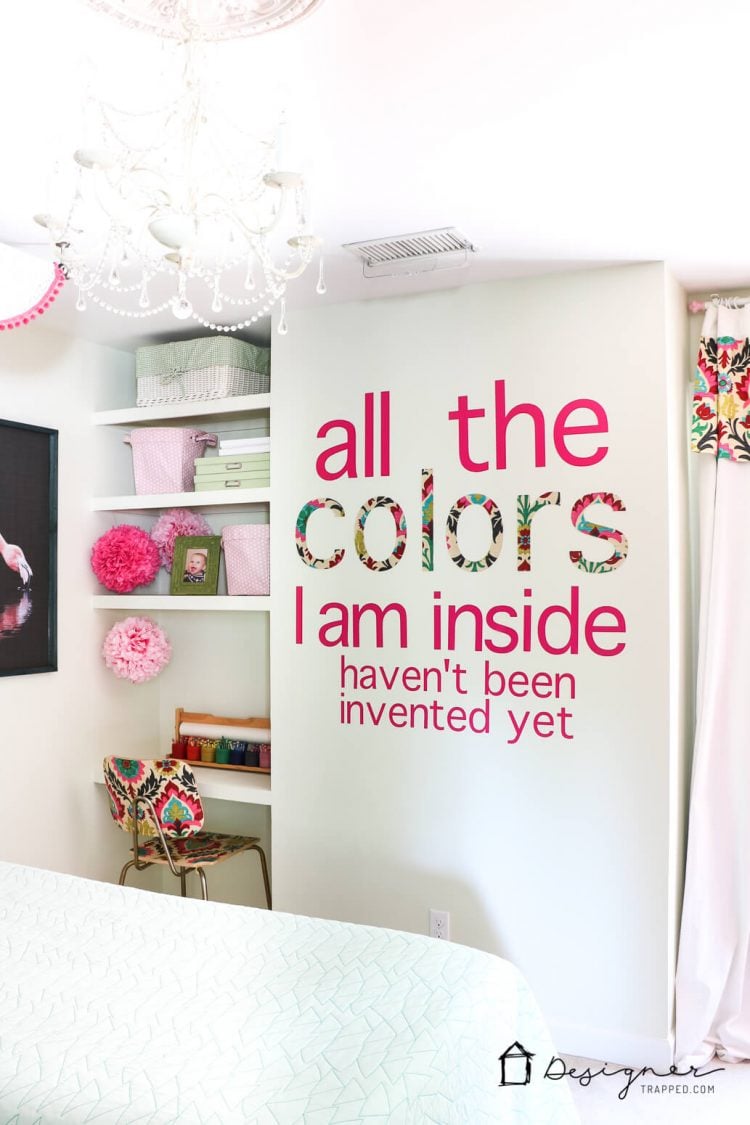
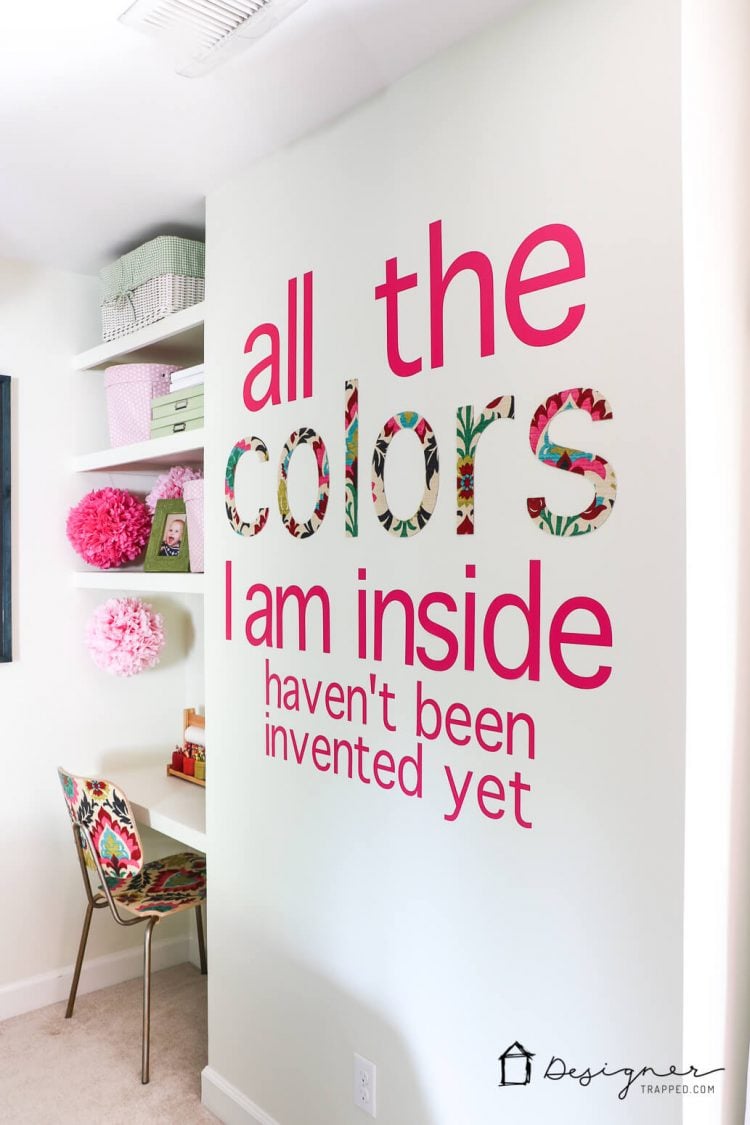
Hey, hey friends! I have been DYING to share this project with you because it's one of those low-cost, high-impact projects that makes my heart happy! Making your own DIY wall decor is an incredible way to fill your blank walls without spending a fortune, and this project is a perfect example! We recently made these DIY custom wall decals for Attley's room and they are absolutely perfect. They are super colorful, which is so her–she has about 8 “favorite” colors. And the quote itself, from a Shel Silverstein poem, describes her upbeat, vibrant little soul so perfectly. I could go on and on, but you are probably here to learn how we made these custom wall decals for the DIY wall quote, so I'll get on with the tutorial :) This post contains some affiliate links for your convenience (which means if you make a purchase after clicking a link I will earn a small commission which helps keep my blog up and running but it won't cost you a penny more)! Click here to read my full disclosure policy.
Custom Wall Decals for a DIY Wall Quote Tutorial
Materials needed:
- Vinyl (I used Cricut Vinyl in Flamingo)
- Transfer tape
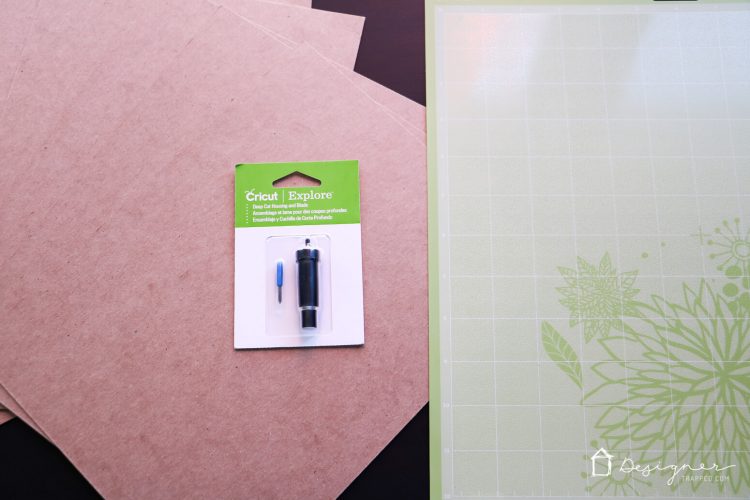
- Chipboard
- Fabric of your choosing (you can purchase the fabric I used here). The amount you need depends on the size of your letters.
- Matte Mod Podge
- Exacto knife
- Foam paint brush
- Cricut Explore cutting machine
- Deep cutting blade & regular blade
- If you have repairs to be made to the wall you are applying the custom wall decals to like we did, you will also need:
- DAP Alex Plus Spackling (if you have holes or imperfections to repair on the wall where the quote will be going)
- Putty knife
- Sandpaper
- Double-sided Poster tape
Steps:
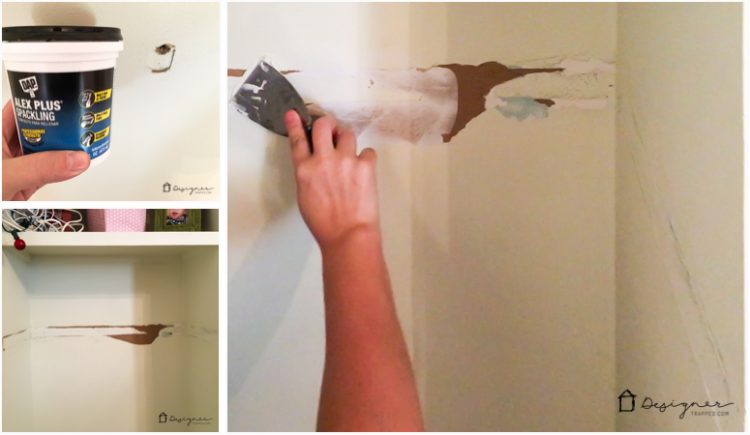
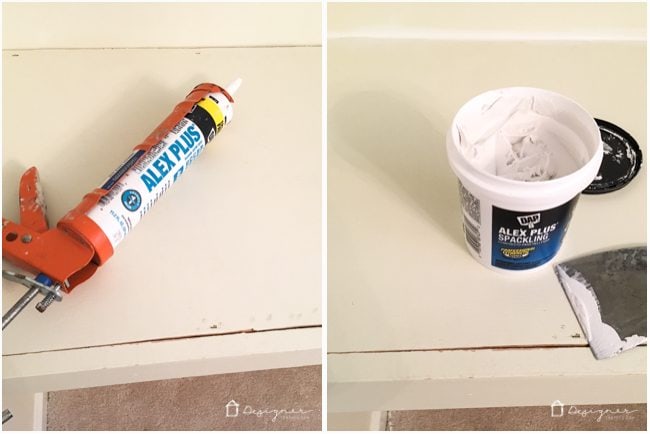
1) We had quite a bit of repairs to make to the wall where we were applying these custom wall decals because we removed an old wall quote AND moved one of the DIY floating shelves we made years back when our twin girls shared this room down several feet so that it can now serve as a desk. That left A LOT of repair work. I used DAP Alex Plus Spackling to do all the repair work and let me tell you, this stuff is my FAVORITE. It's like caulk and spackle had a baby! The consistency is much smoother and easier to use than the zillions of other spackles I have used over the course of all of our DIY home projects. It's a new product and it is hands down my favorite spackle I have ever used. I even found that it sanded easier AND resulted in less dust. YAY!
2) After we moved the old floating shelf down to desk height we reattached it to the wall and caulked the seams along with the wall. I used the DAP Alex Plus Spackling to smooth out the joint where we attached trim to the front of the desk.
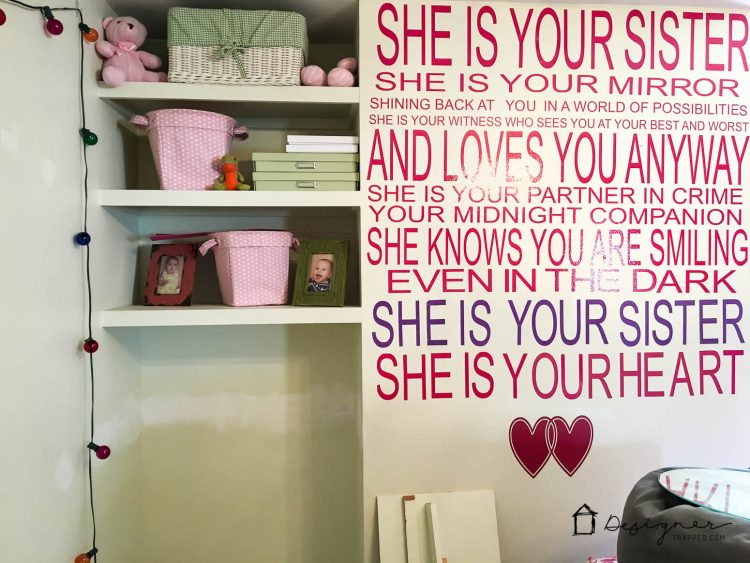
3) Next, I started removing the old wall quote. We LOVED the old quote for when our girls shared this room, but since we separated them, we thought it made sense to do something different and unique to Attley since this is her room :) Most of the old wall vinyl peeled off easily, but I rushed a few spots and pulled some of the paint up with the vinyl, so I quickly patched those as well.
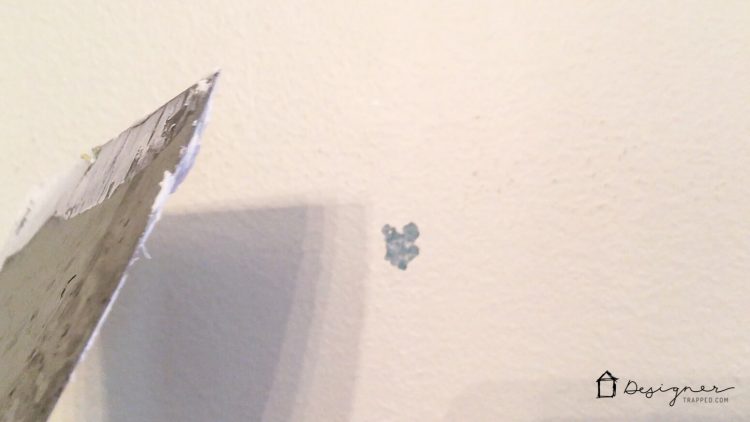
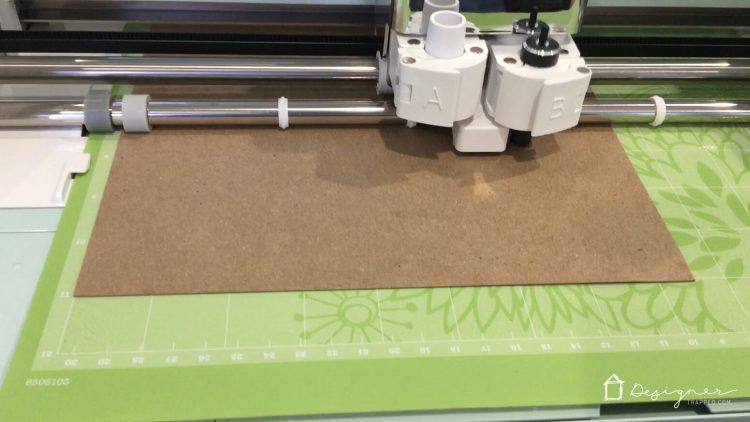
4) After all the patched areas were sanded and repainted, we were ready to make and apply our new custom wall decals! It's much easier than you think to make your own DIY custom wall decals, so don't be nervous! I started by making the letters that spell out “COLORS” that are covered in fabric. To do that, I used one piece of 8.5″ x 11″ chipboard per letter and created each letter in the Cricut Design Space. Then I simply placed a piece of chipboard on my 12 x 12 cutting mat, changed the dial of my machine to “custom” and selected the chipboard option. I cut the chipboard letters out one at a time. NOTE: If you have enough fabric to cover all of your chipboard pieces, you could follow the steps below to apply the fabric BEFORE you cut your letters out, which would be much easier. But I didn't have enough fabric for that :)
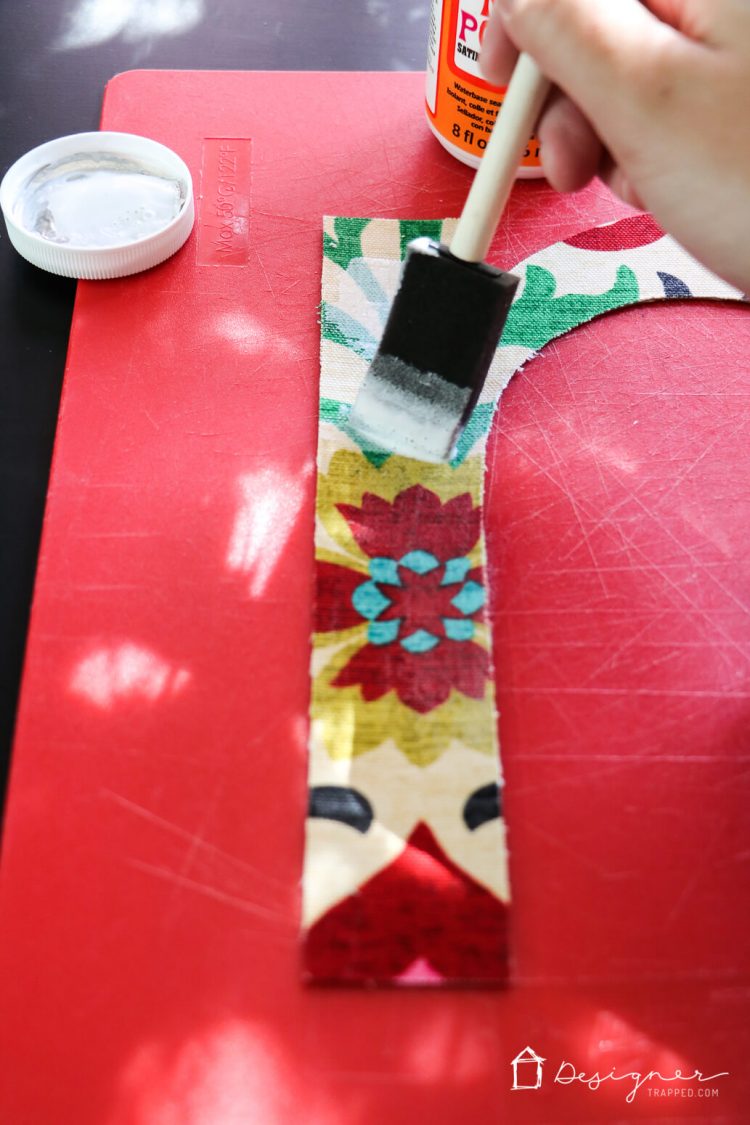
5) Once all my chipboard letters were cut out, I coated the front side of each letter with Mod Podge (I used Matte finish, but it doesn't really matter) and pressed it down on the back side of my fabric. I allowed it to dry and then flipped it over, coating the front side of the letter with Mod Podge as well. I then allowed that to dry. Once it was dry to the touch, I placed some heavy books on top of the fabric to prevent the chipboard from curling while the Mod Podge continued to stiffen.
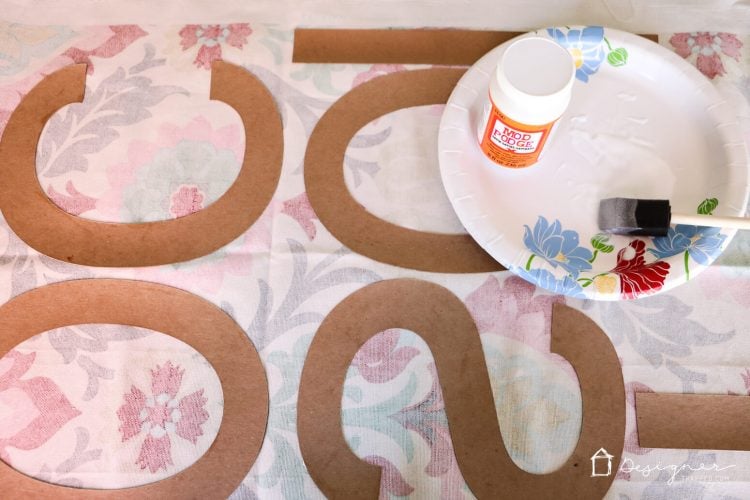
6) After the Mod Podge had dried overnight, I was ready to cut my letters out using an exacto knife.
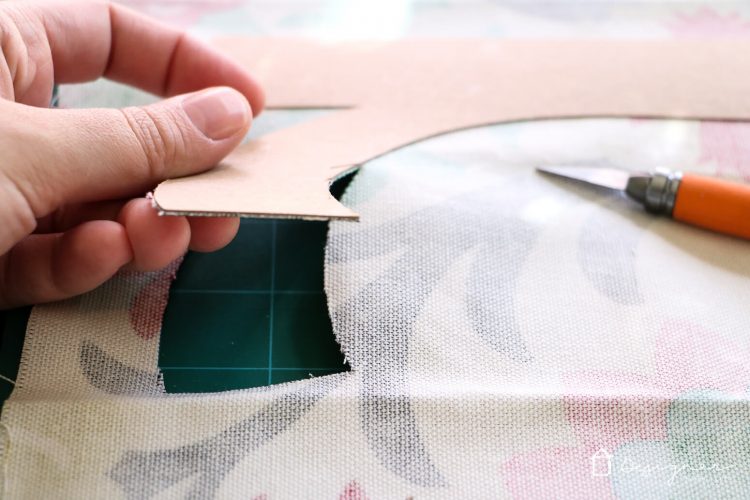
7) After I cut the letters out, I coated them one more time with Mod Podge to prevent fraying. Once it dried, I used double-sided poster tape to attach the fabric-covered letters to the wall.
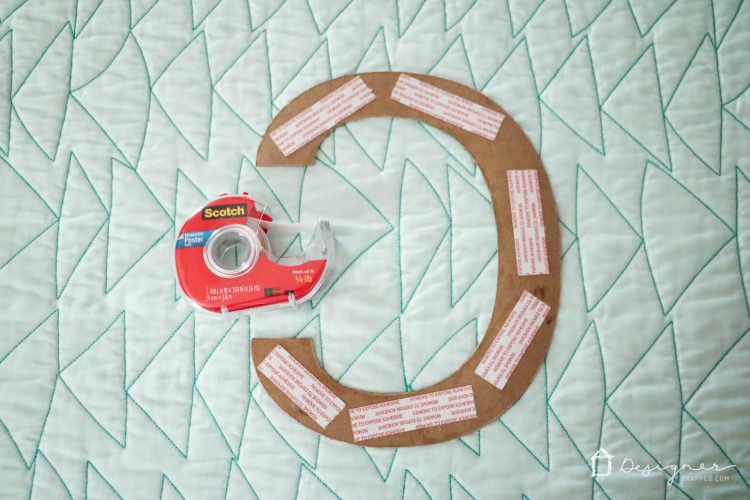
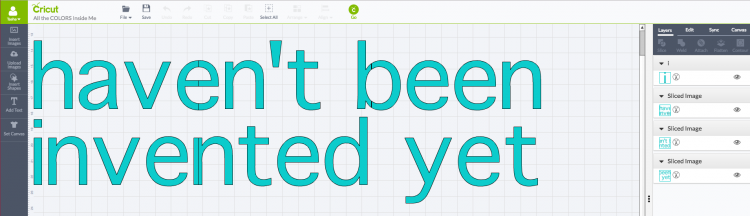
8) Next I was ready to cut out the rest of my custom wall decals with my Cricut Vinyl in Flamingo. I typed out the rest of my quote in the Cricut Design Space. Since it is a large quote that didn't all fit on even my 12 x 14 inch mat (for example, this part of my design was 11.5″ tall and 40″ wide) so I had to “slice” my design into multiple pieces. I was super nervous that it would be complicated to do this, but this video on YouTube walked me through it and it was totally doable! I set my machine's dial to vinyl and cut out the vinyl portion of my design.
9) After my design was cut, I “weeded” it (meaning I removed the excess vinyl).
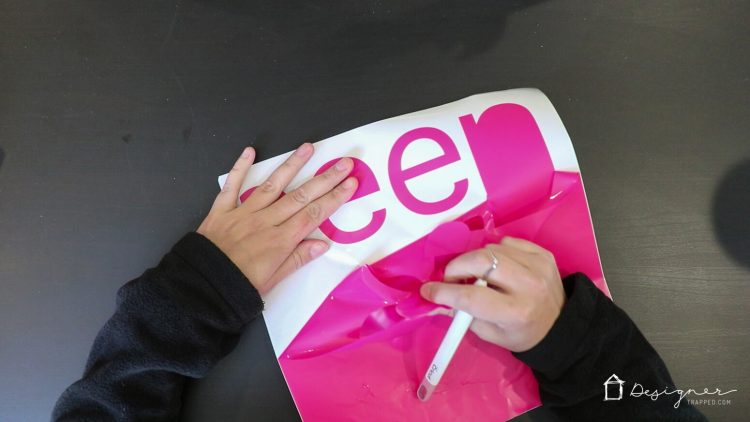
10) Then I transferred the custom wall decals to transfer tape, piecing the slices together as I worked.
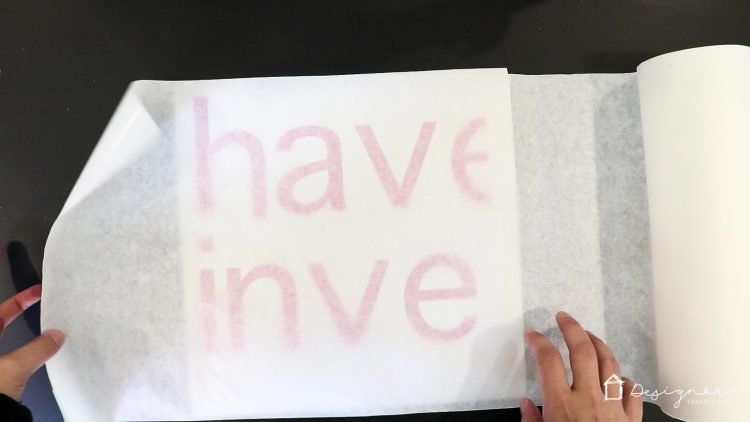
11) I removed the white backing from the vinyl so that the vinyl letters were stuck to the transfer tape. I placed the quote onto the wall using a laser line level to make sure my design was level and straight. I used my scraper tool to rub the vinyl letters onto the surface of the wall and then gently peeled the transfer tape away from the design.
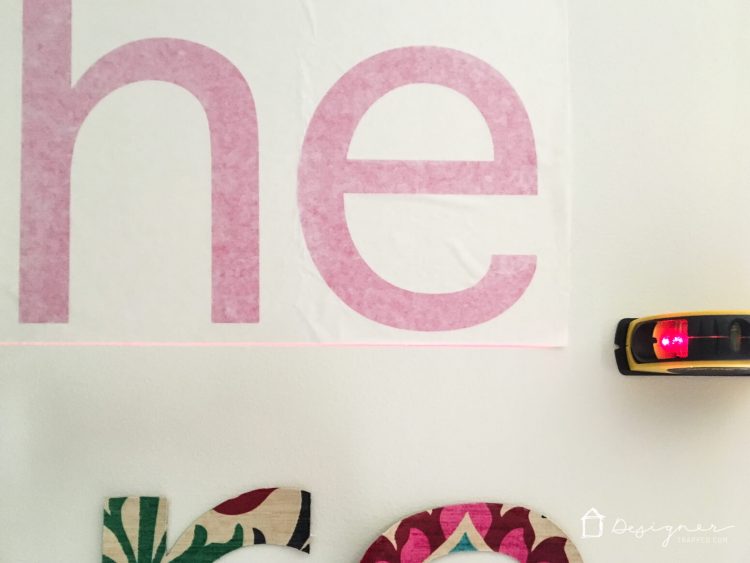
That's it! We love how this huge wall quote turned out and it was so much less expensive than buying custom wall decals. Plus, it was really fun to make the custom wall decals ourselves. I know this tutorial is long, but I promise it's easy and is quicker than it sounds! Take a look at the finished project!
If you love this project, be sure to save it to Pinterest so you can find it again later :)
[mv_create 1 11 200 2016 key=”1″ type=”list” title=”Most Popular Projects” thumbnail=”</span><a href=” https designertrapped com wp content uploads diy home decor projects blog jpg target=”_blank” a span]

Last Updated on March 3, 2022