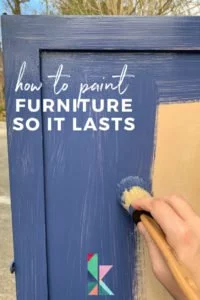
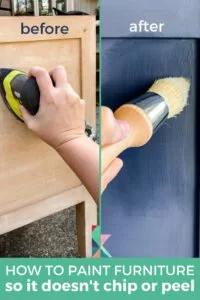
How to Paint Furniture With Chalk Decorative Paint: A Step-by-Step Guide
Sick of painting furniture only to have it start chipping or peeling? Learn how to paint furniture with a long-lasting finish with this step-by-step guide.
This post is sponsored by BEHR Paint Company. This post contains some affiliate links for your convenience. Click here to read my full disclosure policy.
It's happened to a lot of people, maybe even you. You find an awesome piece of used furniture for a great price. The wood shows some wear and tear so you decide to paint it. You pick out a gorgeous color and paint it and it looks PERFECT… for about 3 days. Then it starts chipping and/or peeling. Ugh.
Friends, I promise you that you CAN paint furniture and have the finish last and look great for as long as you hold on to the piece. It's all about the prep and the products you use. Read on to learn how to paint furniture with a long-lasting finish that you will love!
How to Paint Furniture: A Step-by-Step Guide
I do want to point out that this guide covers how to paint wood furniture. You have to treat laminate furniture differently or the paint will just bead up on you OR go on smoothly only to easily chip and peel. You can learn about the correct way to paint laminate furniture in this post.
Before we talk about the correct way to paint furniture, let's talk about the wrong way to do it. DO NOT PAINT YOUR FURNITURE WITH LATEX PAINT (I have a whole post about the best paint for every kind of furniture). You know that leftover wall paint in your garage? That's most likely latex paint and you don't want to paint your furniture with it. Why? It will peel and will not hold up well. You know how the Nike slogan is “Just do it.” Well, when it comes to latex paint and furniture, your slogan should be “Just don't do it.” Believe me… I've learned that lesson the hard way.
You want to use a chalk-based paint. More on why later! Just keep reading :)
Supplies needed:
- Cleaning spray of your choice
- Water
- Paper Towels
- Sandpaper
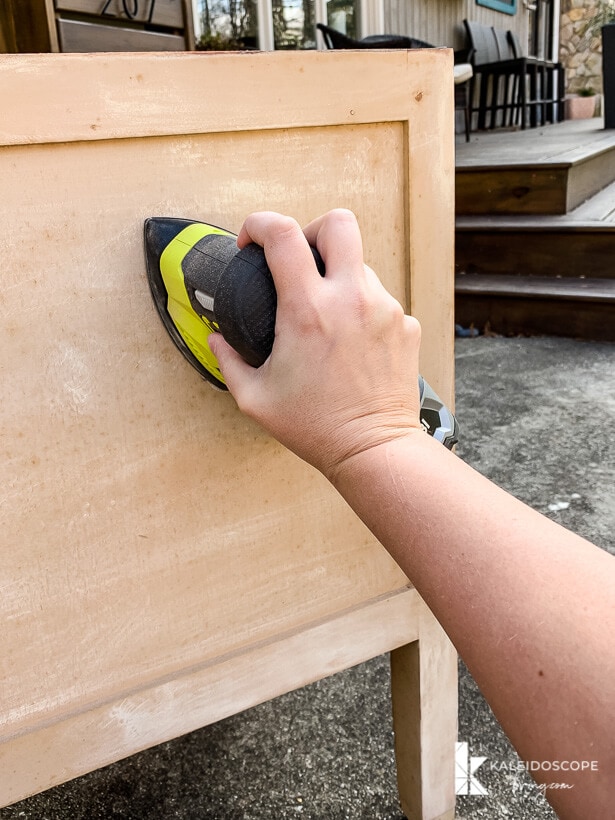
- If you have an electric sander, the sanding will go faster. I recently purchased this cordless sander. It's inexpensive and AMAZING!
- BEHR® Chalk Decorative Paint (I used Timeless Blue on the exterior of the desk and a variety of custom tinted colors on the sides of the drawers)
- BEHR® Wax Decorative Finish (I used Clear)
- Ideally, you want to use natural bristle brushes. I used:
- Behr® Chalk Decorative Wax Brush
- Behr® Chalk Decorative Paint Brush
- Scrap cardboard
Steps:
Step 1: Sand
First, remove any hardware from your piece. Then sand any really rough bad areas of damage on your piece, as needed. Generally, you really do NOT need to sand your entire piece unless it's glossy. If the existing finish is glossy, I do recommend lightly sanding the piece all over. I typically use 80 grit sandpaper.
Note: If you have significant wood damage, be sure to check out this post about how to repair gouges, wood rot, etc.
Step 2: Clean
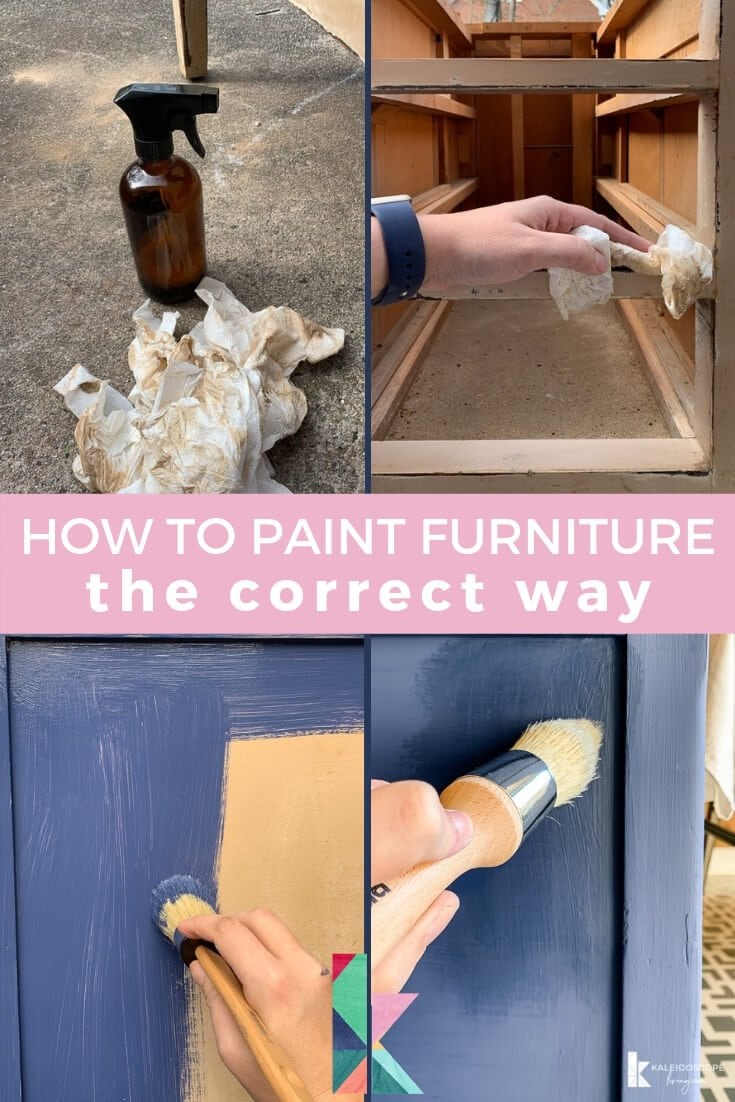
Next, clean your piece well. I typically use Simple Green, but you can use whatever you like.
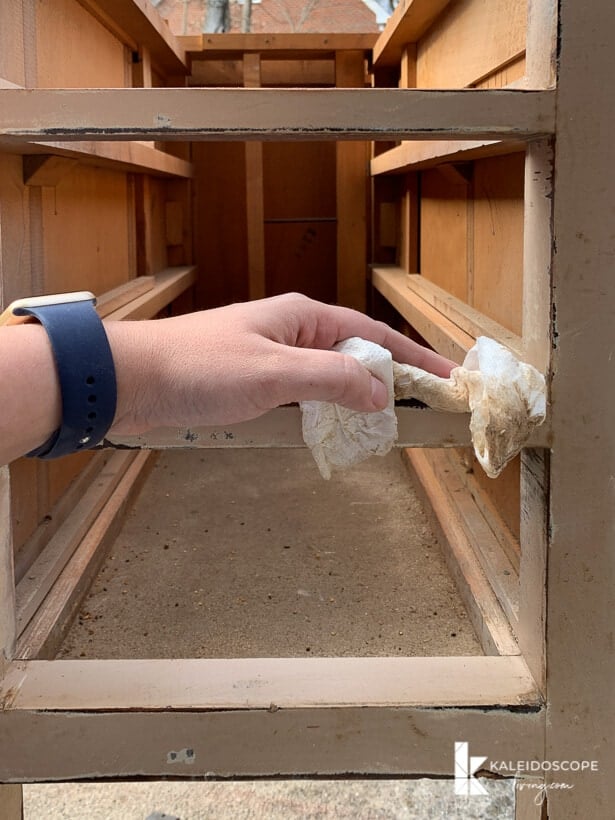
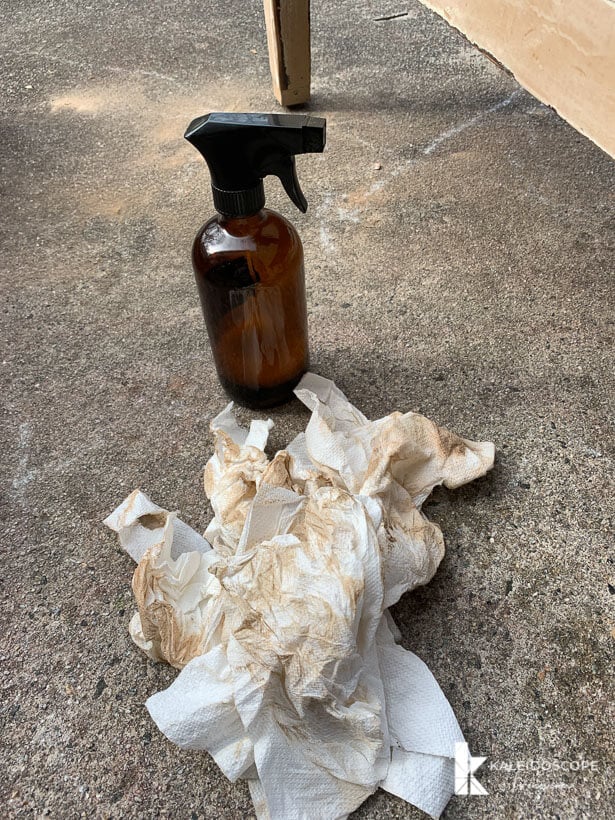
Step 3: Prime (if needed)
If you are painting a previously unpainted piece and it's a wood that has tannins (redwood, cedar, etc.), you will want to give it a quick coat of primer so that the tannins don't seep through the paint.
Step 4: Paint
You are ready to paint with chalk paint. Why chalk paint? It's so much more durable than other paints. It also gives you a smooth, matte finish that other paints just can't replicate. Chalk paint + a wax finish really mimics the look of an amazing factory finish. Chalk paint is also easy to work and dries quickly, which is a total bonus.
There's nothing difficult about applying chalk paint. Just brush it on! I applied 2 coats. It dries to the touch in less than an hour, but you want to wait 2 hours between coats.
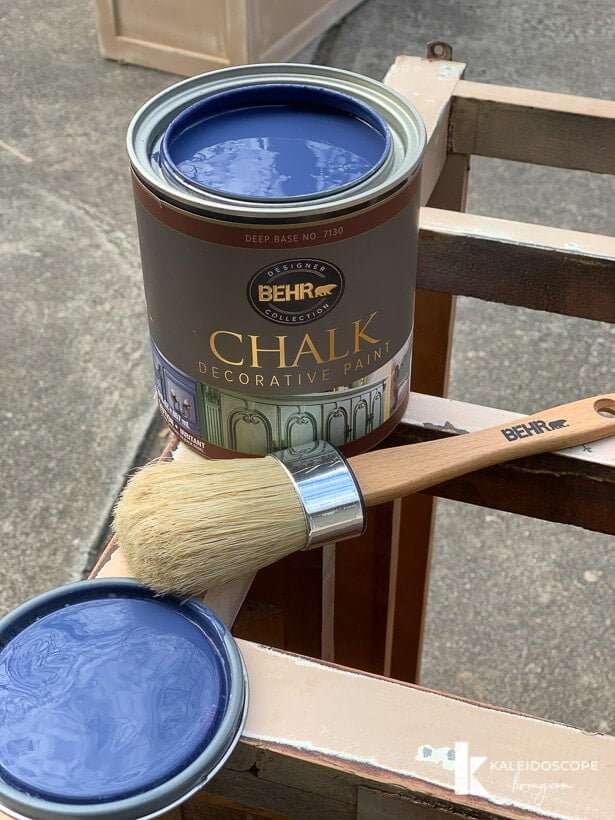
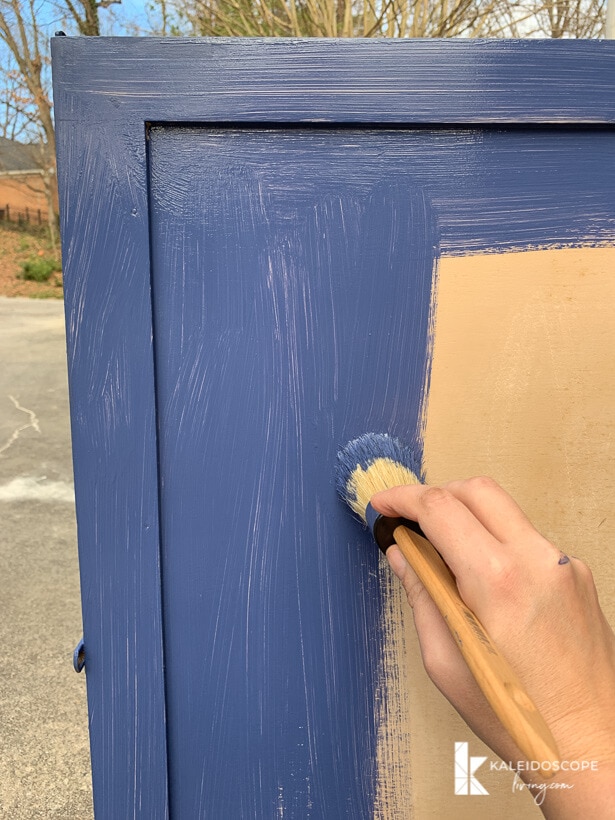
Step 5: Wax
Once your piece is fully painted and is dry, you are ready to apply your wax finish. I used BEHR® Wax Decorative Finish in Clear. It will slightly darken your existing finish and will help you achieve some depth and interest.
It doesn't take a ton of wax. More is not better! You just want enough to coat your piece with a thin coat of wax.
After loading your brush with the wax, offload extra wax on a piece of scrap cardboard. Then use very light “x” motion strokes to cover your entire piece. After your light antique wax has dried to the point of becoming slightly tacky (which takes only a couple of minutes), buff it with a soft cloth. What you should end up with is a slight sheen and your finish should be smooth to the touch.
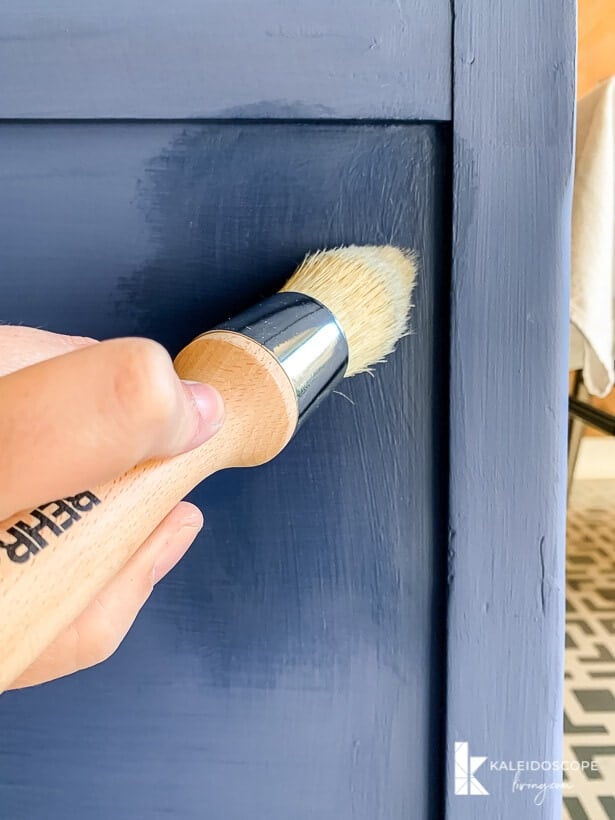
That's it! I hope you see that painting wood furniture is not complicated.
If you follow me on Instagram, you know I scored these beat up drawer bases off the Facebook Marketplace and you may have even voted for me to transform these for this project (if you did vote, thank you)! And you may have caught my Instagram Live where I gave a live demonstration of how to paint incorporating BEHR® Wax Decorative Finish.
This simple, but failproof, way of painting furniture led to me transforming these drawer bases from this…
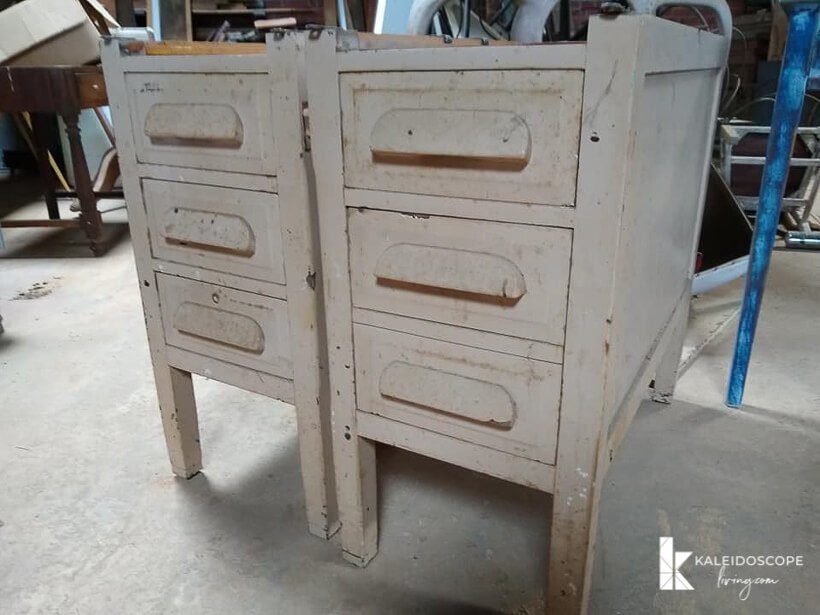 | 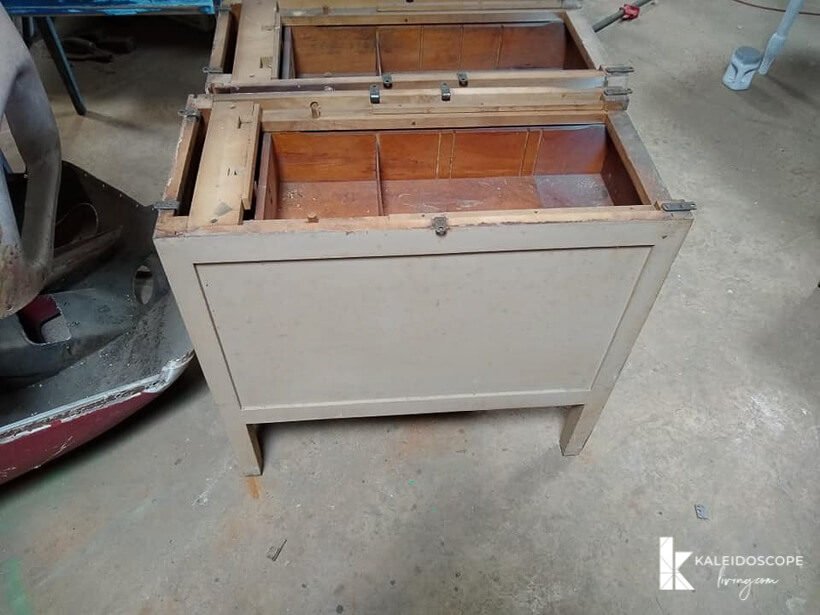 |
to this!
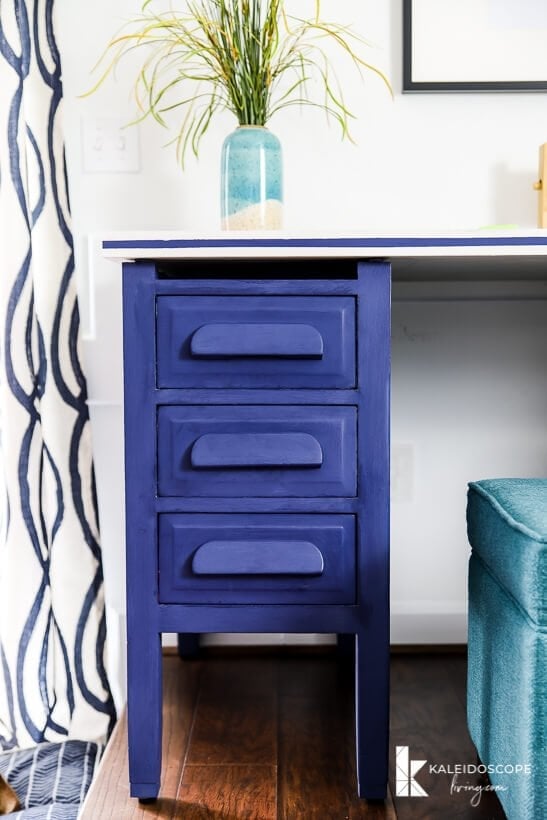
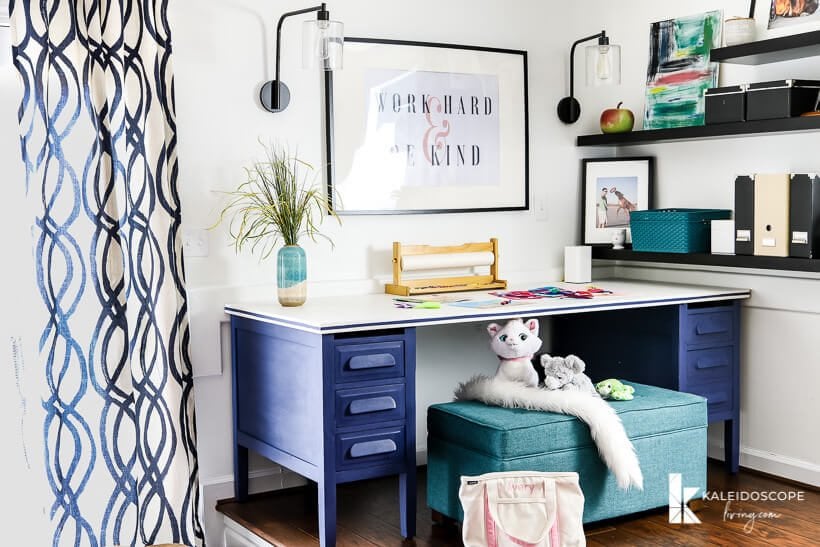
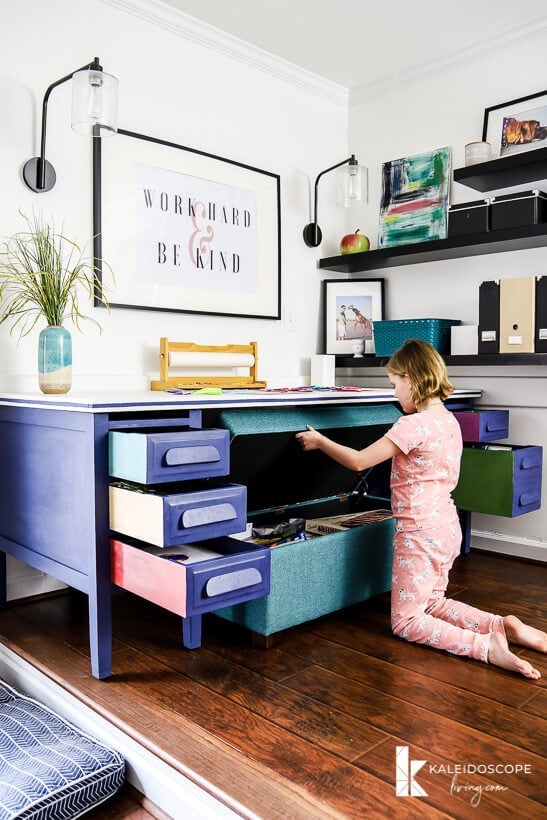
These drawer bases are the perfect addition to our girls' art table. Before, we just had the table top with pipe legs and all open storage on top. But we were sick of looking at all the markers, colored pencils and crayons that were always strewn about. These drawers are AWESOME! I hit up The Dollar Store for cheap interior organizers that work perfectly.
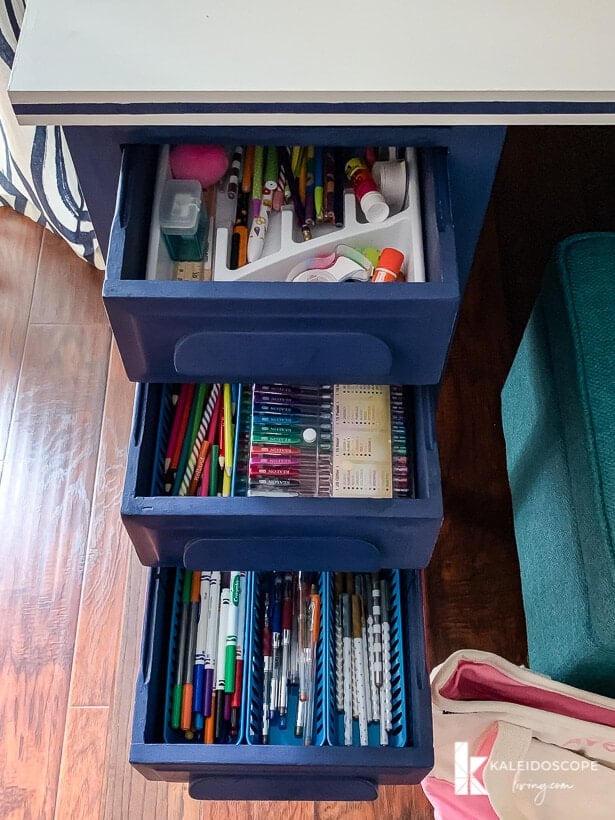
We just got everything installed this weekend and our girls are already putting everything to good use.
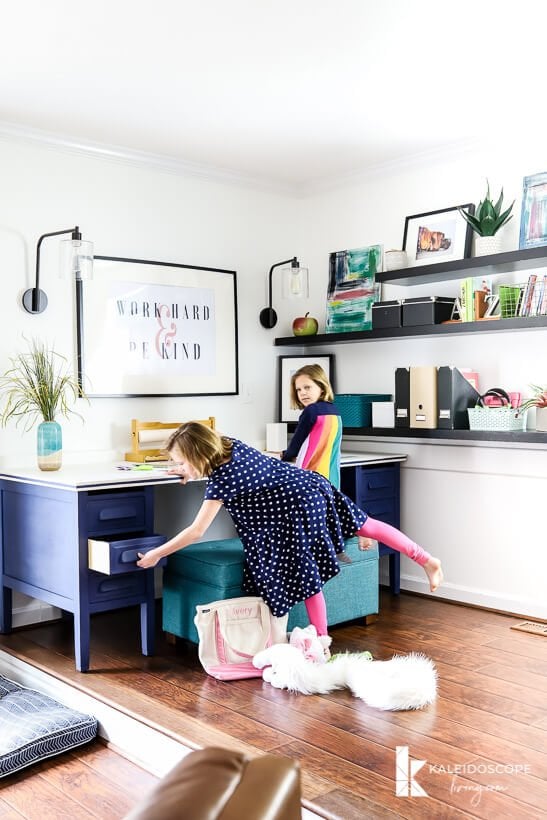
Well, I hope you have learned how to paint furniture from start to finish. This process is pretty failproof and your painted finish will last and last if you follow these steps.
Now, be sure to head over to my Instagram profile and find the photo of this project so you can enter to win a $100 The Home Depot® eGift card! That would be enough to buy yourself a cordless sander AND plenty of BEHR® Chalk Decorative Paint for your next painted furniture project!
[mv_create key=”1″ type=”list” title=”Most Popular Projects” thumbnail=”<a href=”]
Last Updated on August 10, 2021
