How to Use Cricut Iron On Vinyl on Stretchy Fabrics
Now there is a heat transfer vinyl that has enough stretch to use on workout clothes, bathing suits, yoga pants, leggings and more! It's called SportFlex Iron On™ and it's awesome. In this post, you will learn how to use Cricut Iron On Vinyl for stretchy fabrics.
If you love working with heat transfer vinyl, but have always felt limited by the fabrics you can use it on, you are about to be VERY happy. You see, regular Cricut iron on vinyl (or other brands of heat transfer vinyl) just doesn't have a whole lot of stretch to it, so it was not conducive to using on stretchy fabrics like workout clothing, bathing suits, yoga pants, leggings, etc. The vinyl would look pulled as the fabric stretched out because the vinyl just didn't flex and stretch with the fabric.
Well, Cricut recently released SportFlex Iron On™ and people are going NUTS for it. I finally tried it for the first time and now I see what all the excitement is about. I'm sharing all the details about how to use Cricut SportFlex Iron On™ for stretchy fabrics in this post.
If you saw my recent post on 10 Things Women Over 40 Should Buy for Themselves then you already know that I recently invested in a Peloton (and yes, I am friggin' loving it and working out more than I have in a long time–very happy girl here). So, I decided to make a funny workout shirt to wear whenever I am spinning on my Peloton :)
Thank you to Cricut for sponsoring this fun project! This post contains some affiliate links for your convenience (which means if you make a purchase after clicking a link I will earn a small commission but it won't cost you a penny more)! Click here to read my full disclosure policy.
How to Use Cricut Iron On Vinyl On Stretchy Fabrics
Materials Needed:
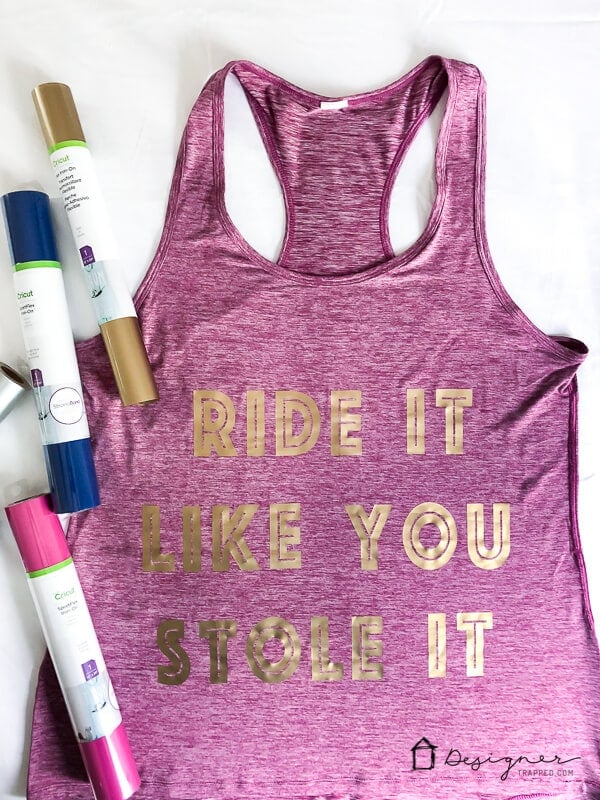
- Cricut SportFlex Iron On™ (I used the gold color)
- This is a must! You do not want to apply regular Cricut iron on vinyl to stretch fabrics–it won't stretch with the fabric and will end up looking wrinkled, puckered, etc. SportFlex Iron-On™ is perfect for your workout shirts, bathing suits, etc. Made especially for activewear, SportFlex Iron-On™ features the Cricut StrongBond™ Guarantee* for long-lasting iron-on results that stick. This flexible, stretchable iron-on material moves and bends with your body and fabric. SportFlex Iron-On is highly recommended for tech fabrics like polyester (like my workout tank). *Cricut stands behind its iron-on products with the Cricut StrongBond™ Guarantee when used and applied as directed.*
- High-performance tank top
- Cricut cutting machine
- I used my Cricut Explore Air 2, but any cutting machine will work for this project. You can read all about my comparison of Cricut vs. Silhouette machines in this post.
- Cricut EasyPress
- Cricut EasyPress Mat or a hard protected surface, like a towel on a table or countertop (don't use a regular ironing board–it's not firm enough)
- Weeding tool
- Cricut Iron-On Protective Sheet or a thin cotton towel
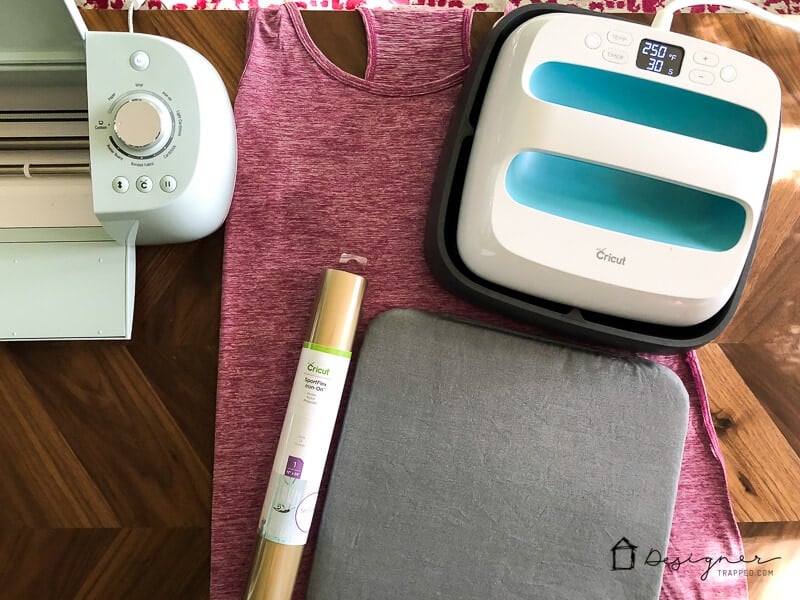
Steps:
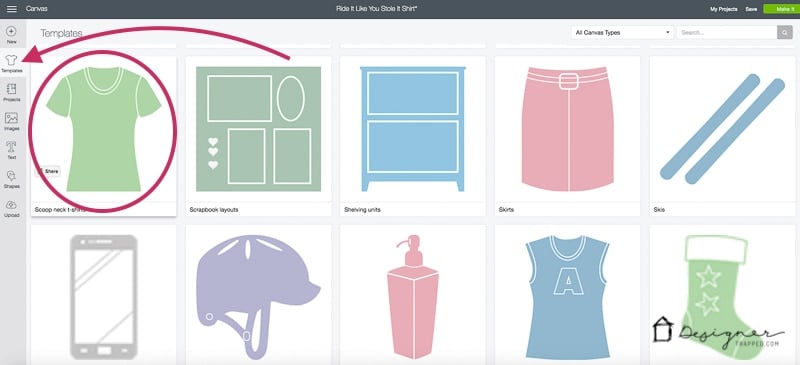
1) Use Cricut Design Space to design whatever you want to put on your stretchy fabric :) If you want to use my design, you can access it here. I recommend that you use a t-shirt template to decide on how large you want the design to be on your shirt. To do that, just click on “templates” on the left side of your screen and scroll until you find the template you want to use.
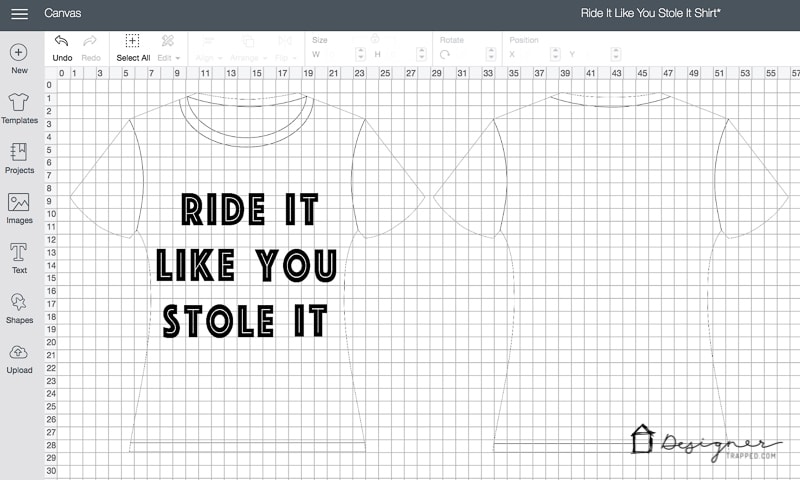
I chose the “scoop neck t-shirt” template and this is what it looked like with my design on it. My shirt is actually a tank top, but the template is still a helpful guide. My tank top is a size large, so if you are a smaller or larger size, you may want to adjust the design itself to be smaller or larger so that it fits properly on your shirt. You can use a measuring tape to measure your shirt if in doubt. You can adjust the size of the design by clicking on it and dragging the corner in or out.
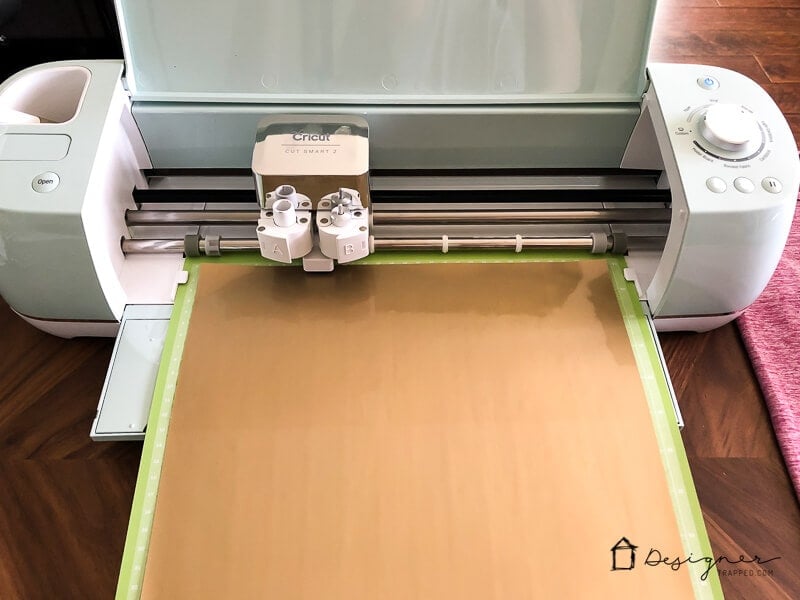
2) Now, if you have never worked with Cricut iron on vinyl before, you should know that it is DIFFERENT than traditional vinyl. You actually cut the bottom-side of the material.That means you need to place the iron on vinyl on your cutting mat with the shiny side of the iron-on vinyl face down and the less shiny side face up.
3) Prepare your design to cut when you are ready by clicking the “make it” button at the bottom right corner of your screen. Once you are taken to your preview screen, you need to be sure to mirror your image! All you have to do is toggle this button to the “on” position.
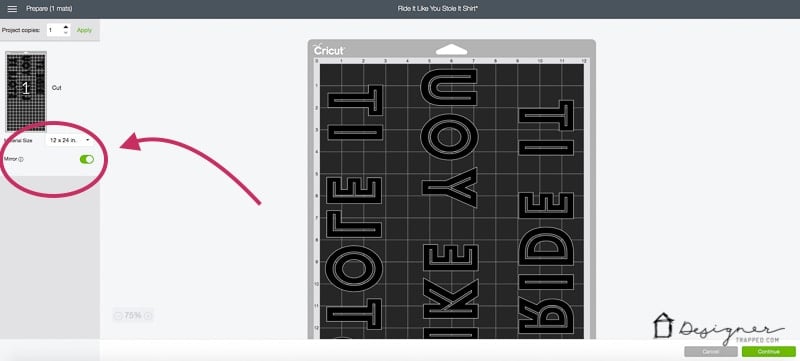
If you are using a Cricut Air Explore machine like me, set your dial to “Iron On.” If you are using the Cricut Maker, you can select “SportFlex Iron On” from the list of materials.
4) Now you are ready to cut out your design. Click the green continue button in Design Space and then load your mat and click the go button on your machine.
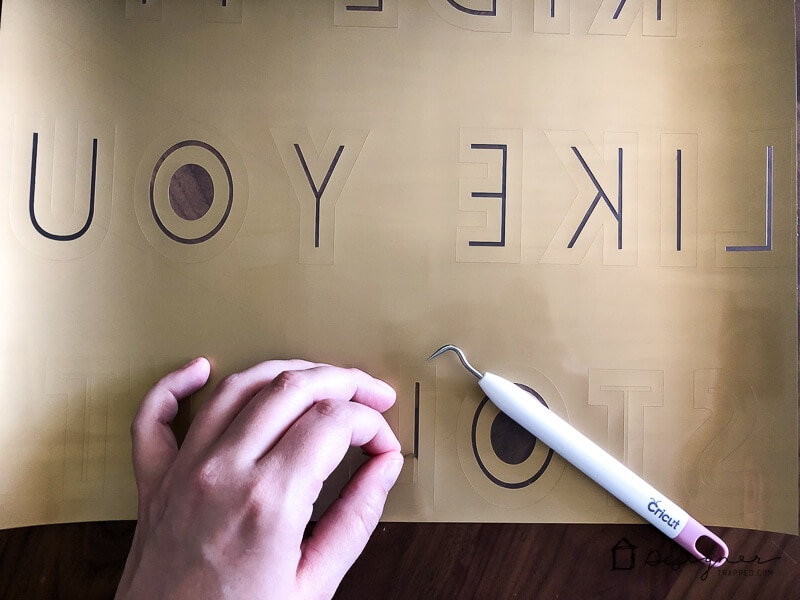
5) After you design is cut, weed it so that you are left with only what you want to iron on to your shirt.
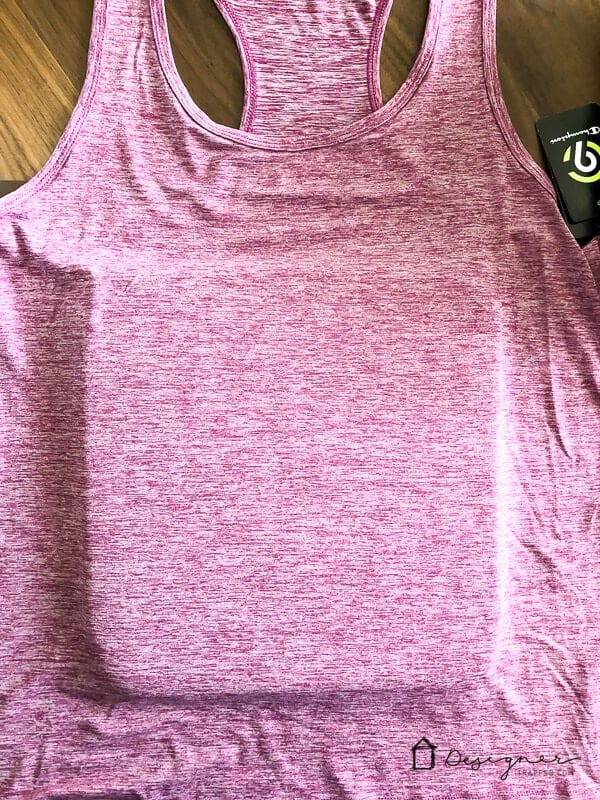
6) Now it's time to apply your Cricut iron on vinyl design to your shirt. Place your shirt on your Cricut EasyPress Mat (or other hard, protected surface) and preheat your Cricut EasyPress to 305˚.
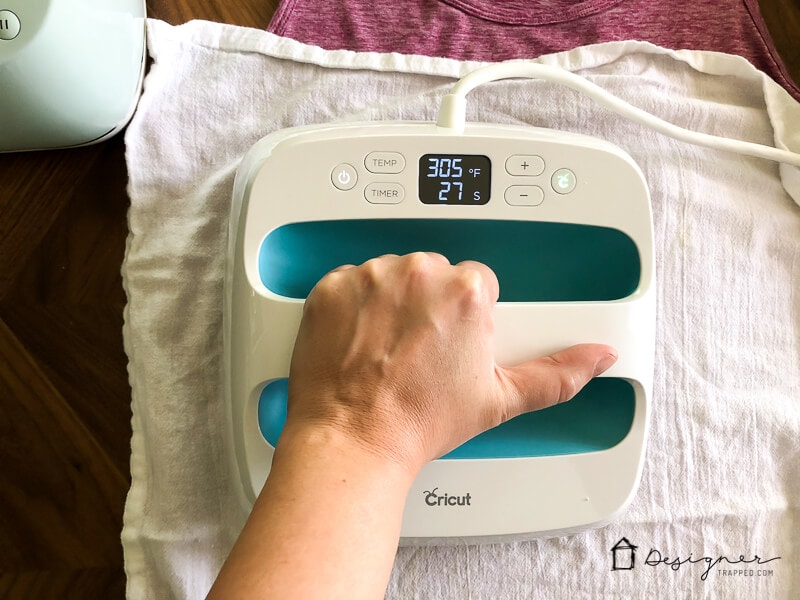
7) Next, place your EasyPress onto the area of shirt that you are applying the design to for 15 seconds (this just preheats your fabric which will help the SportFlex adhere better). Then place your weeded design on to your shirt–make sure it's centered and straight. Then place Cricut Iron-On Protective Sheet or a thin cotton towel over the protective film and use your EasyPress to iron it on for 30 seconds (the built-in timer will count down for you–love that feature). Because my design was larger than the 9-inch plate of the EasyPress, I moved it to the next section that wasn't covered the first time and pressed again for 30 seconds.
8) Next, turn your shirt inside-out and press again for 30 seconds over the entire surface of the design.
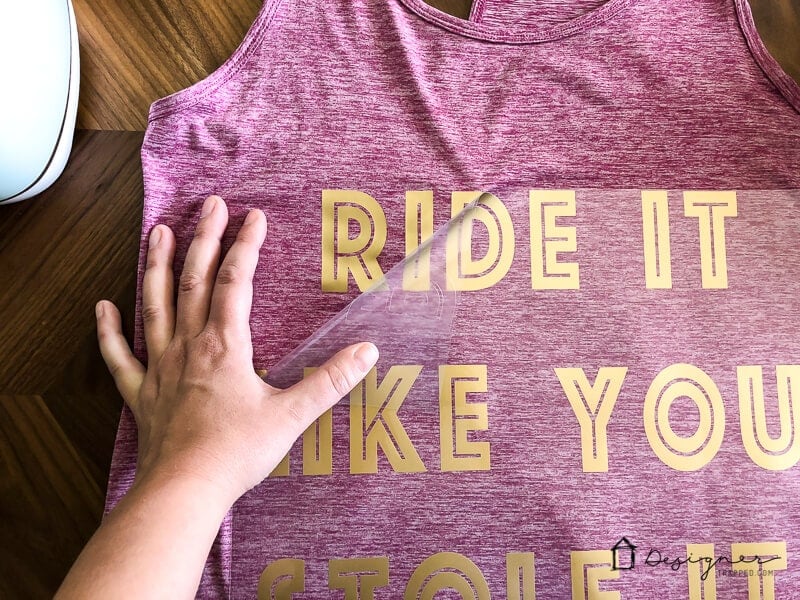
9) Allow it to fully cool down. Then peel away the clear film to reveal your awesome new shirt :)
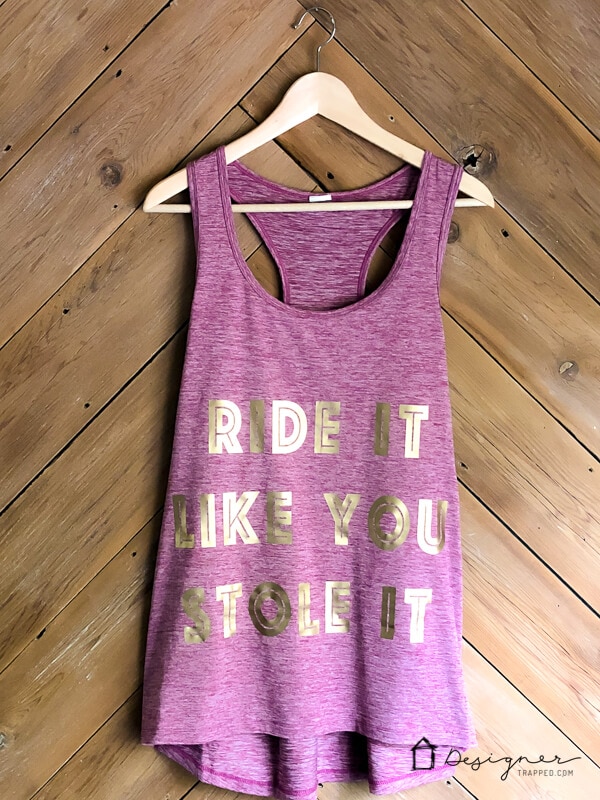
Here's my fun shirt all done. Call me immature, but it cracks me up every time I wear it to workout :)
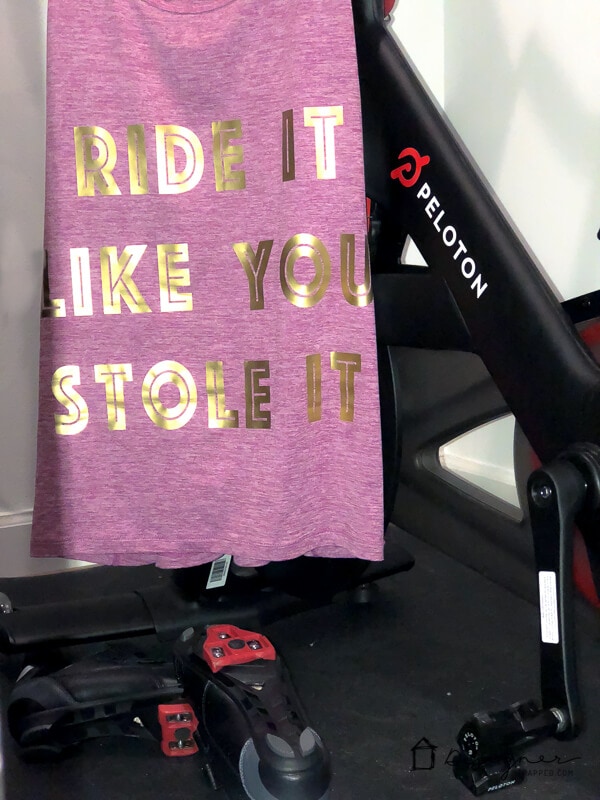
I'm so excited about this new stretch-friendly iron-on vinyl. I can't wait to use some on my twin girls' swim team bathing suits. I'm thinking of putting “eat my bubbles” on the butt of them :) Again, feel free to question my maturity. I don't mind!
Other posts you may enjoy:
- Epic Craft Room Storage Ideas
- Which Cricut Machine Is Right for You?
- Cricut vs. Silhouette: My Unbiased Review
- Make ALL THE THINGS With the Cricut Maker
- How to Make Stickers and Labels with a Cricut Machine
- Personalized Christmas Ideas With Cricut
Wondering how I approach transforming rooms and spaces in our home? Check out Designer in a Binder®.
And if you want exclusive content and behind-the-scenes sneak peeks, be sure to subscribe before you head out!

Last Updated on September 6, 2022

Love this post, thank you so much for sharing! Also love your idea of doing the “eat my bubbles” type on your daughter’s bathing suits. Such a fun idea and not questioning your maturity level at all, haha!
Hi! So I had Disney avatar shirts made for my family and my design started peeling minutes after wearing my shirt as a practice run on my daughters birthday. I purchased a bodysuit off Amazon that almost felt like swimsuit material. 60% nylon and 40% spandex.) I was crushed and have been searching for a way to still be able to wear this bodysuit in Disney. Do you think with the material combination this type of vinyl would hold up? This would make my day and life if it would!!!
I have an old Cricut AND an old Silhouette. I’m soooo behind on everything we can do with these awesome machines. Oh Oh! I see a splurge in my near future. Buy hey, I’m over 40 so isn’t it the 11th thing to buy? ;) Thanks for this tutorial Tasha! I’ll make sure to check your comparison post before I buy anything!!
LOL! Yes, Natalie! This SHOULD be #11 on the list of things women over 40 should buy for themselves! And you need to bust out those old machines of yours ASAP!