How to Make Lighted Christmas Balls
I am sooooooooooooo excited to share this post with you today! If you've followed my blog for a while, you know that I live in Greensboro, NC. I love Greensboro for so many reasons, not the least of which is that it has a unique Christmas tradition of lighted Christmas balls! They are so, so magical.
They hang from trees and make the neighborhoods that partake in the fun feel like a wonderland at night. Before I continue babbling about them, let me give you a better idea of what I am talking about. Check out this short video that will show you how HUGE the impact of the magical lighted Christmas balls can be when a whole neighborhood hangs them. All those little dots you see are these awesome lighted Christmas balls! The lighted Christmas balls tradition started in the Sunset Hills neighborhood, but is starting to creep into ours, which is so exciting! Why not start the tradition in your neck of the woods?!

How to Make Lighted Christmas Balls
Materials needed to make lighted Christmas balls:
- Chicken wire
- 100 mini-light strands {we used two strands per ball}
- Extension cords
- Duct tape
- String
- Gloves
Steps to make lighted Christmas balls:
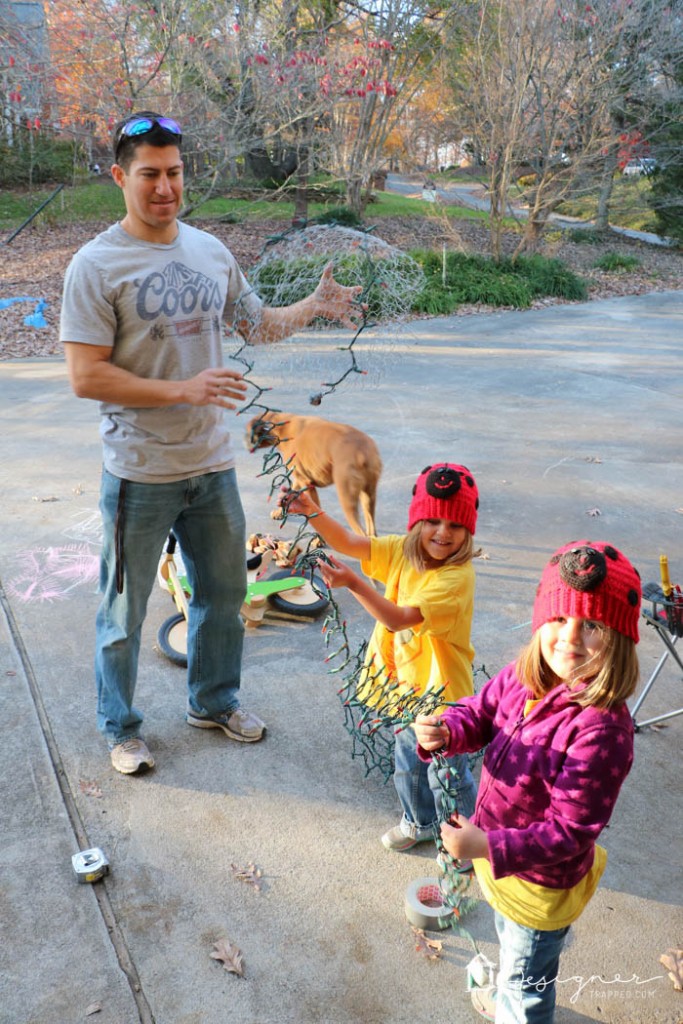
1) First, put your gloves on–chicken wire is pretty sharp {ignore the fact that Joe didn't wear them–you should}! Next, cut out your chicken wire into rectangular shapes. To create a round shape, your chicken wire must be twice as long as it is wide. We worked with chicken wire about 2′ by 4′.
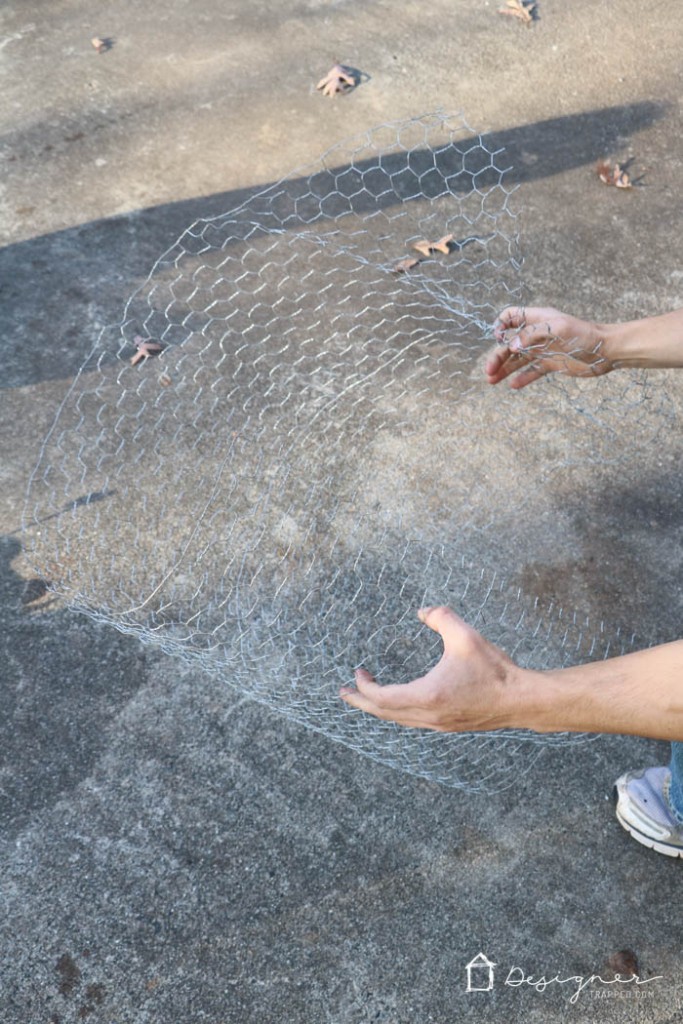
2) Place the two cut sides together and connect them by twisting the wires around each other {see below}. At this point, you will have a tube shape.
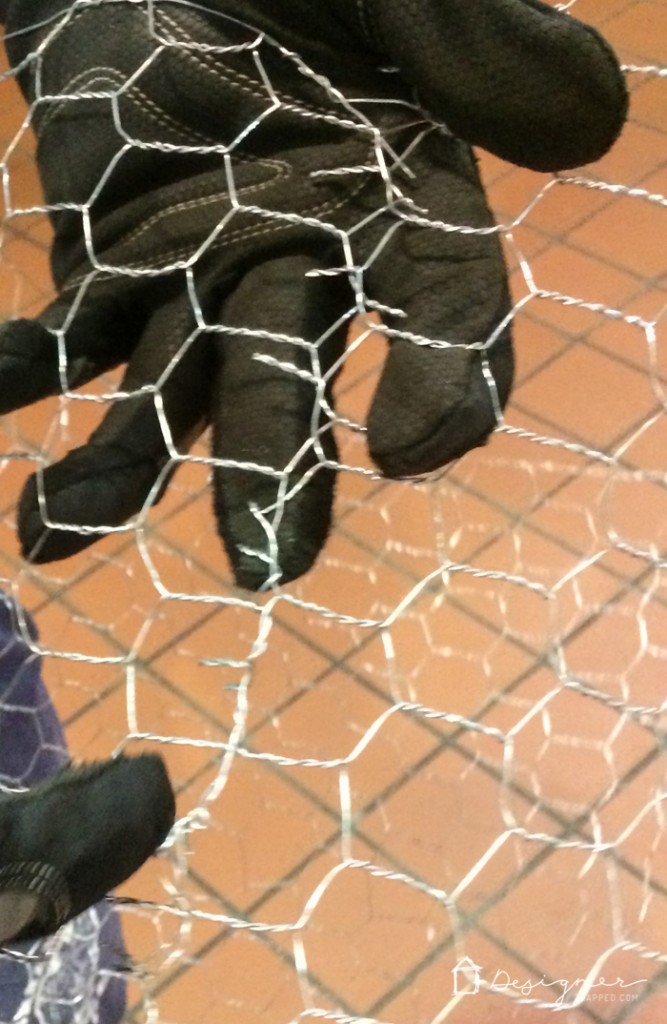
3) Begin pushing the ends of the “tube” together and twisting the wire together. You kind of “pleat” the chicken wire as you push it to the center of the tube and start to make your round shape.
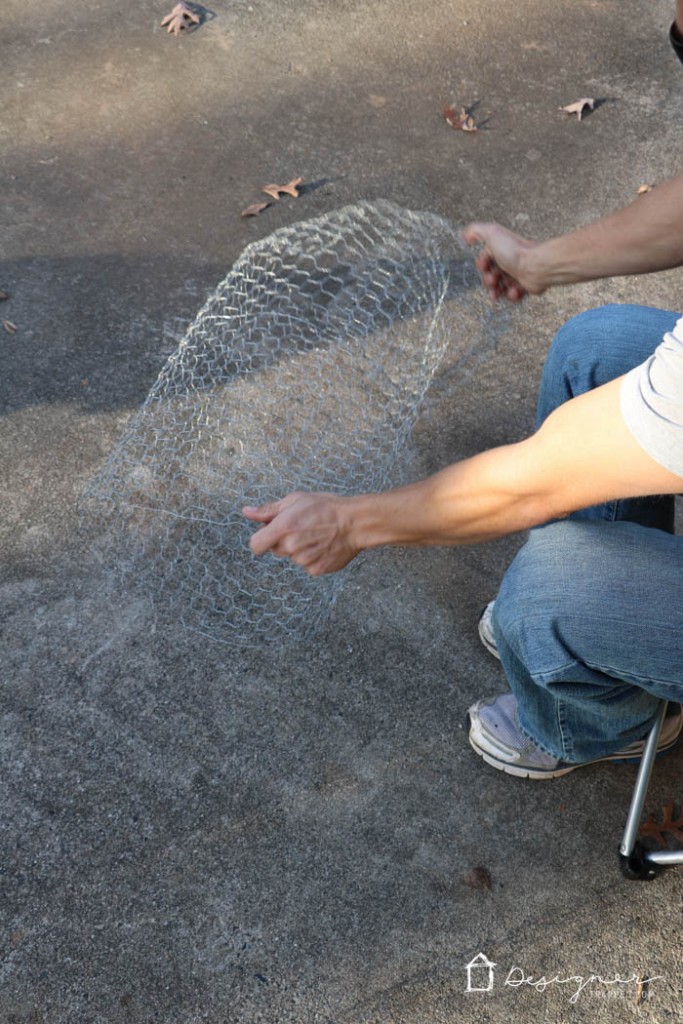
4) Continue sculpting, making the shape as round as possible. Trust me, they look A LOT more round once they are hanging in trees, so don't be overly finicky about the shape.
5) Once your ball shape has taken form, wrap two strands of 100 mini lights around each ball. Be sure the leave the male end of your plug {on the second strand of lights} exposed so that you will be able to power it up. Weave the lights in and out of the chicken wire so that the lights are securely attached to the ball.
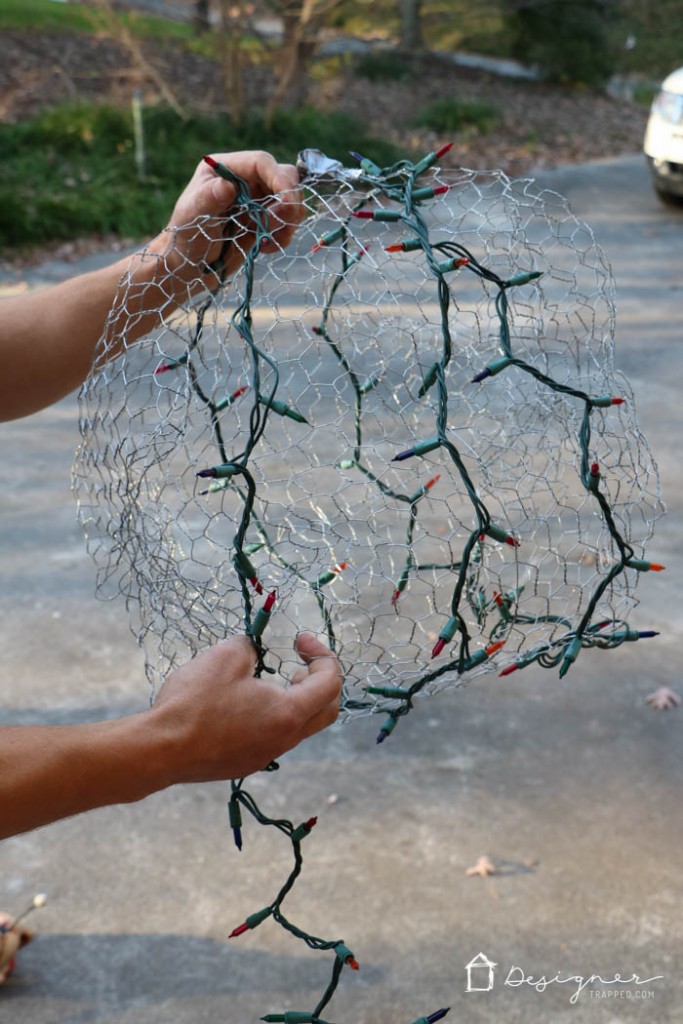
This was a family affair at our house. Note how classy my family appears in this photo. Joe dressed our girls {#wow #dadfashion} and he is sporting a Coors Light t-shirt. CLASSY I tell you. But, we had a lot of fun :)
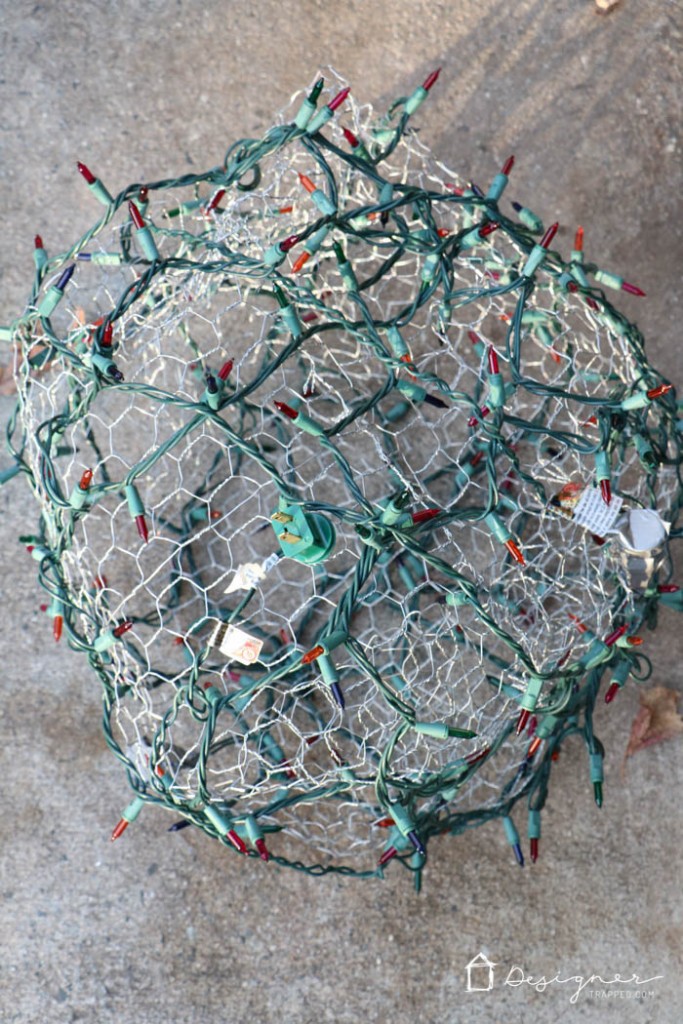
6) Now you are ready to hang your balls. There are A LOT of different ways to do it–potato guns, fishing poles, etc. But, we tied a string to a lacrosse ball and Joe launched the ball with his lacrosse stick. Once the lacrosse ball cleared whatever branch we wanted to hang the ball on, we would lower it down, remove the lacrosse ball and attach the christmas ball to it. BE SURE TO PLUG YOUR LIGHTED BALL INTO AN EXTENSION CORD BEFORE RAISING IT INTO POSITION. We secured all of our connections with duct tape to ensure they did not come loose while hoisting the balls into position.
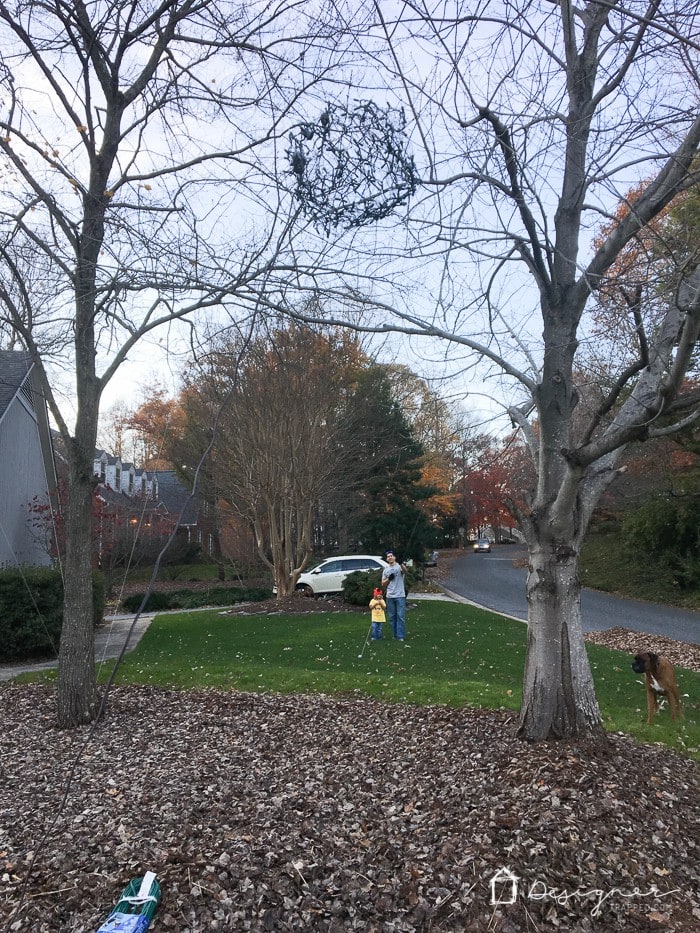
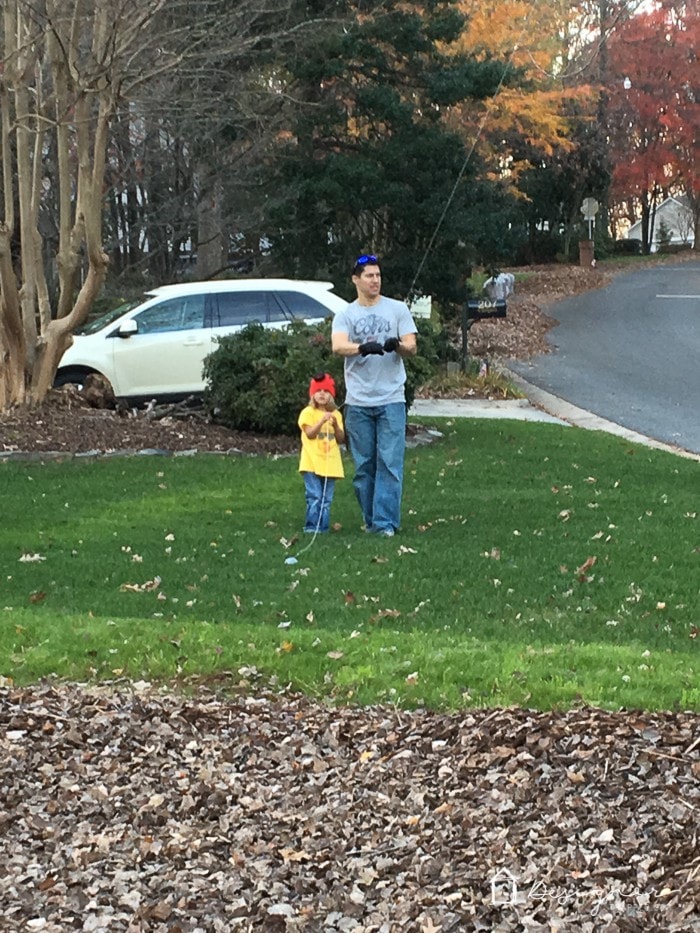
7) Once your ball is in position, tie the excess rope around a stake and stick it in the ground. When you are ready to remove them, just cut your strings and watch them fall :)
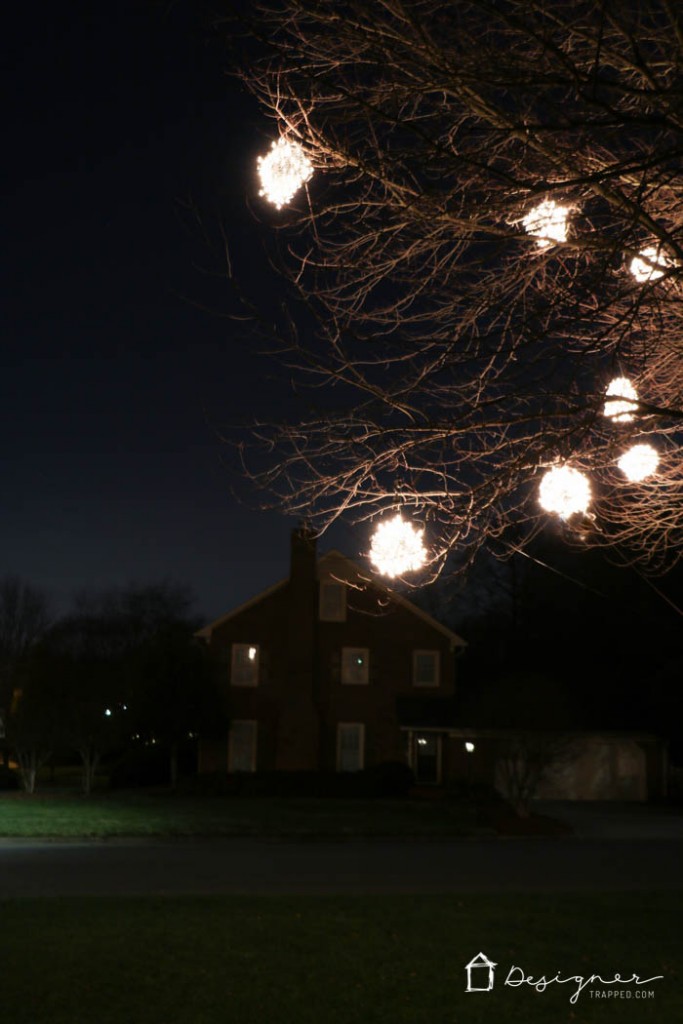
Ready to see the finished project all aglow at night?! Believe me when I tell you that these balls are difficult to photograph/video and are so much more brilliant and beautiful in person! But, I did my best to photograph our balls and hope it will be enough to inspire you to make your own.

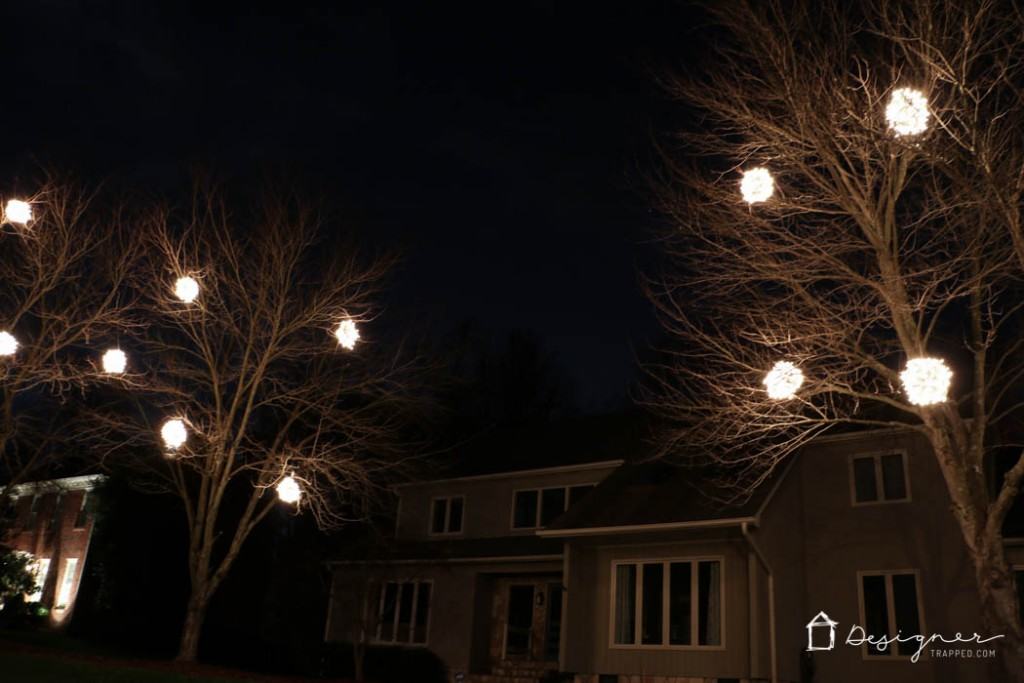
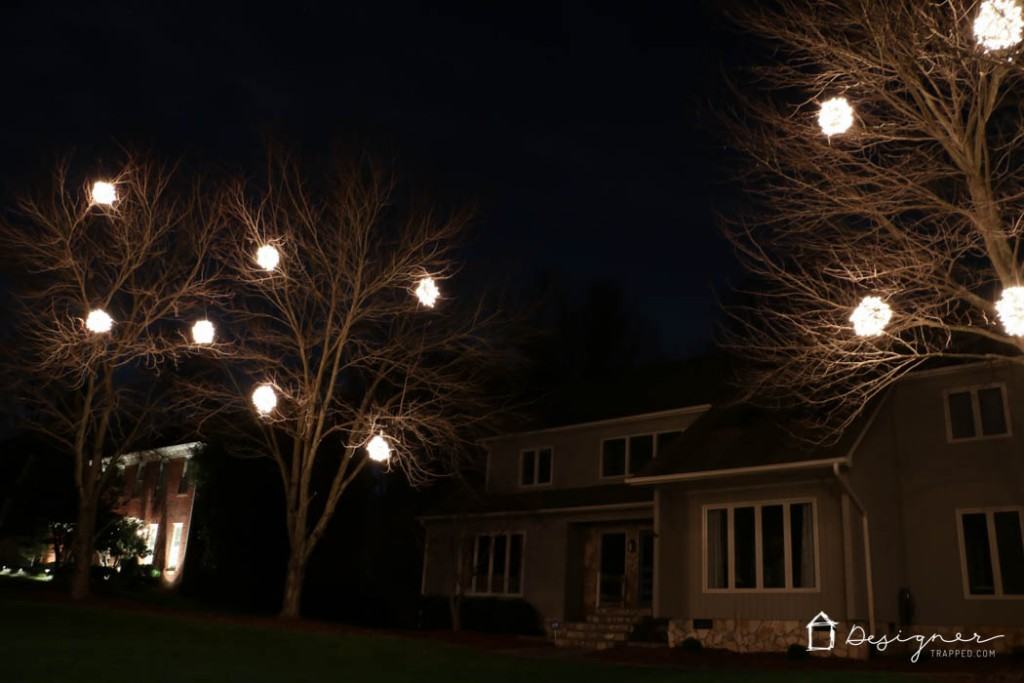
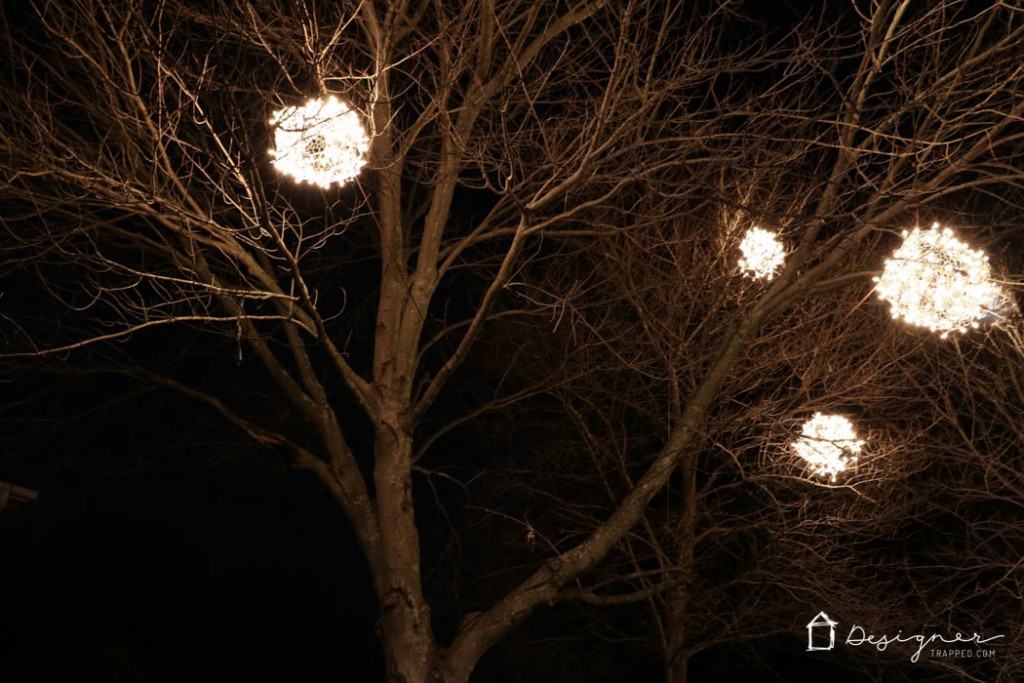
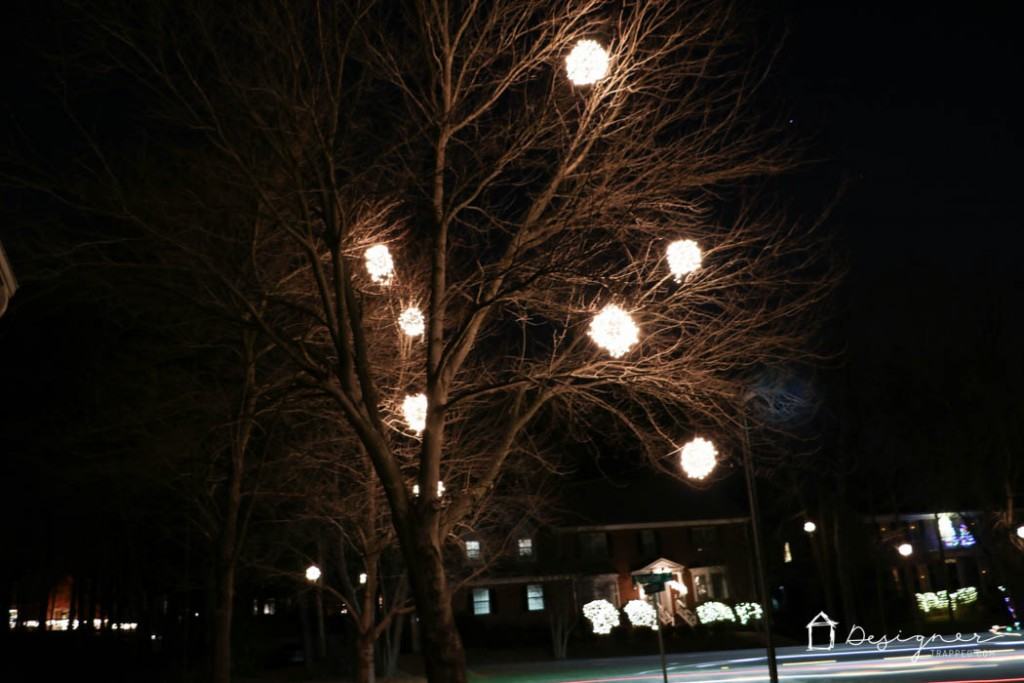
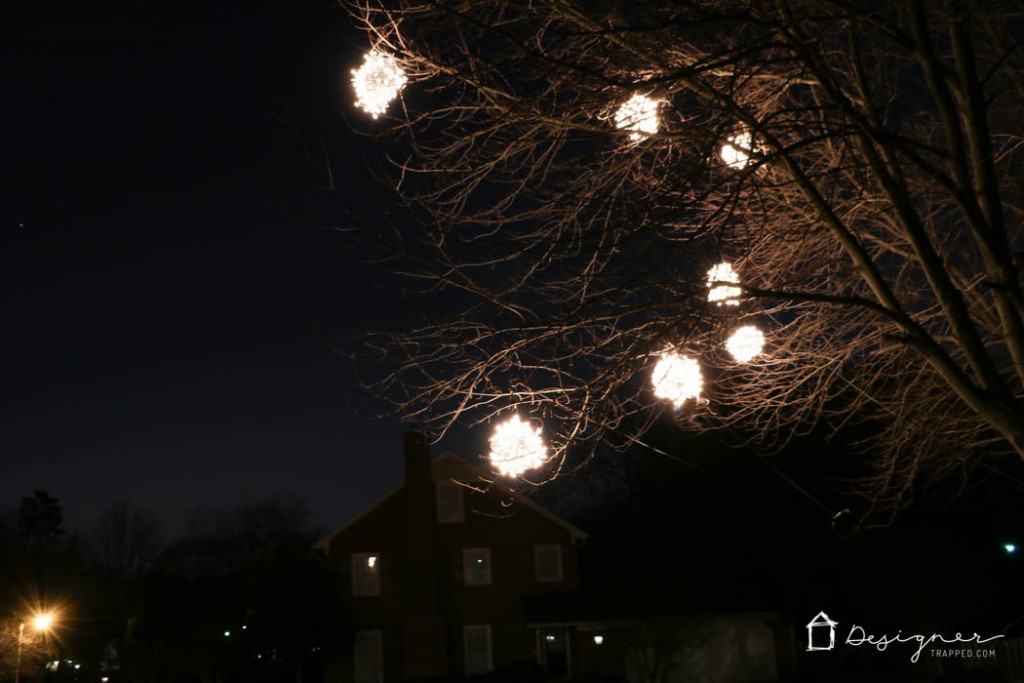
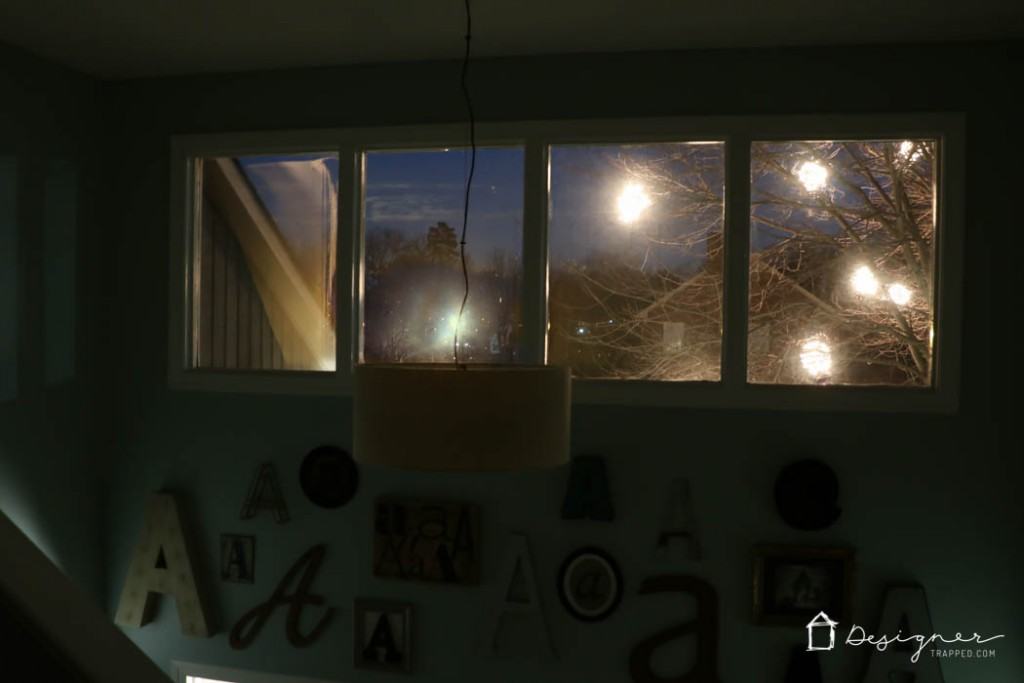
We can even see them from the hallway upstairs, which I love.
We hung some “rainbow” balls in our backyard because our girls were BEGGING for some, but I didn't have a chance to take photos of those, and I really prefer the all white lights, which is why we hung all of the white light balls in our front yard :)
Aren't these lighted Christmas balls wonderful?! I hope you are feeling inspired to make some for yourself! If you are, be sure to pin this post so you can refer back to it later :) And be sure to check out my other Christmas posts before you head out :)
[mv_create 1 11 200 2016 key=”1″ type=”list” title=”Most Popular Projects” thumbnail=”<a href=” https designertrapped com wp content uploads diy home decor projects blog jpg a]

Last Updated on March 3, 2022
I have seen several of your ideas on Pinterest and I was so intrigued by your page “Designer Trapped in a Lawyer’s Body”. Today, I found this one and picked it because I live in Greensboro. To my surprise, so do you! Wow! Thanks for the tutorial!
~ future lawyer who will be trapped in a lawyer’s body ;)
Awesome Karen!!! So glad you found me. Yay Greensboro!
What an awesome idea! Def. pinning for next year!
Thanks so much Leigh Anne!
Just gorgeous!! We saw the MOST amazing display using these balls in a Port Huron Michigan Neighbourhood…it was the first time we ever saw this decoration (this year). The homes were on the lake, and they had a tree lined street with EVERY SINGLE TREE lit up with these balls of every colour! What an awesome display for Christmas, and for Community! They must have had a cherry picker to come in and help them get them hung! We copied their idea, and brought it home with us to Corunna, Ontario, where people are driving by just to see our tree!! We have 11 balls in our one tree out front, and a neighbour in our cul-de-sac is wanting balls for his trees next year! I hope the trend grows through our whole cul-de-sac. Just a word of caution, chicken wire is pokey, so be careful, and when you wrap your ball, be sure to have lots of twisties to keep the string of lights in place on the chicken wire in case you live in a windy area.. I used a roll of craft wire for twisties, but next year will use a smaller guage, as it was hard on the fingers to twist… and my fingers are still black… hahaha
Oh yay, Tina! So glad you are helping to spread this gorgeous tradition! Merry Christmas!
Beautiful project and your instructions were perfect! Thank you.
Thanks so much, Melanie!
Such a fun project to do with the kiddos :) And can we take a minute to talk about how BEAUTIFUL your neighborhood and your home are?! Jealoussssss.
Awww, thanks Emily!
Love those. Magical.
Thanks so much, Esther!
Those are fabulous!!! May have to introduce them to Chicago next year! :) Linda
You should, Linda! They would look AWESOME in the heart of Chicago!