Modern DIY Plank Wall Tutorial
People with modern and contemporary taste should be able to enjoy plank walls, too! We just need a more modern take on them than traditional shiplap. In this post, you can learn how to make your own modern DIY plank wall with this easy, step-by-step tutorial.
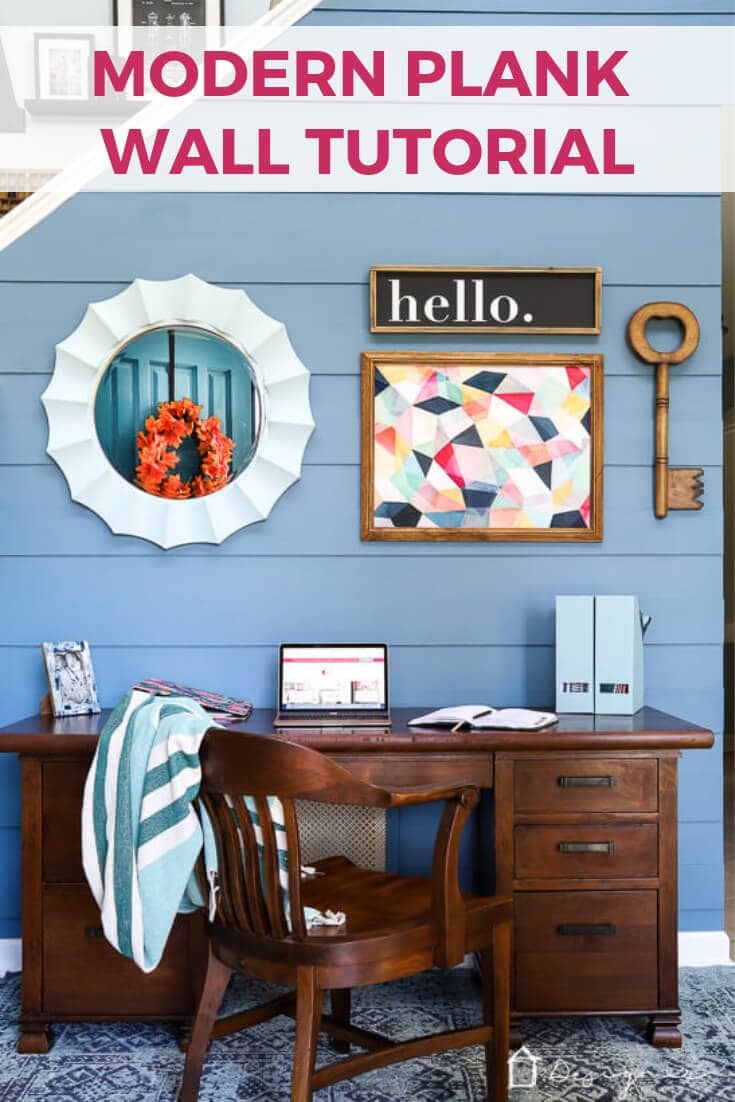
Y’all, I’m so excited about the changes that we’ve made to our foyer. If you follow me over on Instagram and have watched my stories over the past week or so, you already know what I’m talking about. But if you have no idea, here’s the short version.
This post is sponsored by BEHR Paint Company. This post contains some affiliate links for your convenience. Click here to read my full disclosure policy.
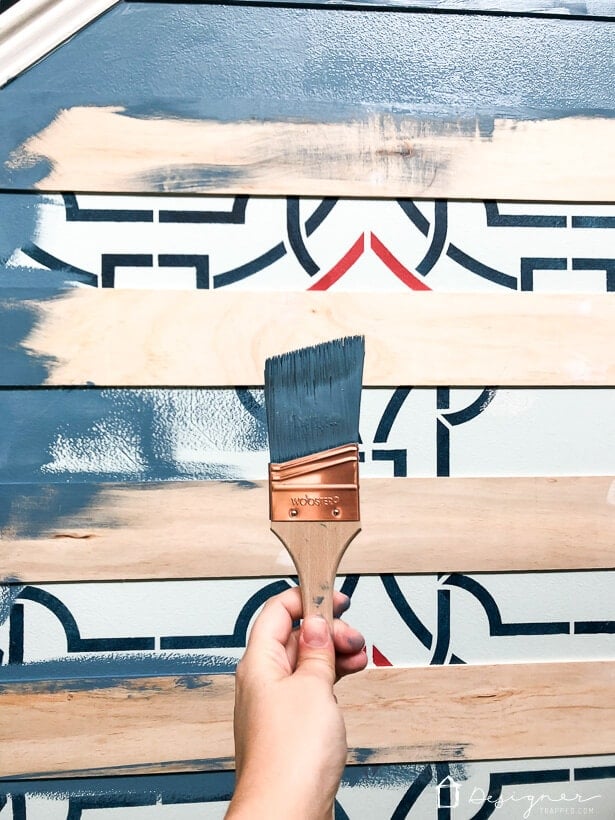
This is how our foyer has looked for the past several years after we stenciled it.
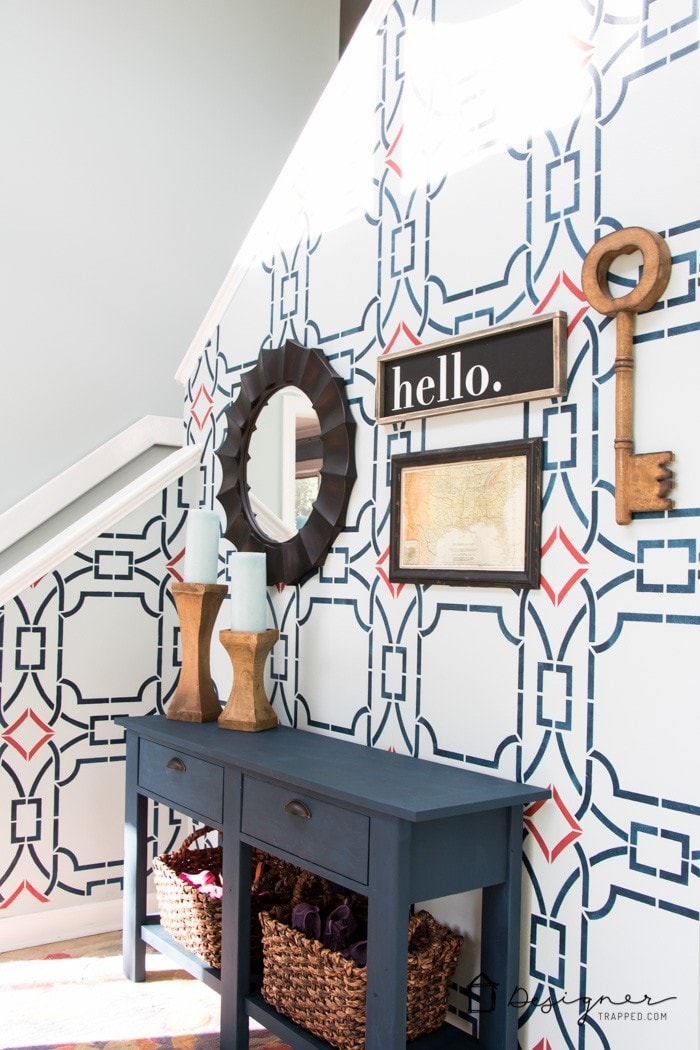 | 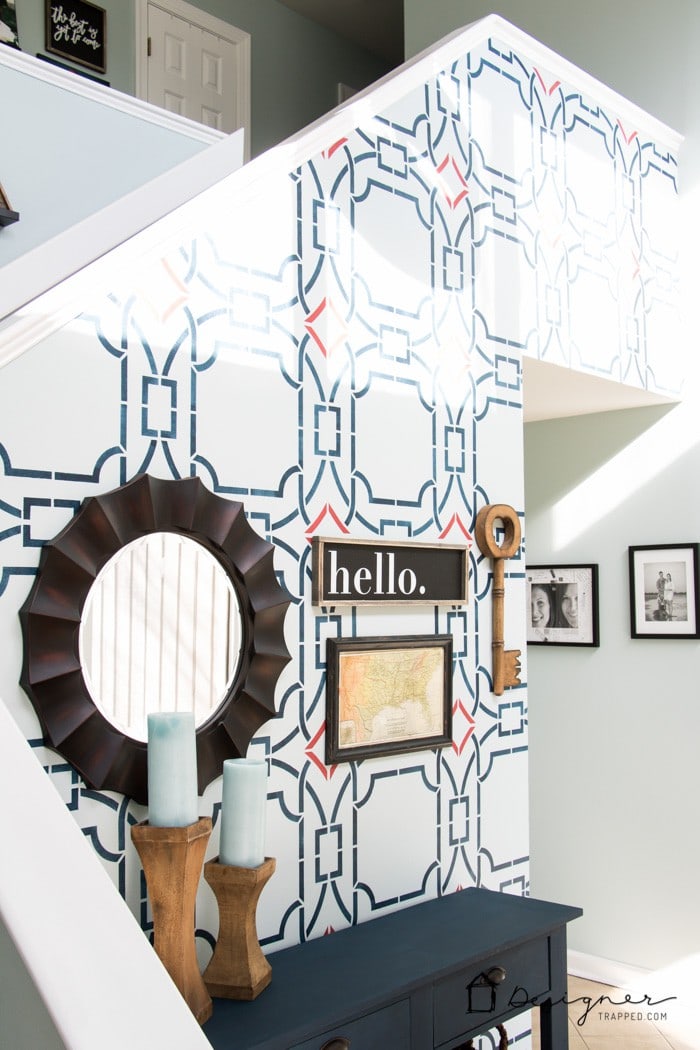 |
Joe has never really liked the stenciled wall in our foyer. I loved it…until Christmas of last year. It’s just HARD to decorate for Christmas on that wall. And since then I’ve also just kind of gotten bored with it. So the fact that Joe had never liked it and I was over it meant it was time for a change. I just had to decide what to do with it.
Fast forward to last month with BEHR reached out to me about their BEHRBox challenge. The challenge is centered around BEHR's 2019 Color Trends, all of which are available at The Home Depot®. Each color trend palette in this year's challenge includes BEHR's 2019 Color of the Year, Blueprint S470-5 (which I fell in love with as soon as it was announced). Me and three other bloggers are participating in this BEHRBox challenge and have each been assigned a different BEHR's 2019 Color Trends color palette to work with.
I was assigned the Monochromatic color palette. It is GORGEOUS and totally up my alley!
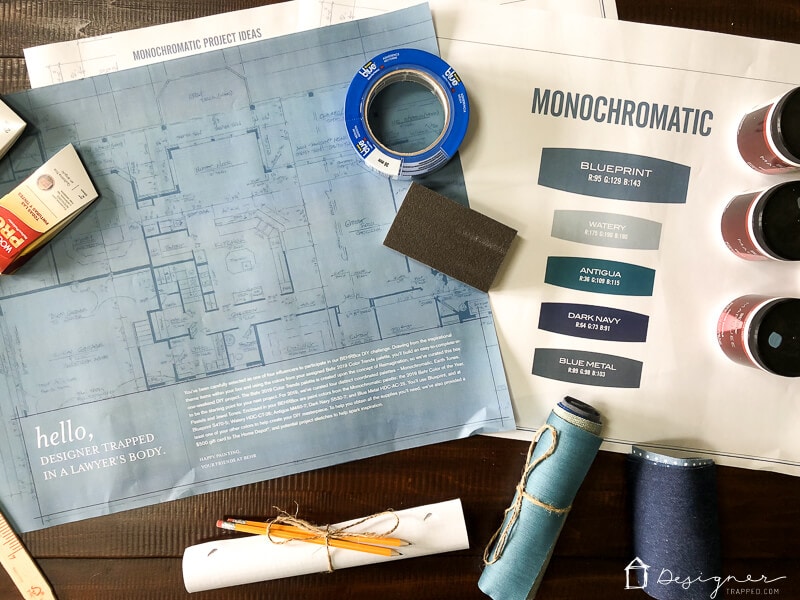
For the BEHRBox challenge, we each had to complete a DIY project that can easily be completed in one weekend using our assigned color palette. I knew it was a match made in heaven because the Watery HDC-CT-26 included in the palette is almost identical to the base color in our foyer. And our front door is almost exactly the same color as Antigua M460-7! After painting some samples on our foyer wall, I immediately knew what I wanted to do in the foyer.
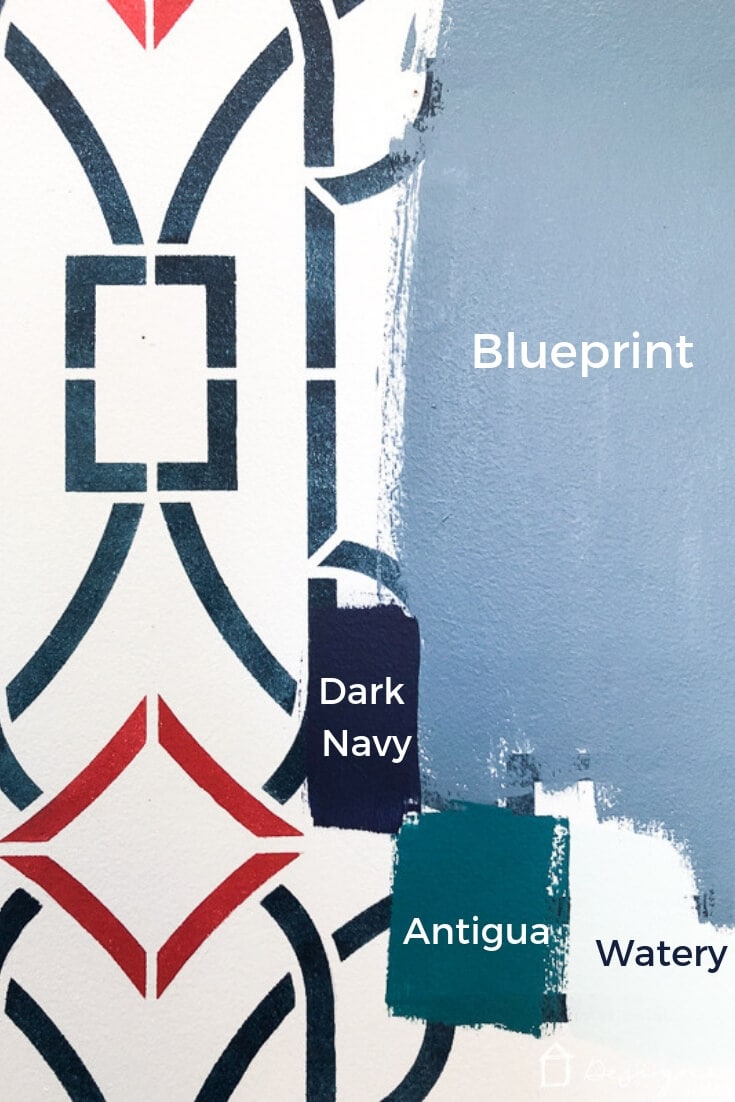
I knew I wanted to create a more modern interpretation of plank walls/shiplap walls that are so popular in farmhouse decor these days. Our house and style is eclectic and contemporary—not at all farmhouse.
But I love the dimension that plank walls add. We have a really cool herringbone plank wall that we made for our old fence in our kitchen and we looooove it. But we wanted something a bit more subtle in the foyer. So, we decided to modernize the traditional plank wall for our foyer and I’m so friggin’ excited about how it turned out.
So, let's dive into this plank wall tutorial and then I'll show you the big reveal with lots of photos!
This post contains some affiliate links for your convenience. Click here to read my full disclosure policy.
Modern DIY Plank Wall Tutorial
If you would like FREE printable instructions for this project, just click the image below!:)
Materials needed:
- 1/4” plywood subfloor ripped down into 5” strips
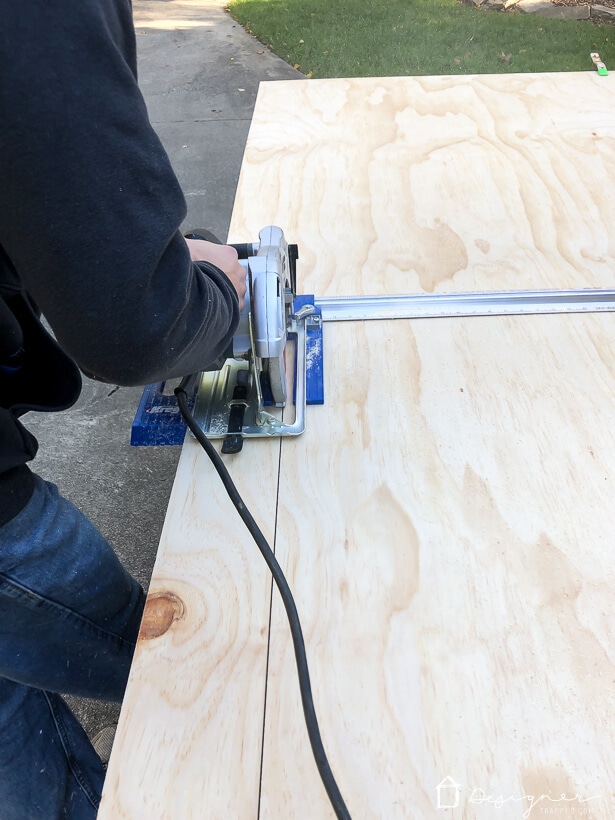
- We used our circular saw and our circular saw guide (a life-saver) to rip down our plywood.
- A scrap piece (or two) of 5” strip to use as your spacer(s)
- A long level
- Finish nail gun (this is the one we have and we LOVE it)
- Caulk
- Spackle and putty knife
- Sandpaper
- Paint and painting supplies
- We used BEHR MARQUEE® Interior Paint. We used Blueprint S470-5 on the entire plank wall.
- I painted our old mirror with the Watery and a bit of Rub N’ Buff in Antique Gold.
Steps:
1) Start by ripping your plywood down into 5-inch planks. We did it quickly and easily with our circular saw and our circular saw guide. We could have done it with our table saw, but this plywood is so thin and flexible, it would have been more difficult to do it on our table saw.
2) Decide on where you want to install your first plank. We did some math to decide on the best placement. Obviously, this math would look different depending on the dimensions of your own wall. We decided to start with the piece that is directly above the hallway since we didn't want a partial piece to fall there.
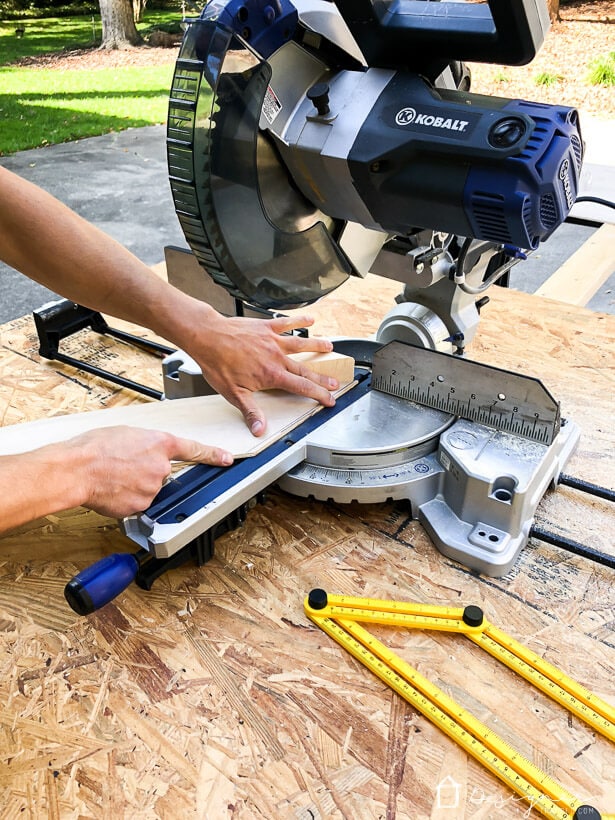
3) You will need to cut your planks to length as you work. So, once you decide on the correct placement of your first plank, measure the length you need and cut it to the correct length. We used our compound miter saw to cut our planks to length. We had to figure out some angles because of our banister, but we survived, lol (figuring out angles is not our strength–we are probably over-complicating it).
4) To install your planks, use a level to make sure your first plank is perfectly level before you attach it to your wall. Use your finish nailer to nail it into place. Space your planks 5 inches apart from each other. We used two scrap pieces of a 5″ plank to use as spacers as we worked. Since our first plank was perfectly level, we didn't need to continue to check for level because we were using spacers. If you don't use spacers, definitely check each plank for level before attaching it.
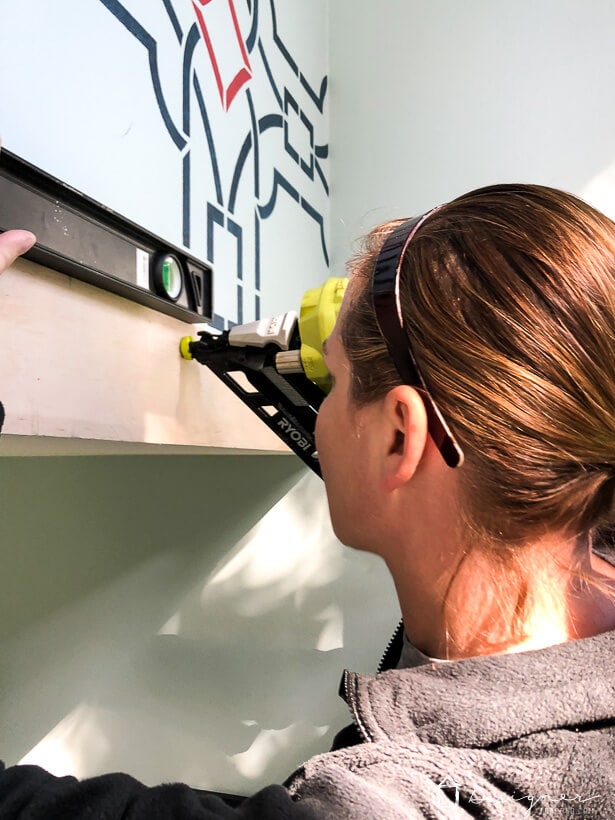
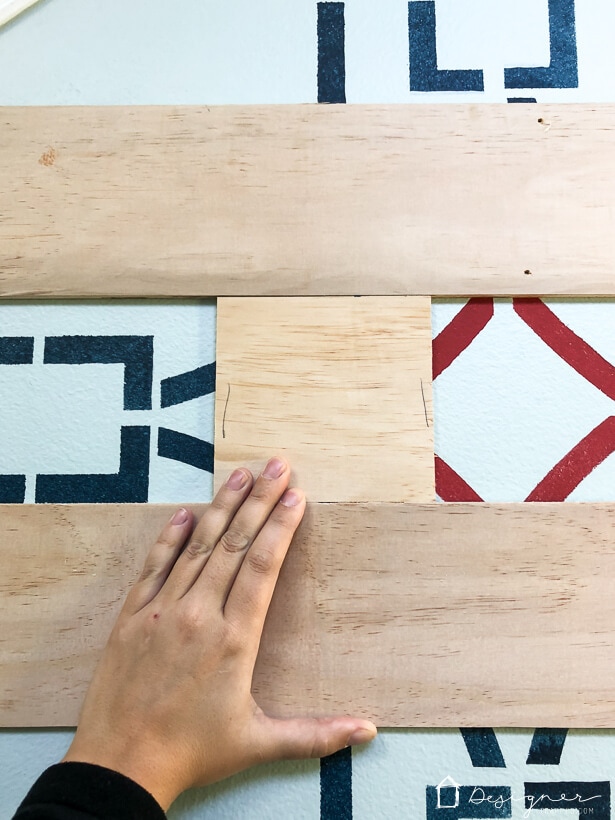
5) Continue cutting your planks to length and installing them until the whole wall is completed.
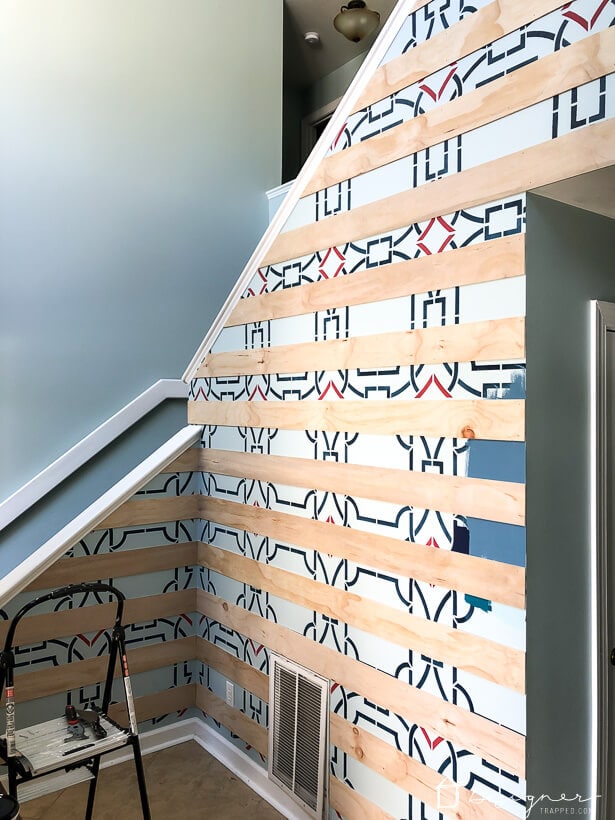
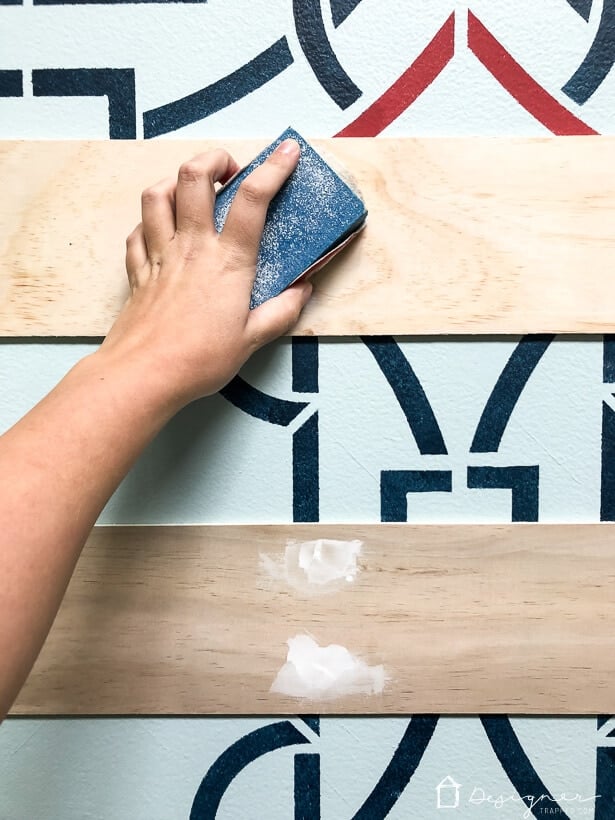
6) Once you are done installing all of your planks, patch all your nail holes and sand the spots when dry.
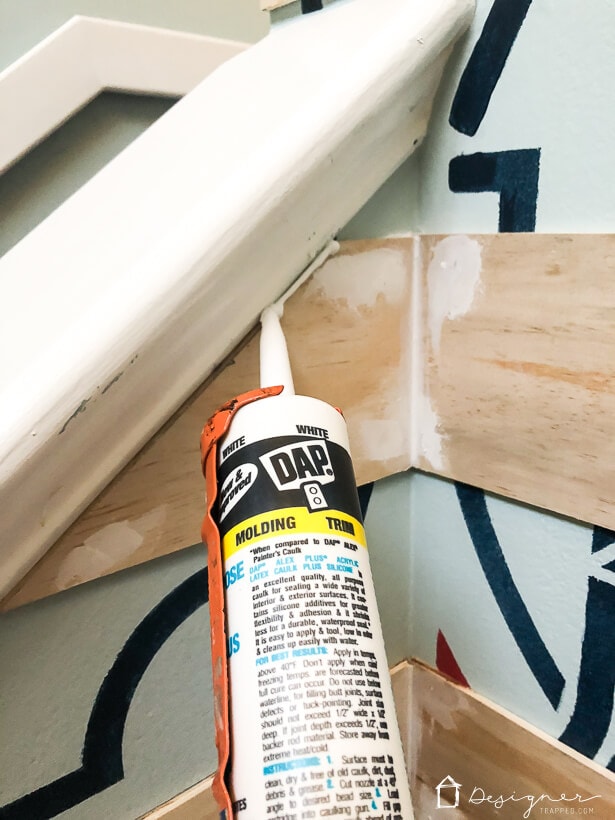
7) Caulk any seams that you need to. Note that we did NOT caulk along the top and bottom of each plank because they fit nice and tightly to the wall. Also, if we ever want to remove these planks, we didn't want it to be a total nightmare (which it would be with lots of caulk).
8) Now you are ready to paint! We painted the entire wall with BEHR MARQUEE® Interior Paint in the Blueprint S470-5 color and a flat finish. The BEHR MARQUEE® Interior Paint gives exceptional coverage.
That’s it. It’s an easy DIY project that you can easily knock out in one weekend. Now, check out the big reveal. You can see that we have now decided to use this area for the desk we use to pay bills, etc. It's a non-traditional use of a foyer for sure, but it works perfectly for us! Much more functional than just a console table like we had before.
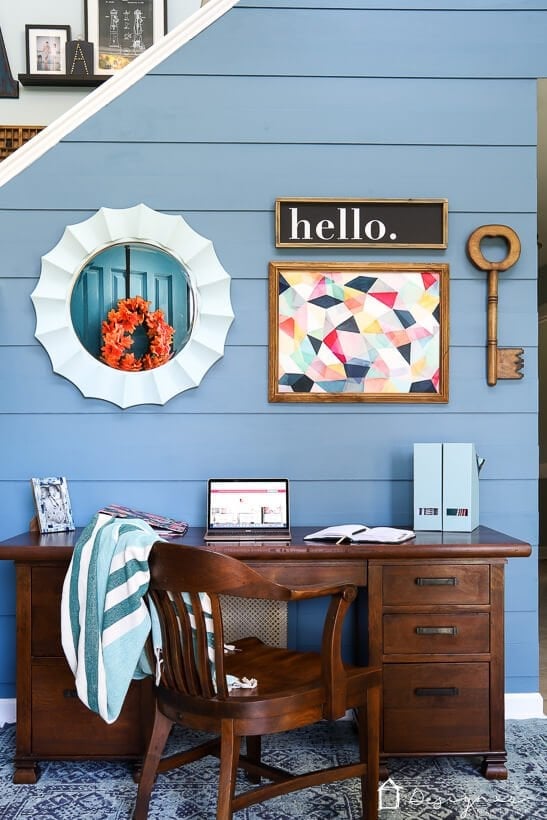
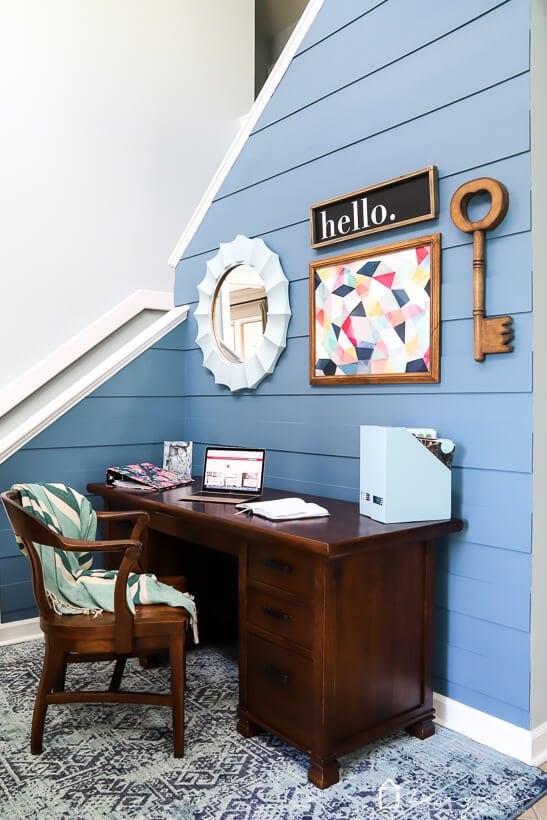
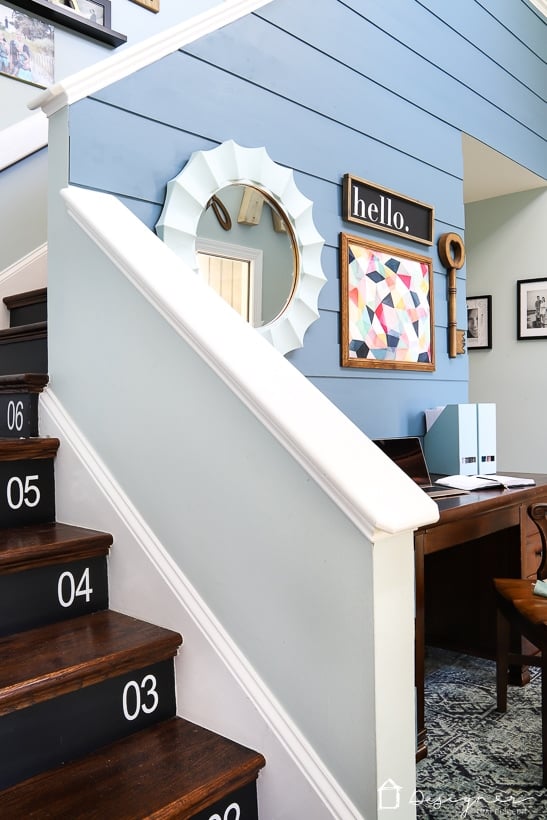
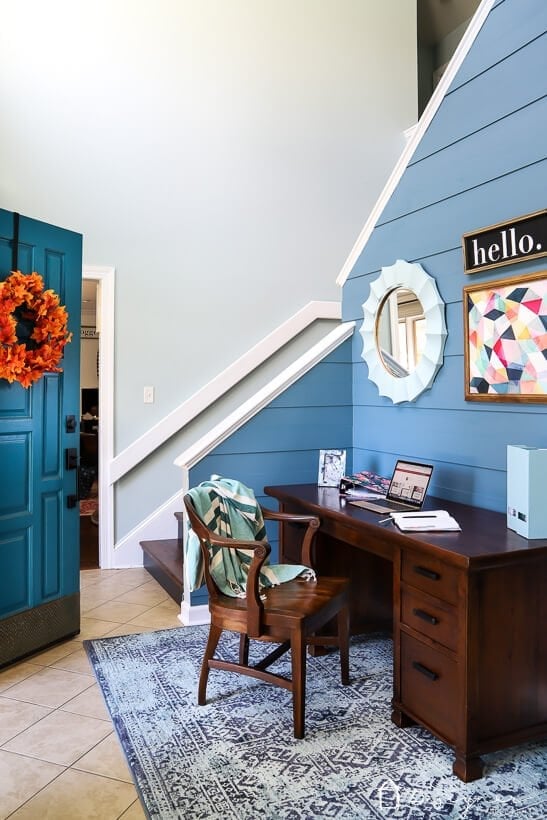
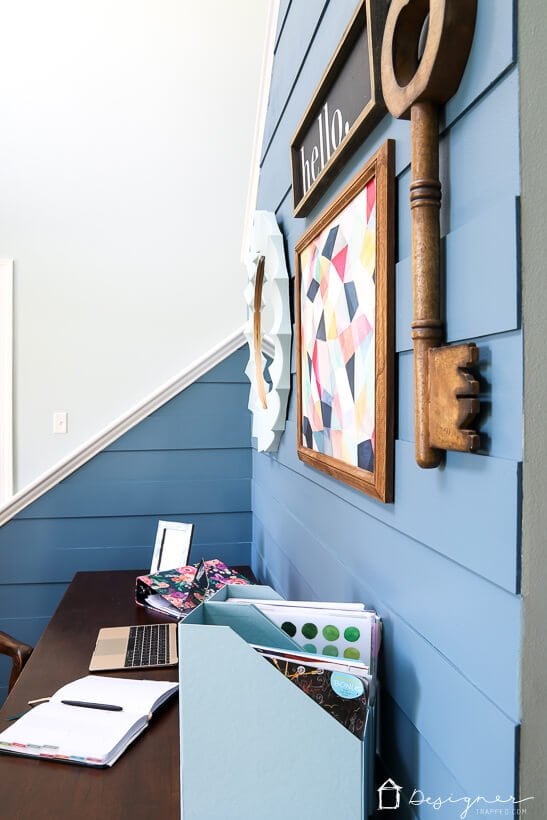
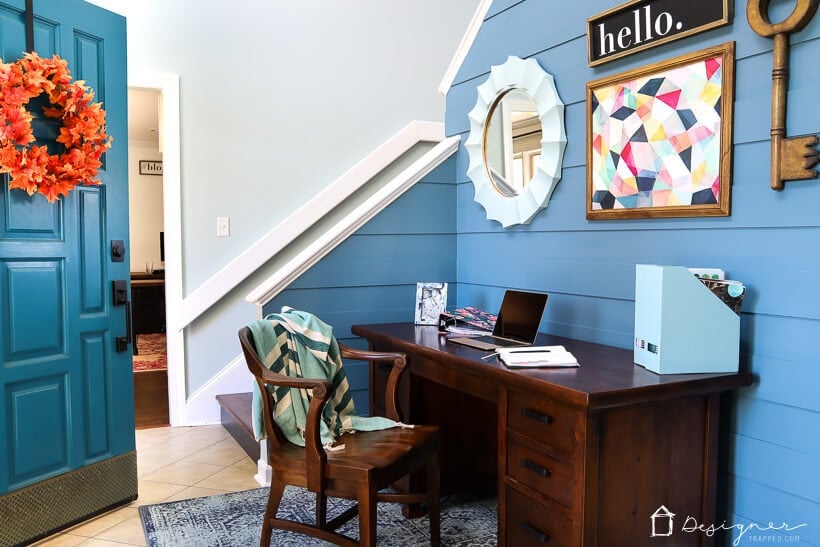
Joe and I are both absolutely in love with how this project turned out. The modern plank wall in a monochromatic color is dramatic and has just the right amount of texture and interest. What do you think?
[mv_create 1 11 200 2016 key=”1″ type=”list” title=”Most Popular Projects” thumbnail=”<a href=” https designertrapped com wp content uploads diy home decor projects blog jpg a]

Last Updated on August 10, 2021
Awesome Sauce!!! I love, love, love (did I say love!) this so much! You’ve completely transformed this wall…this space!… and your step-by-step!…I feel a challenge coming on!?
Thank you so much Alicia-Marie!!!! It was a surprisingly easy project that we completed mostly in a few hours (not including the painting–but the installation itself). You can do it! And if you do, I’d love to see photos!
Voted for you! It looks so amazing! I love the color and that gorgeous print on the wall!
Thank you, thank you, thank you so much Ali!!!! I really appreciate it!
Love it! So so pretty, one of my favorite colors! Adding an office to my home and I think I’m going to use this for inspiration!
Oh yay! Thank you so much Alison!!!! If you do it in your office, I’d love to see photos!
Tasha I LOVE it!! Way to go, I’m sure Behr will be impressed with your work!! Great job!!
Awww, thank you so much Brooke! We sure love it and I hope Behr does, too!