Our Budget Kitchen Makeover REVEAL ~ Part 2
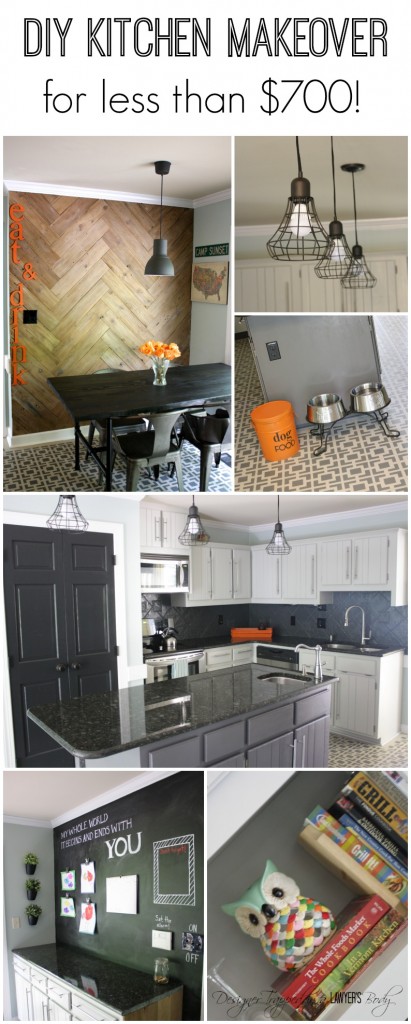
Alrighty friends, are you ready for part 2 of our budget kitchen makeover reveal?! Let me give you fair warning that this post is photo heavy. Get comfortable :)
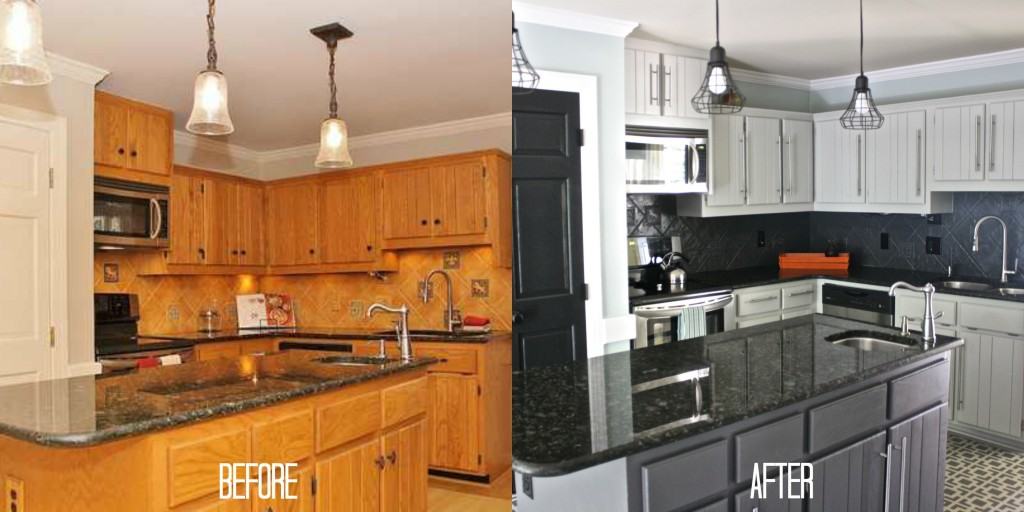
Hopefully you have already checked out Part 1 of the reveal and learned how we approached our budget kitchen makeover {short version is we pretty much painted EVERYTHING, including our kitchen cabinets without sanding or priming}.
And, if you are curious about where I purchased certain things, you can check out the full source list for the kitchen here or scroll to the end of this post.
I love what we did and showed you in part 1, but I am most excited about part 2 of the reveal :) I am not going to lie, you are about to see my favorite parts of the kitchen :)
The most important part of our budget kitchen makeover was to create a useable eat-in kitchen area. Before we started, the designated eat-in area was crowded with cabinets and a “not my style” chandelier. There just wasn't room for a large enough table to accommodate our family of four. Here's a reminder of what we started with in the second half of the kitchen.
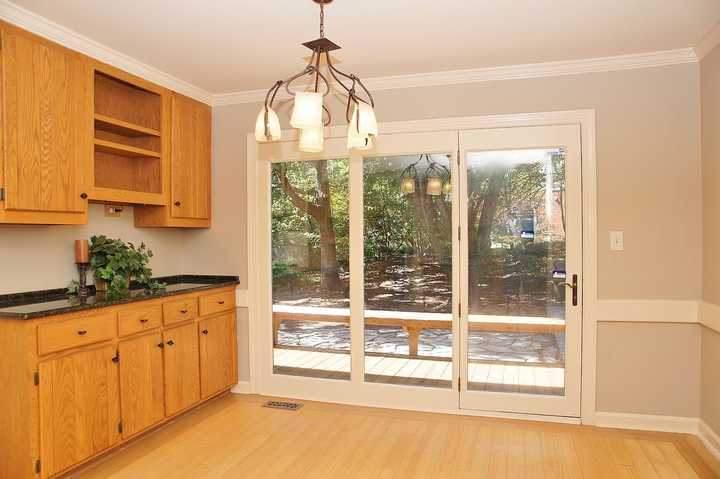
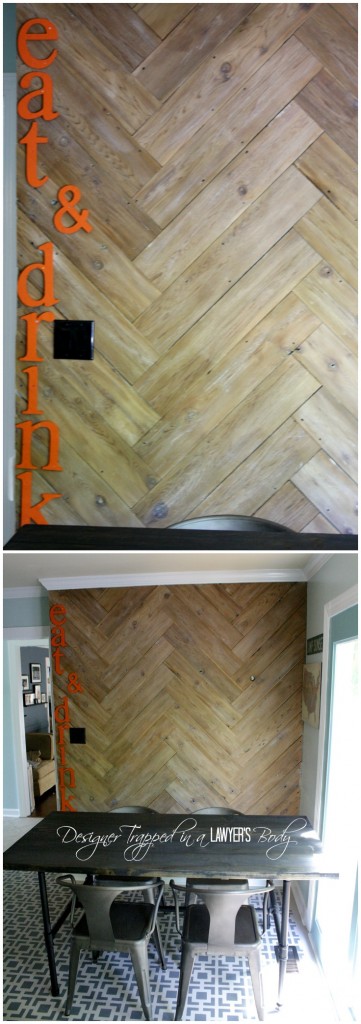
If you have been following our budget kitchen makeover, you know that we removed those upper cabinets and moved the base cabinets over to the other side of the kitchen. BEST DECISION EVER! It freed up so much floor space and allowed us to create our stunning herringbone plank wall {which we upcyled from an ugly old fence}.
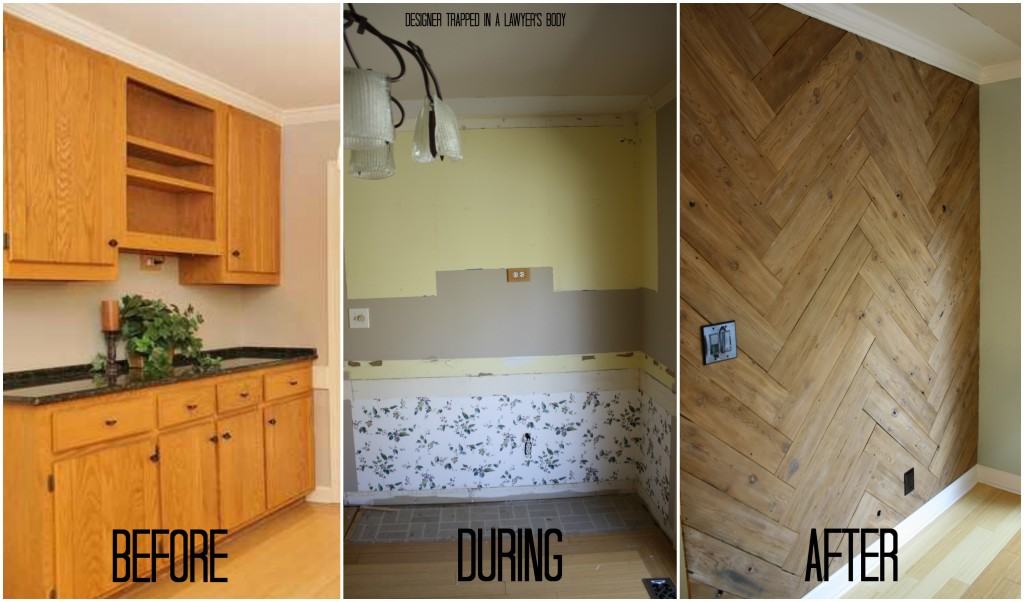
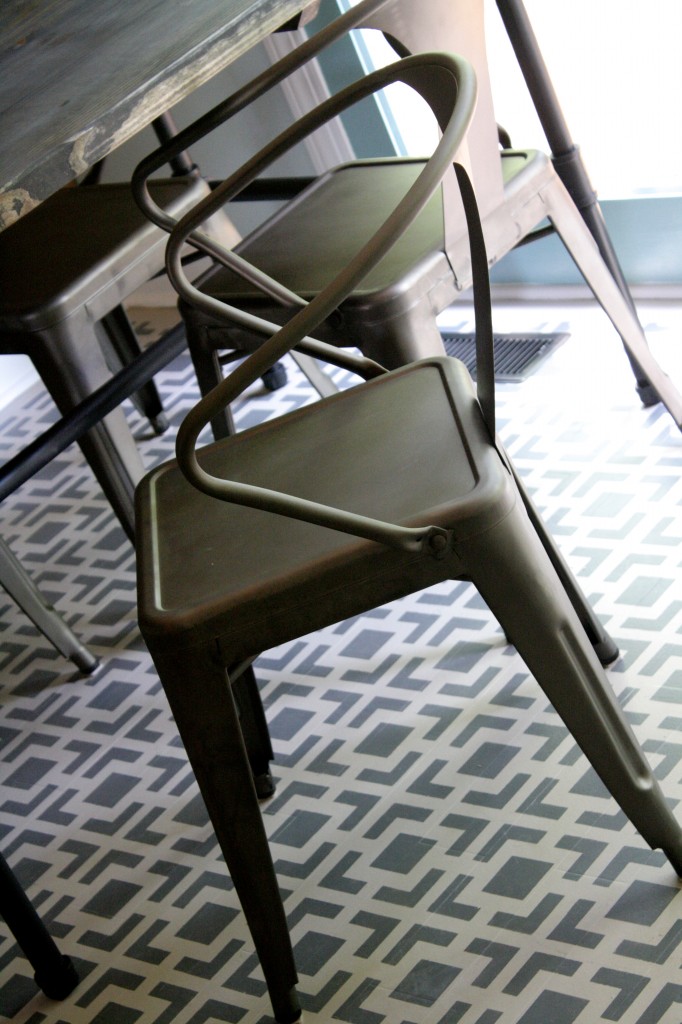
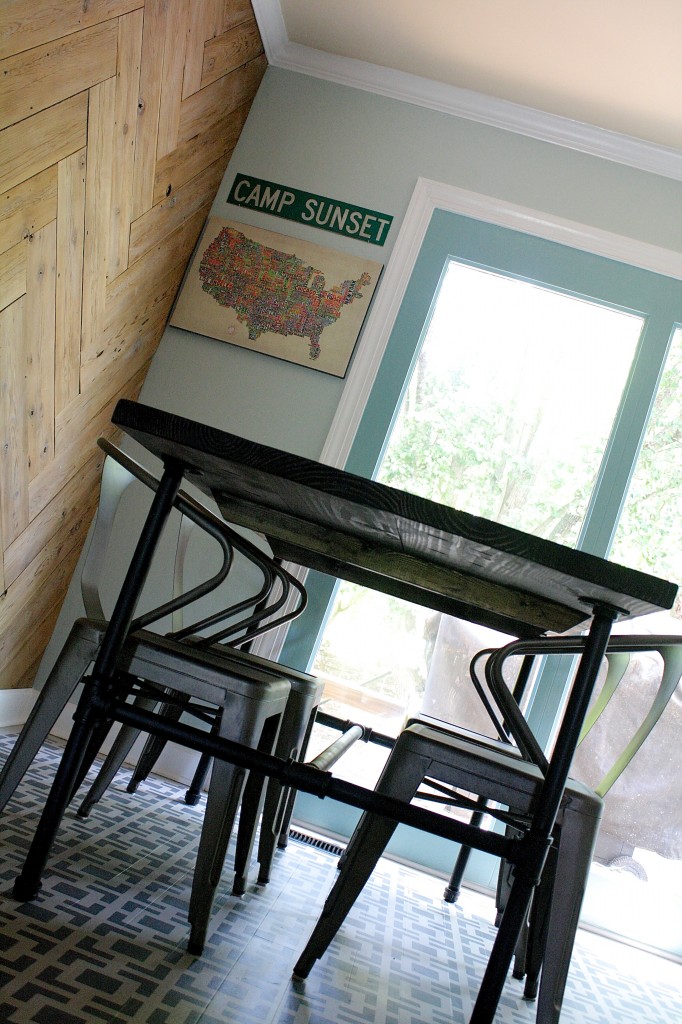
And NOW, with our herringbone plank wall serving as the backdrop to our eat-in-area, we have a table and chairs! We are loving our DIY industrial pipe table {tutorial can be found here} and fabulous industrial metal chairs.
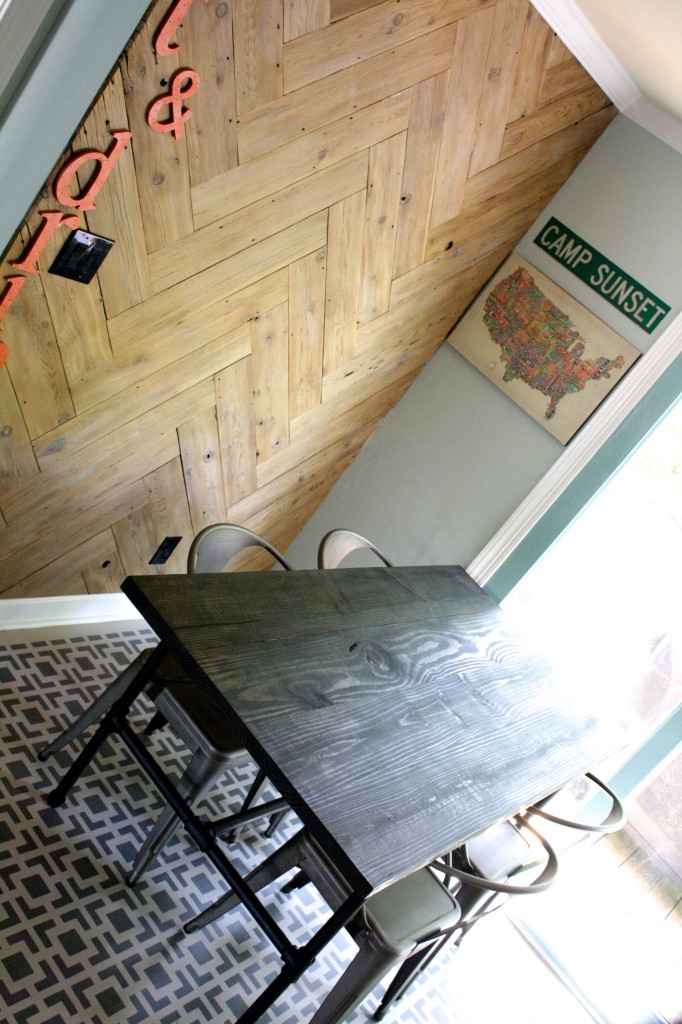
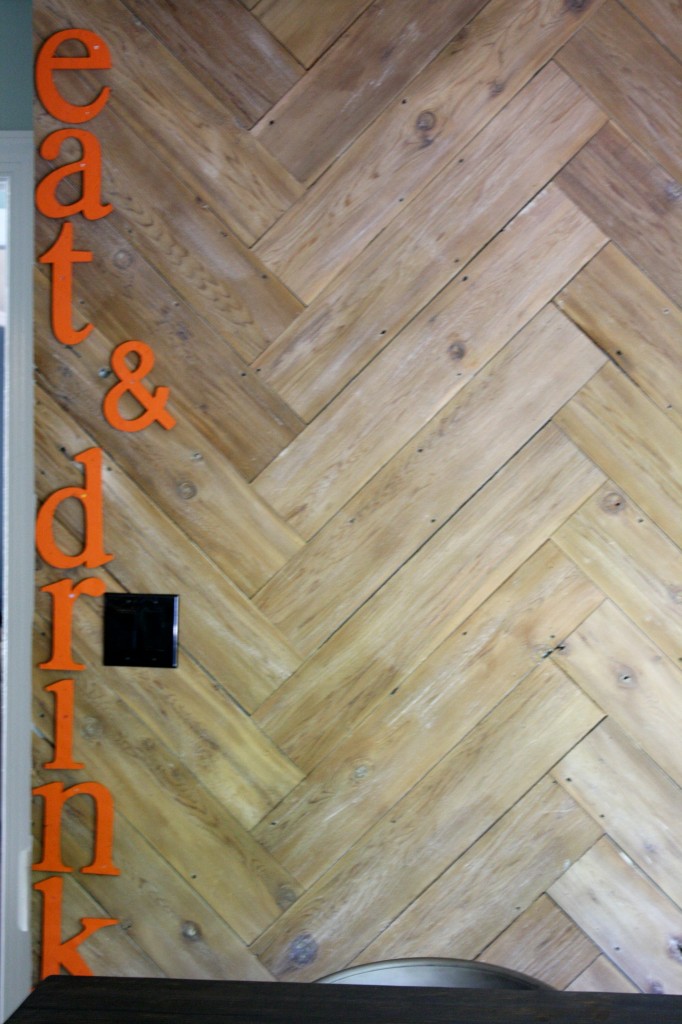
 I FRIGGIN LOVE how my “eat & drink” letters look on the herringbone plank wall!
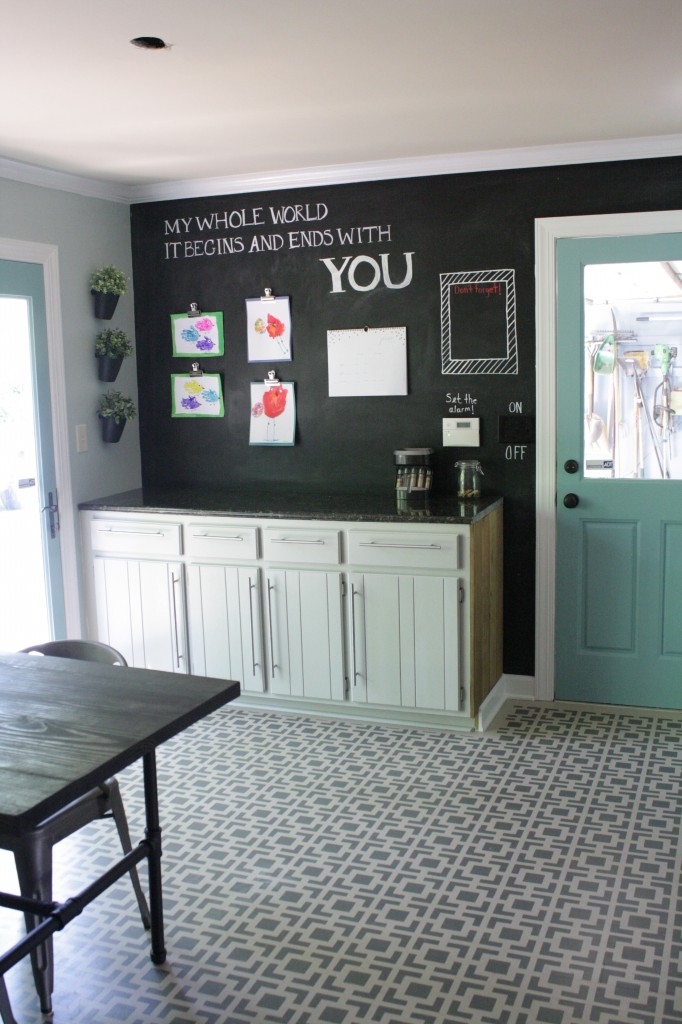
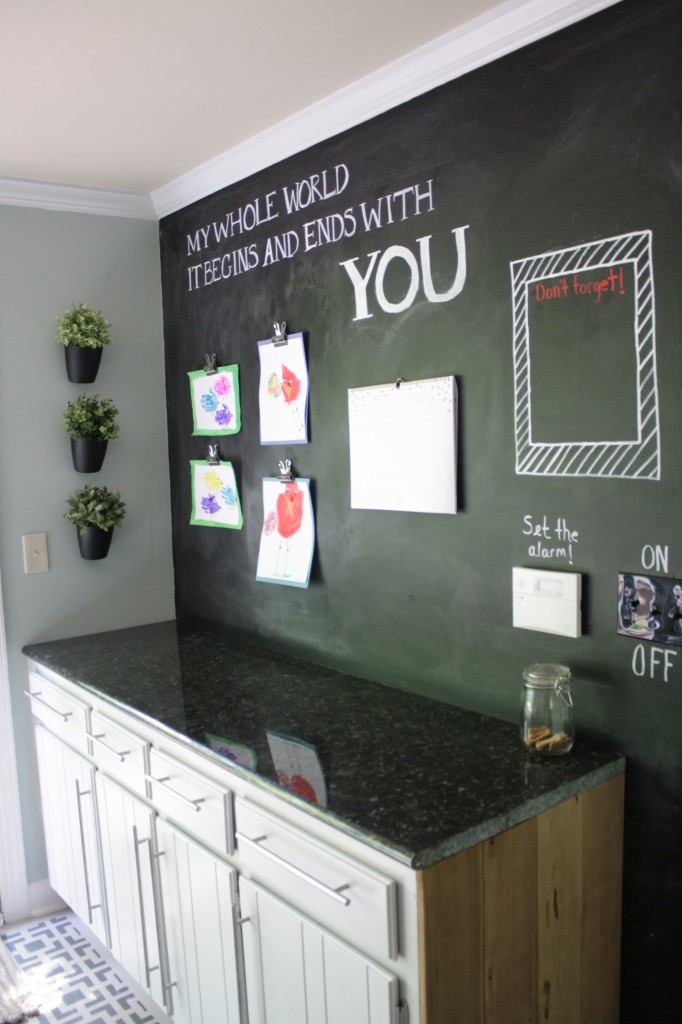
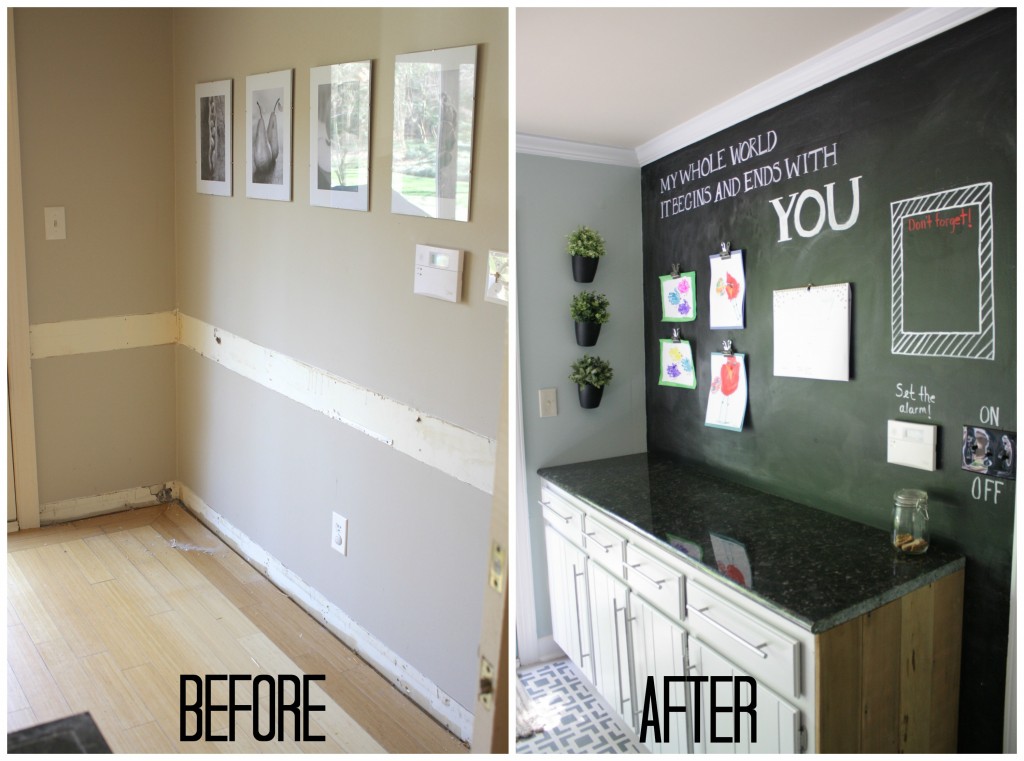
Now, turning our attention to the OTHER side of the eat-in-area, allow me to introduce you to our fun and functional chalkboard wall where the base cabinets now reside. LOVE this area. The door you see leads to our garage. This is the door we use 95% of the time, so having the cabinets right there is so convenient for placing bags, etc. that we either need to grab on our way out OR to drop off when we walk in. You can read all about my tutorial for painting your kitchen cabinets without losing your mind here.
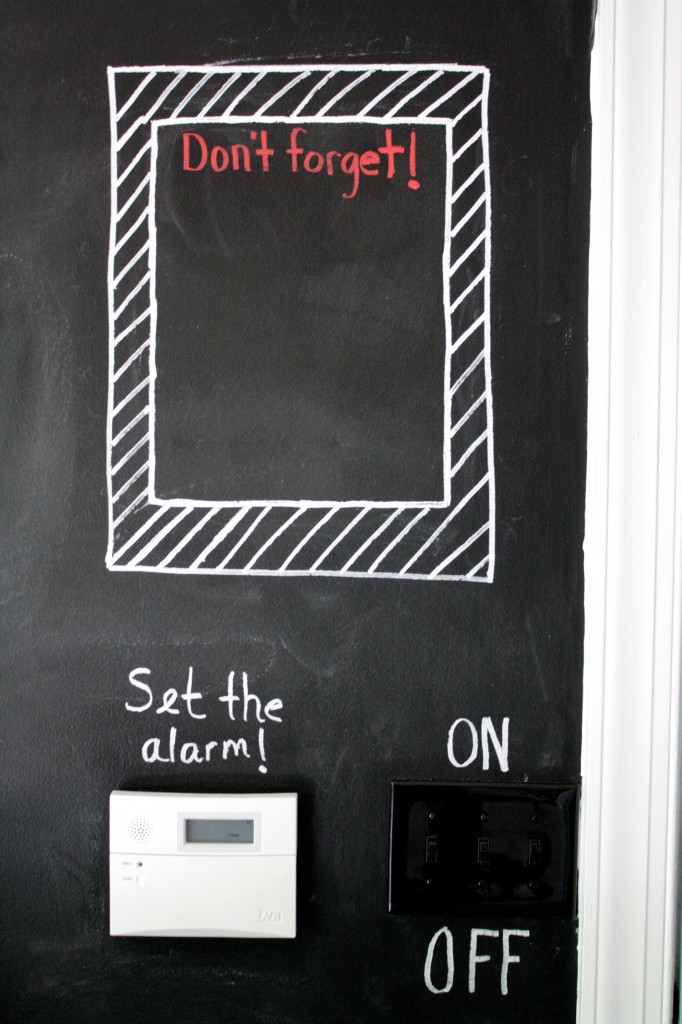
It also provides the perfect place to display Attley and Avery's artwork and it features one of my favorite lines from one of our favorite Zac Brown Band song {Highway 20 Ride}. We also hung our calendar, which helps us remember what we are doing from one day to the next. I also created a “frame” where we can write things that we need to remember.
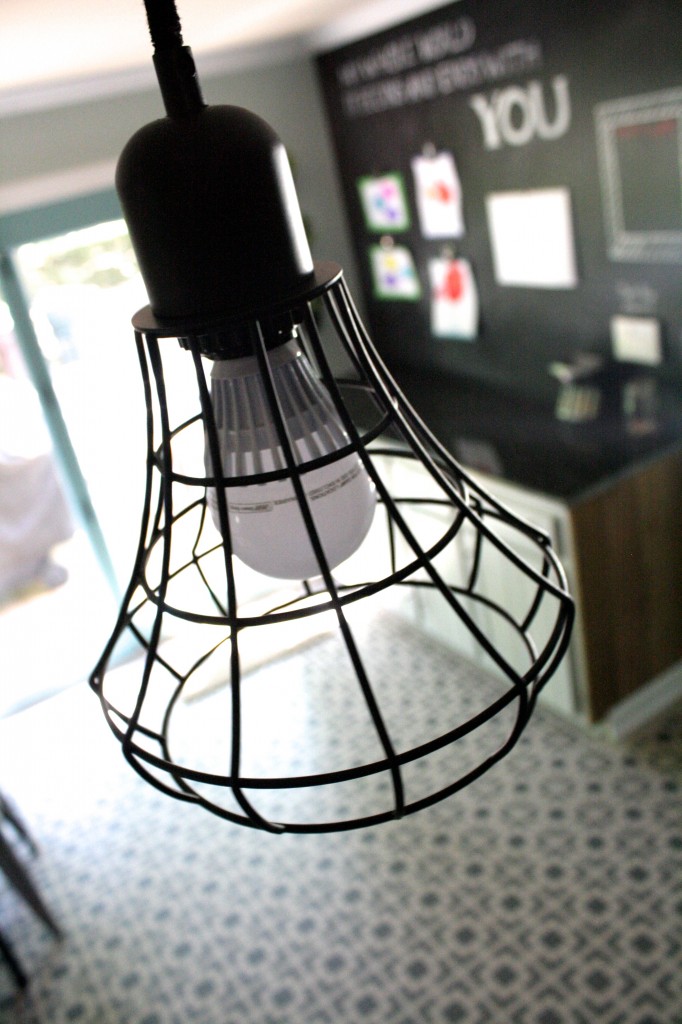
{You may have noticed holes in the ceiling in the eat-in-area–see the photo below} :) That's because we removed the old, ugly chandelier, but had not yet replaced it when I took these photos. Don't worry, you'll get that lighting update soon!
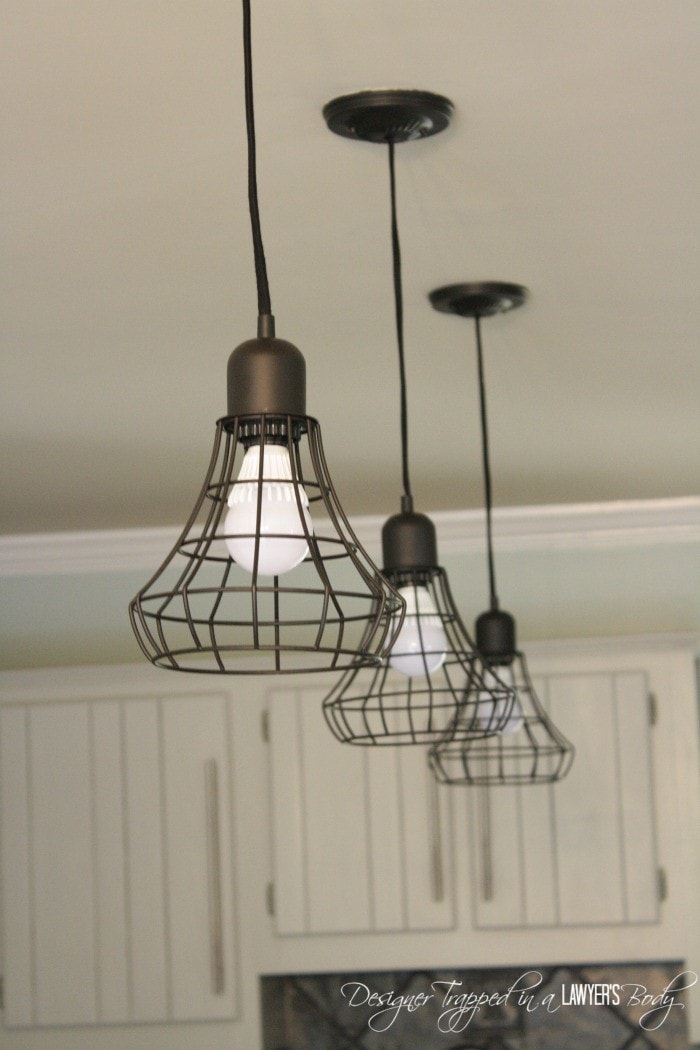
And because I love the industrial lights over our island SO MUCH {which you probably read all about in Part 1 of the reveal}, I can't help but share another photo of them :) If you want them for yourself, you can find them HERE at Target!
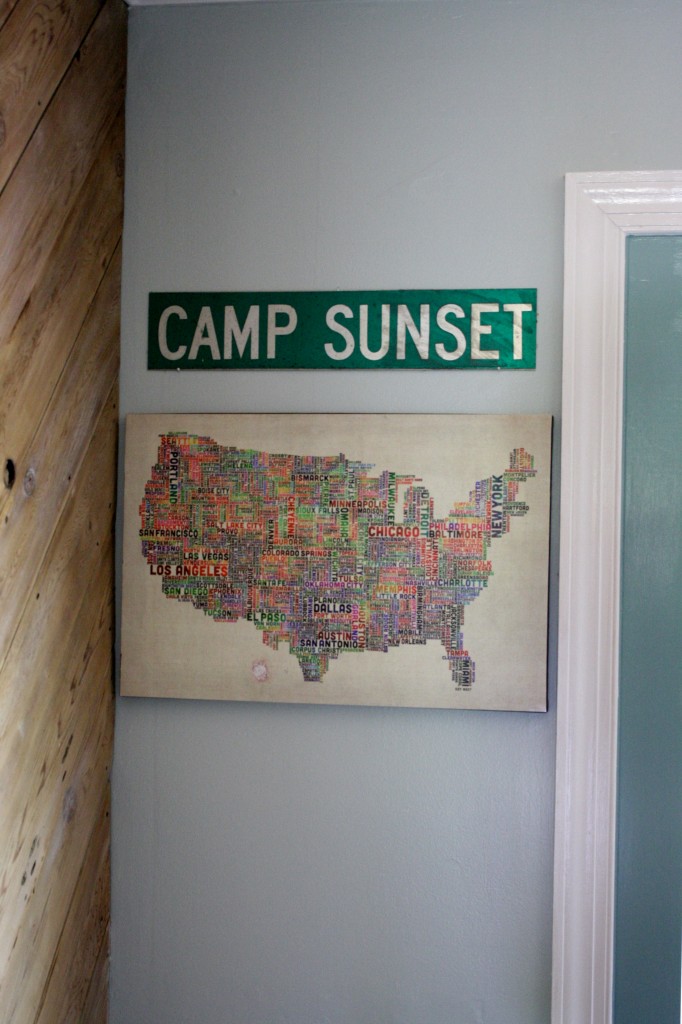
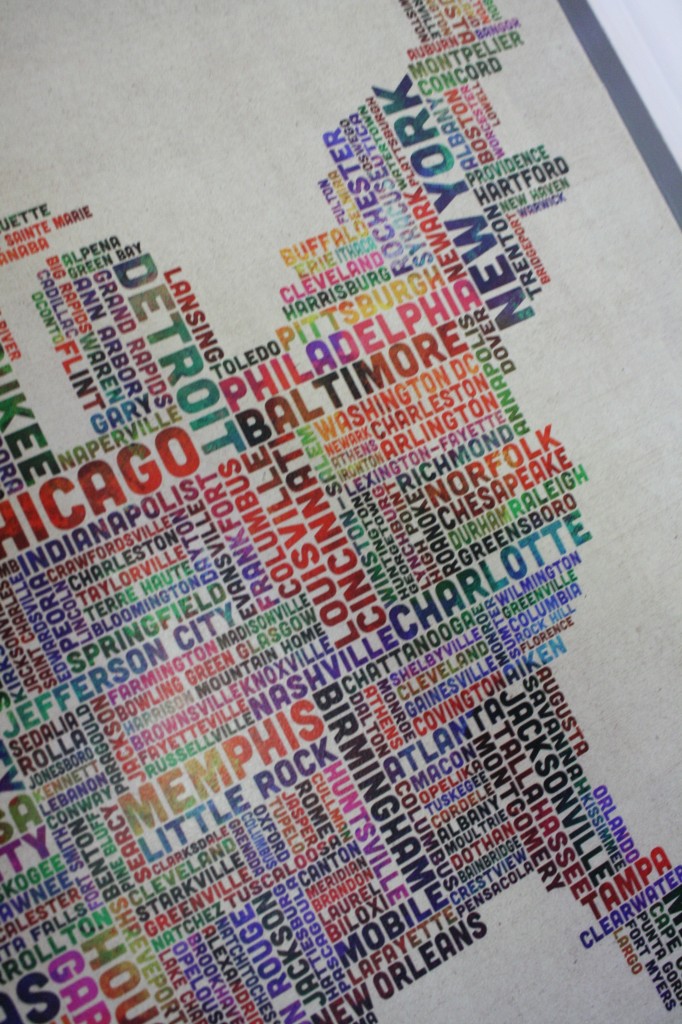
Now I have to talk a little bit about the decorative touches, because that's kind of the fun part. I hung this typography map that I am totally obsessed with {I made it myself! You can find the tutorial here}. Above it, I hung a street sign from Joe's childhood backyard :) It's a nice, sentimental touch.
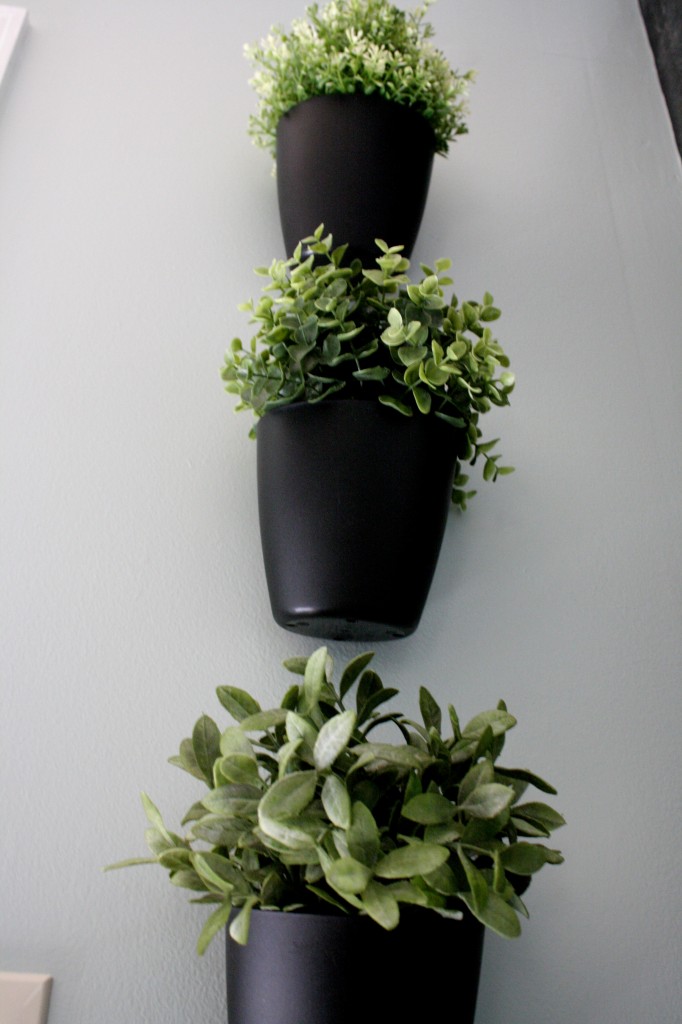
And I adore my vertical succulent “garden.” It makes me happy!
Whew! Told you….lots of photos. And before I head out, I am going to leave you with a couple of before and after comparison shots {as usual}!

Source List:
And now for the source list, with photo legends :)
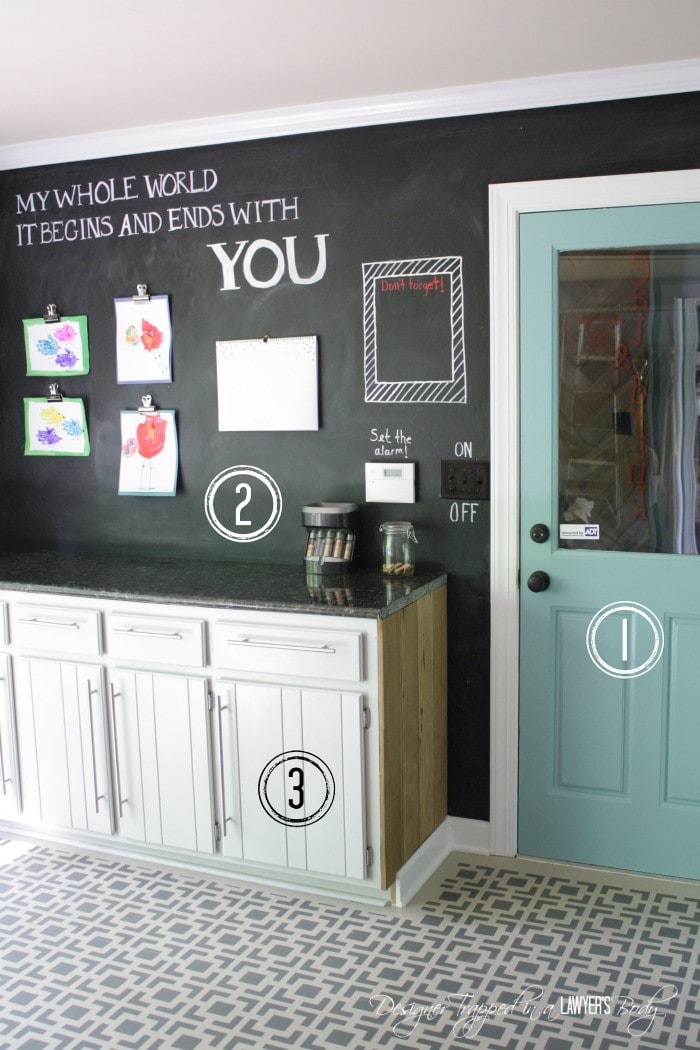
- Lyndhurst Duchess Blue by Valspar {semigloss finish}. Note that we also used this color on our windows on the exterior wall that is not seen in this photo.
- Chalkboard paint by Valspar.
- Seagull Grey Milk Paint by General Finishes.
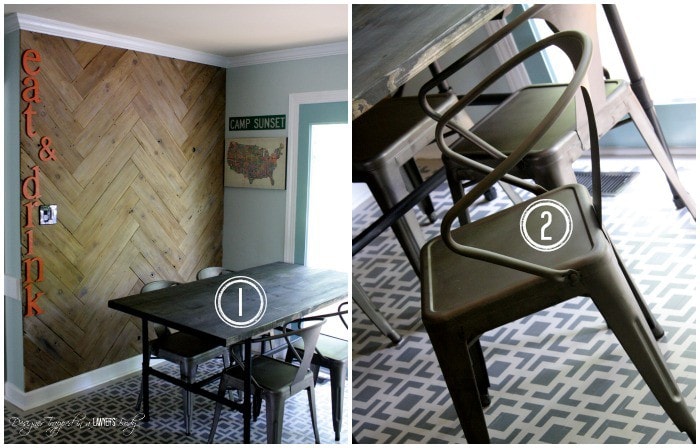
- DIY Pipe Table Tutorial
- Vintage Tabouret Stacking Chairs, Set of 4 from Overstock.com {$209.00–that's around $50 per chair! I still can't get over this deal}.
 These beauties came from Target and are only $22.99 each!
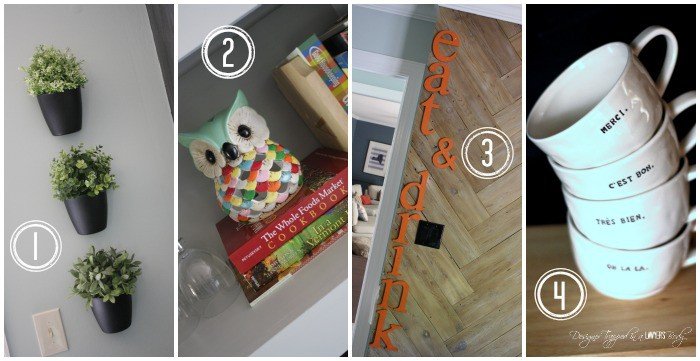 1. All of the faux succulents and plastic wall pots {Bygel containers–only $.99 each!} came from Ikea. These are currently available! That said, I know many of you don't live near Ikea, but you might be able to order them online.
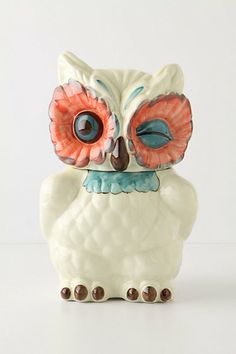
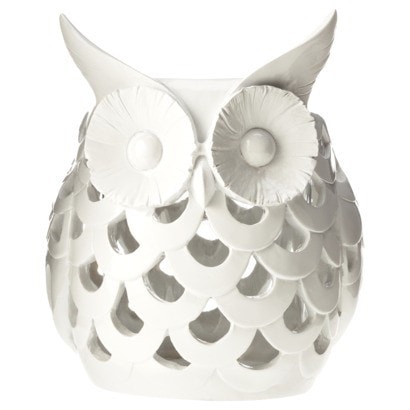
2. You guys….that fabulous owl came from Urban Outfitters and is no longer available :( I have searched high and low for one like it and have come up with two alternatives for you. The first one I love–it is from Anthropologie, but it is pricey at $68.00. The second one is from Urban Outfitters and is $12.99. The third one is from Target and is $29.99–it could easily be painted to mimic the one in my kitchen. I actually LOVE the one from Target and plan to order it for myself to put somewhere!

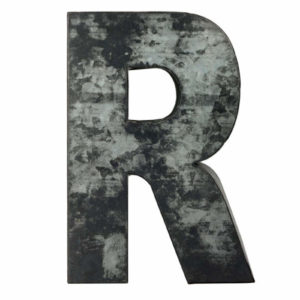
 3. The “eat & drink” letters came from Viva Terra years ago. They are made from misprinted cans and we originally hung them in our old house in their original form, so all the print was visible. We spray painted them orange for this kitchen and I love the look. There are tons of good options to replicate this typography art, including these AMAZING galvanized metal letters that are available right now. Of course, you can check out how we created that herringbone plank wall for FREE right here.
 4. Ahhhh, I am soooo in love with my mugs from Bambeco. Turns out a lot of you are, too! Well, these are still available and you can purchase them for yourself :) Finally, some good news in the accessories department :)
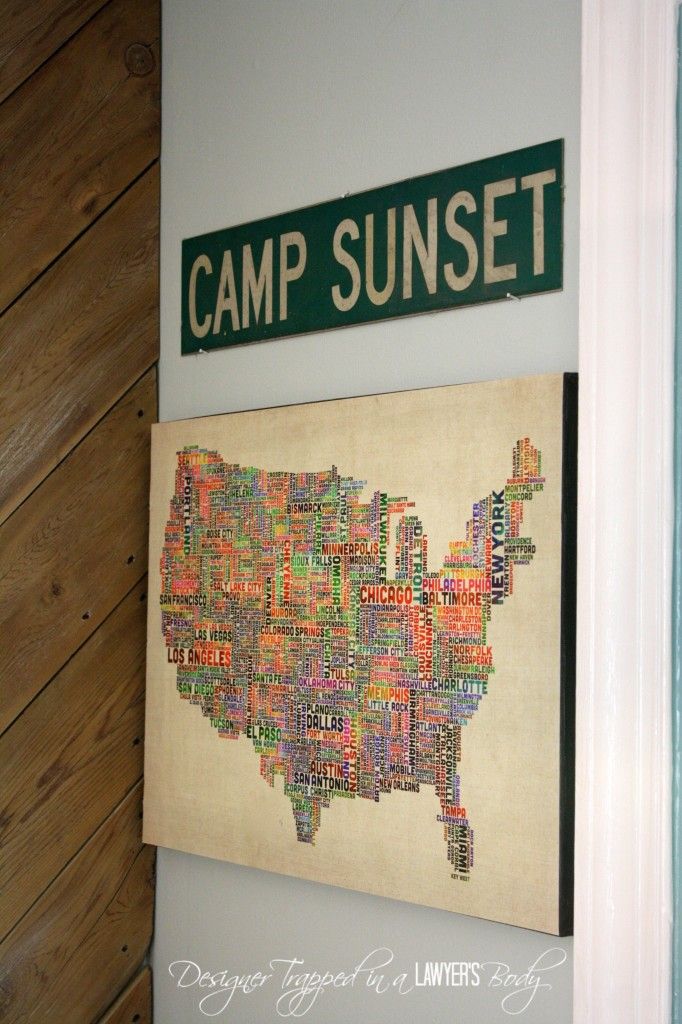 Here's the scoop, I found my poster at a RANDOM store, but you can order it at GreatBigCanvas.com and then created my own art canvas with it. You can see the full tutorial of how I made it here.
What's your favorite part of our budget kitchen makeover? If you are curious about where I purchased certain things, you can check out the full source list for the rest of the kitchen here. What is the most surprising part? What other ideas do you have for making over a kitchen on a budget?
Want to see another incredible budget-friendly kitchen makeover?
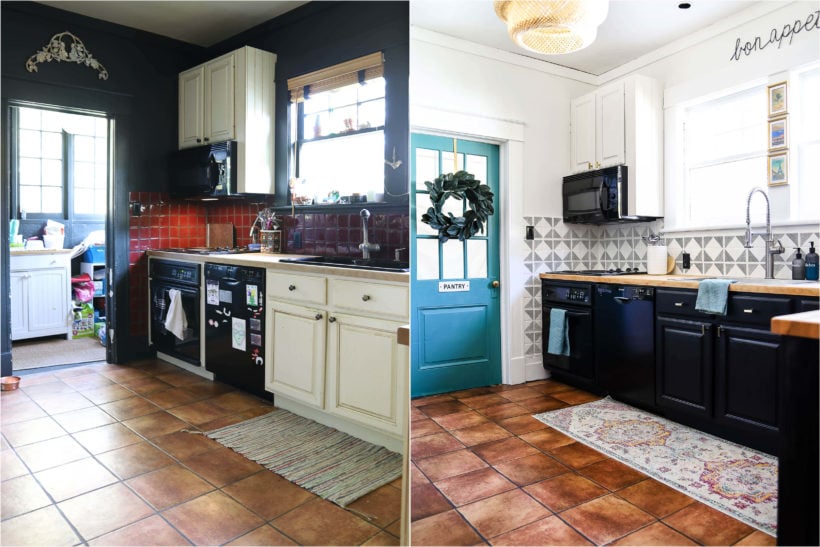
If you want to see a $1,000 kitchen makeover that will seriously blow your mind, click here to check out what I did in my friend Thea's kitchen. It's a seriously budget-friendly kitchen makeover that will leave you feeling inspired!
Wondering how I approach transforming rooms and spaces in our home? Check out Designer in a Binder®.
And if you want exclusive content and behind-the-scenes sneak peeks, be sure to subscribe before you head out!

Last Updated on May 8, 2025

Wow! As a new-ish interior designer and wanna be DIY I am just obsessed with everything you’ve done here! It looks so thought out and functional. Great job! I’m so glad I stumbled upon your blog… definitely going to be spending a lot of time here as I’m trying to finish up making our newly bought condo ours. :)
Best of luck Amy and thanks for reading! I am sure you will do a great job ;)
Woooooow. Great job!
Thanks so much Carla!
Love the paint and I am inspired! Have painted my kitchen cabinets several times but results were never as good. Btw i have similar owl i painted in one of those pottery shops!
Good luck! I love that owl :)
I LOVE what you have done to your house !!! I was wondering what the paint color was in the pictures of your stairway you did with the numbers, which by the way is also adorable. I’m redoing some things in my house and just may have to steal some of your neat ideas. Your family is adorable too !!! Linda
Thanks so much Linda! The paint color in our foyer is Babbling Brook by Olympic. We love it! And PLEASE steal my ideas–that’s why I blog about them :)
was your original floor tile? vinyl? how did you finish It (polyurethane over the paint?) so that it is durable – and is it holding up well?
Hi Nic! You can read all about our painted kitchen floors, which will answer all your questions, here: https://designertrapped.com/2015/01/diy-stenciled-floors.html
I Love how your kitchen turned out!! I’m going to do it again. Paint my kitchen cabinets. I painted them, (from an ugly ‘oak’ look) to a black with chrome handles. I used regular latex paint. Never took the door off; just painted with doors, drawers on and in. I would never go to that much trouble of taking them all off. My paint has held up well. No chips, cracks, etc. I am going to paint—after the holidays are over… a darker gray. I will paint over the (now beige n’ black small glass tile backsplash) a creamy white. I have a black granite tile counter top which hopefully will jive with those colors. Thank you So much for your post! There are hardly ANY posts of folks who actually Paint their backsplashes n’ cabinets. There is NO way at this time I want to spend Thousands for New cabinets….so paint them it is!!! Thanks again for your inspiration!!!
My pleasure!!!
We are moving in 2 weeks and am planning on painting my cabinets. My questions is after all these months how are your cabinets holding up with the general finishes milk paint. Very interested in using it. But don’t want to unless you feel like it’s really still durable and looks just as good as when you first did it.
Hi Tina! Our cabinets still look GREAT! I truly can’t believe how durable they are. I hope that helps!
Love this transformation. I’m in the market to repaint my mom’s cabinets while updating other things in the house to prepare for sell. Love all the colors etc you used. What I’m wondering is if this de glosser will work on already existing painted cabinets? Her cabinets were custom made in 1996 (that then, but now, hideous white). The finish is almost like a glossy baked on finish. Like there’s no brush strokes so I’m assuming they were sprayed but this is a hard paint. I’m sure some of your bloggers or you have seen these. They were the ‘thing’ in new homes in the 90s. I feel certain things his de glosser will work and I think I’m going to give it a shot. As well as using the milk paint you suggested. Is that ordered directly from them?
Hi Allison! I would think that the deglosser would work. Also, here is info from General Finishes: I have never tried it, but this is what General Finishes’ website says about its milk paint: “General Finishes milk paints will adhere to a variety of surfaces including wood, fiberglass, PVC, vinyl, and most composite materials. Additionally, these paints can be applied over existing finishes, stains and other paints so long as the existing finish is fully dry. However, when painting over other finishes, it’s important to always test a small area first to make sure the paint adheres well to the original surface.” You can order the paint from Amazon–there is a link to it in the post that is specifically about how we painted the cabinets. https://designertrapped.com/2014/06/paint-your-kitchen-cabinets.html. I hope that helps!
Hey Tasha!
Can you please list the items that were all used in your $700 budget? Was it just the milk paint for the cabinets and the cabinet hardware? Does the $700 include the floor paint or other projects that you did? Looks amazing!
Thanks for your help!!
-Dan
Hi Dan! The budget includes everything in the space! I hope that helps!
I have a question about the elevated dog bowls you have in the pic collage at the top. Did you make it or could you tell me where to buy? I love the look of it and I have 2 dogs that need to eat at an elevated level. Thanks!
Hi Kris! We purchased the dog bowls and stand at Ikea!
I’m wondering how you painted the cabinets? Do you have details on that? Trying to figure out if I want to do that project because I’ve read about a big sanding machine you have to rent.
Hi Jennifer! Yes, the full tutorial is here: https://designertrapped.com/2014/06/paint-your-kitchen-cabinets.html
I love ‘best of’ posts because then I get to discover THIS! I love that wall- what a great upgrade for only $700!
Awww, thanks so much, Colleen! I hope you received my email yesterday. I am looking for contributors for my blog and would LOVE for you to apply. I just love your style and projects and would love to work with you. You can find more info here: https://designertrapped.com/2015/01/call-for-contributors.html.
Those three lights beg to have vintage light bulbs in them. Love the counter and chalkboard wall next to the door you use the most. Gonna have to remember that when we remodel.
I agree about the bulbs, Sharie. Unfortunately, Edison bulbs don’t let off enough light for the space :( Have a great weekend!
Awesome job! I love love the herringbone wall! So creative.
Where did you get the Owl jar?
Thanks so much, Steven! I purchased the owl at Urban Outfitters several years ago.
Sure wish you had done this 5 years ago. My sister and I filled in grooves in my cabinets which was not easy! Then painted them white. I like the new look, but they are kinda plain. New hardware helps. Love your new kitchen!!
Hi Retta! Thank you so much. We are loving the transformation!
Love the kitchen. How did you change the color of the granite or did you replace it?
Thank you, Andrew. So many people have asked that, but it’s the same granite! It just looks really different with everything else around it painted :)
Hi Tasha,
I was enamored by all the difference paint makes in your kitchen makeover, but also the 700.00 budget really caught my eye. Then I saw you had changed out your countertops. How did you do all of this within 700.00. I didn’t find this info on your posts.
It really looks great and I love your guts to just paint the tiles. They came out very nice.
Hi Felicia. Thank you! Actually, we did not change the countertops. They are the same granite countertops, they just look totally different with everything else painted! Hope that helps.
I love your remodel. My question though is about the adorable owl! Where is the owl from?
Hi Betsy! That is a very popular question. I purchase the owl at Urban Outfitters a couple of years ago :) I love it, too.
Did you change the color of your counters? We have been thinking of painting ours.
Hi Donna! We did not. Those are the same granite countertops, they just look so different with everything painted.
Tasha, I am still in awe over your kitchen! I can’t believe it’s the same room! You guy did such an incredible job. I love that you relocated the cabinets and made a chalkboard wall. So inspiring! I’m working on my husband still to let me take a paintbrush to our cabinets. I have dark granite as well and I love the look of light cabinets with the darker granite.
This is incredible! Seriously! Featuring you tomorrow, girl! Pinned♥
I loved part 1, thanks so much for sharing part 2. Hope to see you this Wednesday night at our Cook it! Craft it! Share it! Link Party. It starts at 8:30 PM EST. -Doree
Love all your hard work, kitchen look wonderful ! Did you sand your cabinets ? Prime then paint, and what paint did you use?
Thank you,
Anna
Hi Anna! Thank you so much! My post about how we painted our cabinets and what products we used just went live this morning. All of your questions are answered there :) https://designertrapped.com/2014/06/paint-your-kitchen-cabinets.html
Tasha your kitchen makeover is fabulous!! I am so happy to be featuring you tomorrow at the Inspiration Monday Party!!
xo, Tanya
twelveOeight
Oh my goodness! Thank you so much, Tanya! I really appreciate it! Have a fantastic week.
I am blown away! That is the best low-cost transformation I’ve ever seen. Very creative and turned out amazing! Love the lights and blue door. Super impressed by how fantastic the painted backsplash looks. Congrats on all your hard work!
Thank you so much, Erin! I really appreciate you taking the time to comment!
Beautiful kitchen! I especially love the wood plank wall and and chalkboard wall! Great job! :)
Thank you so much, Allison! Have a great week!
but the floor! how did you do the floor!? that’s my burning question. the transformation is amazing all around – the whole thing is remarkable. seriously nice work. i love the hanging succulents! :)
Thanks so much, Anne-Marie! A tutorial on how I painted the floor will be coming very soon :) The short version is that I stenciled it with an awesome stencil. It was time consuming, but well worth it!
You did such a wonderful job! I love all the details… very nice. It doesn’t look budget either- awesome.
Thank you, Colleen! We are so happy with how it turned out. Thanks so much for taking the time to comment!
Your kitchen looks fabulous! I’m amazed at what you did on such a tight budget. And I love all of the diy projects that you incorporated. Wanted to let you know that you kitchen will be featured this coming Monday night at The Scoop. Thank you for linking up!
WOW!! So many amazing touches, I don’t even know where to start. I love the wood pattern on the wall, the orange letter arrangement, the map, the colors, everything! You did a great job and should be very proud.
Thank you so much, Rachel! We are very proud :) Thanks so much for reading my blog and for taking the time to comment!
Holy smokes! What a great transformation for $700…amazing! lOVE the new look.
Thanks so much, Erlene! Have a great weekend!
Beautiful job! I love those accent walls!!
Thanks so much, Kayla! I go back and forth about my favorite part of the kitchen, but I think the herringbone wall is the winner. Hope you are well and that you have a great weekend!
Wow Tasha! So impressive. I love your dining area. I think you should nickname that room ” Camp Sunset”.
Awww, thank you, Carmody! And that is a fabulous nickname for our kitchen. I love that we were able to use that sign from Joe’s childhood. Great idea!
I am sure you are loving this space!! You did an amazing job, I love it all! Can’t wait for that table tutorial! Fantastic!
Thank you, Mindi! That is a huge compliment coming from you!
Wow, Tasha! You did a fantastic job. I love so many things about it. The floor, the herringbone wall, the cabinet color, the chalkboard wall. Just awesome. Very impressed.
Hi Lauren! Thank you so much! I really appreciate it!
Wow. What a great low budget makeover! I love the chalkboard wall and the fact that you repurposed those cabinets. Fabulous job everywhere! Thanks for the inspiration. Pinning this. ~ Angie
Thank you, Angie! I really appreciate it. We are so happy that we moved the cabinets and were able to reuse them again. Totally makes the entire kitchen more usable!
This is stunning! What a fun and dramatic update!! Could you tell me the paint you used on the door that leads to the garage? It’s gorgeous!
Thank you, Ginger! I don’t have the paint color in front of me at the moment, but all the details of paint and product choices will be coming soon! I hope you will check back!
Can you tell me something about your large glass door? We have a 35 year old metal slider with three 36 ” units- one fixed pane and a 6 ft. slider. I have checked every possible brand and configuration and eliminating really poorly made options the replacement cost will run between 4 and 5 thousand. Having put $50,000.00 into this house that we will never get back, I am flummoxed for a solution. It has to be replaced because we might as well have a 9 ft. wide hole in the wall of the kitchen. Yours was probably super expensive but one can hope-perhaps you found something more frugal since you obviously know how to stretch a dollar. Thanks
Hi Judy! I so wish I could help, but the large glass door is original to our house, which was built more than 20 years before we moved in, so I have absolutely no idea how much it was or where it came from. So sorry!
Your kitchen has come a long way!!! Love the chalkboard wall, it’s so much fun and unexpected! Have a fabulous weekend!
Such an awesome transformation! I love all the details and especially that herringbone wall.
Deb@
Seeking Lavender Lane
It’s just beautiful – that plank wall is out of this world !!!
Your lighting – the black board wall – all of it – what a spectacular job you did!
Hopping over from remodelaholid – xoxo
Awww, thank you, Suzan! I am pretty fond of the herringbone wall myself :) So glad you popped over from Remodelaholic. I love new readers!
SO incredible, Tasha! I am totally blown away! I can’t wait to check out that table tutorial; we are in dire need of something different in our dining room! Thanks so much for sharing your new, awesome space! Hope you’re having a wonderful week!
~Abby =)
Thanks so much, Abby! The table tutorial will be coming within the next week :)
WOW Tasha! I’m so impressed with how much work you have done and how you have transformed your space! A job well done! Looks fabulous! Jacqui
absolutely love your kitchen….I’m in the middle of a remodel can you please tell me the colors that you used and the name brand….Thank you
Thank you so much, Lynn! We used General Finishes Milk Paint in Seagull Grey for the perimeter cabinets and Queenstown Grey for the island. We also used the high performance top coat to finish them off and make them more durable. I hope that helps!
Yes it definitely does. Also if some of my cabinets already have a stain on them , will I need to sand these. I will be using my old cabinets and some new unfinished cabinets so I am unsure how the paint will go on. Do you have any advice? Thank you.
Hi Lynn! We had a varnish on ours and did not prime OR sand! We cleaned them and then used a liquid deglosser on them. That’s it! That’s how amazing the General Finishes Milk Paint is–it has superb adhesion so you can skip some steps :)
What a amazing redo Tasha. Especially love the cabinet transformation! All your creative touches that have the personal touch…so charming! Can you share your wall & door colors?
Thank you so much, Liz! I don’t have the color names in front of me this second, but will have a post revealing all the colors and various products I used up within a couple of weeks!
Such a fun space! Love the herringbone. x
Thank you, Danielle! The herringbone wall is one of my favorite aspects of our kitchen. A bit unexpected and I love that it was free since we made it from our ratty old fence!
Love it all! Especially like the chalkboard and the Camp Sunset! We had many, many happy and fun times.
Thank you, Kathy! I was so glad we were able to incorporate the Camp Sunset sign into the kitchen. I surprised Joe with it :)
Holy Cow Tasha! You have been one busy lady and this post has so much eye candy I don’t know where to start! And I can’t even tell you how much I love that industrial pipe dining table! Hope you are having a great weekend!
~Katie
Hi Katie! Thank you so, so much! It took us quite a while and was exhausting, but we are so happy with how well it turned out. And thanks for the compliment on the table–that means a lot coming from you since you tackle so many AMAZING furniture projects! Hope you had a fabulous weekend!
Hi Tasha, it looks fab!! I love the herringbone wall, it is definitely the wow factor in the room. The whole house is just coming together beautifully.
Hi Ange! Thank you so much! So glad to hear you enjoy our kitchen makeover. The herringbone wall is definitely one of my favorite parts as well :)
Oh Tasha, this is just amazing! I love the painted cabinets, the plank wall, but the chalkboard wall is awesome! What a fabulous idea. I can just imagine your face light up every time you walk in your kitchen.
Awww, thank you so much, Glenna! I do love the chalkboard wall. I really wanted to kitchen to feel like a family space, and the chalkboard wall really helps set the tone for the whole space. Have a great weekend!
Love it….love your ideas, love the way its all come together so perfectly….amazing!!!
Hi Mandy! So happy to see you back :) And thanks so much for your sweet comment. You put a huge smile on my face! Have a fabulous weekend!
I love the colour you painted your door to the garage! So bright and cheery, and it looks awesome against the chalkboard wall!
Thank you Aaron! I didn’t want to paint the doors and windows a typical white color, so we went with a brighter version of the wall color and I am so happy that we did. Thanks so much for reading my blog and taking the time to comment!
This is adorable! Pinning!
Hi Chelsey! Thank you for your comment and the pin! Have a happy weekend!
It’s beautiful! Just beautiful! That herringbone plank wall is so unique! My favorite part is the cabinet color transformation…and the fact that you did it on a realistic budget is even better! Great job!
Hi Jessica. Thank you so, so much for your sweet comment! I really appreciate it. Have a fabulous weekend!