Easy and Beautiful DIY Wooden Ornaments
Last Updated on March 3, 2022
This post is sponsored by Mohawk Consumer Products. As always, all opinions are 100% mine from using Mohawk's awesome products for myself.
Soooooo, I have another DIY Christmas ornaments post for you today because I couldn't stop making them once I got started! This time, I am going to show you how to make DIY wooden ornaments two different ways. The possibilities are literally ENDLESS with these techniques, so get some wood slices and get crafty. These DIY wooden ornaments would make fabulous gifts for your friends or family. Heck, they would even make great coasters!
Before you check out the full tutorial, I wanted to let you know that I have some gorgeous Christmas printables in my super affordable printable art shop that I think you will love! You can check them out below:
This post contains some affiliate links for your convenience. Click here to read my full disclosure policy.
DIY Wooden Ornaments Tutorial
Materials Needed for both types of DIY Wooden Ornaments:
- Vinyl and cutting machine OR craft stickers
- (I use the Silhouette CAMEO but have heard great things about the Cricut Explore as well)
- Transfer paper (the Silhouette brand is great, but I purchased this huge roll about a year ago because it’s so much less expensive and it works perfectly)
- If you use craft stickers, purchase plastic stickers (as opposed to traditional adhesive paper stickers–they will be very hard to get off your wood slices)
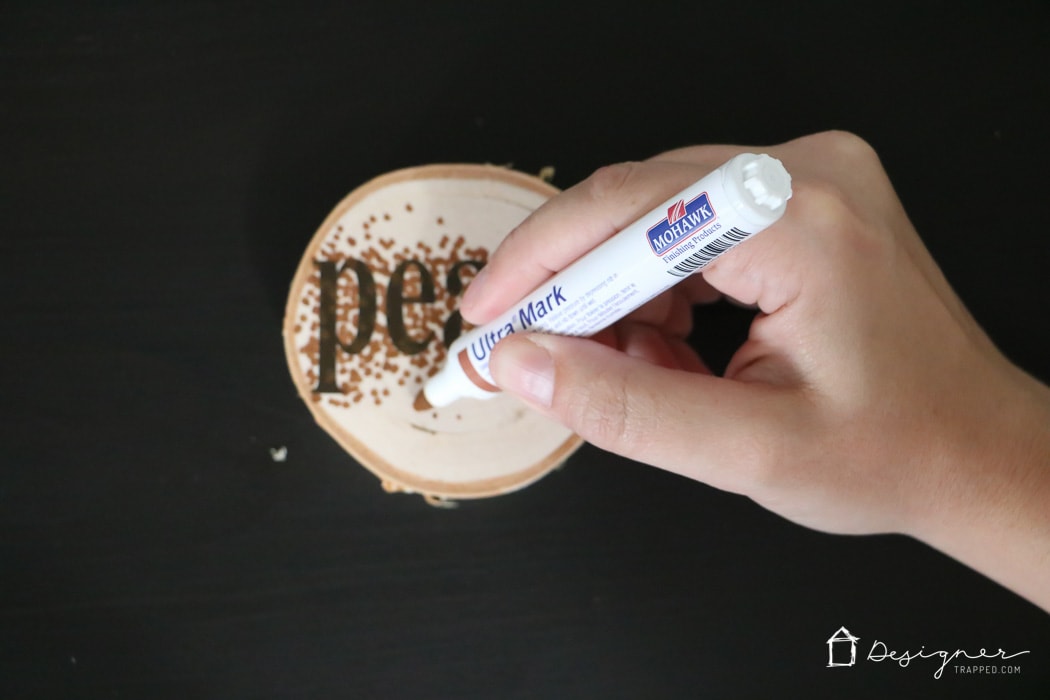
- Mohawk Ultra Mark wood stain marker (I used the Nutmeg color)
- Small screw eyes
- Wood slices, 3 to 4 inch diameter
Steps for DIY Wooden Ornaments Method #1:
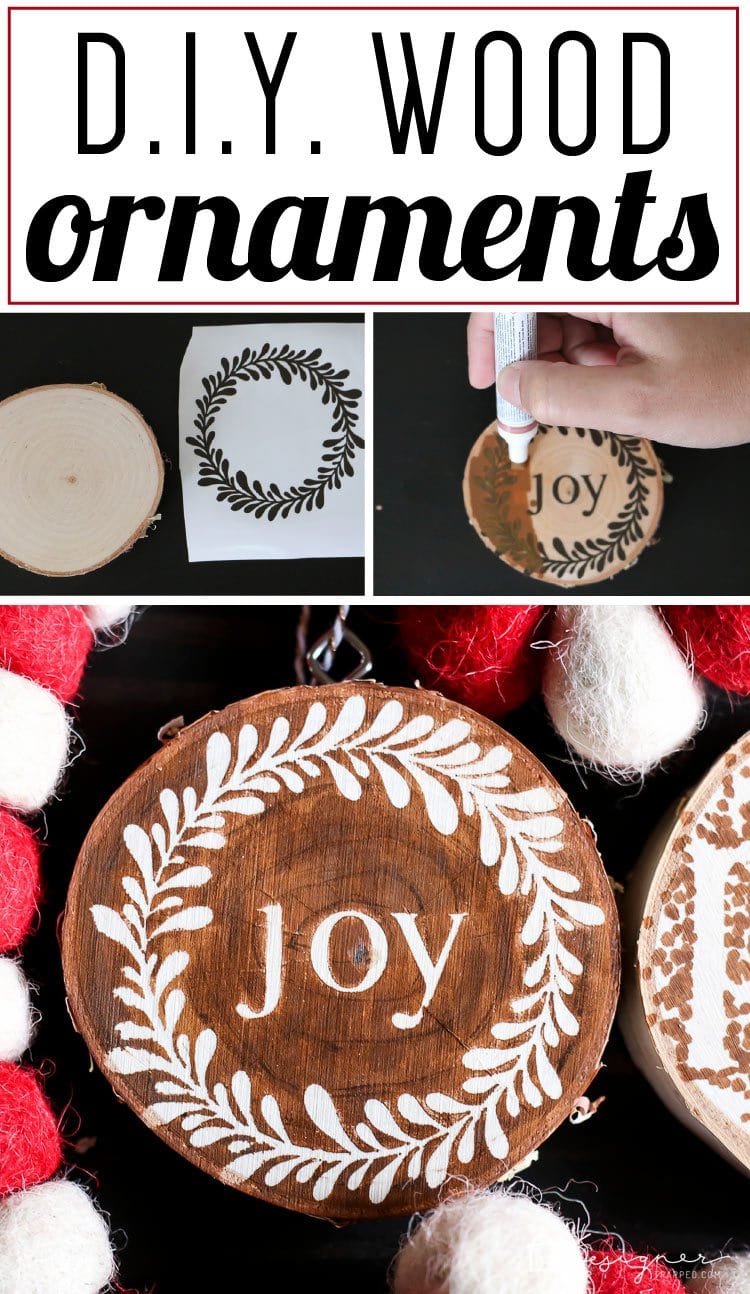
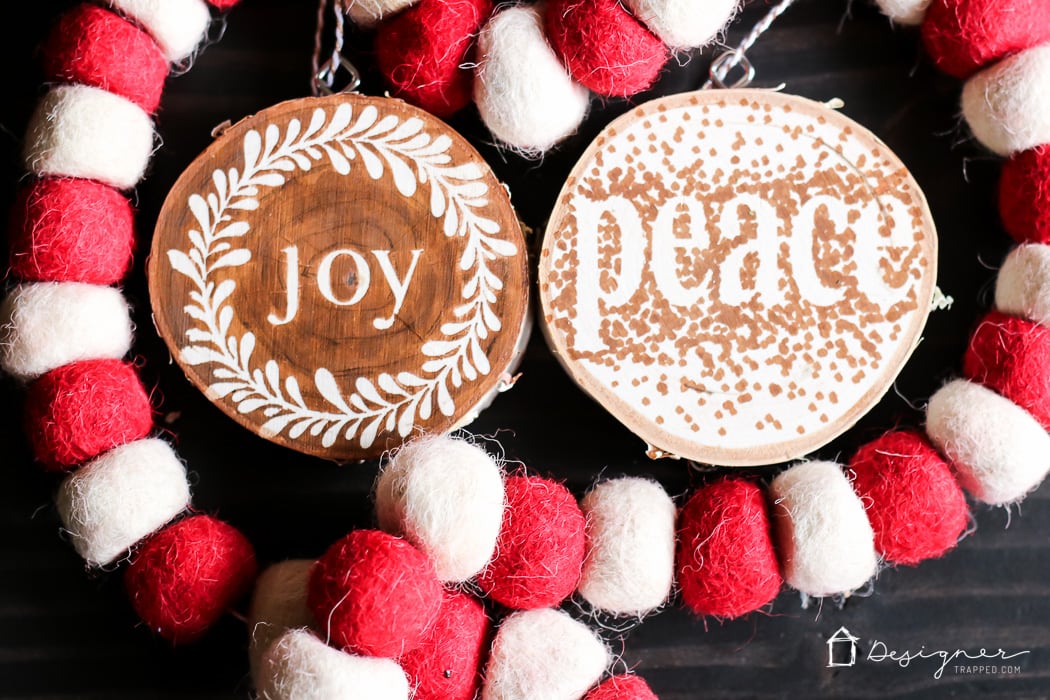
1) If you are using a vinyl cutting machine, create and cut out your design. I used a simple wreath design around the outer edge of my wood slice with the word “joy” in the middle. Weed your design (that just means remove all the excess vinyl, leaving just the design you cut out behind).

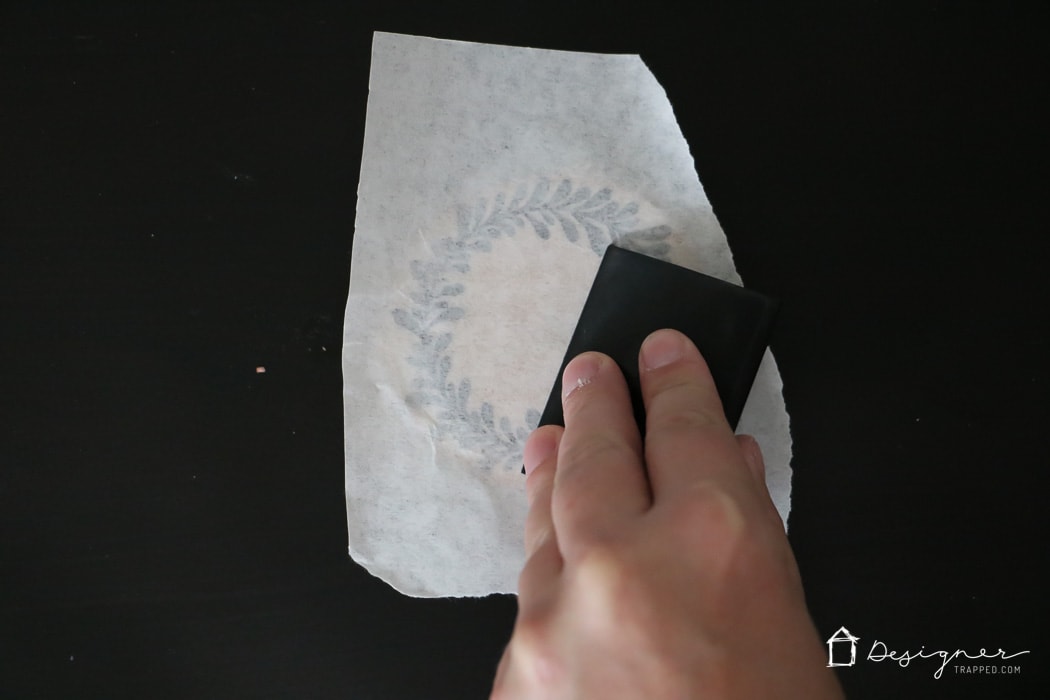
2) Transfer your design onto transfer paper and then place the design onto your wood slice. Use a plastic card or scraper to press the vinyl firmly onto your wood slice. Then slowly peel the transfer paper off.
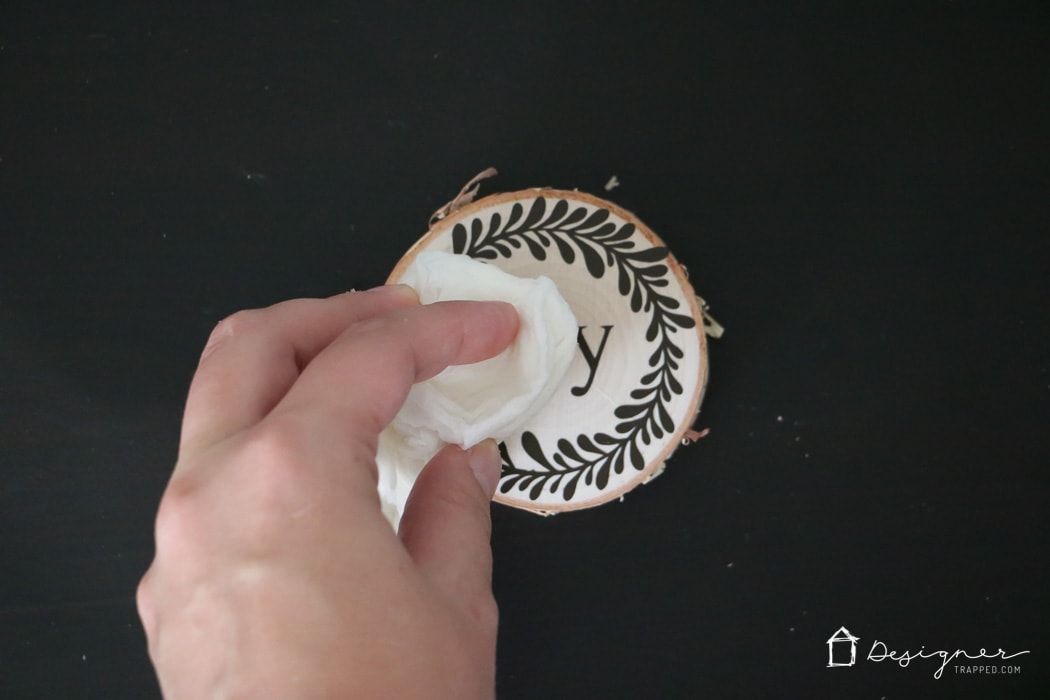
3) Use a damp paper towel to lightly dampen the surface of your wood slice–this will help the wood accept the stain from the Mohawk Ultra Mark marker evenly.
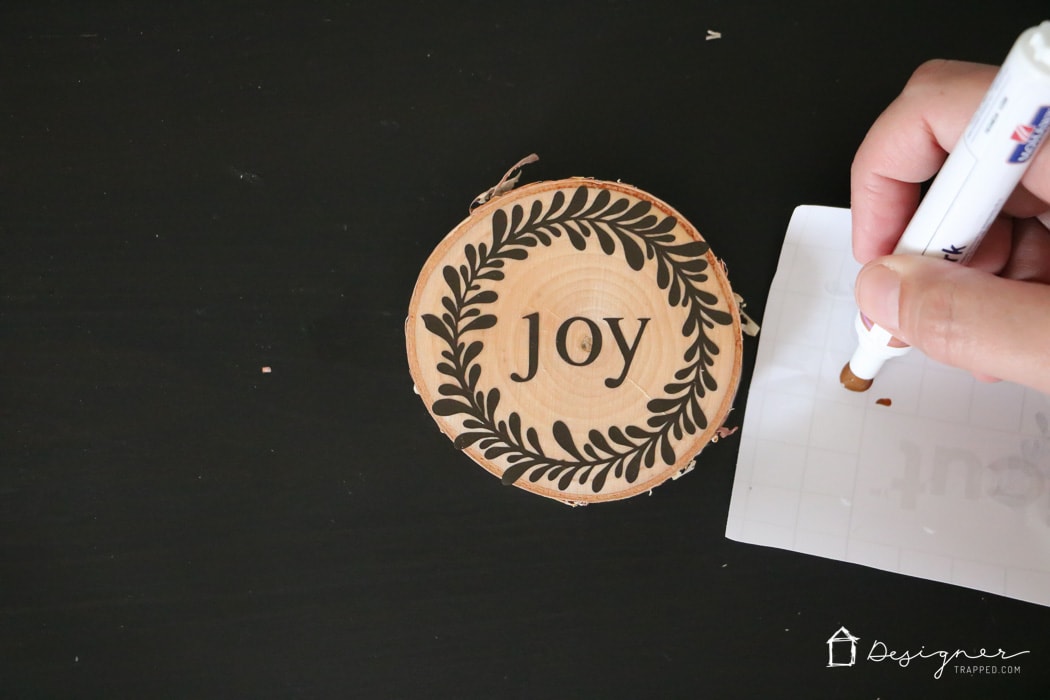
4) Prepare your Ultra Mark marker for use by pressing down on the tip until stain fully covers the tip and begins to flow out.
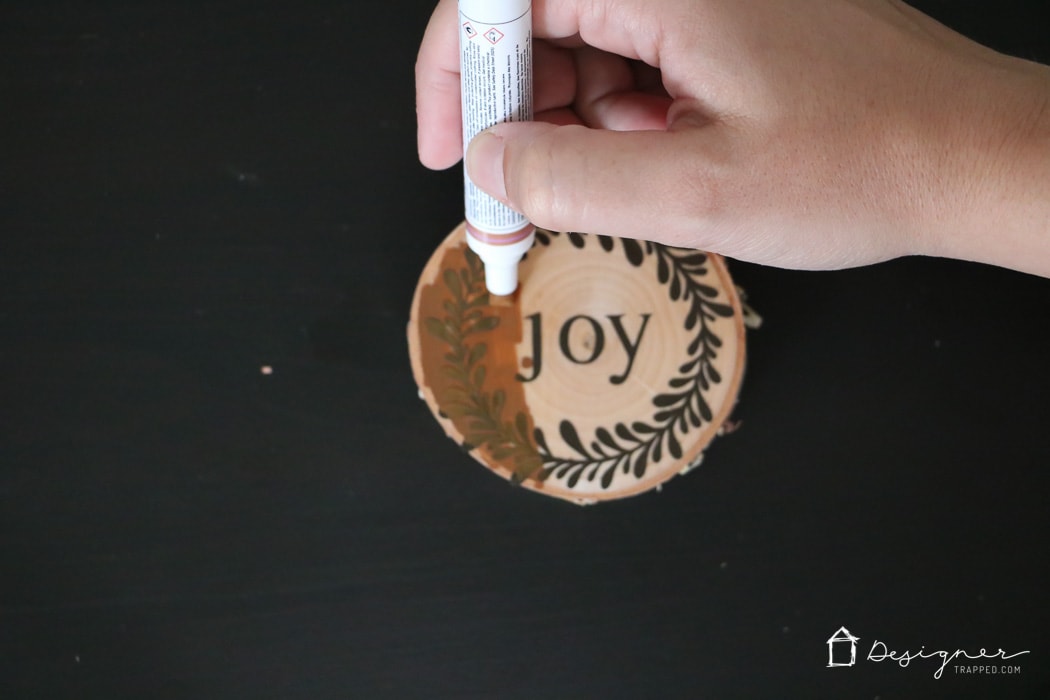
5) Now you are ready to stain! Note that I do NOT recommend using rubbing stain for this step because it will bleed under the edges of your sticker or vinyl. The Ultra Mark marker allows you to have very good control over the stain. Plus, the Ultra Mark markers contain light-fast pigments that seal, stain and finish all in one step. Use light, even strokes of the marker. Depress the tip as needed to keep the flow of the stain even.
6) When your stain dries (it dries very quickly), peel off your vinyl or stickers.
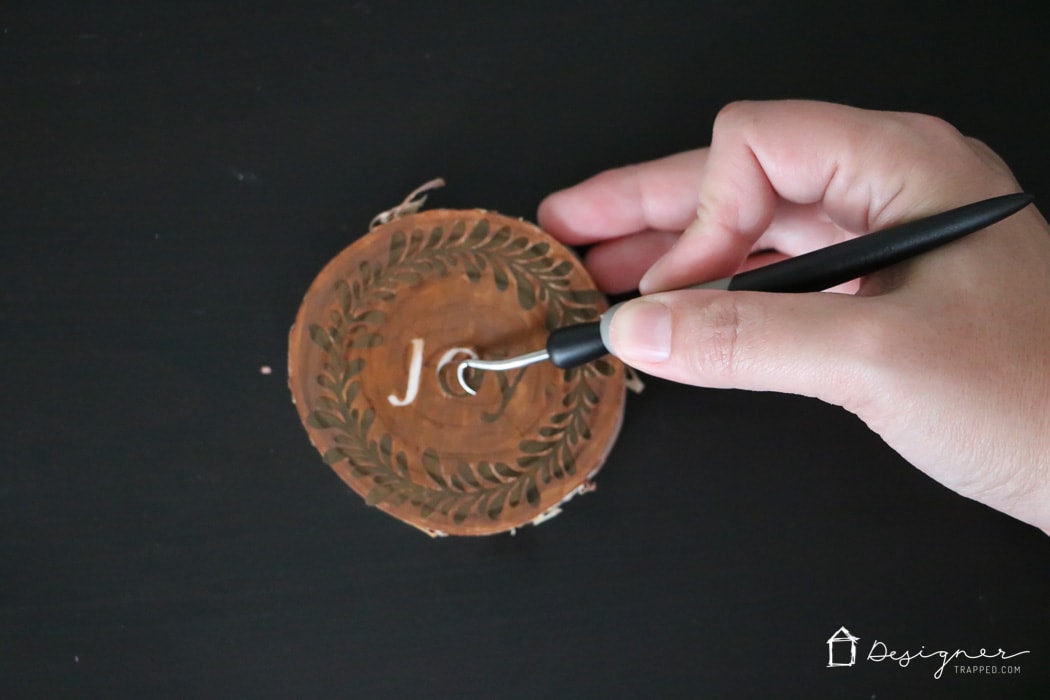
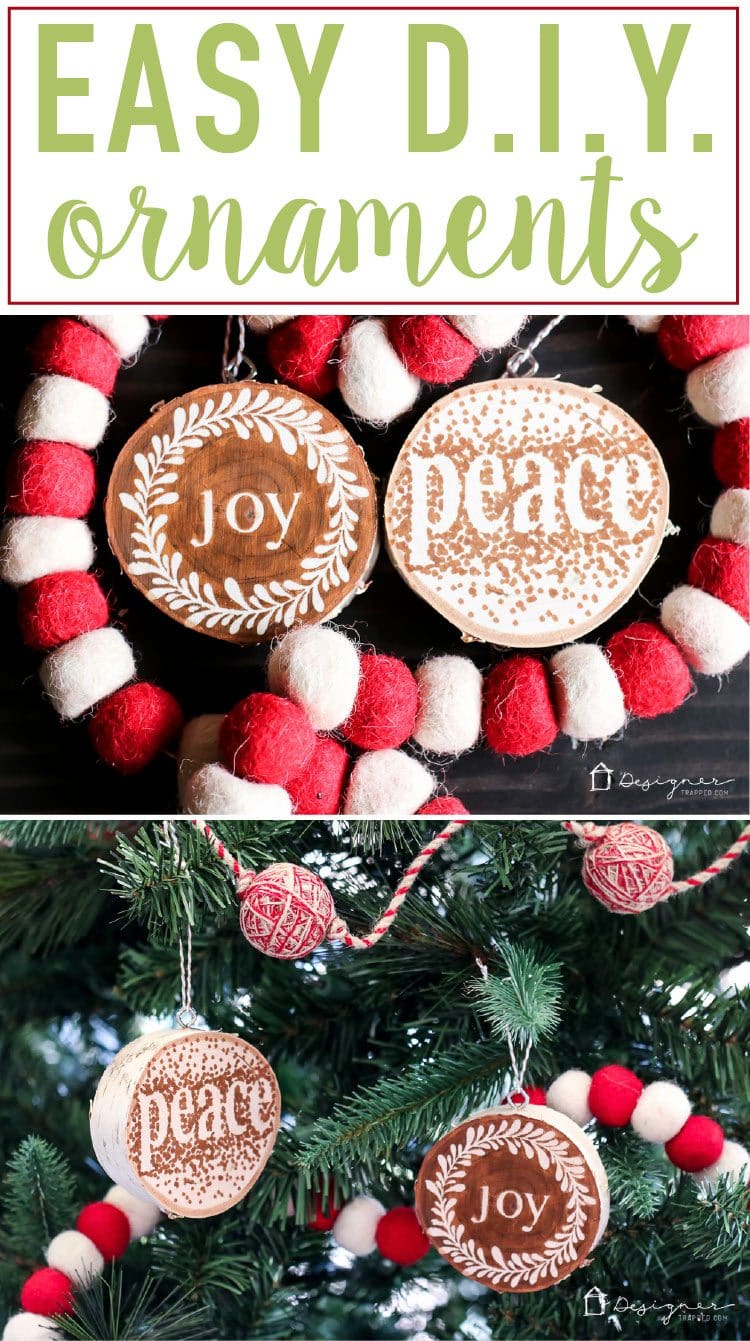
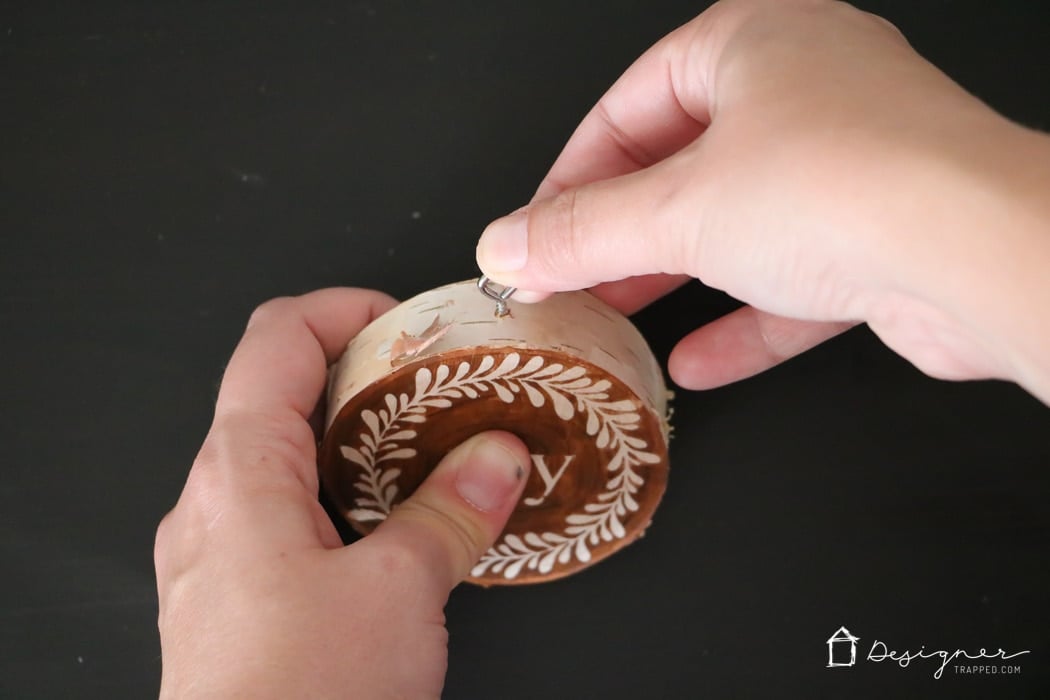
7) Finally, attach a small screw eye to the top of your ornament and add baker's twine or ribbon so that you can hang it up and enjoy!
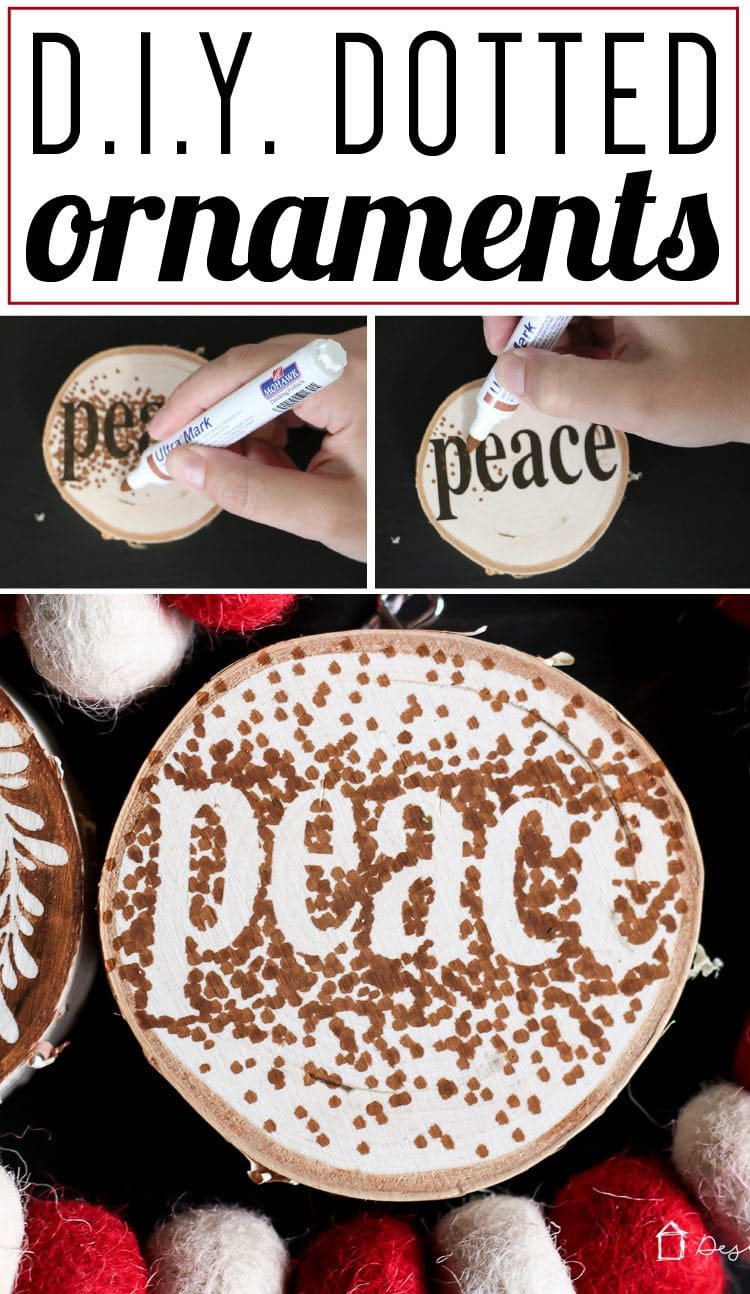
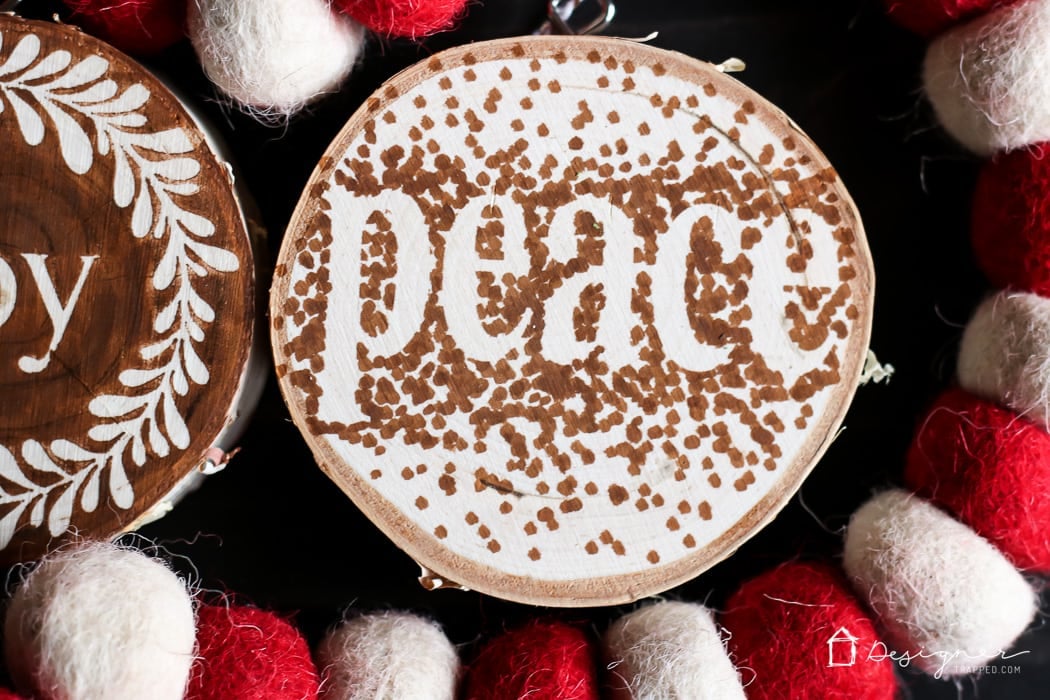
Steps for DIY Wooden Ornaments Method #2:
Repeat steps 1 through 4 outlined above.
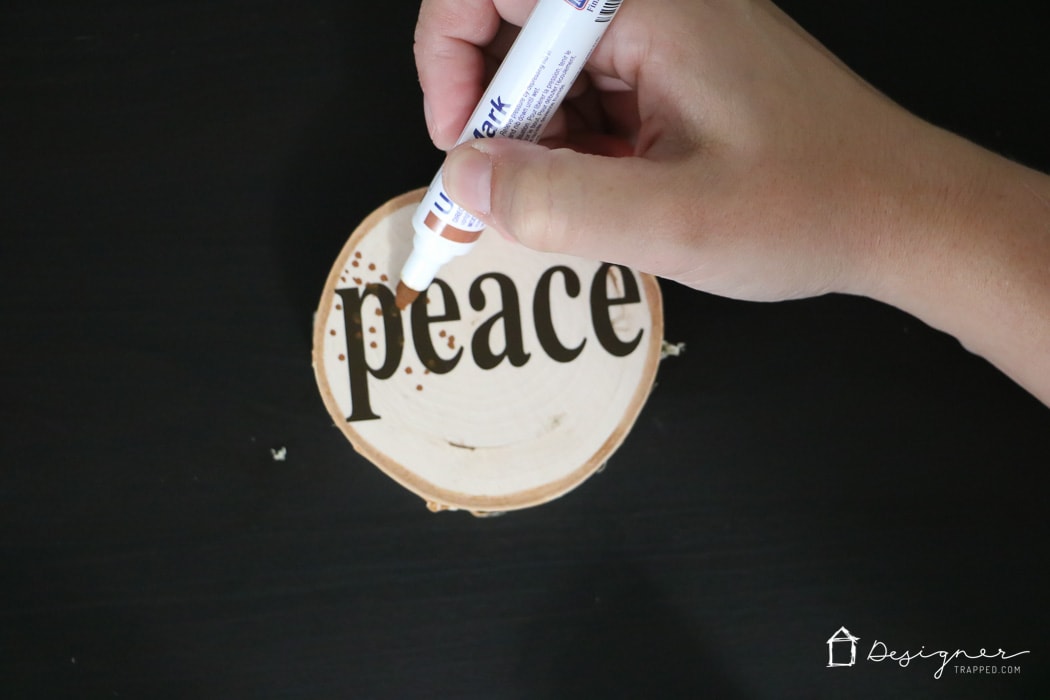
5) Now you are ready to stain! Using your Mohawk Ultra Mark marker, begin making dots around the edge of your vinyl or stickers. Heavily concentrate your dots around the edges of the letters. As you work your way outward, make your dots less concentrated. You can use 1 color or multiple colors. I used 1 color (nutmeg).
6) After your stain dries, peel off your letters and attach a screw eye to the top of your ornament and hang with baker's twine or ribbon.
That's it! Aren't these DIY wooden ornaments easy and absolutely gorgeous?! I love them!


[mv_create 1 11 200 2016 key=”1″ type=”list” title=”Most Popular Projects” thumbnail=”</span><a href=” https designertrapped com wp content uploads diy home decor projects blog jpg target=”_blank” a span]
