Easy Dotted Sharpie Easter Eggs
Easter egg decorating doesn't have to be complicated or messy! Learn how to make easy, dotted Sharpie Easter eggs with this simple tutorial!
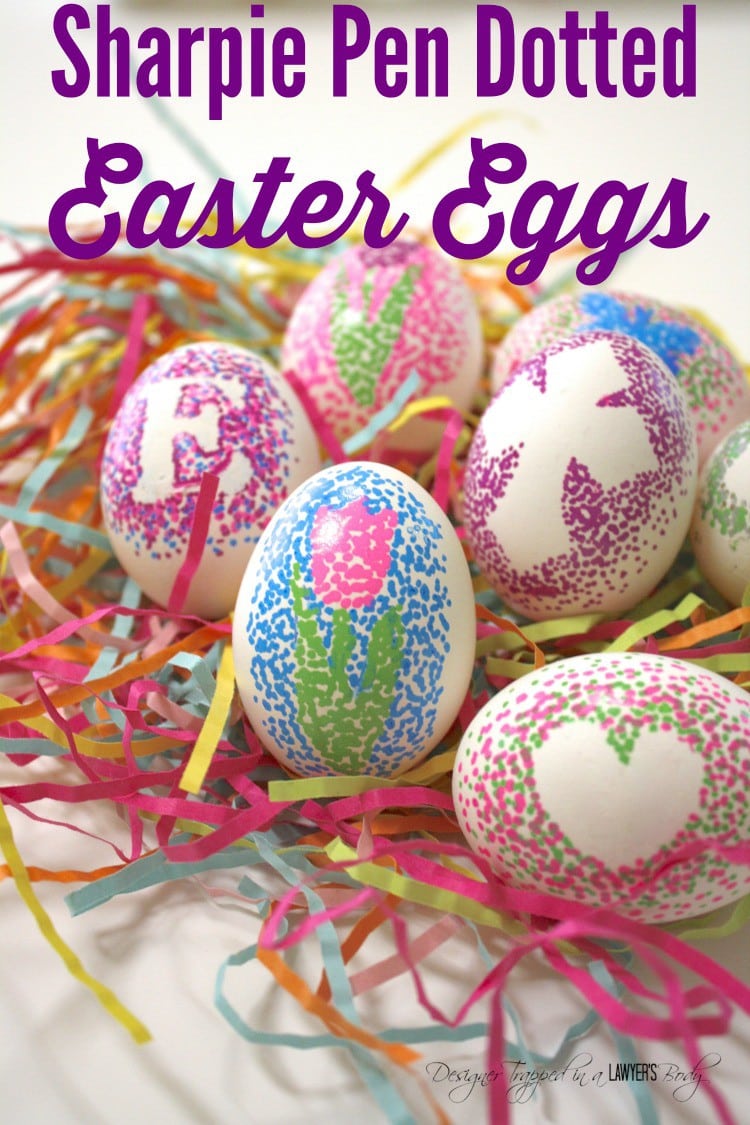
Can anyone else believe that Easter is coming in a few weeks? I can't! Though I am not entirely ready for it to be here so soon, I LOVE Easter and I love decorating Easter eggs. So I am VERY excited to share with you these beautiful and easy dotted Sharpie Easter eggs that I made last year. This post contains some affiliate links. Click here to read my full disclosure policy.
Materials Needed to Make Easy Dotted Sharpie Easter Eggs
- Hard-boiled eggs
- Sharpie paint pens (these are the exact pens I use)
- Craft Stickers in any shape/size you want
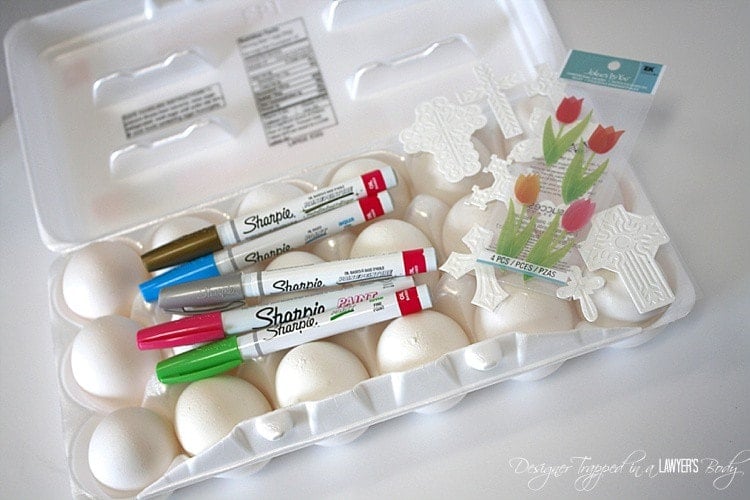
Steps to Make Easy Dotted Sharpie Easter Eggs
1) Place a sticker on your hard-boiled egg.
2) Using a paint pen in a color of your choice, begin making dots around the edge of your sticker. Heavily concentrate your dots around the edge of the sticker. As you work your way outward, make your dots less concentrated. You can use 1 color or multiple colors.
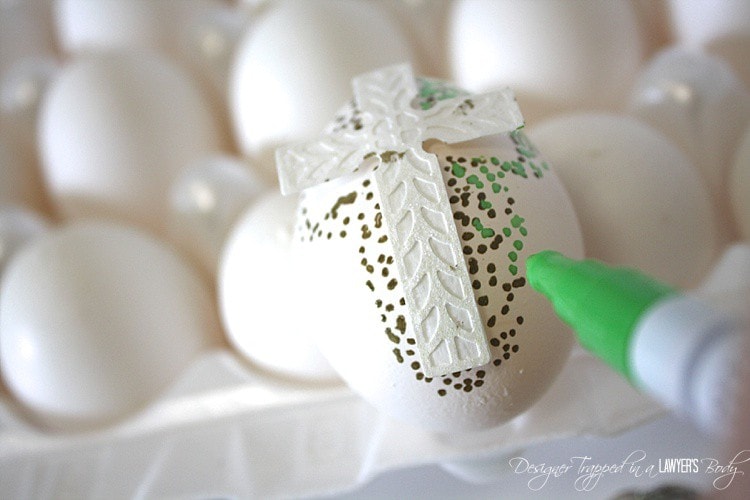
3) Allow time for your paint to dry before removing your sticker.
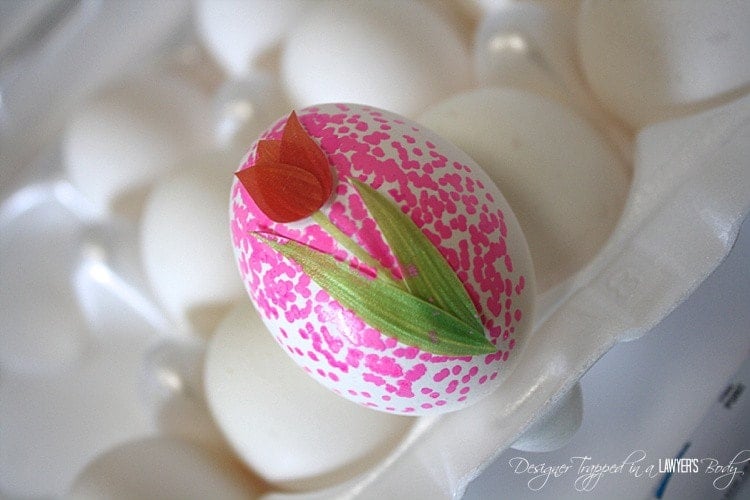
4) Once the paint is dry, peel your sticker off. You can either leave the void left by your sticker white or you can fill it it with more dots, like I decided to do with my tulip eggs.
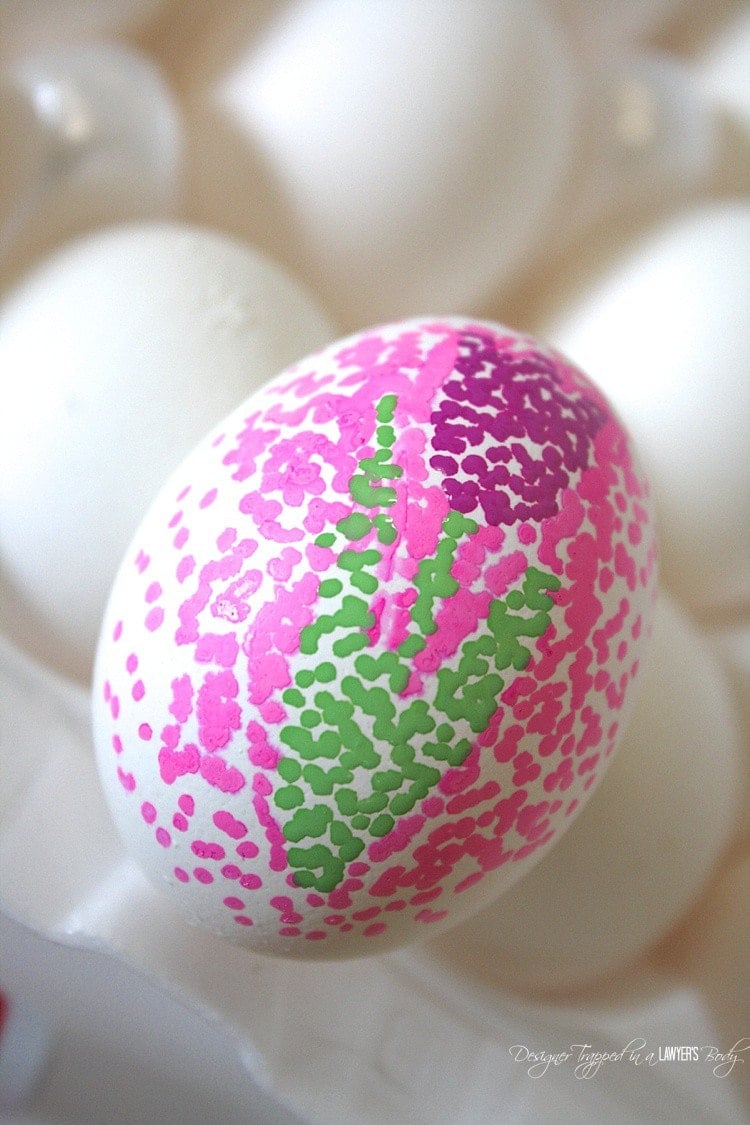
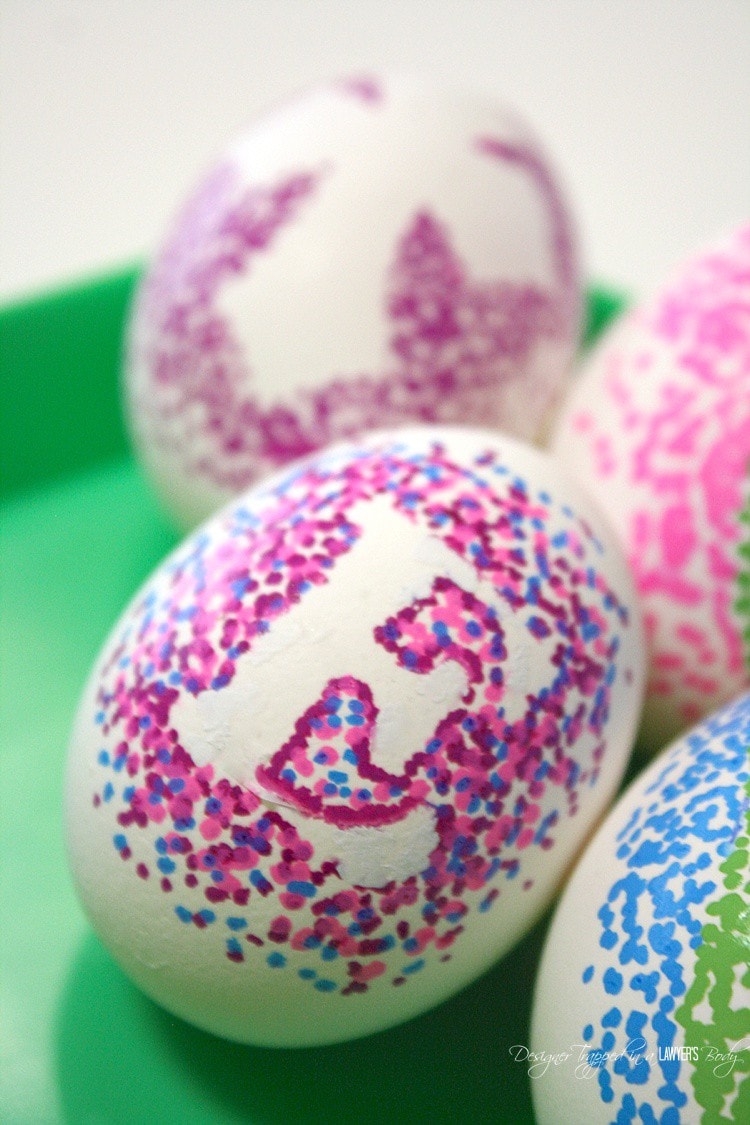
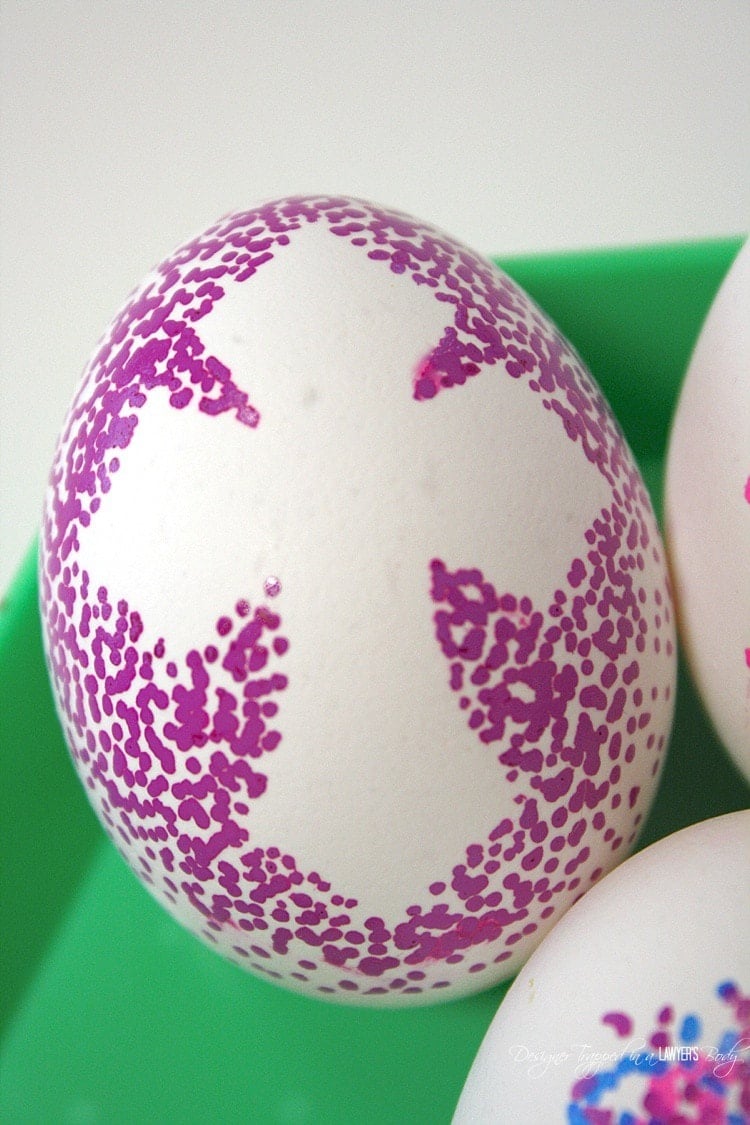
THAT’S IT. Can you believe how easy that is? And aren’t the finished dotted Easter eggs beyond fabulous? And guess, what? It was fun! Best of all, it was quick, easy and inexpensive. Your kids may enjoy this method as well.
If you enjoyed this post, you will love how I use the same method on mugs!
Other posts you may enjoy:
Wondering how I approach transforming rooms and spaces in our home? Check out Designer in a Binder®.
And if you want exclusive content and behind-the-scenes sneak peeks, be sure to subscribe before you head out!

Last Updated on March 29, 2022
