How to Inspect and Caulk Flashing
Do you have flashing that is no longer sealed properly? You do NOT need to call in a roofer or other handyman to fix it. It's easy to do yourself. Read on for the step-by-step instructions for how to caulk flashing.
Thank you to DAP Products for sponsoring this post. As always, all opinions are 100% my own. This post contains some affiliate links for your convenience. Click here to read my full disclosure policy.
Y'all, this isn't the sexiest project ever, but it's important. So let's dive right into it!
What is flashing?
In case you are wondering why this is an important project, let's first talk about what flashing is. Flashing is usually made of aluminum and it is essentially what connects your roof to the your house at all the seams (where the roof meets the sides of your house, around dormers, around the chimney, etc). Flashing ensures that water runs off and down your roof instead of leaking into your house. It's a pretty big deal, but people rarely think about it.
How to inspect your flashing
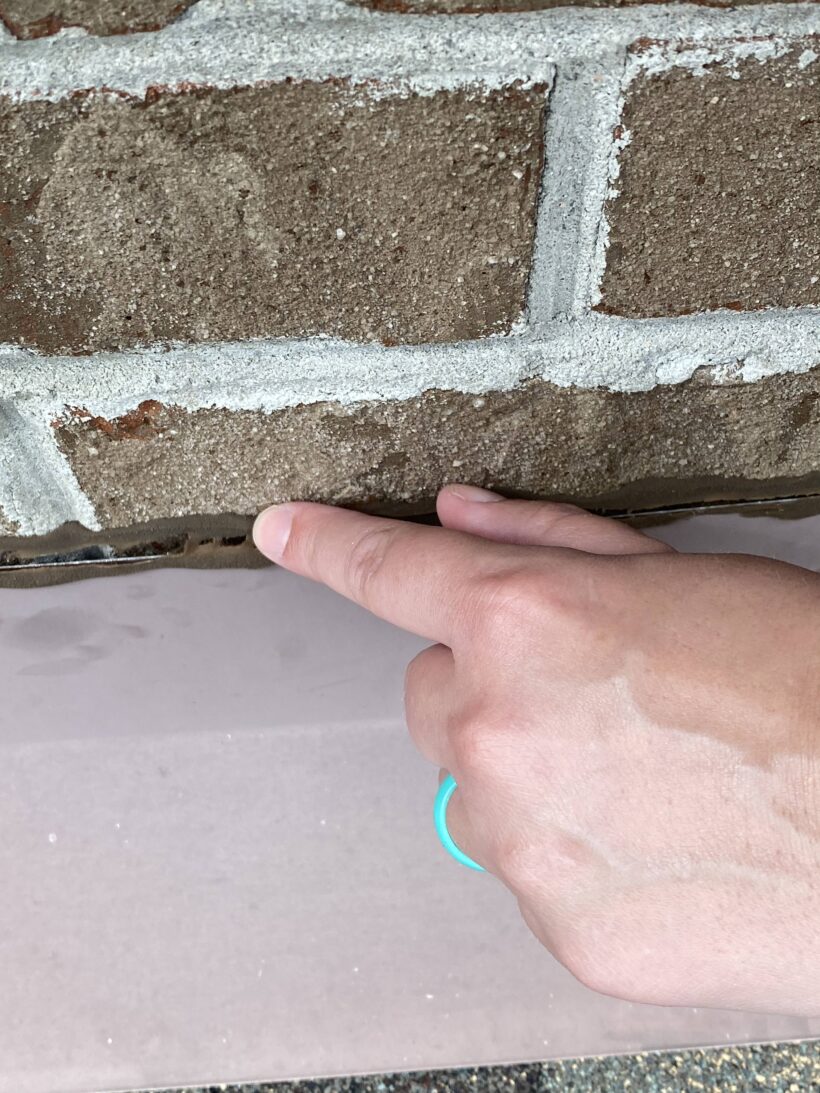
We are lucky that we can inspect lots of the areas where our roof meets our house from our second-floor windows. You may have to get a ladder and climb up on your room (only do this if you are confident you can do it safely). You want to visually inspect your flashing around the base of your chimney, along the walls, around dormers and/or skylights if you have them and around any vents. You also want to look to make sure that holes made by roofing nails are sealed. If your flashing has lost its seal, you will see a slight gap between the flashing and the surface it is sitting against. This is what some of our failed areas looked like. See that gap?
How to caulk your flashing
First, make sure you are using the correct product! We used DAP Crystal Clear Premium Gutter and Flashing Sealant. Another great option for sealing flashing is the brand new Ultra Clear Roof Waterproof Rubberized Sealant.
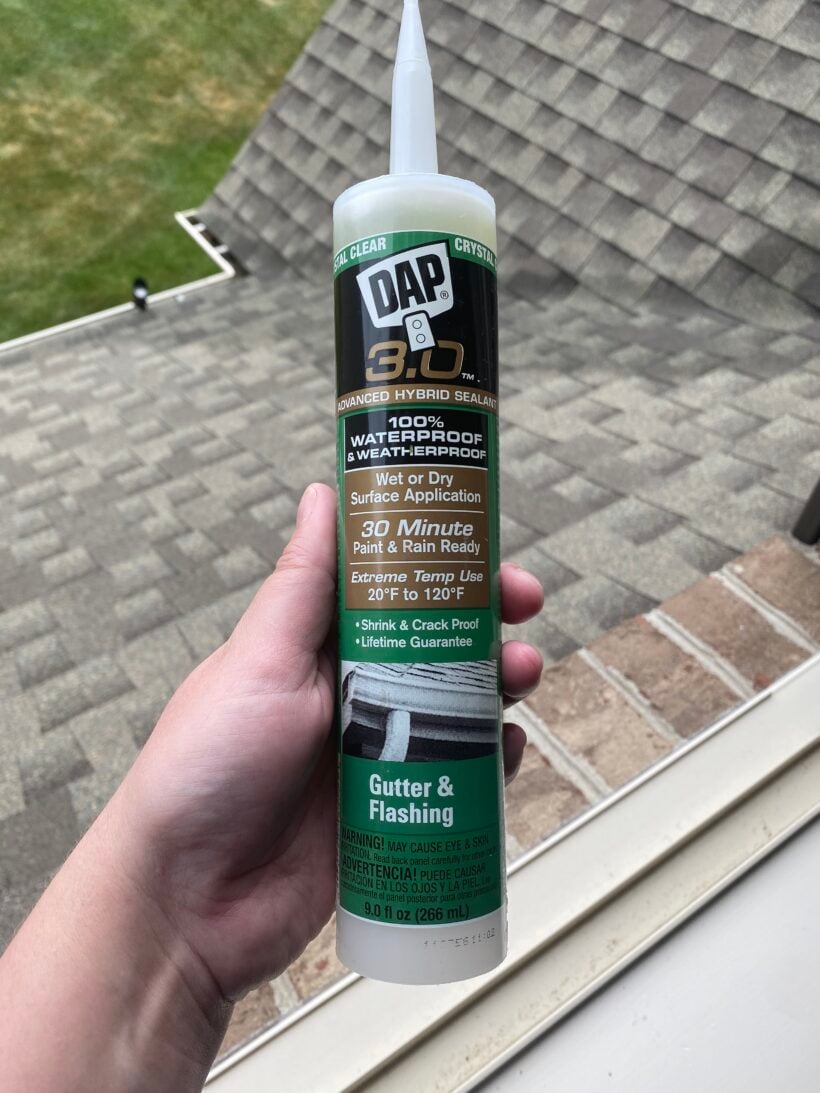
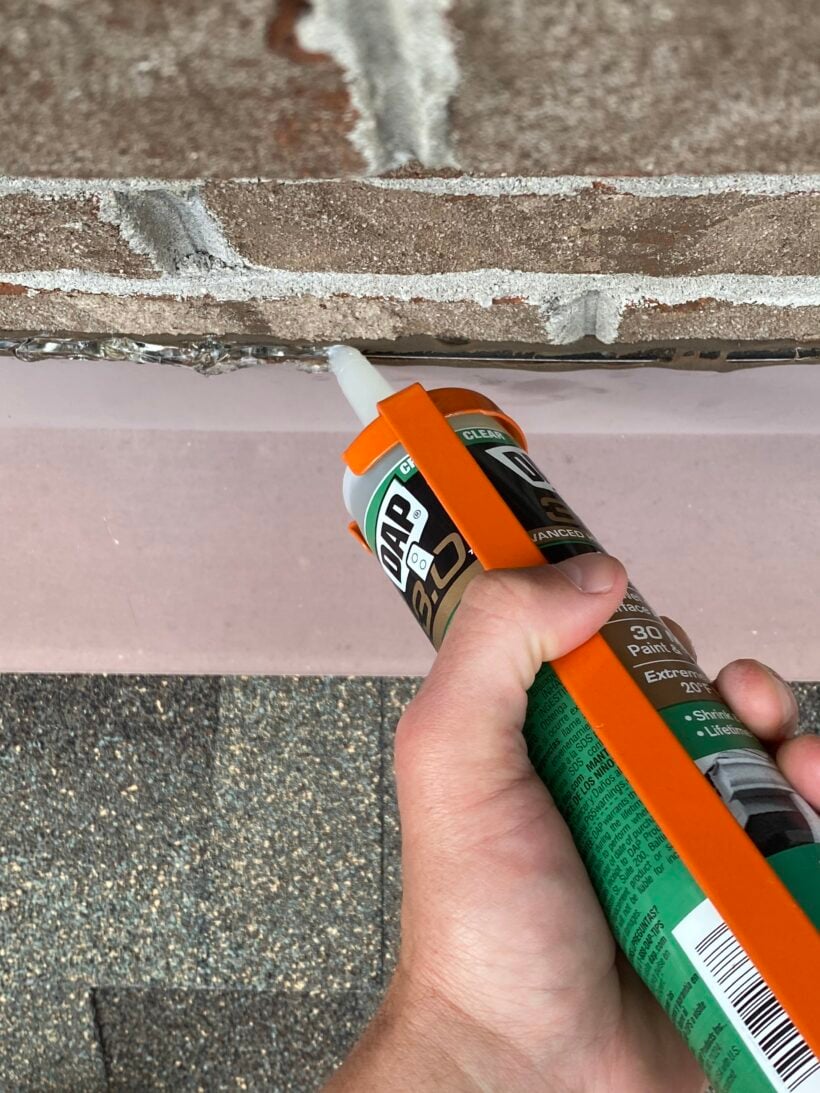
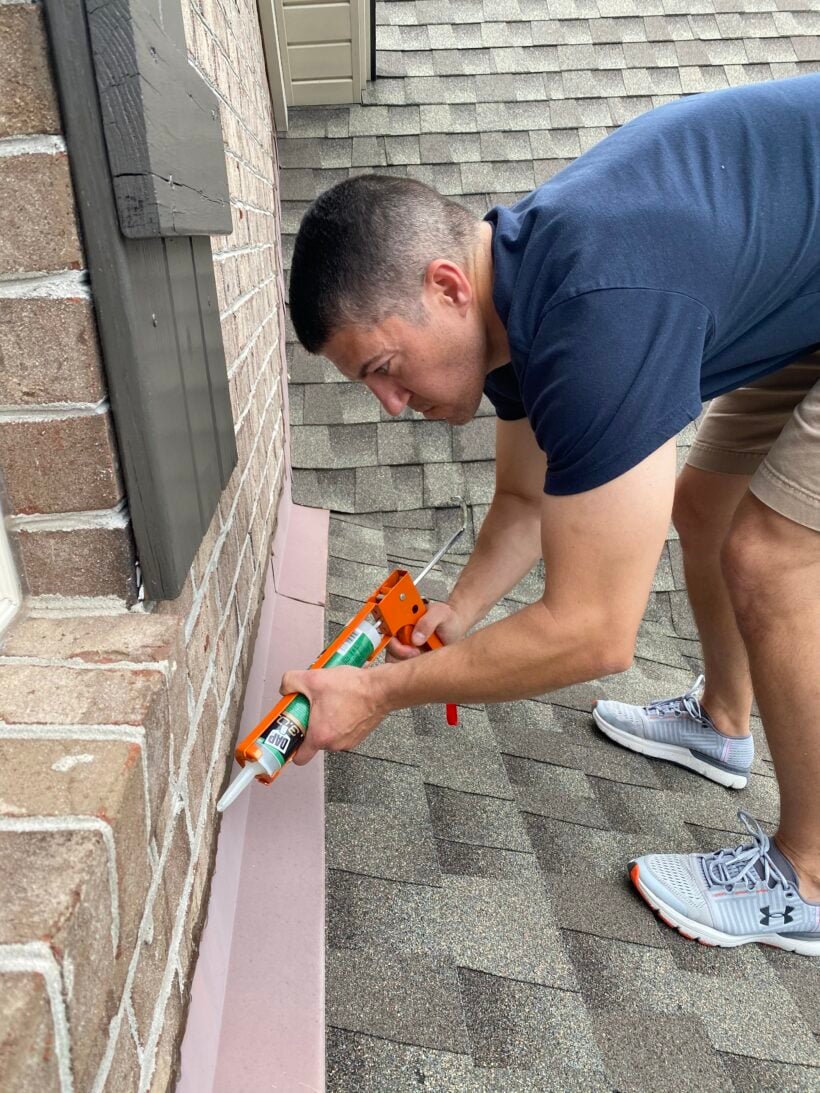
Note that DAP Crystal Clear Premium Gutter and Flashing Sealant tends to be solvent clean-up, so you SHOULD wear gloves and eye protection when working with it. Do as I say, not as I do ;) You apply it like any other caulk. You don't have to make it look pretty — you just need to fully fill the gaps. One of the best things about DAP Crystal Clear Premium Gutter and Flashing Sealant is that it can be applied to wet or dry surfaces and is water-ready in 30 minutes. And thanks to its crystal clear color, it blends seamlessly with nearly all types of building materials.
That's it y'all! This is a quick, easy and super important DIY. Have you ever done it? If not, I highly recommend you do it soon!!!!
Wondering how I approach transforming rooms and spaces in our home? Check out Designer in a Binder®.

And if you want exclusive content and behind-the-scenes sneak peeks, be sure to subscribe before you head out!
