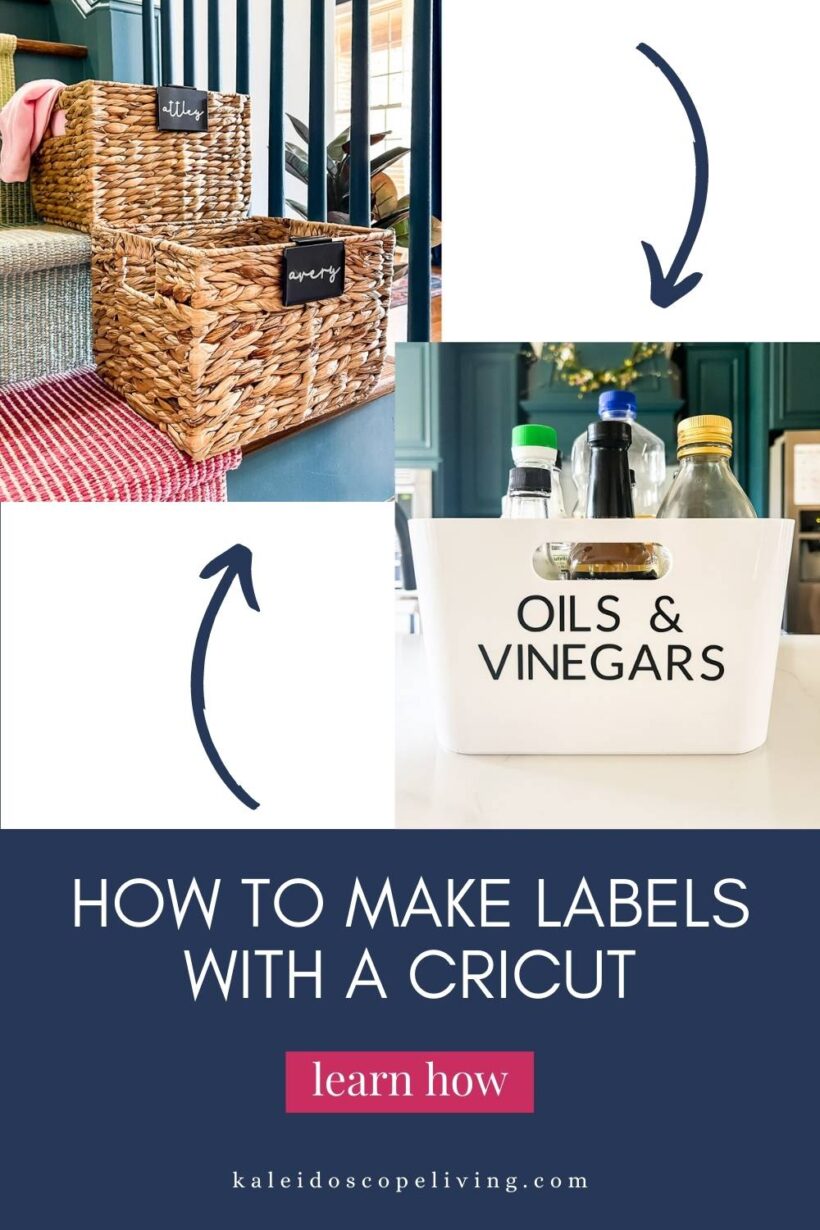
How To Make Labels With a Cricut Cutting Machine – My 2 Favorite Methods
Creating custom labels with a Cricut is one of my favorite things to use my machines for! In this post, I'm sharing my 2 favorite methods for making labels with my Cricut cutting machines.
Thank you to Cricut for sponsoring this post. This post contains affiliate links for your convenience. Click HERE to read my full disclosure policy.
If you've been around me for any length of time (or read this blog for a while) you know I'm a FAN of organizing all the things! And one thing I have found time and time again is that things generally only stay organized when we: 1) come up with a solid system for storing/using things and 2) label things so that everyone is on the same page about where things go! While we do have a more traditional label maker that is handy for making very small labels, I usually find that I want to make larger labels that are easy to read. And for that, I turn to my Cricut cutting machines. So if you've ever wondered, “Can a Cricut be used as a label maker?” the answer is ABSOLUTELY!
If you don't already own a cutting, then please read my unbiased review of Silhouette vs. Cricut. I personally own and use: the Cricut Explore Air 2, the Cricut Maker and the Cricut Joy. If you are wondering which machine you should choose, check out my post to help you choose the best Cricut machine for you.
Now, let's take a look at the different options for making labels with a Cricut cutting machine.
Option 1: How to make vinyl labels with a Cricut cutting machine
Supplies needed
- Cricut cutting machine (used my Cricut Explore Air 2 for this project, but you could also use a Cricut Joy or Cricut Maker)
- Cutting mat
- Cricut Premium Vinyl
- Weeding scraper tools
- Transfer tape
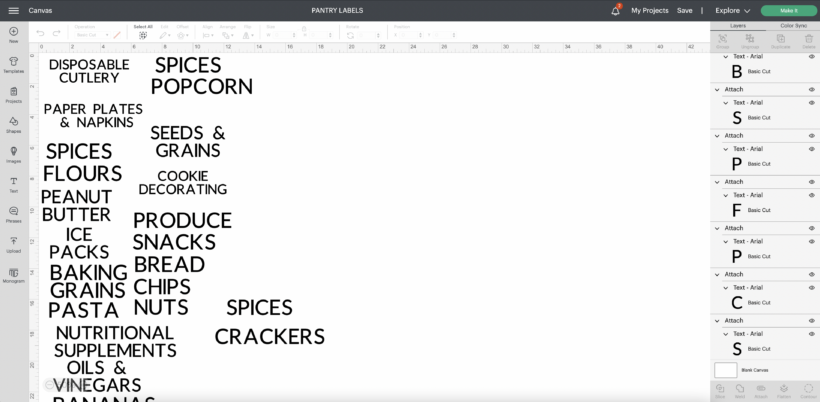
Step 1: Create your design in Cricut Design Space.
I find that sans serif fonts are the quickest to weed, so because I was making so many labels I chose to use a very simple font. I stood in my pantry and stuck post-it-notes on each bin I wanted to label and wrote down what the label should be. Then I took the stack of post-it-notes upstairs and worked my way through the stack of post-it-notes, adding them to Design Space one at a time. I measured my bins and made sure to size each label to fit the bin correctly. That meant each label was a slightly different size since the number of characters varied for each label. This is what my project looked like in Design Space.
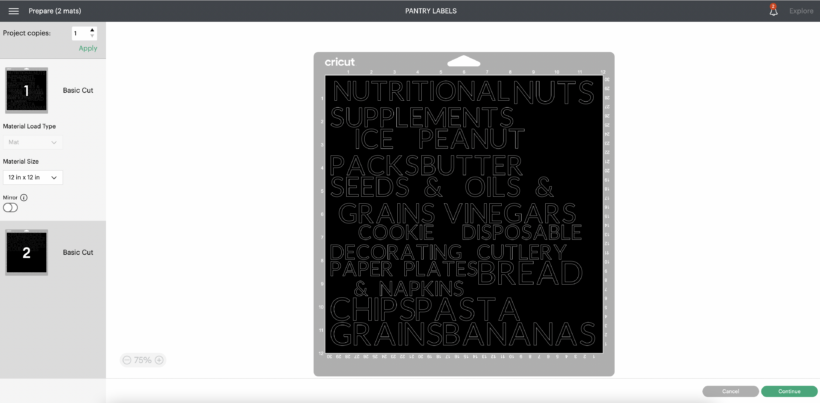
Step 2: Cut out your labels.
Once you click the “make it” button you'll notice that the Cricut software automatically arranges all of the words in the most space-efficient way, which ensures that use up as little vinyl as possible when you make your cut.
Step 3: Weed your vinyl design.
After you design is cut out, “weed” it so that you are left with only the words for your labels. I always use the Cricut weeder tool that looks kind of like a dental tool, lol. It works great.
Step 4: Transfer your vinyl labels onto your surface using the hinge method.
After you finish weeding away the excess vinyl, apply transfer tape over the top of your entire sheet of labels. Use a scraper tool to run over the top of the transfer tape to ensure the vinyl letters stick well to the transfer tape. Then cut each label out into its own rectangle shape.
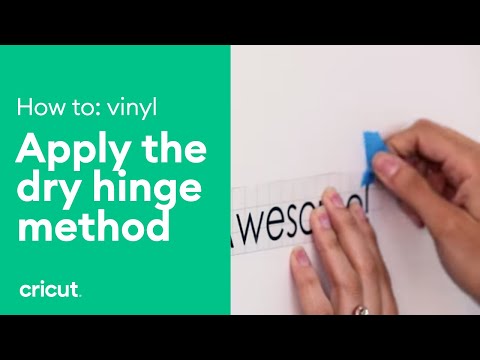
I highly recommend using the “hinge” method of applying your vinyl label(s) to your surface. You can watch the video below to see the steps I describe. It's quick and makes it so much easier!
Choose one label and place a strip of scotch tape or painter's at the top of it. Then tape it in place exactly where you want the label to appear on your surface. Once you are happy with the placement, flip the label up and peel off the backing paper. Then flip it back down and use a scraper tool to run over the top of the transfer tape once again. This will ensure your vinyl letters stick to your surface as you peel the transfer tape off. Coincidentally, that's what you do next. Peel the transfer tape off so that you are left with your vinyl label on your surface!
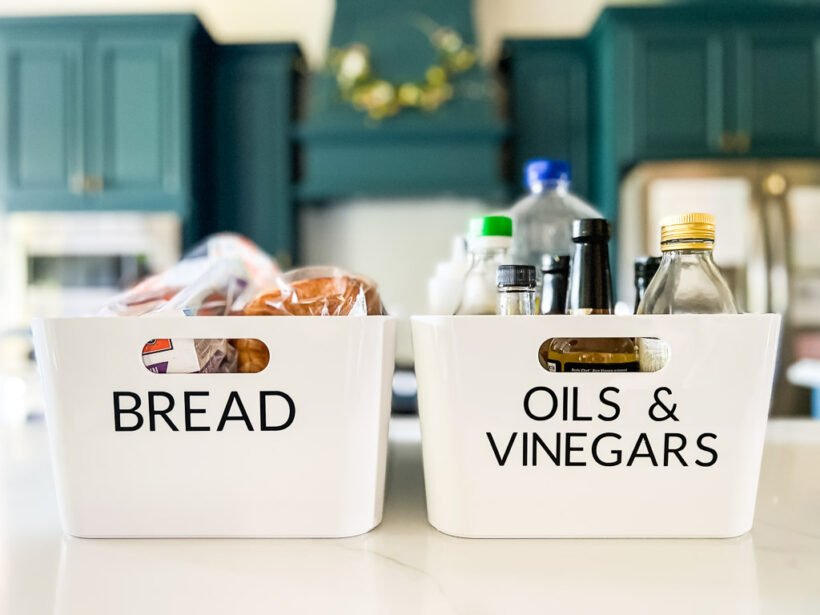
That's it! You can see how some of the bins I labeled for our pantry turned out below. I love how large and easy the labels are to read for me and my kiddos. We couldn't make anything like this with a regular label maker!

Option 2: How to make labels using a Cricut pen or marker & paper
Now let's take a look at another option for making labels with your Cricut. Frankly, I think it's the most underutilized and overlooked option. It involves using a Cricut pen or marker to write whatever text you want on cardstock and having your Cricut cut the cardstock out in whatever shape you want. This is a great way to get the look of handwritten labels without actually having to write them (I don't love my own handwriting, so this is a great option for me)!
Supplies needed
- Cricut cutting machine (I used my Cricut Joy for this project, but you could also use a Cricut Explore or Cricut Maker)
- Cricut Smart Paper Sticker Cardstock (I used black)
- Cricut marker or pen (I used the metallic silver marker)
Step 1: Create your design in Cricut Design Space.
You need to think about 2 things when creating labels using this method. First, what shape and size do you want your label to be? Second, what do you want to actually write on the label with your Cricut marker or pen?
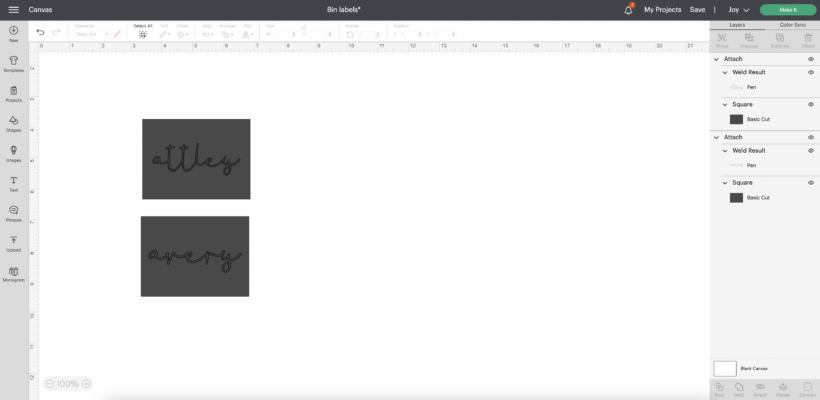
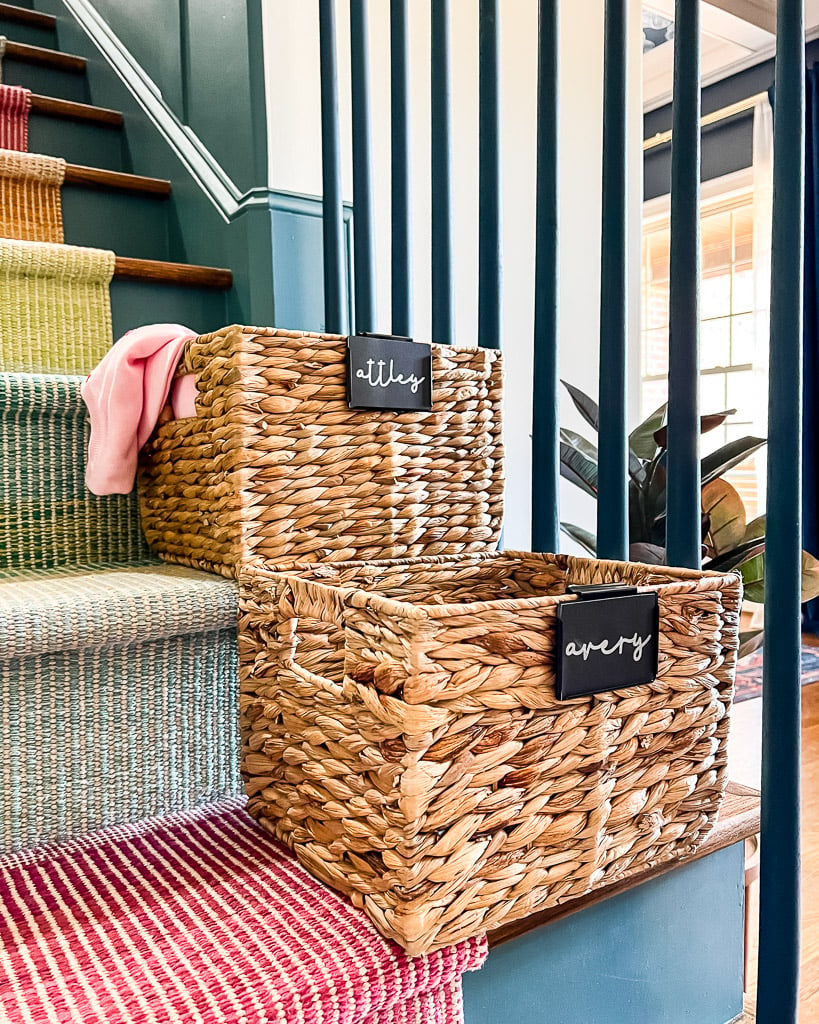
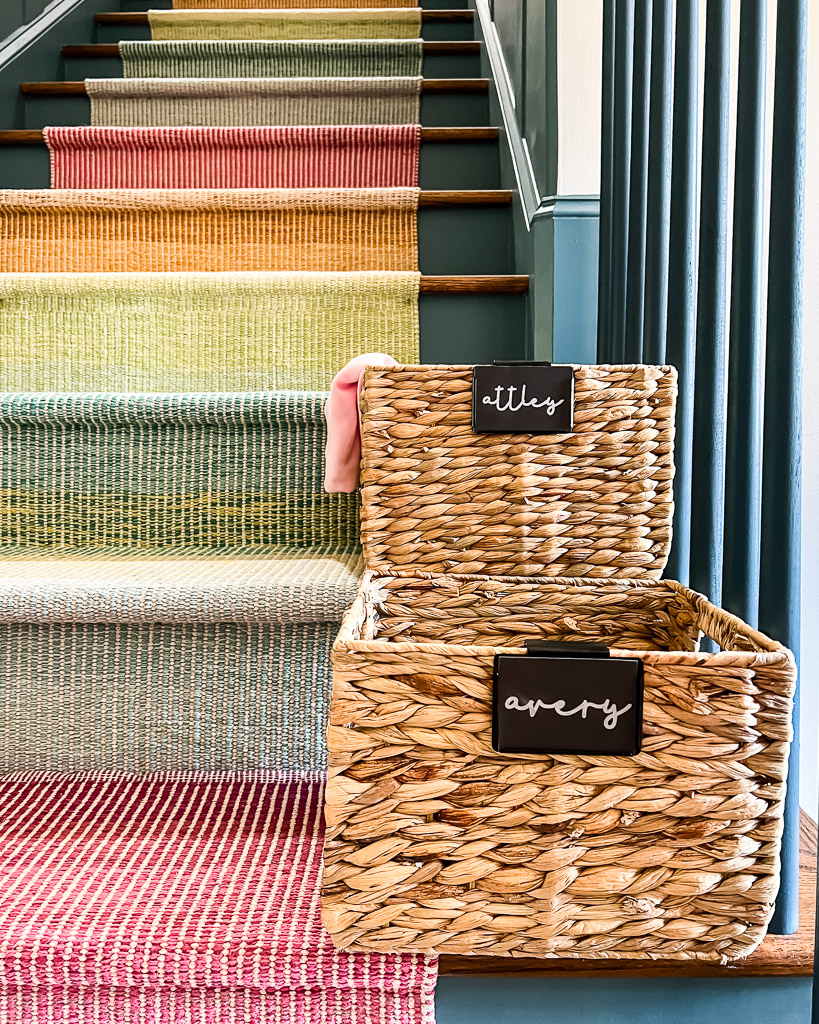
I chose a rectangular shape and chose dimensions that would fit perfectly into the basket bin labels I chose to label my girls' “take upstairs with you” water hyacinth baskets that we keep on our stairs. I chose the Cricut Font “BFC Flannel Shirt.” Be sure that the shape of your label is set to “basic cut” and that the writing is set to “pen” so that your machine will know to write and NOT cut our your text.
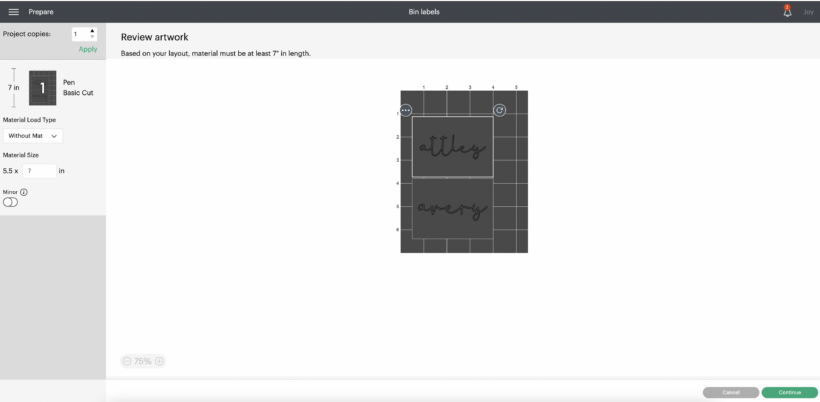
Step 3: Send your design to your Cricut machine.
Once you click “make it” in the top right corner of Design Space, you will be prompted to load your smart material. I LOVE that the smart materials can be used without a cutting mat! Design Space will also prompt you when to load your pen/marker and when to load your blade. In my experience, the writing always happens before the cutting.
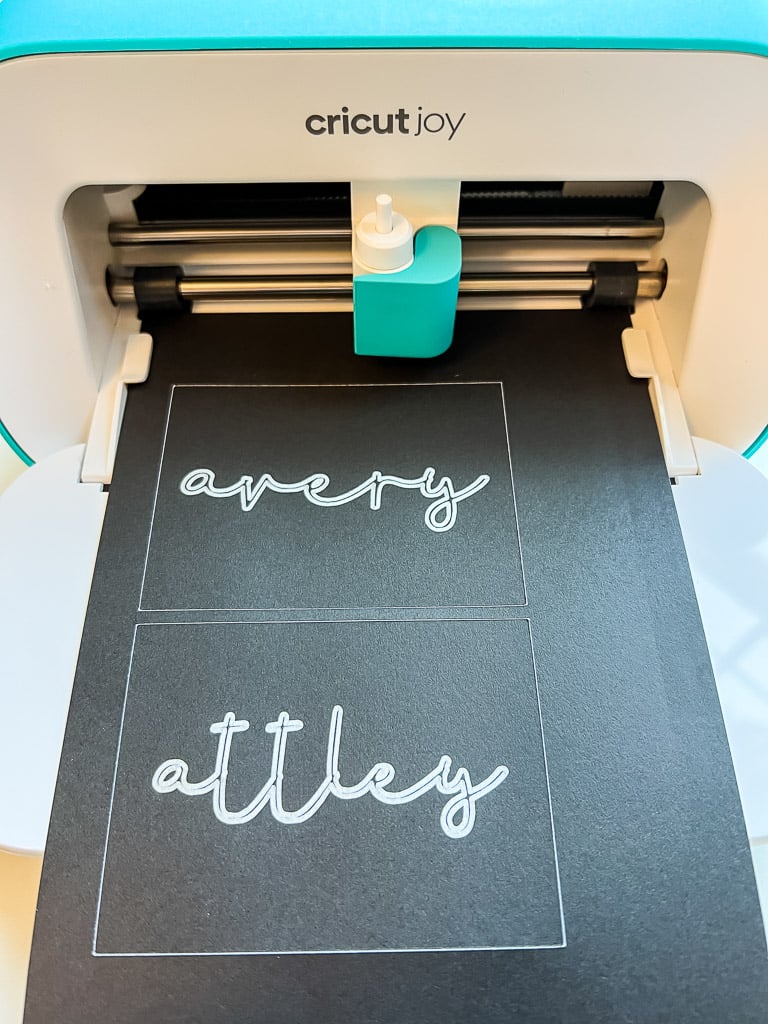
This is how my two labels looked after being written and cut out by the machine. I used the silver marker to fill in the spaces between the double-lines of the text, but that was just a personal choice!
Step 4: Apply your label and enjoy!
With the Cricut Smart Paper Sticker Cardstock you can just peel off the backing paper and stick your label directly on whatever surface you want. But since the water hyacinth baskets I wanted to label are a rough, natural material that wasn't really an option. Instead, I placed them on these basket bin labels and then clipped the bin labels on the baskets. They turned out so cute!
So there you have it! My two favorite methods for making labels with my Cricut cutting machines. What's your favorite method?
Other posts you may enjoy:
- 26 Clever and Creative Gifts for Makers & Crafters
- Which Cricut Machine is Right for You? How to Choose
- Silhouette vs. Cricut – My Unbiased Review
- 10+ Best Gifts for Crafters: What Every Crafty Person Needs/Wants!
- Cricut Projects for Your Home
- Personalized Cricut Ideas for Christmas
Wondering how I approach transforming rooms and spaces in our home? Check out Designer in a Binder®.

And if you want exclusive content and behind-the-scenes sneak peeks, be sure to subscribe before you head out!
