Ikea Kids’ Table and Chairs Makeover
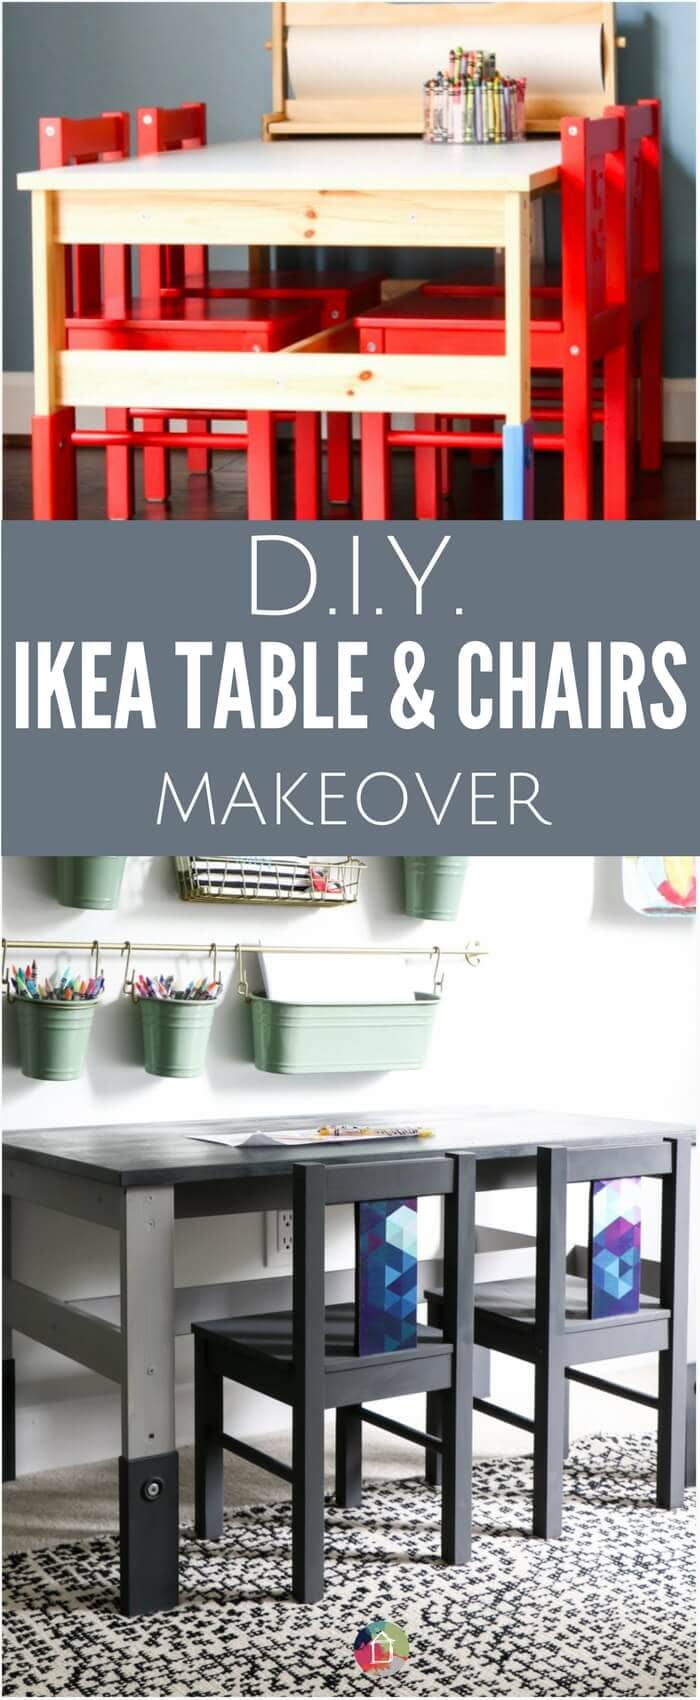
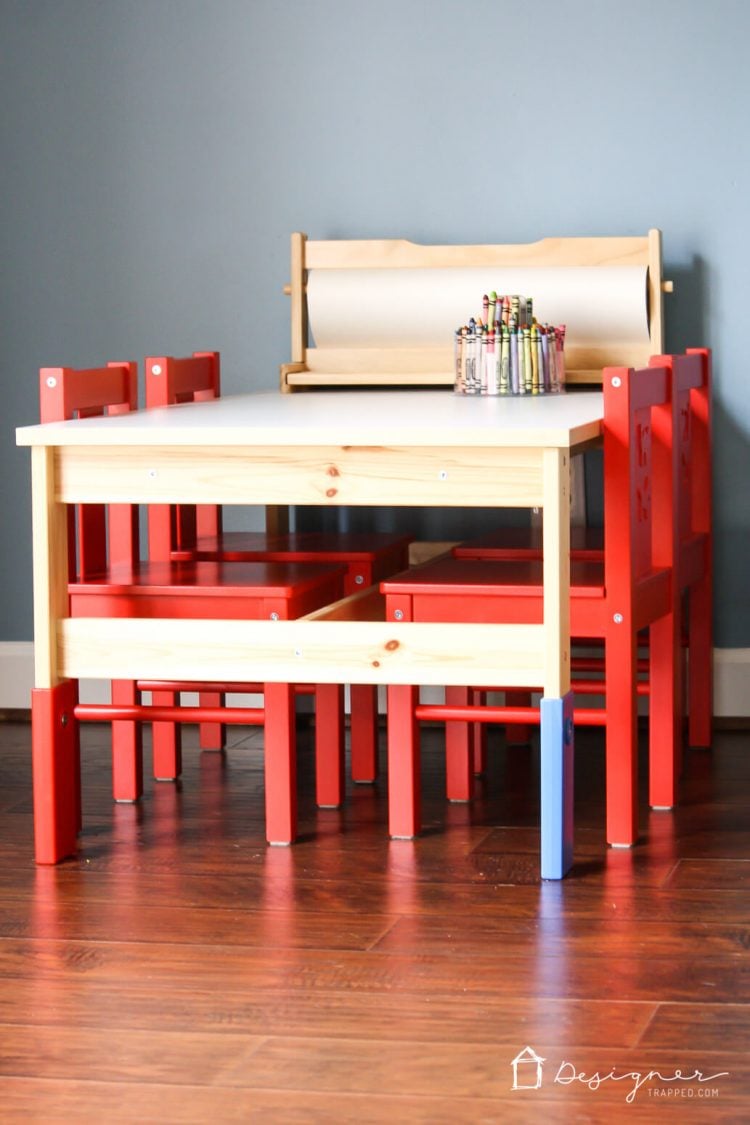
Hey friends! What seems like FOREVER ago, we purchased an inexpensive Ikea kids' table and chairs from Ikea. We initially used them in our girls' playroom for about 5 years, which was possible because the table legs adjusted as they grew. This is what the set looked like in their playroom. Bright red and blue, which was fine for the playroom, but it just wasn't going to work for Avery's new bedroom, which is purple and teal (you can check out her amazing DIY bed nook here and her purple campaign dresser DIY makeover here).
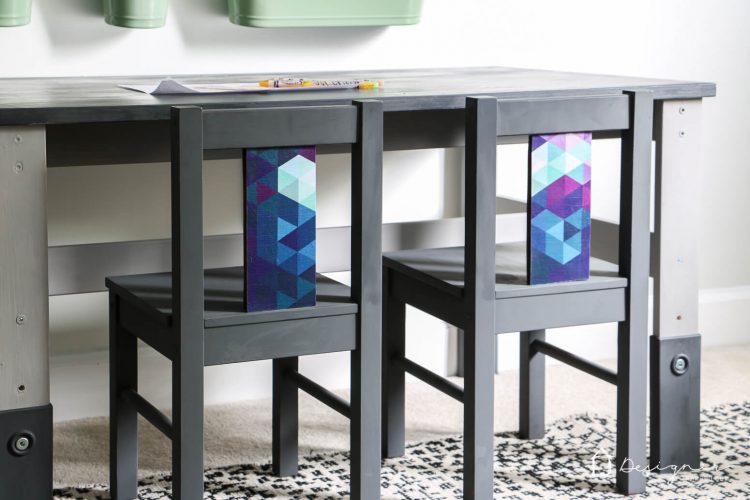
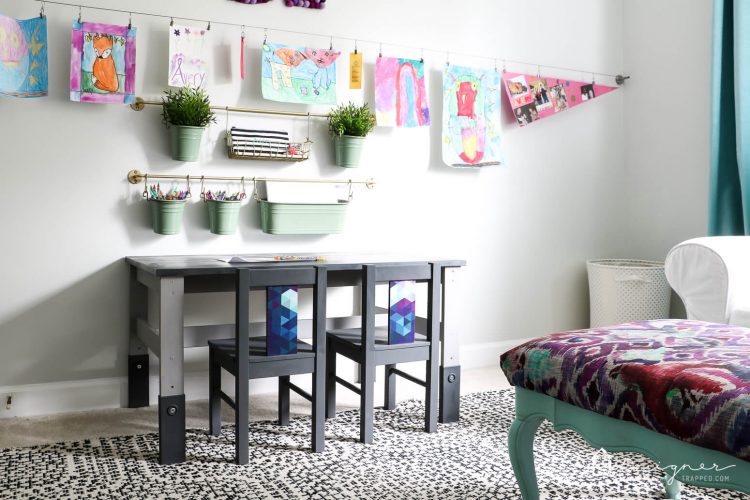
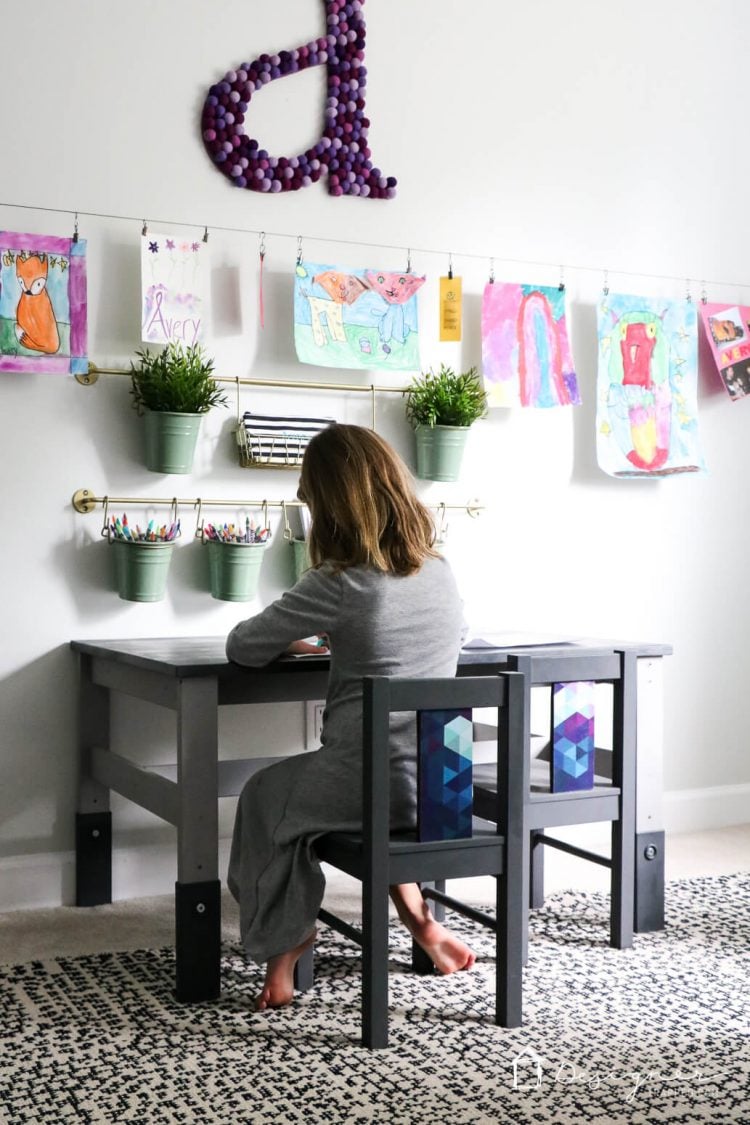
Soooo, with some paint, fabric and Mod Podge, I totally transformed it to THIS!
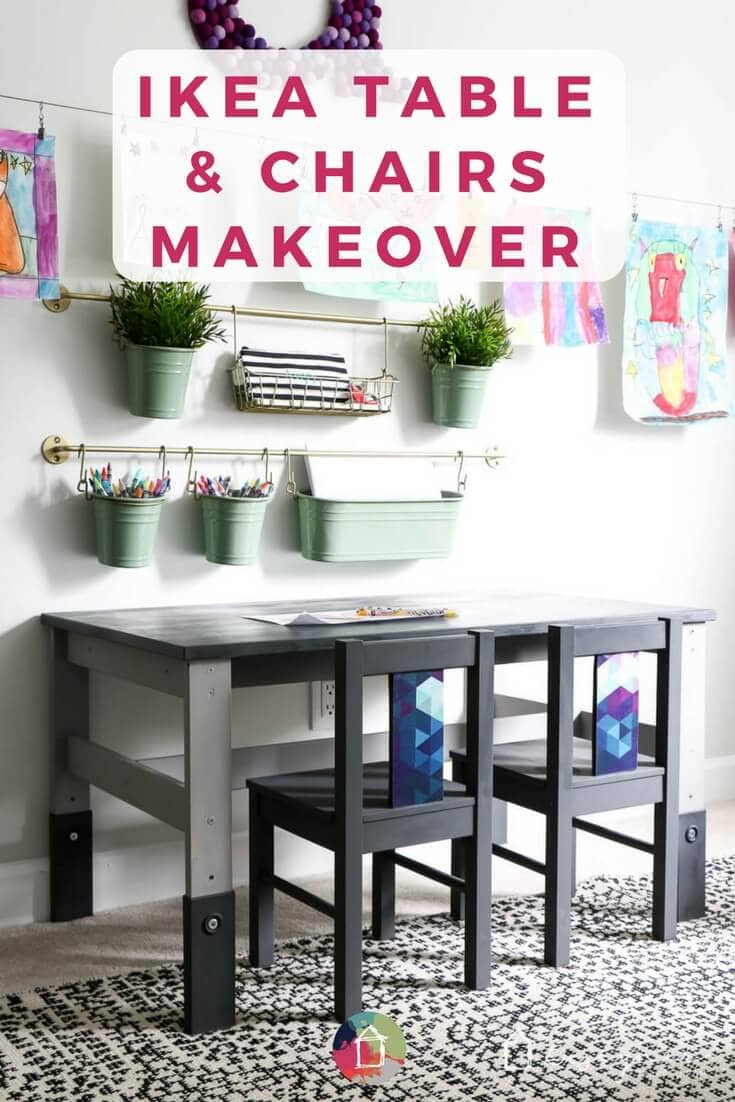
Read on to learn how to tackle this Ikea kid's table and chair makeover for yourself :) It's really easy!
This post contains some affiliate links for your convenience (which means if you make a purchase after clicking a link I will earn a small commission which helps keep my blog up and running but it won't cost you a penny more)! Click here to read my full disclosure policy.
DIY Ikea Kid's Table and Chairs Makeover
Materials Needed:
- Chipboard (I used a piece that was 11″ x 17″)
- Fabric of your choosing. The amount you need depends on how wide you make your pieces, but I used less than half a yard of scrap fabric that I had leftover from another project.
- Matte Mod Podge
- Foam paint brush
- DAP Rapid Fuse All Purpose Adhesive
- Cricut Explore cutting machine
- If you don't have a cutting machine, you could use a straight edge and exacto knife.
- If you are thinking about buying a cutting machine (which I highly recommend–they are a DIY enthusiast's BEST FRIEND), you can read my review of Silhouette vs. Cricut cutting machines in this post to help decide which one is best for you!
- You can some of the different projects I have used my cutting machine by clicking here.
- Deep cutting blade
- Cricut standard grip 12″ x 24″ cutting mat
- Chalk-based paint in colors of your choosing (I used Americana Decor Chalky Finish Paint in Relic and Amy Howard at Home One Step Paint in Atelier)
Steps:
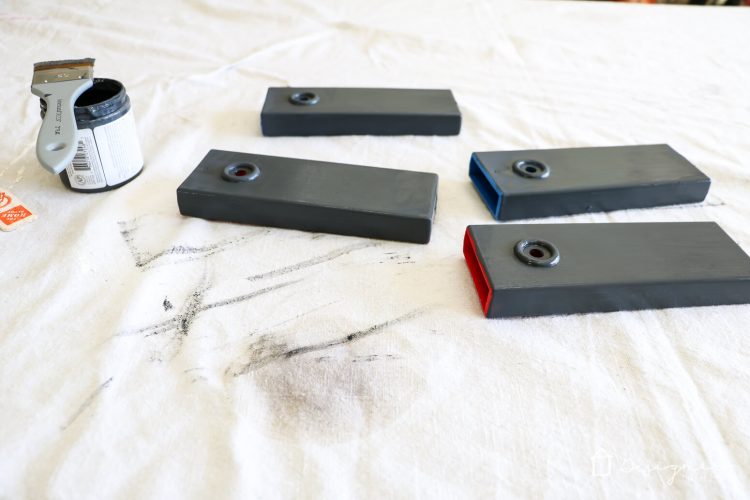
1) Paint your table and chairs with a paint of your choice. For the table, I used a dark gray (Americana Decor Chalky Finish Paint in Relic) and a light gray (Amy Howard at Home One Step Paint in Atelier). I used the same dark gray paint on the chairs. I found that this Ikea set painted well with chalk-based paint without having to use primer, but if you find your paint beading up, check out this post of mine about how to paint Ikea laminate furniture. I used two coats of paint for each color.
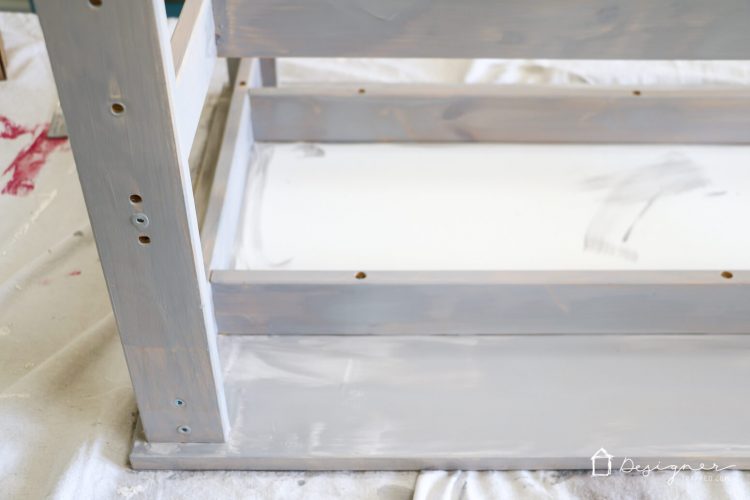
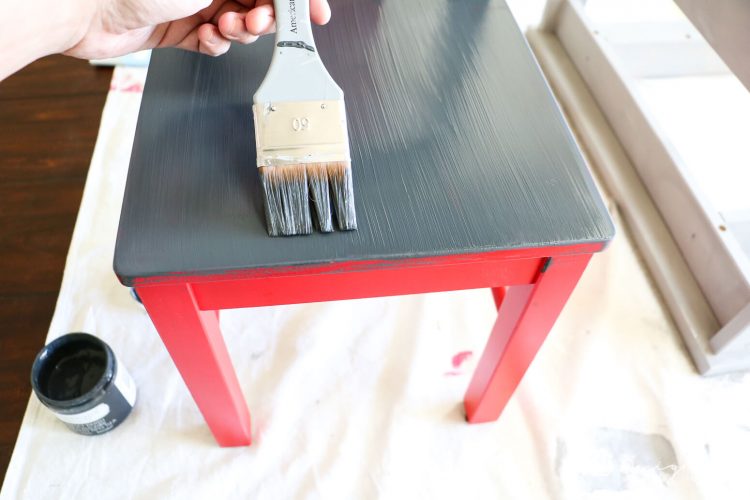
2) Iron your fabric to remove all wrinkles.
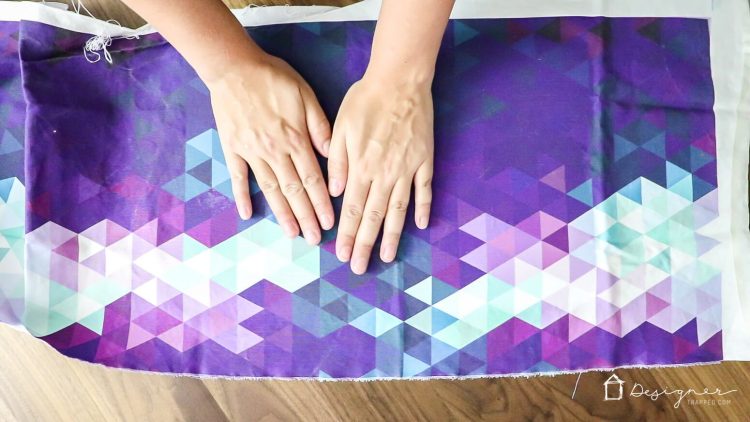
3) Coat one side of your chipboard with Mod Podge (I used Matte finish, but it doesn't really matter). Press the side that you applied Mod Podge to onto your fabric and press it down firmly with your hands. Then flip it over and smooth out any wrinkles in the fabric. If I could go back and do it over, I would definitely have ironed the fabric first, which is why I am recommending it in the step above. Hindsight is always 20/20 :) At least you get to learn from my mistakes. Allow it to fully dry.
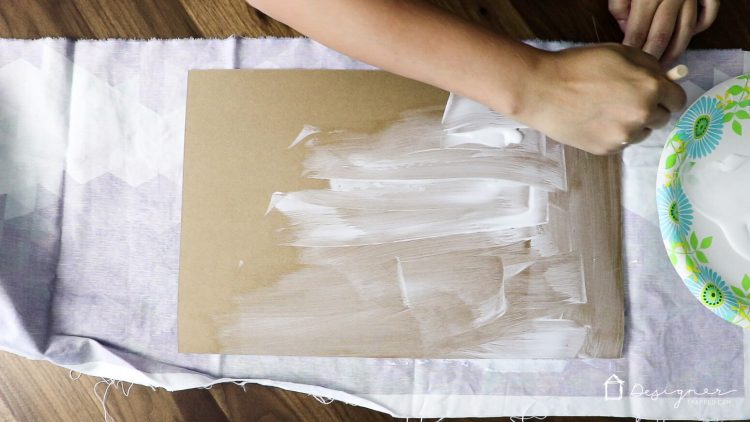
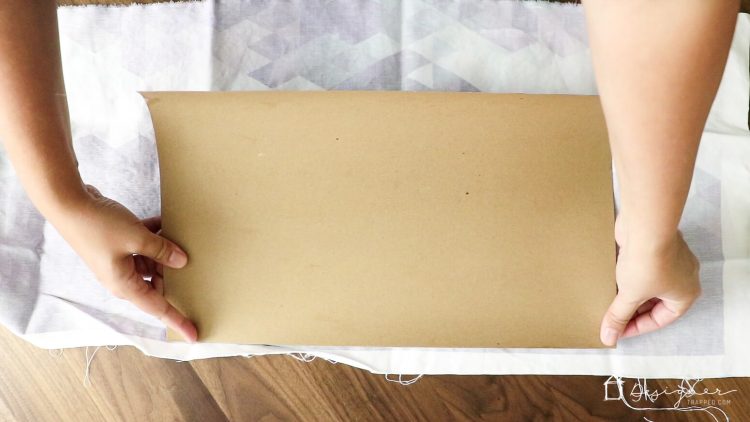
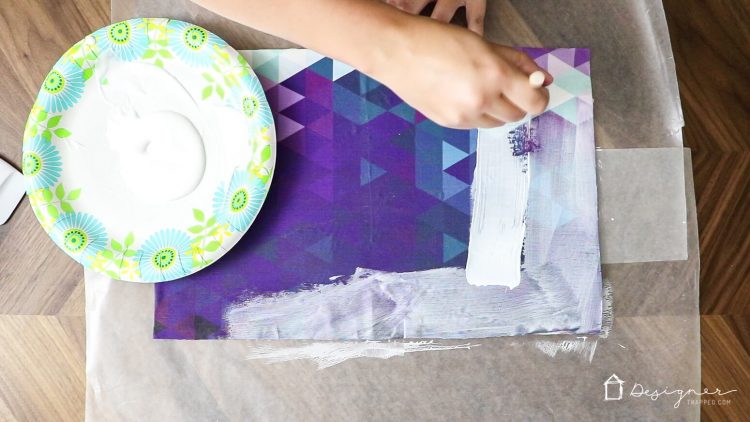
4) Once it is dry, cat the top of your fabric with Mod Podge. Allow it to dry. If it curled while drying, place some heavy books on it to flatten it back out before moving to your next step.
5) Measure the height and width of the Ikea Kritter chair back support panel.
6) In the Cricut Design Space, draw out rectangles that match the measurements you took in the previous step. You need two rectangles per chair (one for the front and one for the back).
7) Place your fabric covered chipboard on a 12″ x 24″ standard grip cutting mat and load it into your Cricut Explore Air 2 and change the dial of your machine to “custom.” Then select the “chipboard” option.
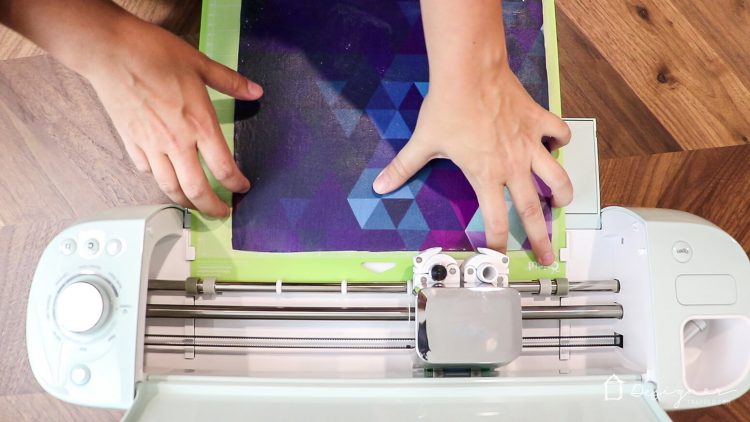
8) Let the Cricut work it's cutting magic, and remove the perfectly cut rectangles from the cutting mat. Then, coat them with another layer of Mod Podge and allow them to dry.
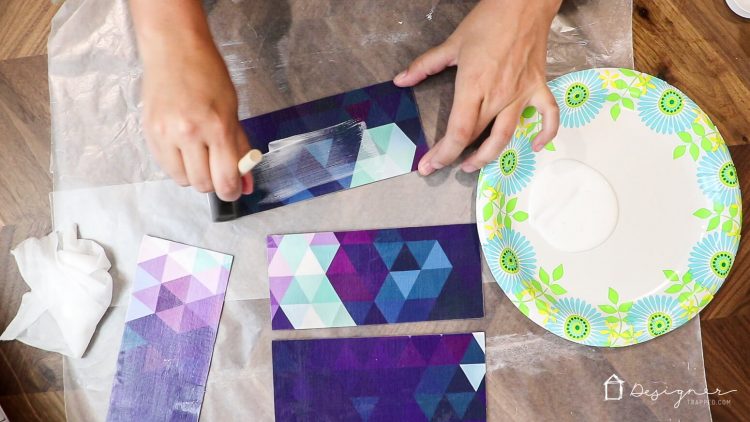
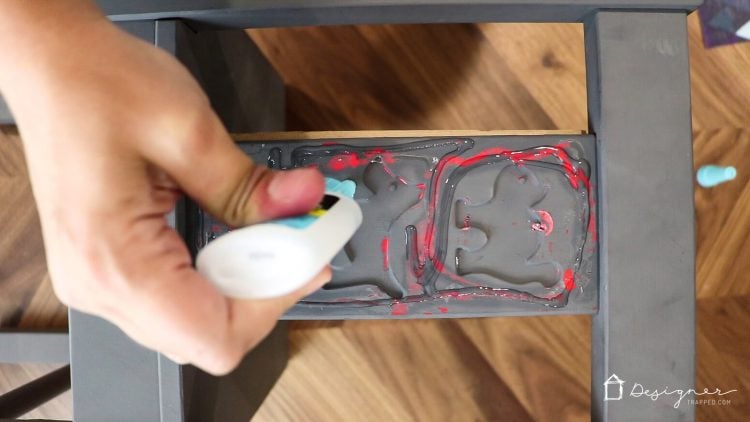
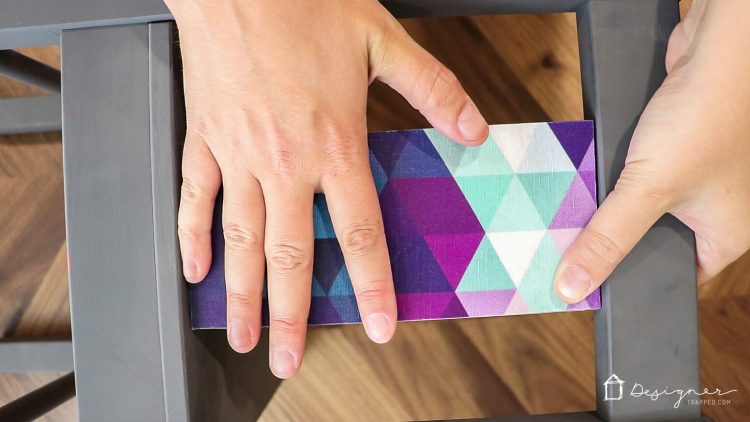
9) Once your fabric covered rectangles are completely dry, glue them to the Ikea Kritter back support panel with DAP Rapid Fuse All Purpose Adhesive (my glue of choice–I love it because it cures so quickly). Repeat on the front and back of each panel.
That's it! This Ikea kid's table and chairs makeover is COMPLETE! I know it seems like a lot of steps, but this Ikea Kritter hack really is quick and easy, I just tend to give SUPER detailed tutorials. But don't let the length of this tutorial deter you!
Check out the finished makeover :) It fits in perfectly with the rest of the decor in Avery's room now!
If you love this idea, be sure to share it on Facebook or pin it to Pinterest so you can find it again later :)
[mv_create 1 11 200 2016 key=”1″ type=”list” title=”Most Popular Projects” thumbnail=”<a href=” https designertrapped com wp content uploads diy home decor projects blog jpg a]

Last Updated on August 10, 2021
