DIY Canvas Frame (It’s Cheap & Easy)
Canvases can be extremely expensive to have custom framed. But you can save your budget and build yourself a DIY canvas frame. It's incredibly easy, so it don't need to be a skilled DIYer to do it. And it's also incredibly inexpensive. Best of all, it finishes and elevates your canvas art beautifully! In this post, I'm sharing the step-by-step tutorial for how to build this DIY frame for any canvas art.
Thank you to DAP Products for sponsoring this post. This post contains affiliate links for your convenience. Click here for my full disclosure policy.
Art is so important to finishing spaces in your home! And I have learned that it's best to spend a bit more to get BIG art that really makes an impact. But bigger art costs more and custom framing it makes it totally cost-prohibitive for our budget. That's why we almost always build our own DIY art frames!
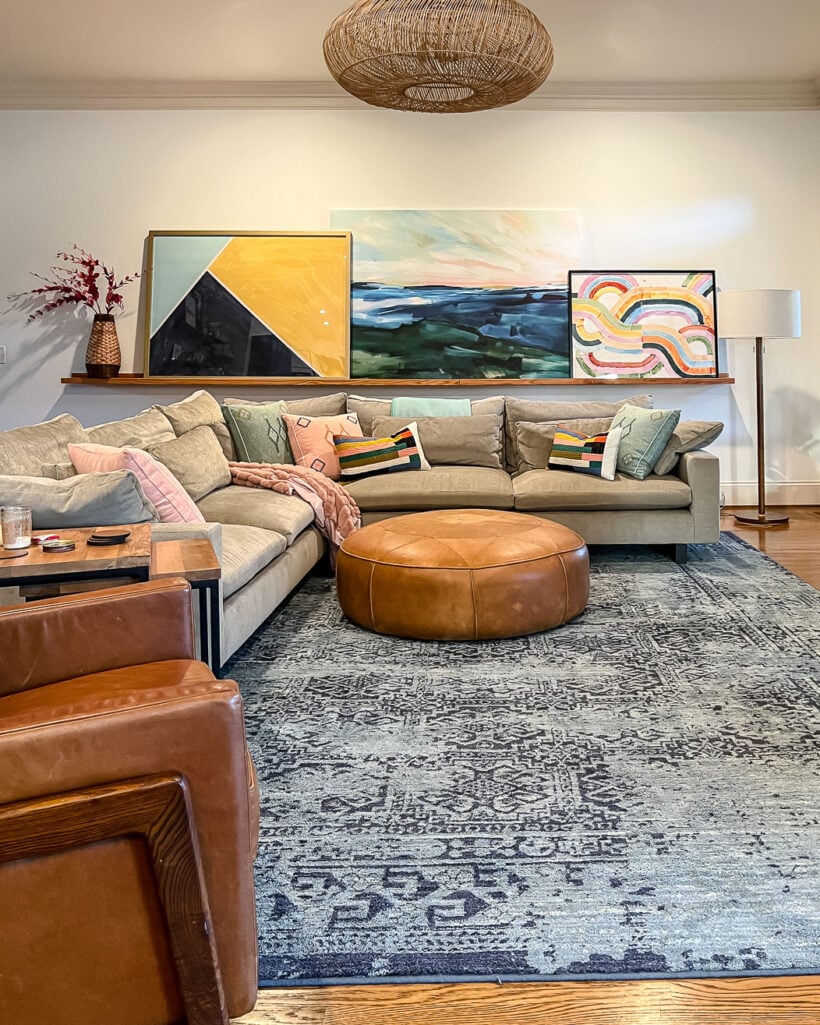
We purchased this gorgeous art canvas by Jen Florentine to add to our living room art collection over a year ago. It sits on our DIY art ledge and it's HUGE (70″ x 48″). I knew it would look unfinished without a frame, but framing it through the company I purchased it from was going to cost a whopping $902. We were already splurging on the big canvas art, so there was no way we could also spend $902 on a frame for it.
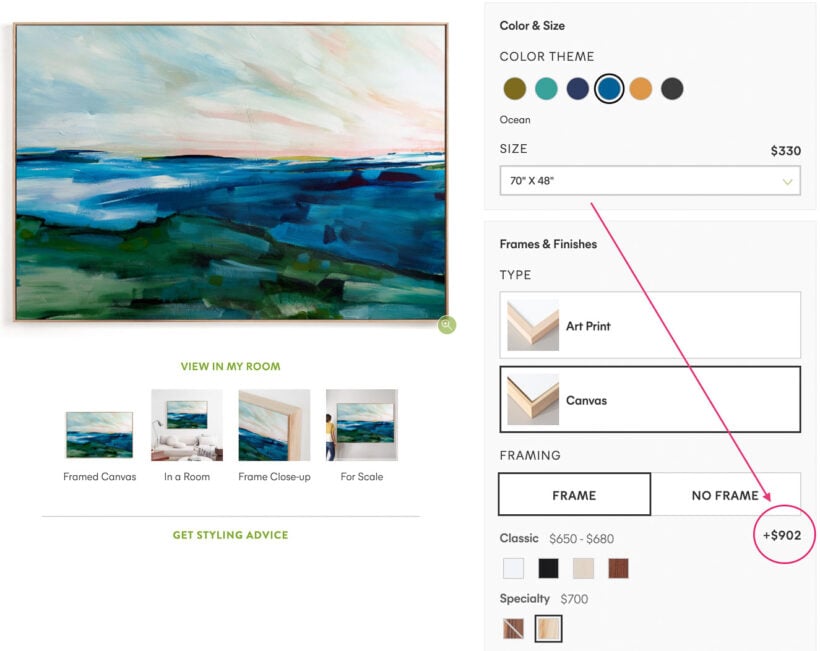
We spent less than $40 to build our own that looks exactly like the one I would have chosen that cost $902. That's a savings of over $850. WOW. Read on for the full tutorial.
How to Build a DIY Canvas Frame
Materials & Tools Needed
- Tape measure
- 1 x 2 inch pine boards
- For our large canvas (70″ x 48″) we used (2) 8-foot boards and (2) 6-foot boards. The wood cost us a total of $26.56. Not bad!
- Wood stain (this is the stain we used, which we had leftover from another project)
- DAP Weldwood Instant Adhesive
- DAP Plastic Wood-X
- Sandpaper
- Miter saw (or hand saw and miter box)
- Nail gun (or small finishing nails and hammer)
- Corner clamps
You can watch an overview of the tutorial in the short video below before reading the detailed instructions :)
Time needed: 1 hour
Follow the steps below to build an easy but beautiful flush mount canvas frame for under $50 and in less than 1 hour!
- Measure your canvas & check to ensure it is perfectly square.
It's important to confirm that your canvas is perfectly square because if it's not, your miter angled cuts will not be exactly 45 degrees. Fortunately, our canvas was perfectly square. YAY. And our canvas measured exactly 70″ x 48″.
- Miter cut your wood to length.
Note that when you are measuring for mitered cuts, the SHORTEST part of your miter needs to correspond to the length of your canvas. In other words, if you cut your wood so that the longest portion of the mitered wood is the length of your wood, it will be too short. To avoid this common mistake, we mark the canvas measurement on the piece of wood and draw the miter mark before cutting it. Trust me, if you just mark the length, you might end up getting confused and cutting it too short (ask me how I know).

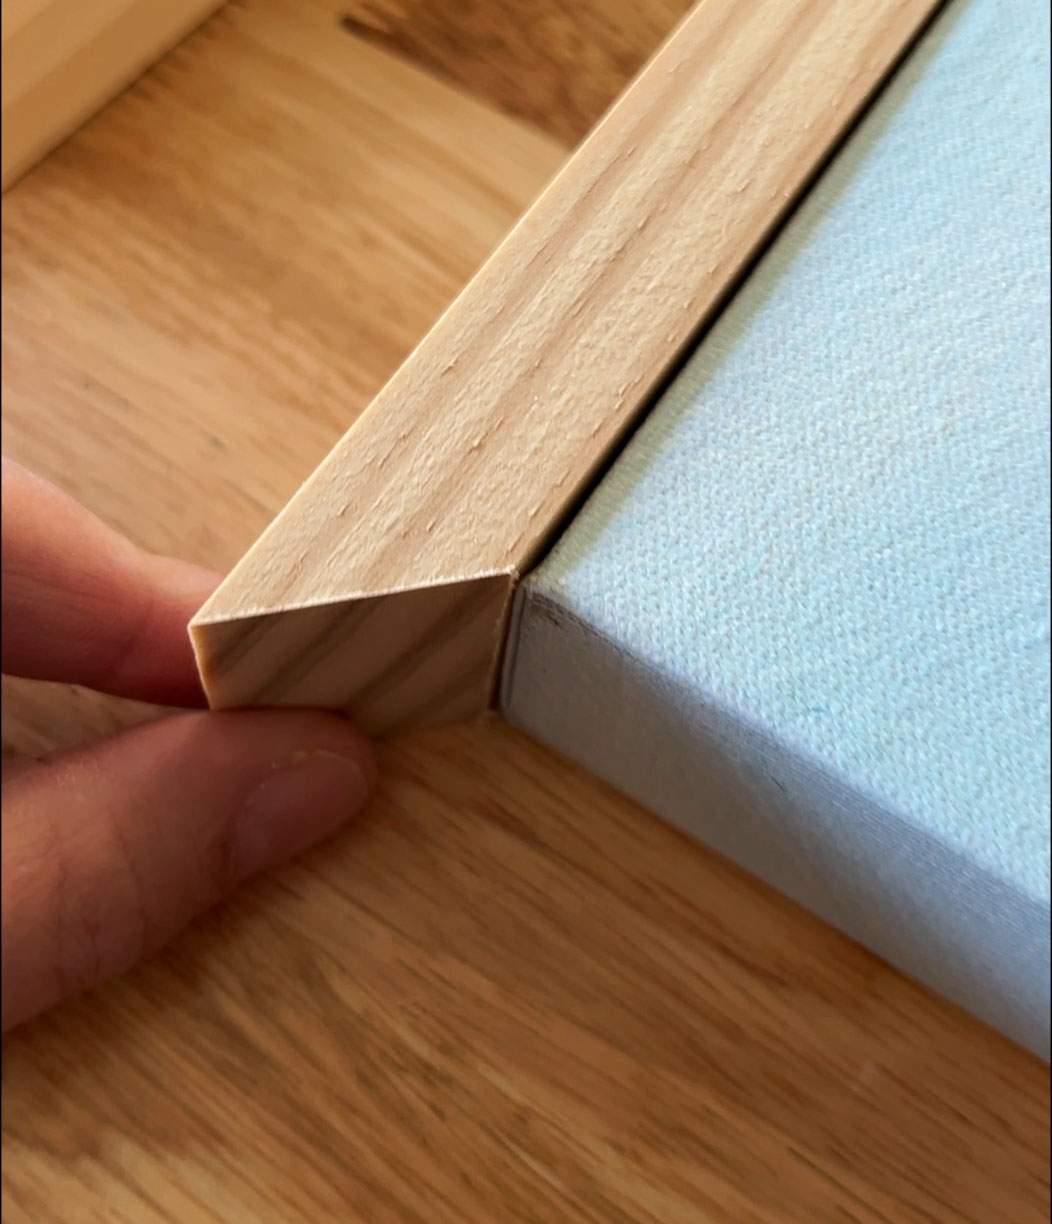
This is how each miter looks after being cut and positioned on the canvas.
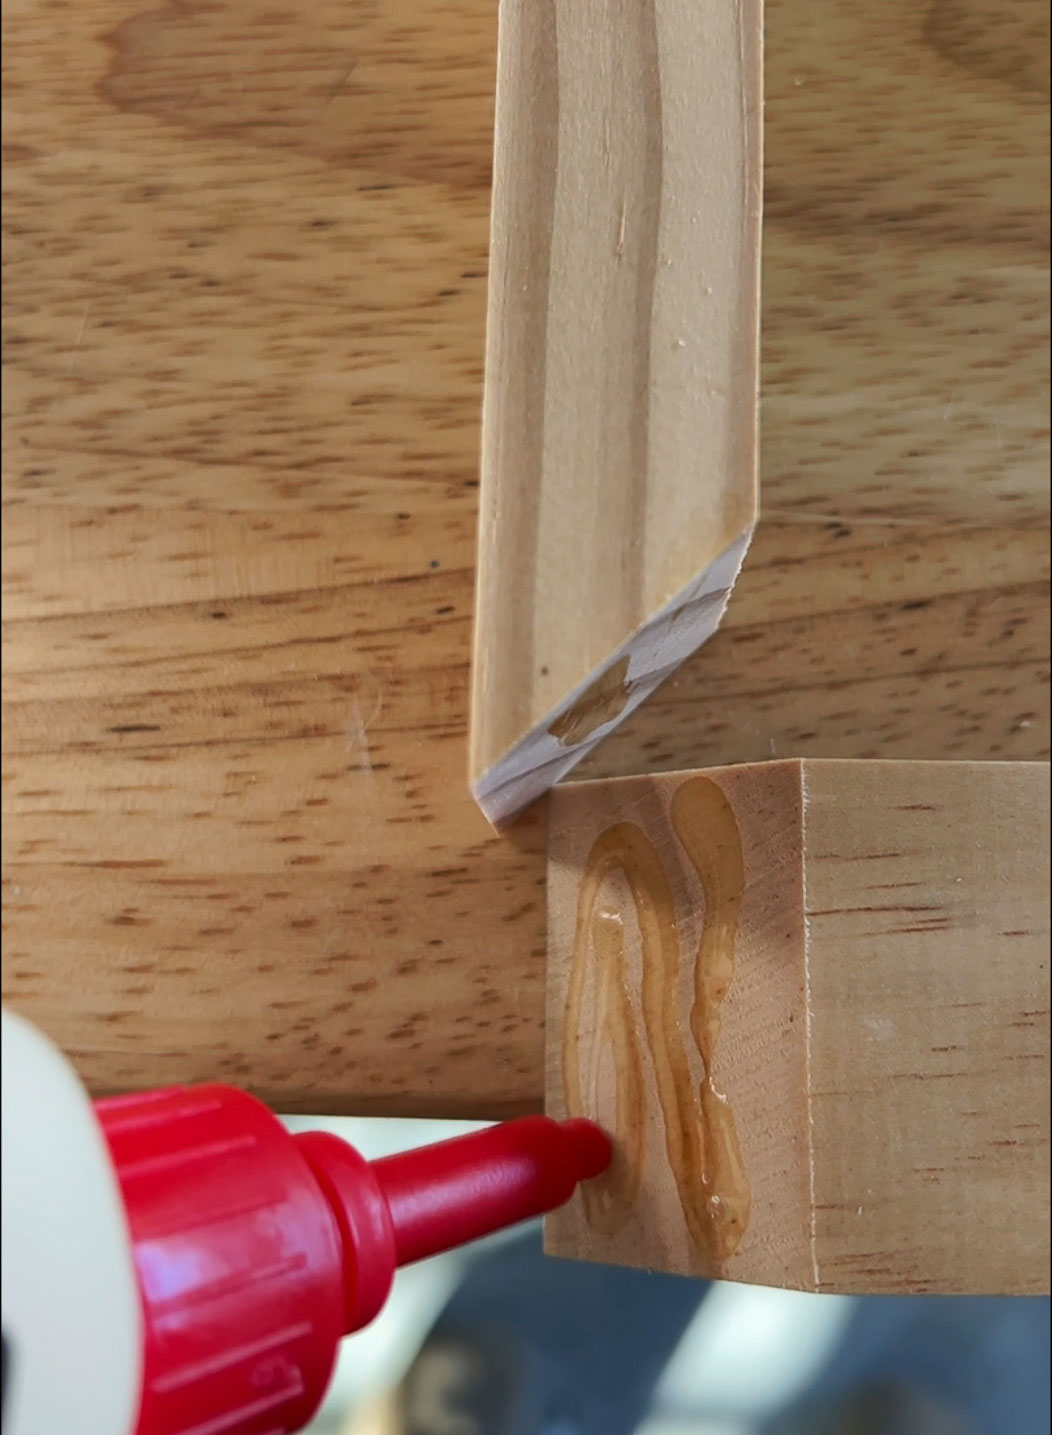
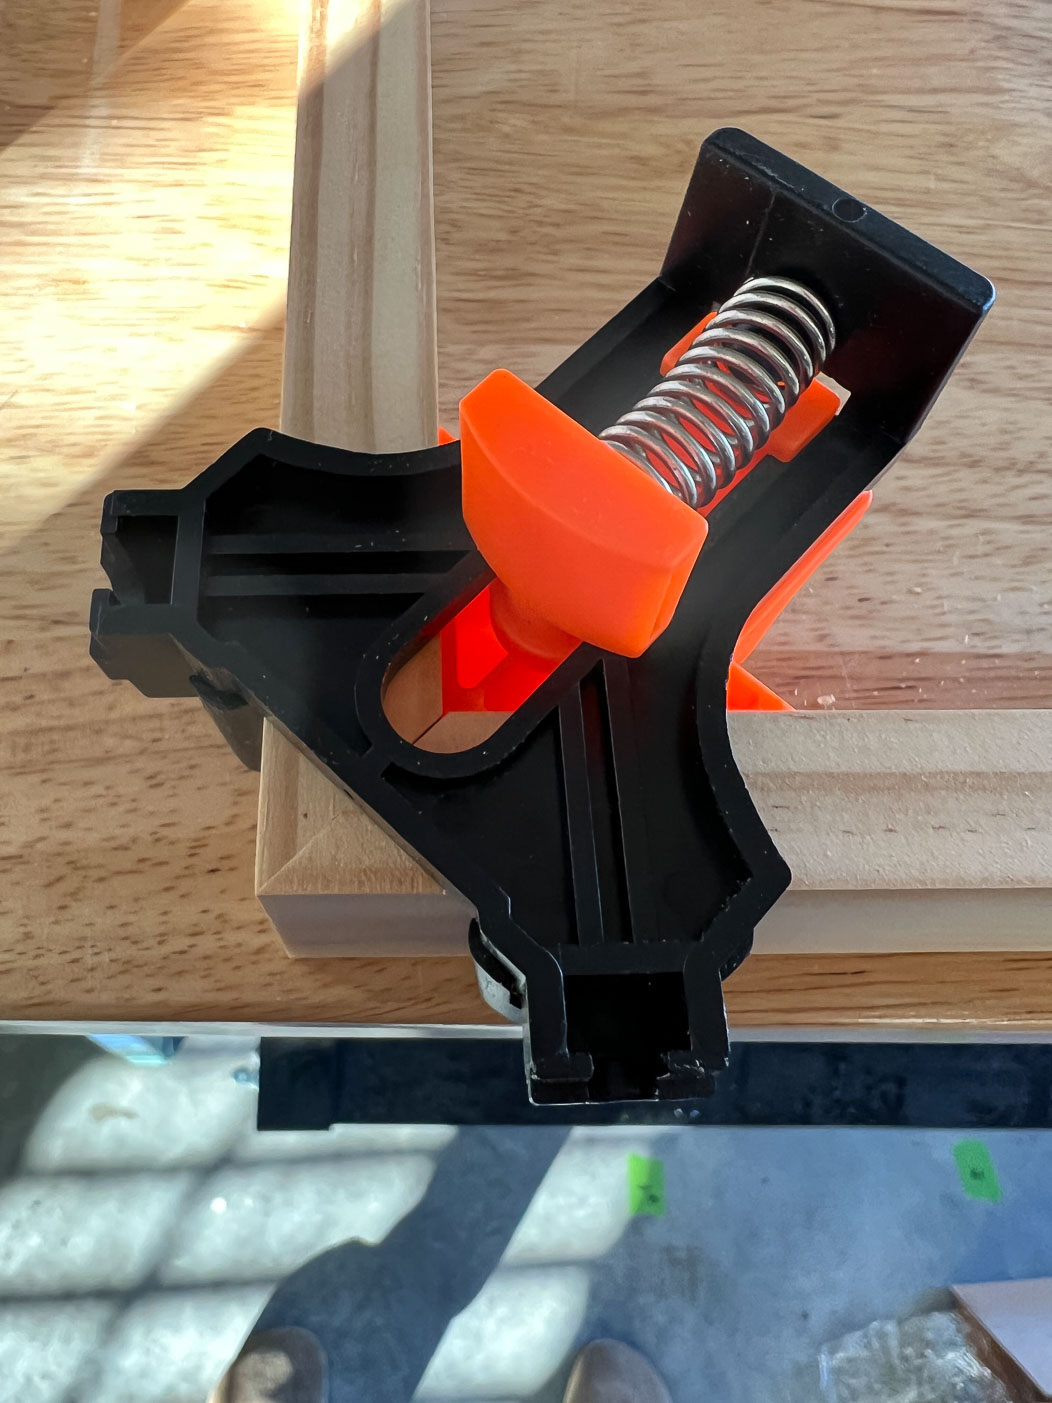
- Glue and clamp the corners.
Once all of your wood is cut, move your canvas out of the way. Add DAP Weldwood Instant Adhesive to each mitered edge and use your corner clamps to ensure each corner stays perfectly square and tight. I prefer using DAP Weldwood Instant Adhesive instead of regular wood glue for a project like this because it cures so much more quickly, which enabled us to put the canvas in the frame MUCH sooner than we would have been able to otherwise.

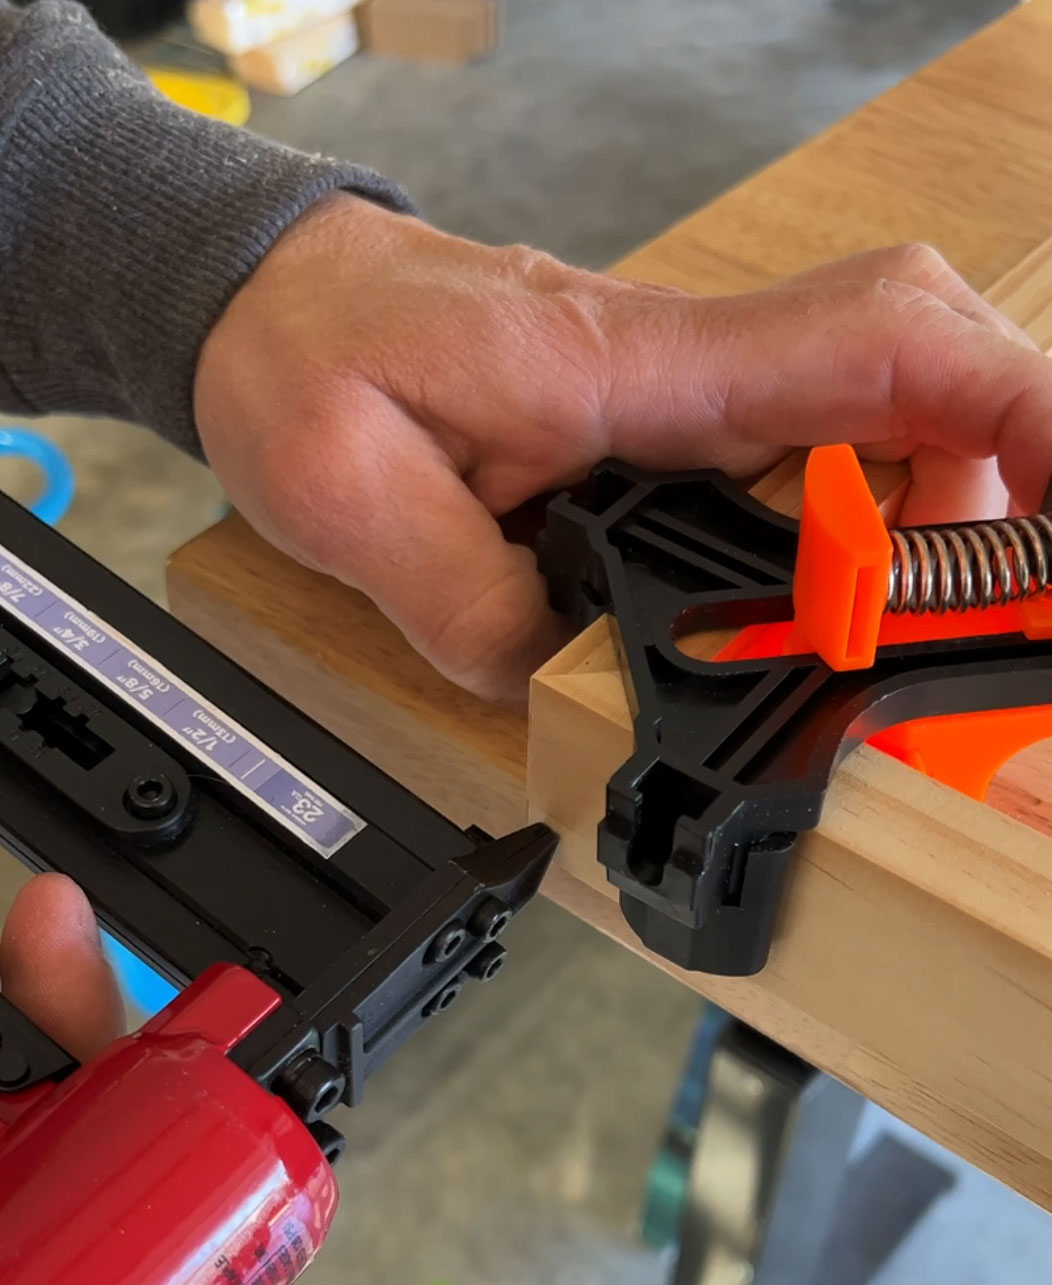
- Nail the corners of the frame together.
We used 1-inch pin nails (23 gauge) to nail the corners of the frame together. Any small, finishing nails would work!

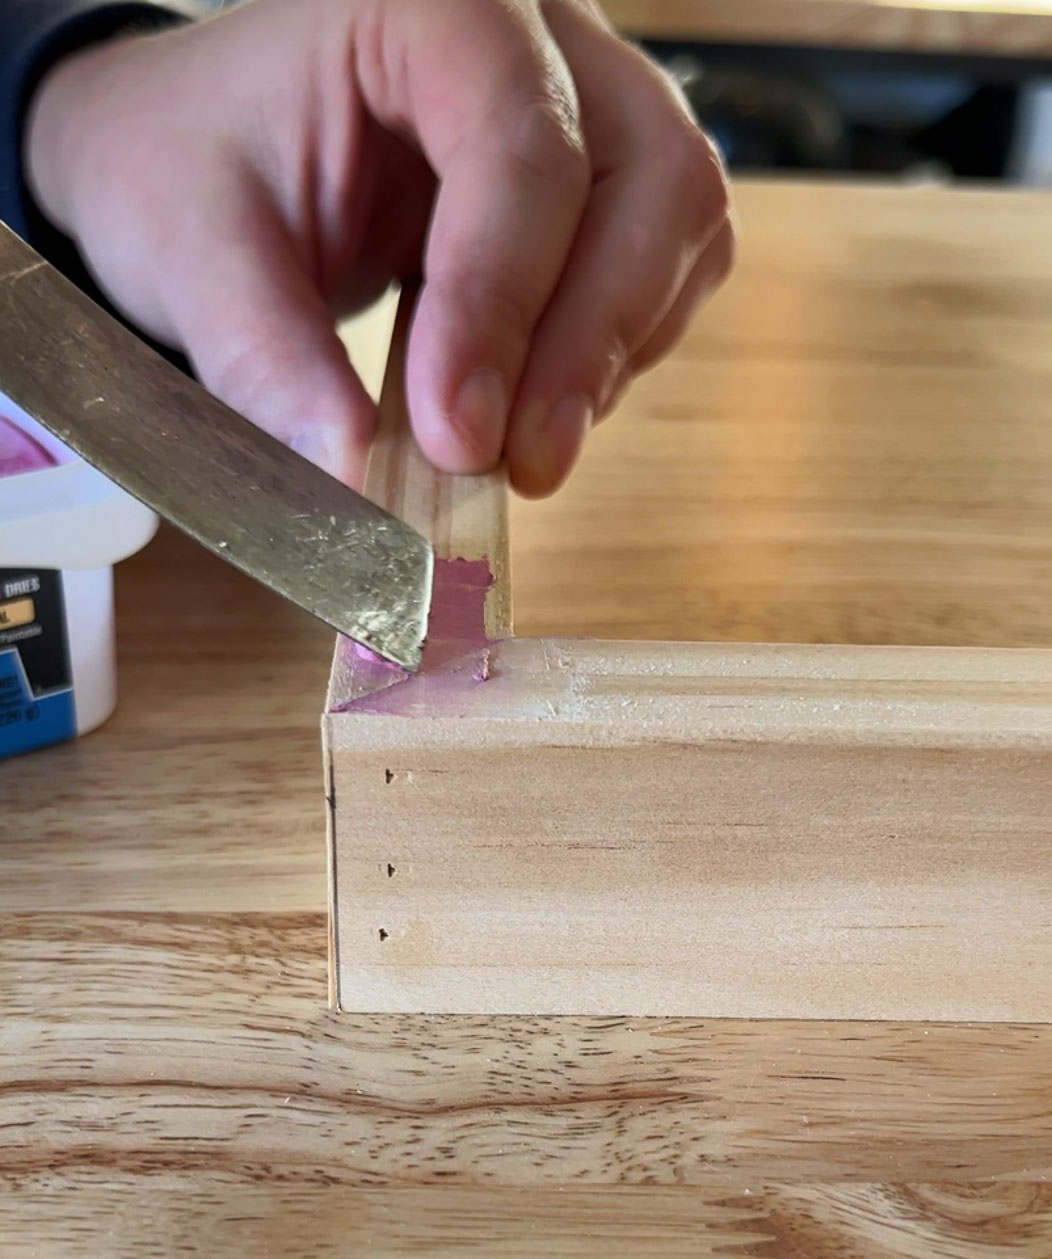
- Fill nail holes and any gaps.
Use your DAP Plastic Wood-X to fill any nail holds and any gaps in your mitered joints. I love it because it goes on pink and dries to a natural color, so you don't have to guess when it's ready to sand. And it accepts stain beautifully. Once it's dry, sand it smooth.

- Stain the frame.
I applied one coat of this stain. I really wanted the look of raw, light wood. The stain darkened it only slightly, which is exactly what I wanted.
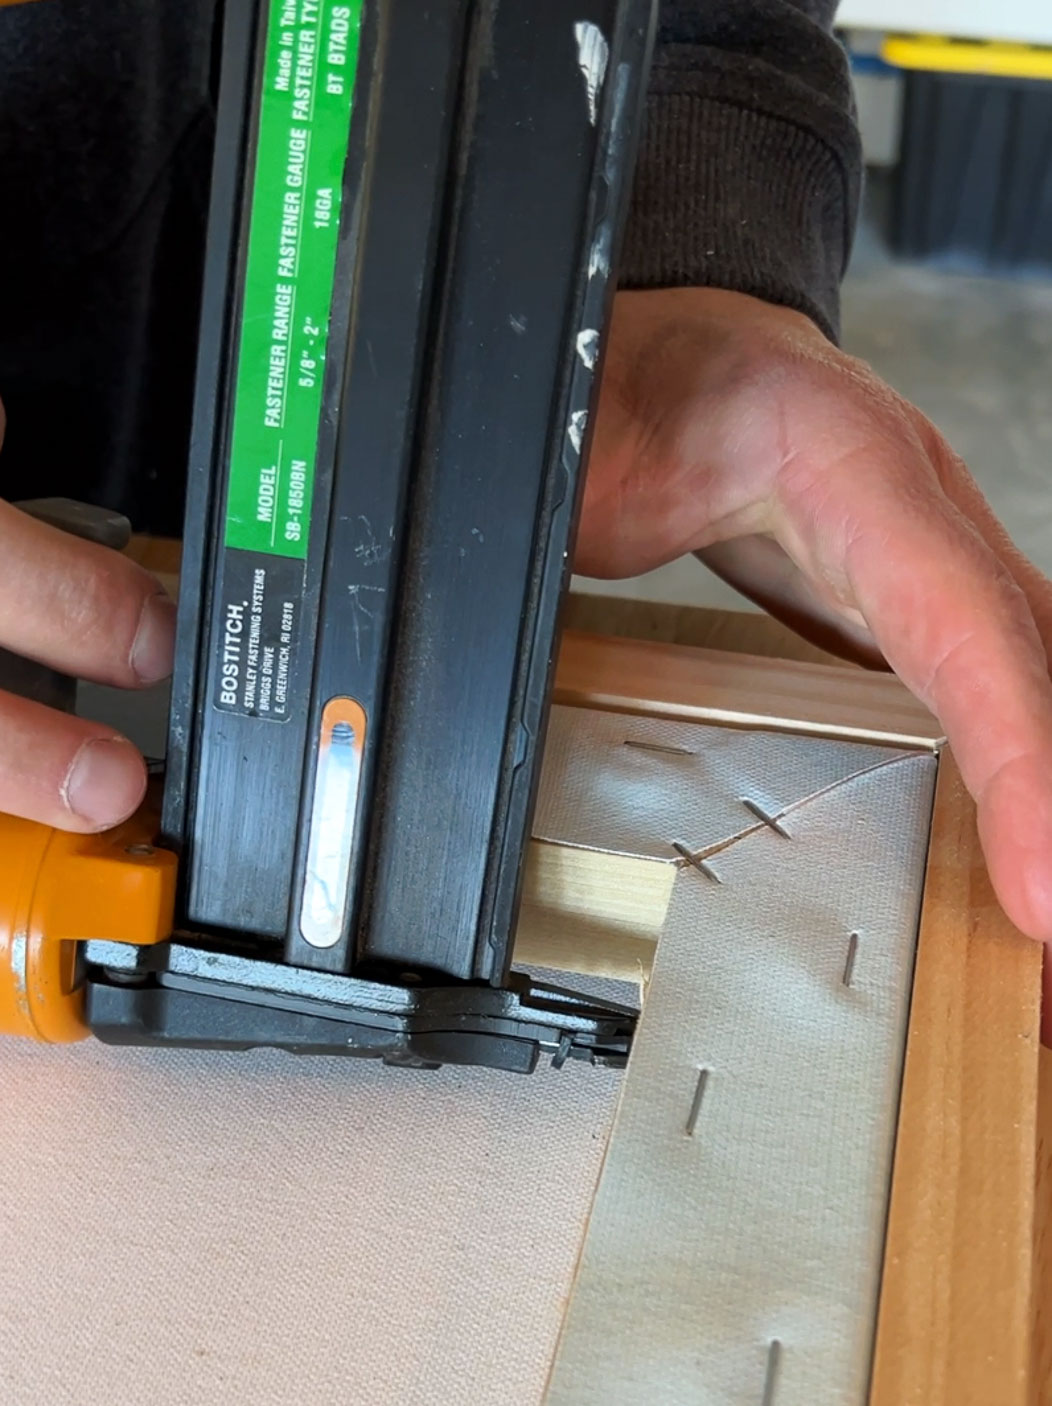
- Insert your canvas and nail it into place.
We nailed the canvas into place with 1 1/2 18 gauge nails. We inserted them from the canvas side so that we wouldn't create additional nail holes on the frame.


That's it! It looks so much more finished and high-end now. And instead of costing us $902, it cost us less than $40!
Why bother framing a canvas?
Unframed canvases just look unfinished. And if your canvas has coloring that is similar to your walls, it will kind of blend in rather than stand out, which probably isn't what you want. You can see how the entire top portion of our unframed canvas art just kind of blended into our walls painted Pure White by Sherwin-Williams in the photo below.
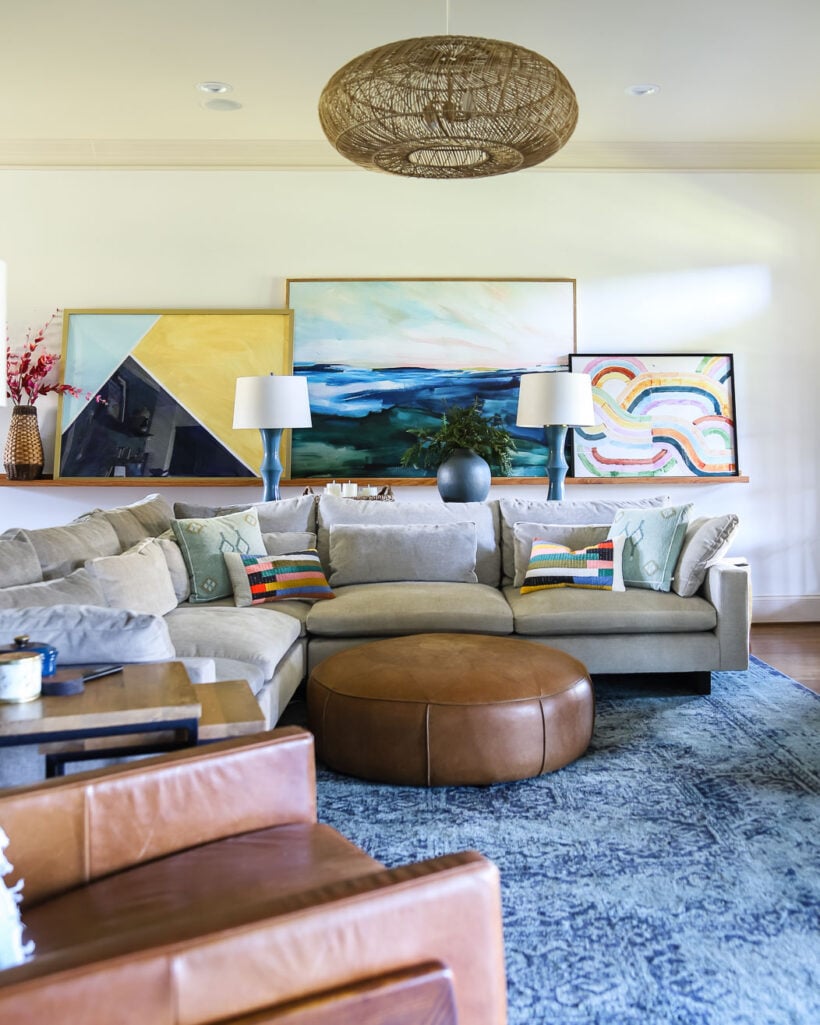
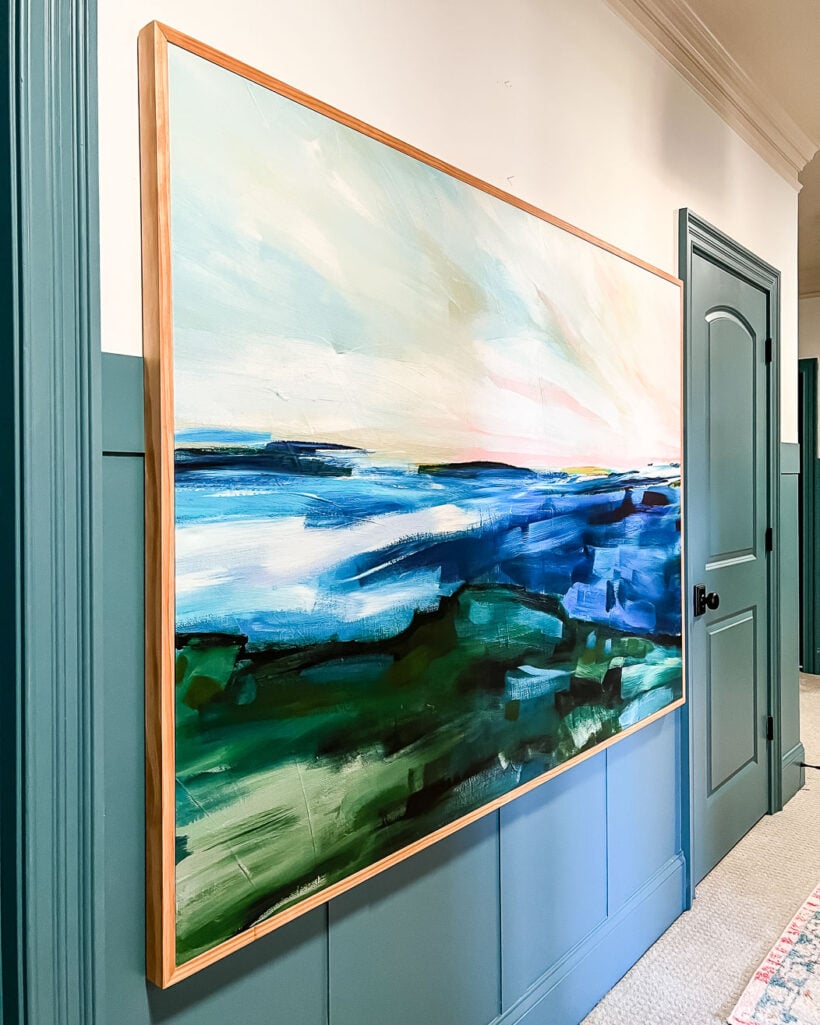
See how much better it looks now that it is framed? It stands out and makes a statement, which is kind of the whole point of big art, right?!
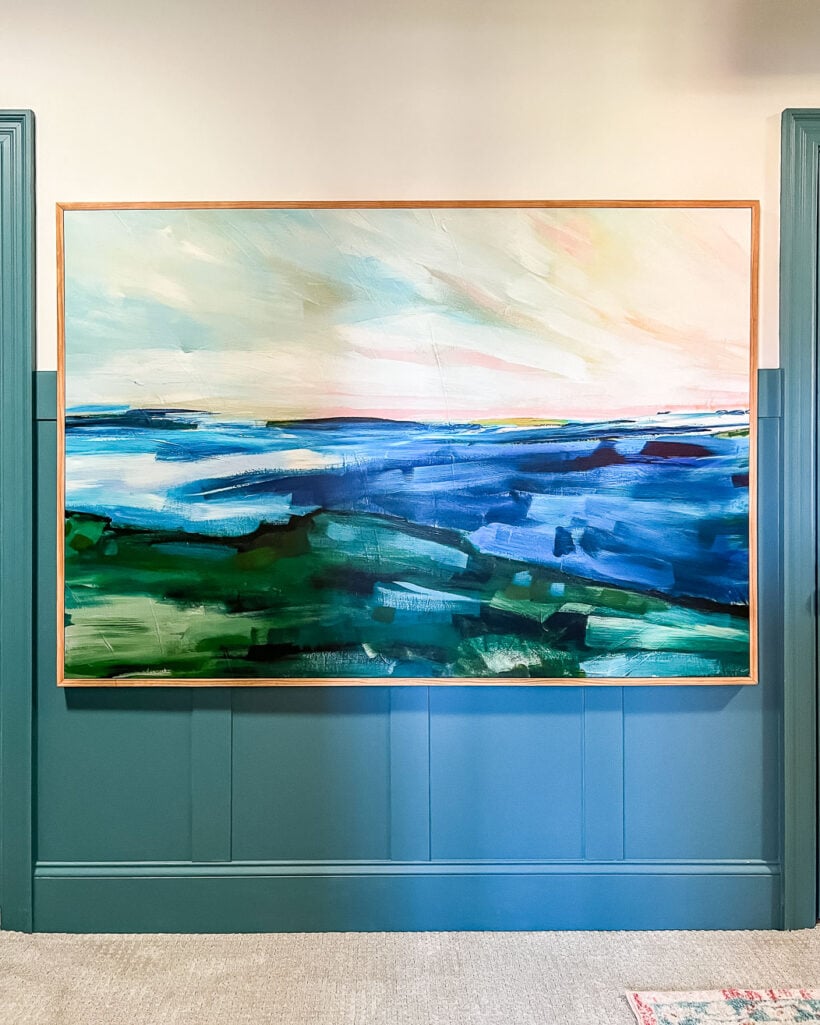
This canvas sits on the DIY art ledge in our family room, but I also snapped a photo of it hanging on the DIY board and batten accent wall in our upstairs hallway so you can get a better look at it. We are so happy with how it turned out. And it only took us around 1 hour and $40 to make it. Total win.
Other posts you may enjoy:
- Huge DIY Art Frames For Less than $20 Each
- How to Make a Picture Frame for LARGE Prints
- How to Display Art On Any Smart TV + Affordable TV Update
- DIY Art Ledge: An Easy Step-by-Step Tutorial
Wondering how I approach transforming rooms and spaces in our home? Check out Designer in a Binder®.

And if you want exclusive content and behind-the-scenes sneak peeks, be sure to subscribe before you head out!

Last Updated on March 23, 2023
Love this! Just what I need for my canvas prints from South Africa. Can’t wait to try!
Thank you!
My pleasure! Best of luck to you as you make your own DIY canvas frame. I hope it turns out beautifully!
What about canvas panels?
It would depend on how thick the panels are :)
I am wondering: what do I do if my canvas is not perfectly square?
You will just have to adjust your measurements and miter angles accordingly :)
Hi! Love the tutorial! Would you be willing to share the links to the other two art pieces? Thanks!
Hi Katie! Sure. You can find links to the other two art pieces in my home tour–just scroll down to the family room section :) https://designertrapped.com/tour-our-new-home-full-of-diy-home-decor-projects/
Nice explanation of making a frame for large art! When attaching the canvas to the frame, I would suggest using screws instead so it’s easy to change up or refinish the frame in the future without risking damage to the artwork. :)