DIY Santa Sacks Your Kids Will LOVE!
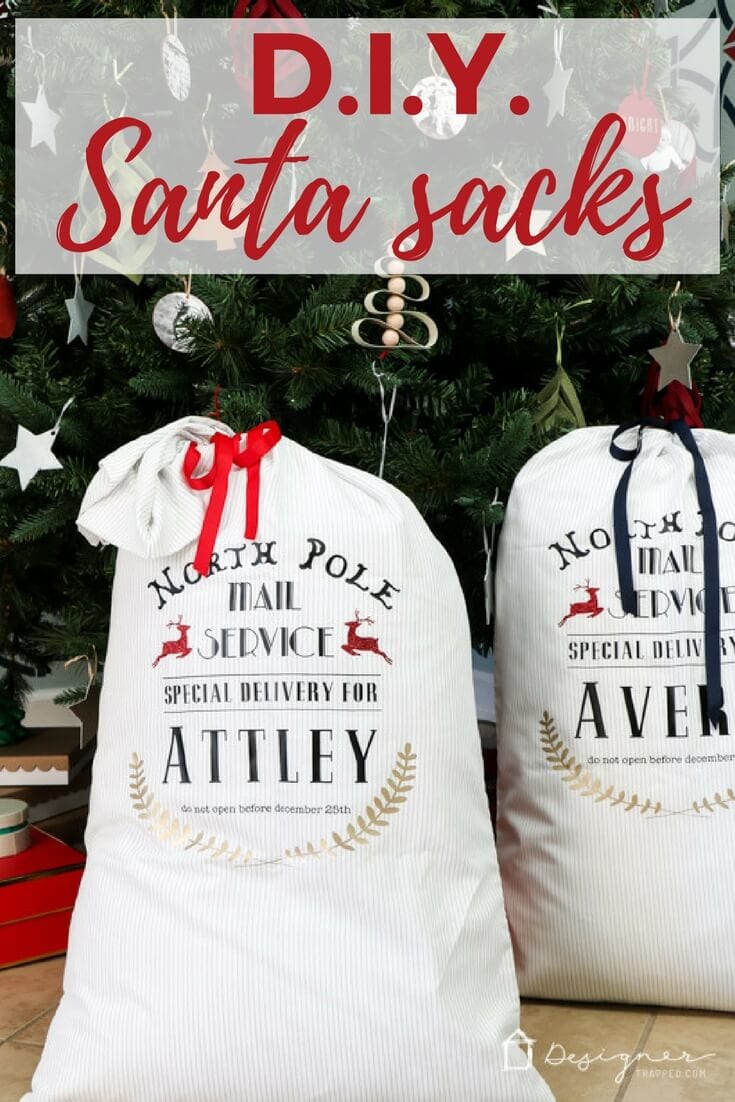
These DIY Santa sacks are sure to THRILL your children year after year! They are fun and easy to make yourself with this step-by-step tutorial.
Thank you to Cricut for sponsoring this Santa sacks project!
I made these adorable DIY Santa sacks for my girls over 5 years ago and we still use them every single year! When my girls were young and still believed in Santa, we filled them all of their gifts from Santa. Now that they are older, we fill their Santa sacks with gifts that are bulky or hard to wrap, lol. They were fun and easy to make and have stood the test of time. Read on to learn how to make your very own!
This post contains affiliate links for your convenience. Click here for my full disclosure policy.
DIY Santa Sacks Tutorial
Materials needed:
- King-size pillowcase
- Cricut cutting machine
- I used my Cricut Maker, but any cutting machine will work for this project (you may want to read my post about how to choose the best Cricut machine for you).
- Iron On Vinyl (I used black, gold and glitter red)
- Cricut EasyPress
- Blanket or towel
- Scissors
- Weeding tool
- Optional (but REALLY helpful for weeding the glitter iron on) is the Cricut BrightPad
Steps:
If you’d like a video overview of this project, click below.
1) You can access this project in Cricut Design Space by clicking HERE. To customize it all you will have to do is fill in your child's name! Just click the image below the get the files emailed to you within minutes. The font I used for my girls' names is one I had installed on my computer (it's called Pottery Barn–I have no idea where I got it), but you can use any font you like!
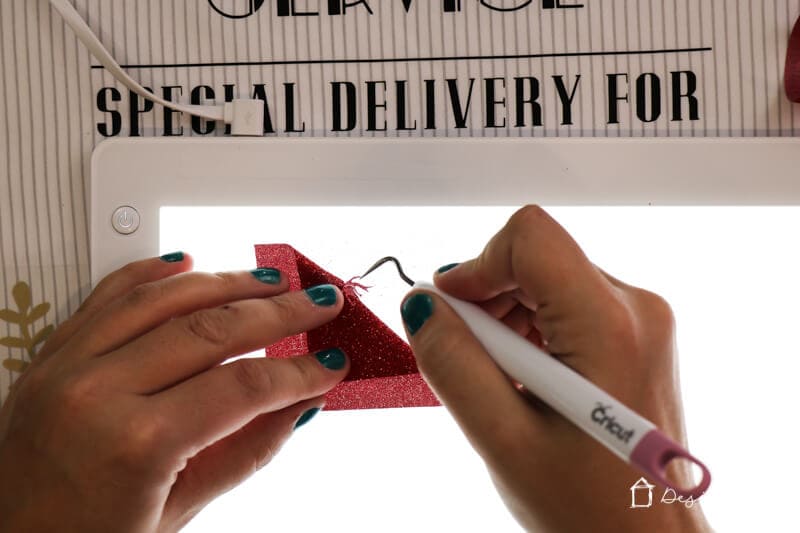
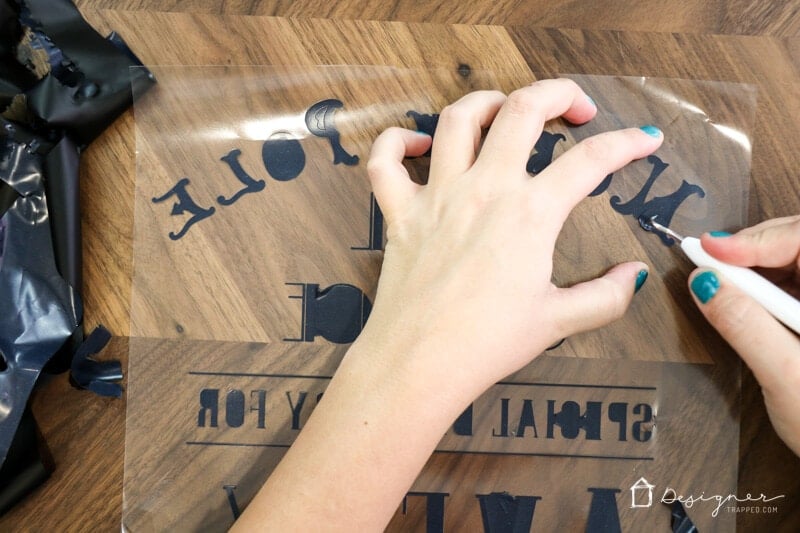
2) Cut and weed your designs. I used my Cricut BrightPad to weed my red glitter iron-on and it made it SO much easier to see the cut lines.
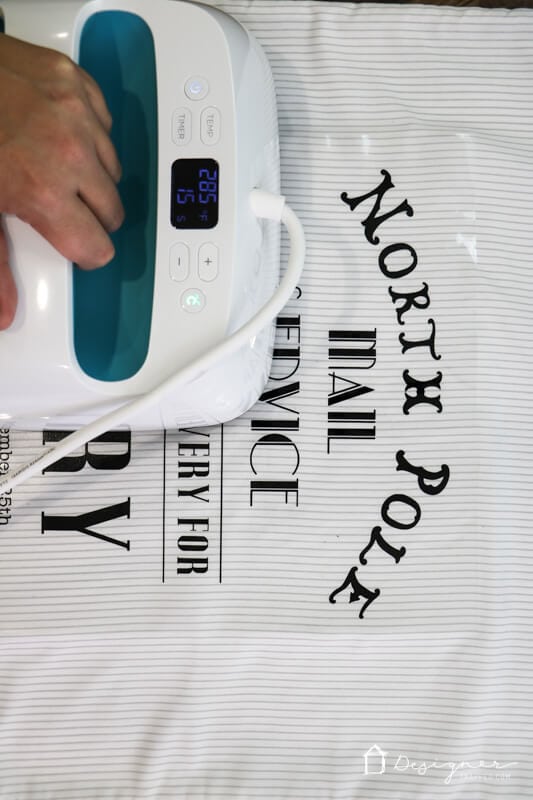
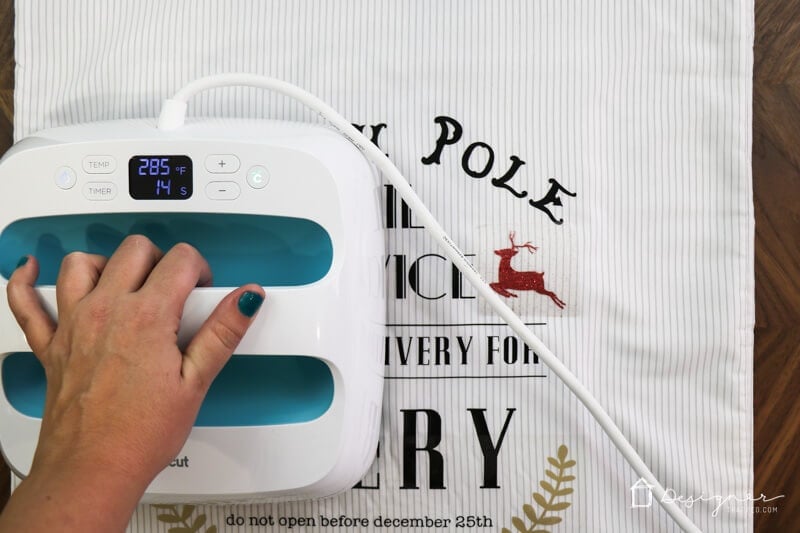
3) Use your Cricut EasyPress or iron to iron on the largest part of your design first. The pillowcases I used were a poly/cotton blend, so I set my temperature to 285 degrees and applied heat for 15 seconds. Those settings worked perfectly. After the vinyl has cooled completely, gently peel off the plastic.
Now, I have to tell you that I had previously given up on iron-on projects. I ruined way too many shirts and wasted far too much material to keep trying. But when I learned that household irons (which is what I had been using) have incredibly uneven heat distribution, I began to understand why my iron-on results had been so varied.
I was super intrigued by the Cricut EasyPress because of the larger surface area (9″x9″) and the evenly heated plate, but I'll admit I was skeptical because of my terrible results in the past. But it has NOT let me down once. And I love the built-in count-down timer that beeps when it ends. It's pretty idiot-proof, which is exactly what I need ;) And I also love that it's compact. I just don't have the room (or desire) for a bulky heat press machine.
4) Next, iron on your child's name. Finally, iron on the reindeers.
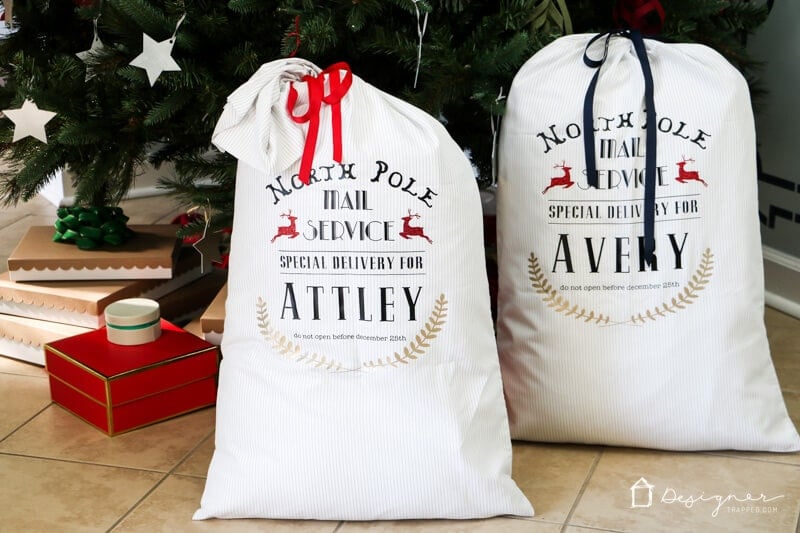
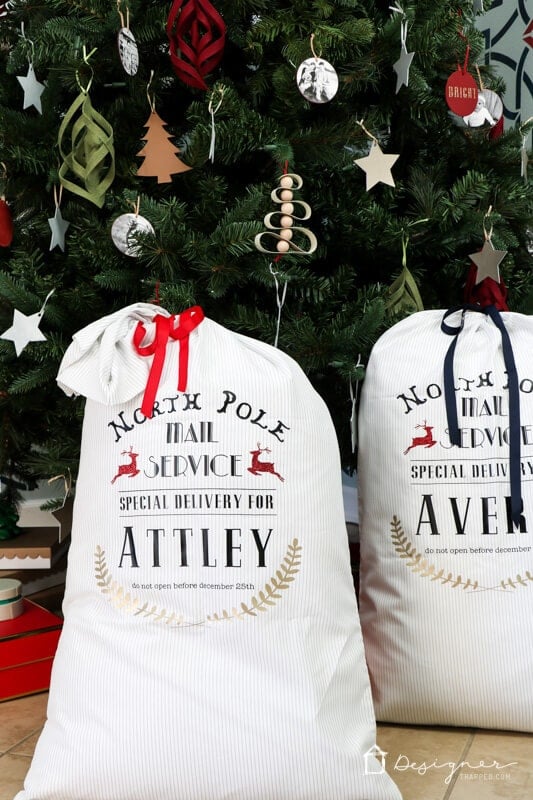
That's it! Now stuff it full of presents and tie it closed with a ribbon! How cute are these Santa sacks?!
Be sure to save this idea to Pinterest or share it on Facebook so you can find it again later!
More Seasonal Posts


Wondering how I approach transforming rooms and spaces in our home? Check out Designer in a Binder®.

And if you want exclusive content and behind-the-scenes sneak peeks, be sure to subscribe before you head out!

OMG! Thank you, I would have never thought of using a king size pillow case, what a great idea!
You are so welcome Renee! And using a king-sized pillow case really made the whole thing super easy! I try to minimize how much I have to sew :)